Introduction
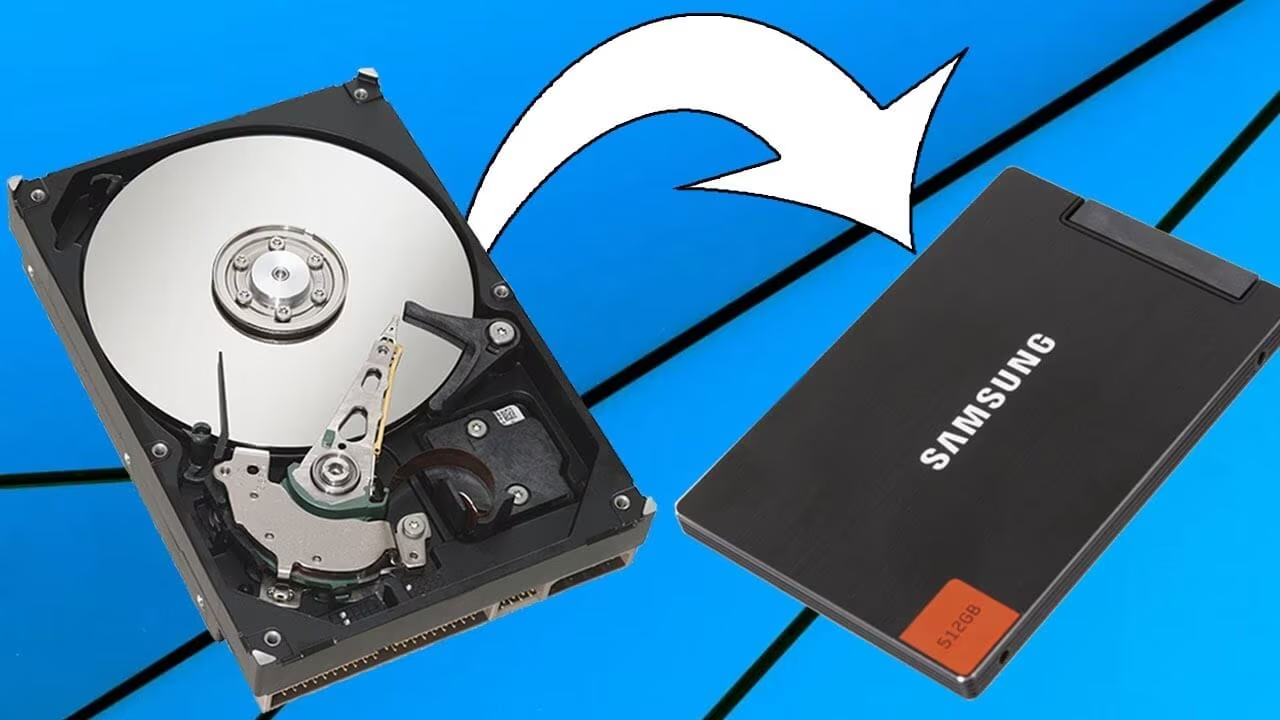
When it comes to optimizing the performance of your computer, storing programs and files on a solid-state drive (SSD) is the ideal choice. SSDs offer faster read and write speeds, resulting in smoother and more efficient operation of your software. However, SSDs often come with limited storage capacity and can be quite expensive compared to hard disk drives (HDDs).
In some cases, you may find it necessary to move a program from your SSD to your HDD, especially if the SSD is running out of space or if you want to prioritize certain programs on the faster drive. Successfully transferring a program to a different storage device requires careful planning and execution to ensure that the program continues to function properly while benefitting from the increased storage capacity provided by the HDD.
In this article, we will explore the reasons why you might need to move a program from your SSD to your HDD, as well as provide you with a step-by-step guide on how to do it. Whether you are looking to free up space on your SSD, optimize your storage resources, or simply improve the organization of your software, this guide will help you achieve your goals.
Before we delve into the practical steps of moving a program from an SSD to an HDD, let’s first explore some of the common reasons why you might need to make this transition.
Reasons to Move a Program from SSD to HDD
While SSDs offer numerous advantages in terms of speed and performance, there are several reasons why you might want to move a program from your SSD to your HDD:
- Storage Space: SSDs typically have smaller storage capacities compared to HDDs. If you have limited space on your SSD and want to make room for other programs or files, moving less frequently used or larger programs to your HDD can help free up valuable storage space.
- Cost Efficiency: SSDs are generally more expensive than HDDs, especially for larger storage capacities. If you have multiple programs that are not heavily reliant on speed, transferring them to your HDD can be a cost-effective solution.
- Priority Programs: Some programs may benefit more from the increased speed of an SSD than others. By moving less critical or frequently used programs to your HDD, you can allocate the limited space on your SSD to prioritize the performance of more demanding software.
- Organizational Needs: If you prefer to keep your files and programs organized in a specific way, you may find it more convenient to have certain software located on your HDD. This can allow for easier categorization and management of your programs.
- Future Updates: Certain programs require frequent updates or patches, which can take up additional space on your SSD over time. Moving these programs to your HDD can prevent your SSD from becoming too cluttered and ensure there is enough space for future updates.
While these are common reasons to consider moving a program from an SSD to an HDD, it’s important to assess your specific needs and requirements before deciding to make the transition. Now that we understand the reasons behind this move, let’s dive into the step-by-step guide for moving a program from an SSD to an HDD.
Step-by-step Guide to Moving a Program from SSD to HDD
Before proceeding with the following steps, make sure you have enough storage space on your HDD to accommodate the program you intend to move. Also, ensure that you have administrative privileges on your computer to perform the necessary actions.
Here is a step-by-step guide to help you move a program from your SSD to your HDD:
- Identify the Program: Determine which program you want to move from your SSD to your HDD. Take note of its file size and any associated files or folders that need to be transferred.
- Backup Important Data: Back up any important data associated with the program you are moving. This could include saved settings, preferences, or user-generated content. It’s always better to be safe and have a backup in case something goes wrong during the transfer.
- Check for Built-in Feature: Some programs have built-in features that allow you to change the installation location. Open the program’s settings or preferences and look for an option to change the installation path. If available, follow the prompts to select your HDD as the new installation destination.
- Uninstall and Reinstall: If the program does not have a built-in feature, the next step is to uninstall the program from your SSD. Open the Control Panel, navigate to the “Programs” or “Programs and Features” section, find the program you want to move, and select “Uninstall.” After the program is successfully uninstalled, proceed to the next step.
- Install on HDD: Install the program on your HDD by running the installation file. During the installation process, make sure to select the HDD as the installation destination. Follow the prompts and wait for the installation to complete.
- Copy Remaining Files: If the program has any associated files or folders not automatically transferred during the installation process, copy them from the original SSD location to the corresponding folder on your HDD. Make sure to maintain the same file structure if necessary.
- Create Shortcuts: Once the program is successfully installed on your HDD, create shortcuts on your desktop or Start menu for easy access. You can do this by locating the program folder on your HDD, right-clicking on the executable file, and selecting “Create Shortcut.” Drag the shortcut to your desired location.
- Test the Program: Before fully relying on the program from the HDD, test its functionality and ensure that all necessary files and settings have been successfully transferred. Open the program and try out its main features to verify that everything is working as expected.
Following these steps will help you successfully move a program from your SSD to your HDD. However, it’s important to note that not all programs can be easily moved, and some may require advanced knowledge or additional steps. If you encounter any issues or complications during the process, referring to the program’s documentation or seeking professional assistance can be helpful.
Method 1: Using the Software’s Built-in Feature
Some programs have a built-in feature that allows you to change the installation location, making the process of moving them from your SSD to your HDD relatively straightforward. Here is a step-by-step guide on how to use a program’s built-in feature to move it:
- Open the Program: Launch the program that you want to move from your SSD to your HDD.
- Access the Settings: Look for the program’s settings or preferences menu. It is usually located in the toolbar or under the “Options” or “Preferences” tab.
- Locate the Installation Options: Within the settings or preferences menu, find the installation options or paths. This section may be labeled as “Installation Location,” “Installation Directory,” or something similar.
- Select the HDD: In the installation options, choose the HDD as the new installation location. You may need to browse for the destination folder on your HDD or select it from a dropdown list. Ensure that the location you select has enough storage space to accommodate the program.
- Confirm and Apply the Changes: Once you have selected the HDD as the new installation location, confirm your selection and apply the changes. This may involve clicking an “Apply” or “Save” button within the program’s settings or preferences menu.
- Restart the Program: To ensure that the changes take effect, close and restart the program. The program will now be installed on your HDD, and its files and resources will be located in the specified destination folder.
Using the program’s built-in feature to move it from your SSD to your HDD eliminates the need for uninstalling and reinstalling the software. However, not all programs offer this feature, so it’s important to check the program’s documentation or website to determine if this option is available.
Keep in mind that even with a built-in feature, some programs may still store essential files or data on the SSD, even after changing the installation location. If this is the case, you may need to manually transfer those files to your HDD to ensure that the program functions properly and utilizes the HDD for storage.
In the following section, we will discuss another method to move a program from your SSD to your HDD manually.
Method 2: Manually Moving the Program Files
If a program does not have a built-in feature for changing its installation location, you can still manually move the program files from your SSD to your HDD. Here is a step-by-step guide on how to achieve this:
- Uninstall the Program: Start by uninstalling the program from your computer. Open the Control Panel, navigate to the “Programs” or “Programs and Features” section, find the program you want to move, and select “Uninstall.”
- Identify the Program Files: After the program has been uninstalled, identify the location of its files on your SSD. This is usually in the “Program Files” or “Program Files (x86)” folder in the root directory of your SSD.
- Create a New Folder on the HDD: Create a new folder on your HDD to serve as the destination for the program files. You can choose any suitable name for the folder.
- Copy the Program Files: Copy all the program files and folders from their current location on the SSD to the newly created folder on your HDD. You can do this by selecting the files, right-clicking, and choosing “Copy,” then navigating to the HDD folder and selecting “Paste.”
- Create a Shortcut: Once the program files have been successfully transferred to the HDD, you can create a shortcut for easy access. Right-click on the program’s main executable file, select “Create Shortcut,” and place the shortcut on your desktop or Start menu.
- Test the Program: Before fully relying on the program from the HDD, test its functionality to ensure that all necessary files and settings have been successfully transferred. Open the program and try out its main features to verify that everything is working as expected.
Manually moving the program files requires careful attention to detail and thoroughness. It’s important to transfer all associated files and folders to ensure the program functions properly. However, keep in mind that moving programs manually may not always be straightforward, as some programs have dependencies and registry entries that may need to be modified or recreated on the HDD.
If you encounter any issues or the program does not function correctly after moving the files, you may need to consult the program’s documentation, support forums, or seek professional assistance to troubleshoot and resolve any compatibility or configuration problems.
Now that you have learned both methods for moving a program from your SSD to your HDD, it’s essential to consider a few important factors before making the decision to move a program.
Considerations before Moving a Program from SSD to HDD
Before deciding to move a program from your SSD to your HDD, it’s important to consider the following factors:
- Usage and Performance: Evaluate your usage patterns and the importance of speed for the specific program. If the program heavily relies on quick access times and benefits significantly from the SSD’s faster read and write speeds, it may be better to keep it on the SSD.
- Storage Space: Assess the available space on both your SSD and HDD. If your SSD is nearly full and you need more storage for other programs or files, it may be necessary to move less frequently used or larger programs to the HDD to free up space on your SSD.
- Size of the Program: Consider the size of the program you want to move. If it is relatively small and does not take up much space on your SSD, it may not be necessary to move it to the HDD. However, if the program requires a significant amount of storage, moving it to the HDD can help optimize space on the SSD.
- Program Dependencies: Take into account any dependencies the program may have on other files or libraries installed on your computer. Moving the program to the HDD may disrupt those dependencies, potentially affecting the program’s functionality.
- Speed vs. Storage Balance: Consider your priorities in terms of speed and storage capacity. While an SSD offers faster performance, an HDD provides greater storage capacity at a lower cost. Evaluate whether you would benefit more from increased speed or if your storage needs take precedence.
- Future Updates and Patches: Some applications require frequent updates and patches, which may take up additional space on your SSD over time. Consider whether the program you want to move falls into this category and whether moving it to the HDD would be more practical for handling future updates.
It’s important to assess these considerations on a case-by-case basis. Not all programs are suitable for moving to the HDD, as performance and user experience may be compromised. Therefore, carefully evaluate the requirements and usage patterns of each program before deciding to make the transition.
Now that you have taken all the considerations into account, it’s time to conclude the article.
Conclusion
Moving a program from your SSD to your HDD can be a practical solution to optimize storage space, balance speed and storage capacity, and improve the overall organization of your software. While SSDs offer faster performance, HDDs provide larger storage capacities at more affordable prices.
In this article, we explored two methods for moving a program from an SSD to an HDD: using the software’s built-in feature and manually moving the program files. The first method allows for a more straightforward transfer if the program offers an option to change the installation location. The second method involves uninstalling the program from the SSD and manually copying the program files to the HDD.
Before moving a program, it’s essential to consider factors such as the usage patterns, program size, dependencies, and the balance between speed and storage capacity. Evaluating these factors will help you make an informed decision regarding which programs are best suited for relocation to the HDD.
Remember to always back up important data before making any changes to ensure that you don’t lose any crucial files during the transfer process. Additionally, it’s important to test the program’s functionality after the move to ensure that all necessary files, settings, and dependencies have been successfully transferred.
By following the step-by-step guides and considering these factors, you can successfully move programs from your SSD to your HDD, optimizing your storage resources, and improving the overall performance of your computer.
Thank you for reading this guide, and we hope it has provided you with valuable information on how to manage your programs effectively. Should you have any further questions, feel free to reach out for assistance or consult the documentation or support provided by the program’s developers.