Introduction
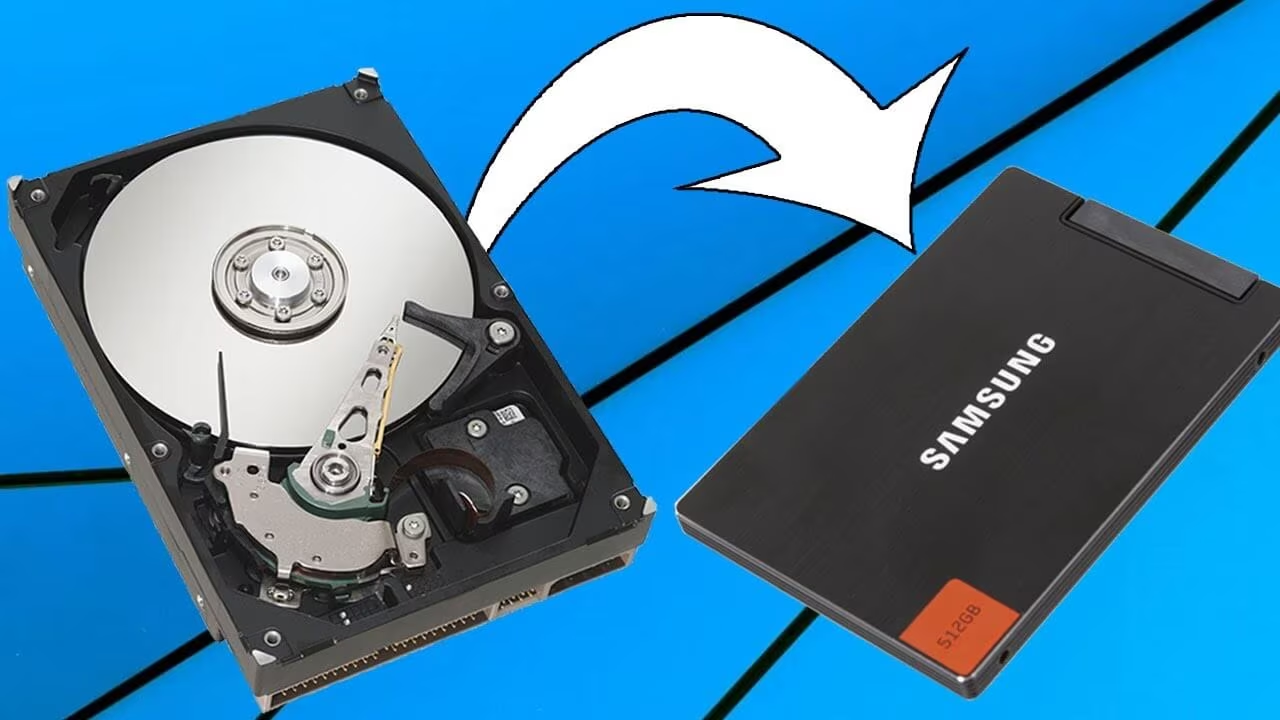
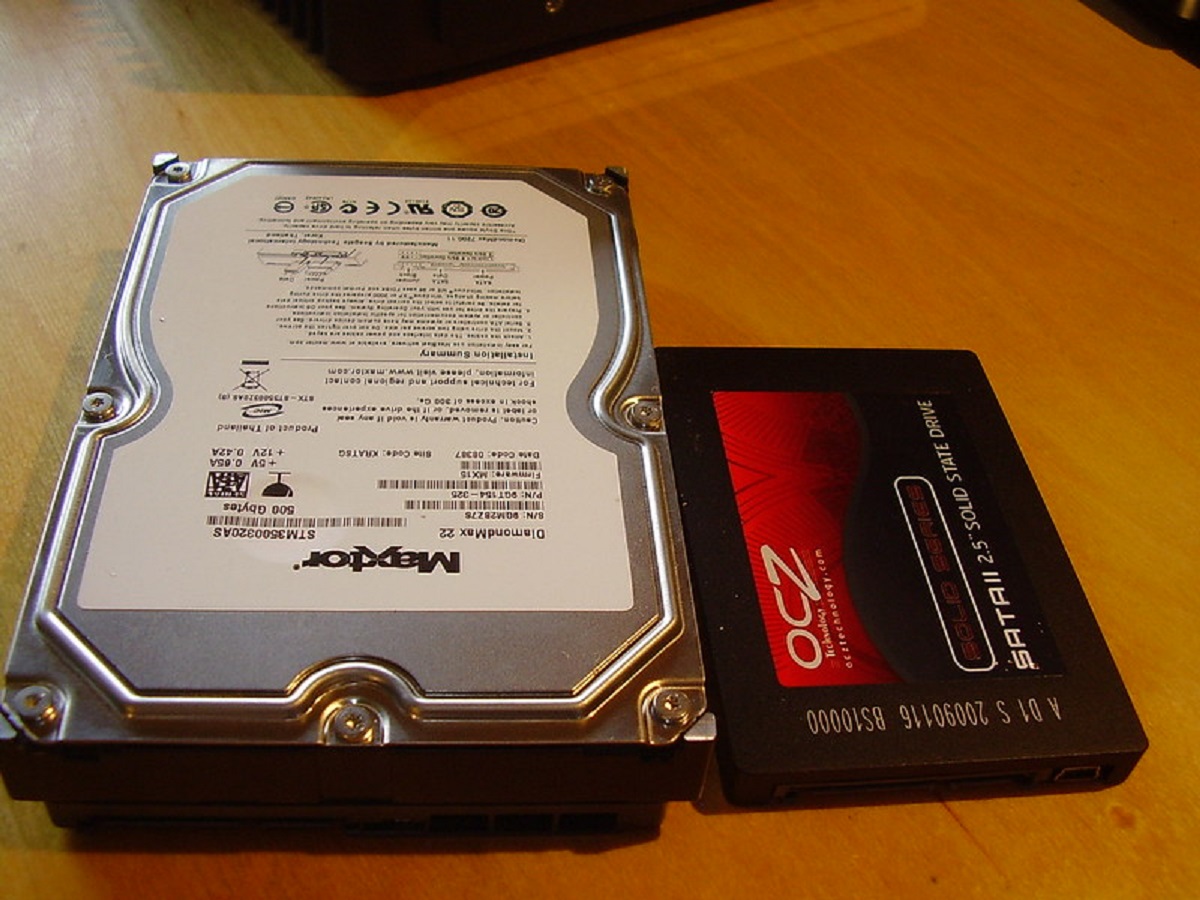
As the storage demands of modern gaming continue to grow, it is not uncommon to find that your SSD (Solid State Drive) is running out of space due to the large size of game files. In such cases, it becomes necessary to transfer some of your Origin games from your SSD to a larger HDD (Hard Disk Drive) to free up valuable storage space.
Transferring your games from SSD to HDD is a simple and effective solution that can help optimize the performance of your SSD while maintaining your game library intact. By moving your games to a larger and more cost-effective storage option like an HDD, you can ensure that you have enough space to install new games and keep your system running smoothly.
However, it’s important to note that moving your Origin games from SSD to HDD requires careful planning and execution to avoid any issues or loss of game data. In this guide, we will outline the steps you need to take to successfully move your games without any hassle. So, let’s dive in!
Why should you move your Origin Games from SSD to HDD?
There are several reasons why you may consider moving your Origin games from your SSD to an HDD. Let’s take a closer look at a few key benefits:
1. Storage Space: SSDs typically have less storage capacity compared to HDDs. By transferring your games to an HDD, you can free up valuable space on your SSD for other important applications or files.
2. Cost-Effectiveness: SSDs are generally more expensive per unit of storage compared to HDDs. If you have a large game library, moving your games to an HDD can be a cost-effective solution to expand your storage without breaking the bank.
3. Performance Optimization: While SSDs offer lightning-fast read and write speeds, they may not provide a significant advantage in terms of gaming performance. Most modern games are optimized to run smoothly on HDDs as well. Moving your games to an HDD will not drastically impact your gaming experience.
4. Longevity and Durability: SSDs have a limited lifespan and can wear out over time due to constant read and write operations. By offloading your games to an HDD, you can extend the lifespan of your SSD and ensure its longevity for more critical tasks like system boot times and application loading.
5. Backup and Portability: If you regularly switch between computers or need to create backups of your games, having them stored on an HDD offers more convenience. HDDs are easily portable and can be connected to different systems without any compatibility issues.
By considering these factors, you can make an informed decision about whether to transfer your Origin games from your SSD to an HDD. It’s essential to understand the trade-offs between storage space, cost, performance, and longevity to find the right balance for your gaming needs. Now, let’s explore the steps you need to follow to successfully move your games to an HDD.
Things to consider before moving your games
Before you start transferring your Origin games from your SSD to an HDD, there are a few important factors to consider to ensure a smooth and successful process. Here are some key points to keep in mind:
1. Available Space on HDD: Ensure that your HDD has sufficient free space to accommodate the game files you plan to transfer. Calculate the total size of the games you intend to move and make sure your HDD has enough space to accommodate them all.
2. Game Compatibility: Check if the games you are moving are compatible with running from an HDD. Most modern games are designed to work seamlessly on both SSDs and HDDs, but it’s always a good idea to double-check system requirements or game documentation to ensure compatibility.
3. Game Launcher Support: Verify if the game launcher, such as Origin, supports changing the installation directory of the games. Some launchers may restrict the ability to change the game location, which could affect the success of the transfer.
4. Licensing and DRM: Consider any licensing or Digital Rights Management (DRM) restrictions associated with the games you are moving. Certain games may have licensing agreements tied to the specific installation location, so it’s essential to verify if you can legally transfer them to an HDD.
5. File Integrity: Before moving your games, ensure that the game files on your SSD are intact and not corrupted. It’s always a good practice to run a file integrity check using the built-in verification options within the game launcher or by using third-party tools.
6. Backup: As with any important data, it’s crucial to back up your game files before proceeding with the transfer. While the transfer process itself is relatively safe, having a backup provides an extra layer of security in case of any unexpected data loss or issues during the move.
By considering these factors, you can mitigate any potential issues and ensure a smooth transition of your games from your SSD to an HDD. Now that you have everything in order, let’s move on to the step-by-step guide on how to transfer your Origin games.
Step-by-Step Guide: How To Move Origin Games from SSD to HDD
Now that you have taken into account the necessary considerations, let’s dive into the step-by-step process of moving your Origin games from your SSD to an HDD:
Step 1: Check if your SSD is running out of space
Ensure that your SSD has limited storage space available and you need to move some games to free up storage. This will help you identify which games to transfer.
Step 2: Create a new folder on your HDD
On your HDD, create a new folder where you want to store your Origin games. You can name it something like “Origin Games” for easy management.
Step 3: Copy the game files from your SSD to the new folder on your HDD
Navigate to the installation directory of your Origin games on your SSD. Select the game folders that you want to move and copy them to the newly created folder on your HDD.
Step 4: Delete the game files from your SSD
After the game files have been successfully copied to your HDD, you can delete the game files from your SSD to free up space. Make sure to double-check that all the files have been properly transferred before proceeding with the deletion.
Step 5: Update the game location in Origin
Open the Origin launcher and go to the “My Games” tab. Right-click on the game you transferred and select “Move Game.” Browse to the new game location on your HDD and select the folder where you moved the game files. Origin will update the game’s location and ensure it runs correctly from the HDD.
Step 6: Verify the game files on your HDD
Once the game location has been updated, Origin will automatically verify the game files to ensure their integrity. This process may take some time, especially for larger games. Allow Origin to complete the verification process.
Step 7: Delete the game files from your SSD (optional)
If you are satisfied with the successful transfer and verification on your HDD, you can safely delete the game files from your SSD. This step is optional but recommended to free up space on your SSD.
By following these step-by-step instructions, you can confidently move your Origin games from your SSD to an HDD and optimize your storage space. Once you have completed these steps for all the games you wish to move, you can enjoy playing your games directly from the HDD without any hassle.
Step 1: Check if your SSD is running out of space
The first step before moving your Origin games from your SSD to an HDD is to assess if your SSD is running out of space. This will help you determine which games to transfer and ensure you are making the most efficient use of your storage.
To check the available space on your SSD, follow these steps:
1. Open File Explorer or My Computer: Locate the File Explorer icon on your desktop or open it from the Start menu. Alternatively, you can use the shortcut “Windows key + E” to launch File Explorer.
2. Navigate to your SSD: In the left sidebar of File Explorer, you will see a list of drives. Locate and click on your SSD drive to view its contents.
3. Check the available storage: In the main window, you will see a graphical representation of your SSD’s storage usage. Look for the “Total Size” and “Free Space” values to get an idea of how much space is available on your SSD.
If you notice that your SSD is almost full or has limited free space, it’s a clear indication that you need to move some games to an HDD to free up space. By transferring games that you don’t play frequently or that don’t require the fast loading times offered by an SSD, you can optimize the usage of your SSD and ensure you have enough space for current and future games.
Before you start the transfer process, make sure you have identified the games you want to move based on their size and your gaming preferences. This will help you prioritize the games that will benefit the most from being transferred to an HDD.
Once you have completed this initial step, you can proceed to the next step of creating a new folder on your HDD to store your Origin games and continue with the transfer process.
Step 2: Create a new folder on your HDD
After checking the available space on your SSD and identifying the games you want to transfer, the next step is to create a new folder on your HDD where you will store your Origin games. This folder will serve as the destination for the game files that you will move from your SSD.
Follow these simple steps to create a new folder on your HDD:
1. Open File Explorer or My Computer: Launch File Explorer by clicking on the icon on your desktop or searching for it in the Start menu. Another way to open File Explorer is by using the shortcut “Windows key + E”.
2. Locate your HDD: In the left sidebar of File Explorer, you will see a list of drives. Look for your HDD and click on it to view its contents in the main window. The HDD is typically labeled as “Local Disk (D:)”, “Local Disk (E:)”, or with another drive letter.
3. Right-click and select “New” and then “Folder”: Once you are inside your HDD, right-click on an empty space in the main window and hover over the “New” option. Then, select “Folder” from the submenu that appears.
4. Name the folder: After creating the new folder, it will be highlighted, and you can immediately begin typing a name for it. Choose a descriptive name for your folder, such as “Origin Games” or any other name that suits your preference.
5. Press Enter to create the folder: After naming the folder, press the Enter key on your keyboard to complete the process. The new folder will be created on your HDD.
Once you have successfully created the new folder on your HDD, you are now ready to proceed with the next step of copying the game files from your SSD to this newly created folder. Creating a separate folder on your HDD specifically for your Origin games will help you organize your game library and make it easier to manage in the future.
With the folder created, you can now move on to Step 3, where we will guide you through the process of copying the game files from your SSD to the new folder on your HDD.
Step 3: Copy the game files from your SSD to the new folder on your HDD
Now that you have created a new folder on your HDD to store your Origin games, it’s time to copy the game files from your SSD to the new folder. This step ensures that you have a backup of the game files before deleting them from your SSD.
Follow these steps to copy the game files from your SSD to the new folder on your HDD:
1. Open File Explorer or My Computer: Launch File Explorer by clicking on its icon on your desktop or using the shortcut “Windows key + E” on your keyboard.
2. Navigate to the installation directory of your Origin games on your SSD: In File Explorer, locate and open the drive where your SSD is located. Then, navigate to the folder where your Origin games are installed. By default, it is usually located in “C:\Program Files (x86)\Origin Games” or “C:\Program Files\Origin Games”.
3. Select the game folders you want to move: Inside the Origin Games folder, you will see a list of game folders. Select the game folders that you want to transfer to your HDD. You can either select multiple folders by holding the Ctrl key on your keyboard while clicking on the folders or select all folders by pressing Ctrl + A.
4. Copy the selected game folders: Right-click on the selected game folders and click on “Copy” from the context menu. Alternatively, you can press Ctrl + C on your keyboard to copy the game folders.
5. Navigate to the new folder on your HDD: Go back to File Explorer and navigate to the newly created folder on your HDD where you want to store your Origin games.
6. Paste the copied game folders: Right-click on an empty space inside the new folder and click on “Paste” from the context menu. Alternatively, you can press Ctrl + V on your keyboard to paste the copied game folders.
The game files will now start copying from your SSD to the new folder on your HDD. The time it takes to complete the copying process will depend on the size of the game files and the speed of your computer and storage devices.
Once the copying process is complete, you have successfully transferred the game files from your SSD to the new folder on your HDD. You now have a backup of your Origin games on your HDD, and you can proceed to the next step of deleting the game files from your SSD to free up space.
Before proceeding with the deletion, it’s always a good practice to verify that all the game files have been successfully copied to your HDD to avoid any data loss. In the next step, we will guide you on how to update the game location in Origin to ensure that your games run smoothly from the new folder on your HDD.
Step 4: Delete the game files from your SSD
Now that you have successfully copied the game files from your SSD to the new folder on your HDD, it’s time to delete the game files from your SSD. This step will help free up valuable space on your SSD for other applications and files.
Follow these steps to delete the game files from your SSD:
1. Open File Explorer or My Computer: Launch File Explorer by clicking on its icon on your desktop or using the shortcut “Windows key + E” on your keyboard.
2. Navigate to the installation directory of your Origin games on your SSD: In File Explorer, locate and open the drive where your SSD is located. Then, navigate to the folder where your Origin games were originally installed. This is the same folder from which you copied the game files in the previous step.
3. Select the game folders to be deleted: Inside the Origin games folder, select the game folders that you have transferred to the new folder on your HDD. You can either select multiple folders by holding the Ctrl key on your keyboard while clicking on the folders or select all folders by pressing Ctrl + A.
4. Permanently delete the selected game folders: Right-click on the selected game folders and click on “Delete” from the context menu. Alternatively, you can also press the Delete key on your keyboard.
5. Confirm the deletion: A confirmation message will appear asking if you are sure you want to permanently delete the selected folders. Make sure to double-check that all the necessary game files have been successfully copied to your new folder on your HDD. Once you are certain, click on “Yes” to proceed with the deletion.
Note: When deleting the game files, ensure that you only delete the game folders and not any system or important files that may be present in the same directory.
After confirming the deletion, the game files will be permanently removed from your SSD, freeing up valuable space. You can now enjoy the extra storage space on your SSD and use it for other applications or files.
It’s important to note that if you experience any issues or need to reinstall the games in the future, you will need to download and install them again through the Origin client. Therefore, make sure to keep a backup of the game files on your HDD or other external storage if you anticipate any future needs.
With the game files successfully deleted from your SSD, you can move on to the next step of updating the game location in Origin to ensure your games run smoothly from the new folder on your HDD.
Step 5: Update the game location in Origin
After successfully moving the game files to the new folder on your HDD and deleting them from your SSD, the next step is to update the game location in the Origin client. This ensures that Origin recognizes the new location of the game files and allows you to run them seamlessly.
Follow these steps to update the game location in Origin:
1. Launch the Origin client: Open the Origin client on your computer. If you don’t have it installed, you can download it from the official Origin website and sign in using your account credentials.
2. Go to the “My Games” tab: On the top left corner of the Origin client, click on the “My Games” tab. This will display a list of all the games in your Origin library.
3. Right-click on the game you transferred: Locate and right-click on the game that you have moved to the new folder on your HDD. From the context menu that appears, select “Move Game”.
4. Browse to the new game location: A small window will appear, allowing you to browse your computer for the new location of the game files. Navigate to the newly created folder on your HDD and select it. Click on “Select Folder” or “Move” to confirm the new game location.
5. Allow Origin to update the game location: Once you have selected the new location, Origin will automatically update the game location in its system. This process may take a few moments, especially for games with larger file sizes. Be patient and allow Origin to complete the update.
After updating the game location in Origin, you will be able to launch and play your games directly from the new folder on your HDD. Origin will recognize the new game location and run the games without any issues. You can enjoy your games with optimized storage space on your SSD and the convenience of having them stored on your HDD.
It’s important to note that updating the game location in Origin only changes the game’s installation directory within the Origin client. The actual game files have already been moved to the new folder on your HDD in the previous steps. Therefore, ensure that the game files are present in the new location before updating the game location in Origin.
Now that you have successfully updated the game location in Origin, you can move on to the next step of verifying the game files on your HDD to ensure their integrity, which we will explore in the next step.
Step 6: Verify the game files on your HDD
After updating the game location in Origin, it’s essential to verify the game files on your HDD to ensure their integrity. This verification process ensures that all the necessary game files are present and undamaged, allowing you to play the games without any issues.
Follow these steps to verify the game files on your HDD:
1. Launch the Origin client: Open the Origin client on your computer and sign in using your account credentials if you haven’t already.
2. Go to the “My Games” tab: Click on the “My Games” tab on the top left corner of the Origin client. This will show a list of all the games in your Origin library.
3. Locate the game you transferred: Find the game that you have moved to the new folder on your HDD. Right-click on the game and select “Verify Game Files” or a similar option from the context menu. The exact wording may vary depending on the game and the version of the Origin client you are using.
4. Allow Origin to verify the game files: Origin will now start the verification process. It will compare the files on your HDD with the original files it has in its database. This process may take some time, depending on the size of the game and the speed of your computer and storage devices. Be patient and allow Origin to complete the verification.
5. Check the verification results: Once the verification is complete, Origin will display the results. It will indicate whether the game files on your HDD are intact and match the ones in its database. If any files are missing or damaged, Origin may attempt to repair or download the necessary files.
If the verification process completes successfully and all the game files are verified, you can be confident that your games are ready to be played from the new folder on your HDD. You can launch the game from the Origin client and enjoy your gaming experience without any issues.
If any issues arise during the verification process, such as missing or damaged files, Origin will attempt to resolve them by repairing or downloading the necessary files. In such cases, make sure you have a stable internet connection, and Origin will handle the process automatically.
By verifying the game files on your HDD, you ensure that the games can run smoothly and without any errors. This step adds an extra layer of assurance that your transferred games are in a perfect state and ready to be played.
Now that you have verified the game files on your HDD, if you are satisfied with the successful transfer and verification, you can move on to the optional step of deleting the game files from your SSD to free up more space.
Step 7: Delete the game files from your SSD (optional)
After successfully transferring and verifying your game files on your HDD, you may choose to delete the game files from your SSD to free up even more space. This step is optional but recommended if you want to maximize the storage capacity of your SSD for other applications and files.
Follow these steps to delete the game files from your SSD:
1. Open File Explorer or My Computer: Launch File Explorer by clicking on its icon on your desktop or using the shortcut “Windows key + E” on your keyboard.
2. Navigate to the installation directory of your Origin games on your SSD: In File Explorer, locate and open the drive where your SSD is located. Then, navigate to the folder where your Origin games were originally installed. This is the same folder from which you copied the game files in Step 3.
3. Select the game folders to be deleted: Inside the Origin games folder on your SSD, select the game folders that you have already transferred to the new folder on your HDD. Again, you can either select multiple folders by holding the Ctrl key on your keyboard while clicking on the folders or select all folders by pressing Ctrl + A.
4. Permanently delete the selected game folders: Right-click on the selected game folders and click on “Delete” from the context menu. Alternatively, you can also press the Delete key on your keyboard.
5. Confirm the deletion: A confirmation message will appear, asking if you are sure you want to permanently delete the selected folders. Double-check that all the necessary game files have been successfully transferred and verified on your HDD. Once you are certain, click on “Yes” to proceed with the deletion.
Caution: When deleting the game files, ensure that you only delete the game folders and not any system or important files that may be present in the same directory.
After confirming the deletion, the game files will be permanently removed from your SSD, further increasing the available space. Deleting the game files from your SSD is optional and depends on your preference and storage needs. If you want to keep a backup of the game files on your SSD or prefer having them available locally for any reason, you can skip this step.
It’s important to note that deleting the game files from your SSD will not affect the games on your HDD. The games are now stored in the new folder on your HDD and can be launched and played through the Origin client without any issues.
With the game files successfully deleted from your SSD (if you chose to do so), you have completed the entire process of moving your Origin games from your SSD to your HDD. Congratulations! You have now optimized your storage space and can enjoy your games without worrying about running out of space on your SSD.
Conclusion
Transferring your Origin games from your SSD to an HDD is a practical solution to free up storage space and optimize your system’s performance. By following the step-by-step guide outlined in this article, you can successfully move your games while ensuring their integrity.
Before proceeding with the transfer, it is essential to consider factors like available space on your HDD, game compatibility, game launcher support, licensing and DRM restrictions, file integrity, and backups. These considerations will help you make informed decisions and prevent any issues during the transfer process.
Throughout the guide, we covered the necessary steps to move your Origin games from your SSD to your HDD. These steps included checking the available space on your SSD, creating a new folder on your HDD, copying the game files from your SSD, deleting the game files from your SSD (optional), updating the game location in Origin, verifying the game files on your HDD, and deleting the game files from your SSD (optional).
By following these steps, you can ensure a smooth and successful transfer, allowing you to enjoy your games directly from the HDD. Remember to regularly monitor your storage space and optimize it by moving games that are not regularly played to your HDD.
It is important to note that each step should be performed with caution and attention to detail. Always double-check the locations of the game files and take backups before making any modifications to your game library.
Now that you have completed the process, you have freed up valuable space on your SSD and optimized your storage capacity. You can continue to enjoy your Origin games with ample storage for future additions to your gaming library.
We hope this guide has been helpful in assisting you with transferring your Origin games from your SSD to your HDD. If you have any questions or encounter any issues along the way, feel free to consult the Origin support resources or seek assistance from the Origin community.
Happy gaming!