Introduction
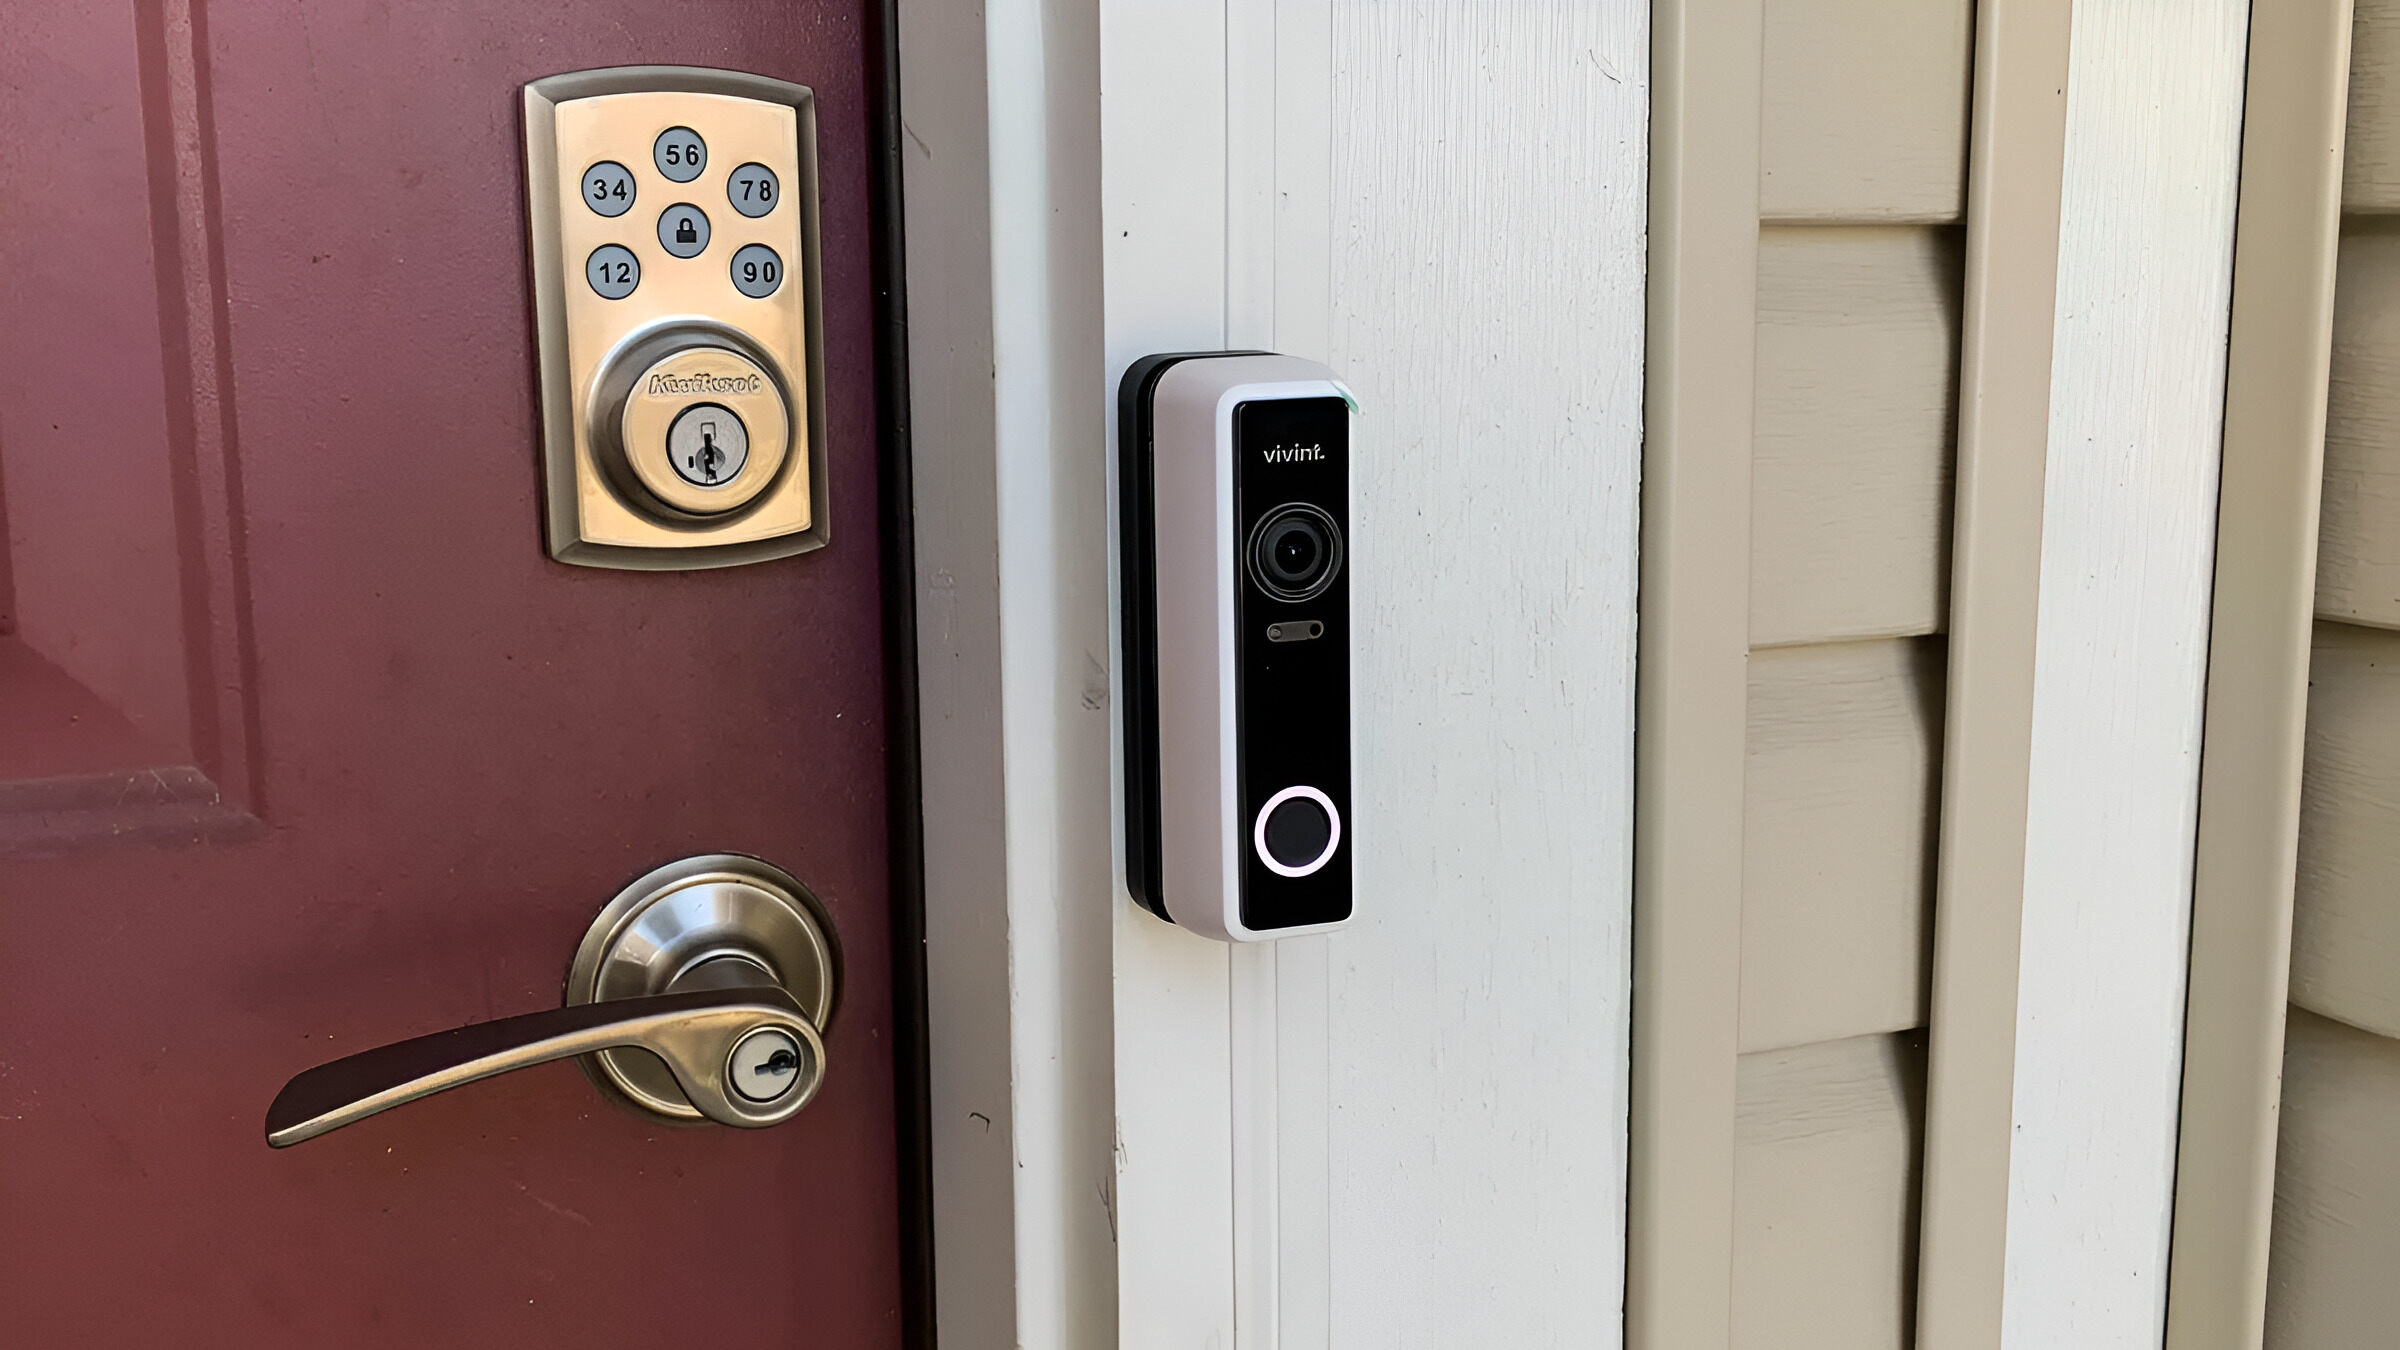
Welcome to this guide on how to change the battery on a smart lock. Smart locks have become increasingly popular for their convenience and security features. However, like any electronic device, they require power to operate. The batteries in smart locks need to be replaced periodically to ensure continuous functionality.
In this guide, we will take you through the step-by-step process of changing the battery on your smart lock. Whether you are a first-time user or simply need a refresher, this guide will provide you with all the information you need to successfully replace the battery and keep your smart lock functioning flawlessly.
Before we dive into the steps, it’s important to note that the specific instructions may vary depending on the brand and model of your smart lock. We recommend consulting the manufacturer’s manual for any specific guidelines. Additionally, ensure that you have the necessary tools and materials ready before proceeding.
Changing the battery on a smart lock is a simple task that can extend the lifespan of your lock and prevent any unexpected lockouts. By following the steps outlined in this guide, you’ll be able to effortlessly replace the battery and continue enjoying the convenience and security offered by your smart lock.
Step 1: Gather the necessary tools and materials
Before you start the battery replacement process, it’s important to gather all the necessary tools and materials. This will ensure a smooth and efficient battery replacement. Here’s what you’ll need:
- A new battery: Check the user manual or manufacturer’s website to determine the specific type and size of battery required for your smart lock.
- A screwdriver: Most smart locks have a battery compartment that is secured with screws. Make sure you have the appropriate screwdriver (Phillips or flathead) to remove the screws.
- A clean cloth or wipe: It’s always a good idea to wipe down the battery compartment and the surrounding area before inserting the new battery. This will help ensure a clean and secure connection.
- Optional: Gloves: If you prefer to wear gloves while handling the battery or working with small components, it can be helpful in preventing any smudges or damage.
Once you have gathered all the necessary tools and materials, you are ready to proceed with the battery replacement process. It’s always a good idea to double-check that you have everything you need before starting to avoid any interruptions or delays.
Step 2: Identify the type of battery your smart lock uses
Before changing the battery on your smart lock, it’s essential to identify the specific type of battery required. Smart lock models may vary in terms of the battery type, size, and voltage. Here’s how you can determine the correct battery for your smart lock:
- Refer to the user manual: The user manual that came with your smart lock should provide detailed information on the battery type and specifications. Look for the battery section in the manual, which will outline the specific requirements for your lock.
- Check the manufacturer’s website: If you no longer have access to the user manual, or it doesn’t contain the necessary information, you can visit the manufacturer’s website. Most manufacturers have a dedicated support section where you can find product-specific details, including the correct battery type for your smart lock.
- Inspect the battery compartment: In some cases, the type of battery your smart lock uses may be indicated inside the battery compartment. Open the compartment and look for any markings, labels, or symbols that indicate the battery type. If you don’t find any information, proceed to the next step.
- Contact customer support: If you are still uncertain about the correct battery type for your smart lock, don’t hesitate to reach out to the manufacturer’s customer support. They will be able to provide you with the accurate information and answer any questions you may have.
By correctly identifying the type of battery your smart lock uses, you can ensure a seamless battery replacement and avoid any potential issues. Take the time to gather the necessary information before proceeding to the next step of the battery replacement process.
Step 3: Locate the battery compartment
Once you have identified the type of battery your smart lock uses, the next step is to locate the battery compartment. The battery compartment is where the old battery is housed and where the new battery will be inserted. Here’s how to find it:
- Refer to the user manual: The user manual is a valuable resource for finding the location of the battery compartment. Look for a section in the manual that provides illustrations or step-by-step instructions on how to access the battery compartment.
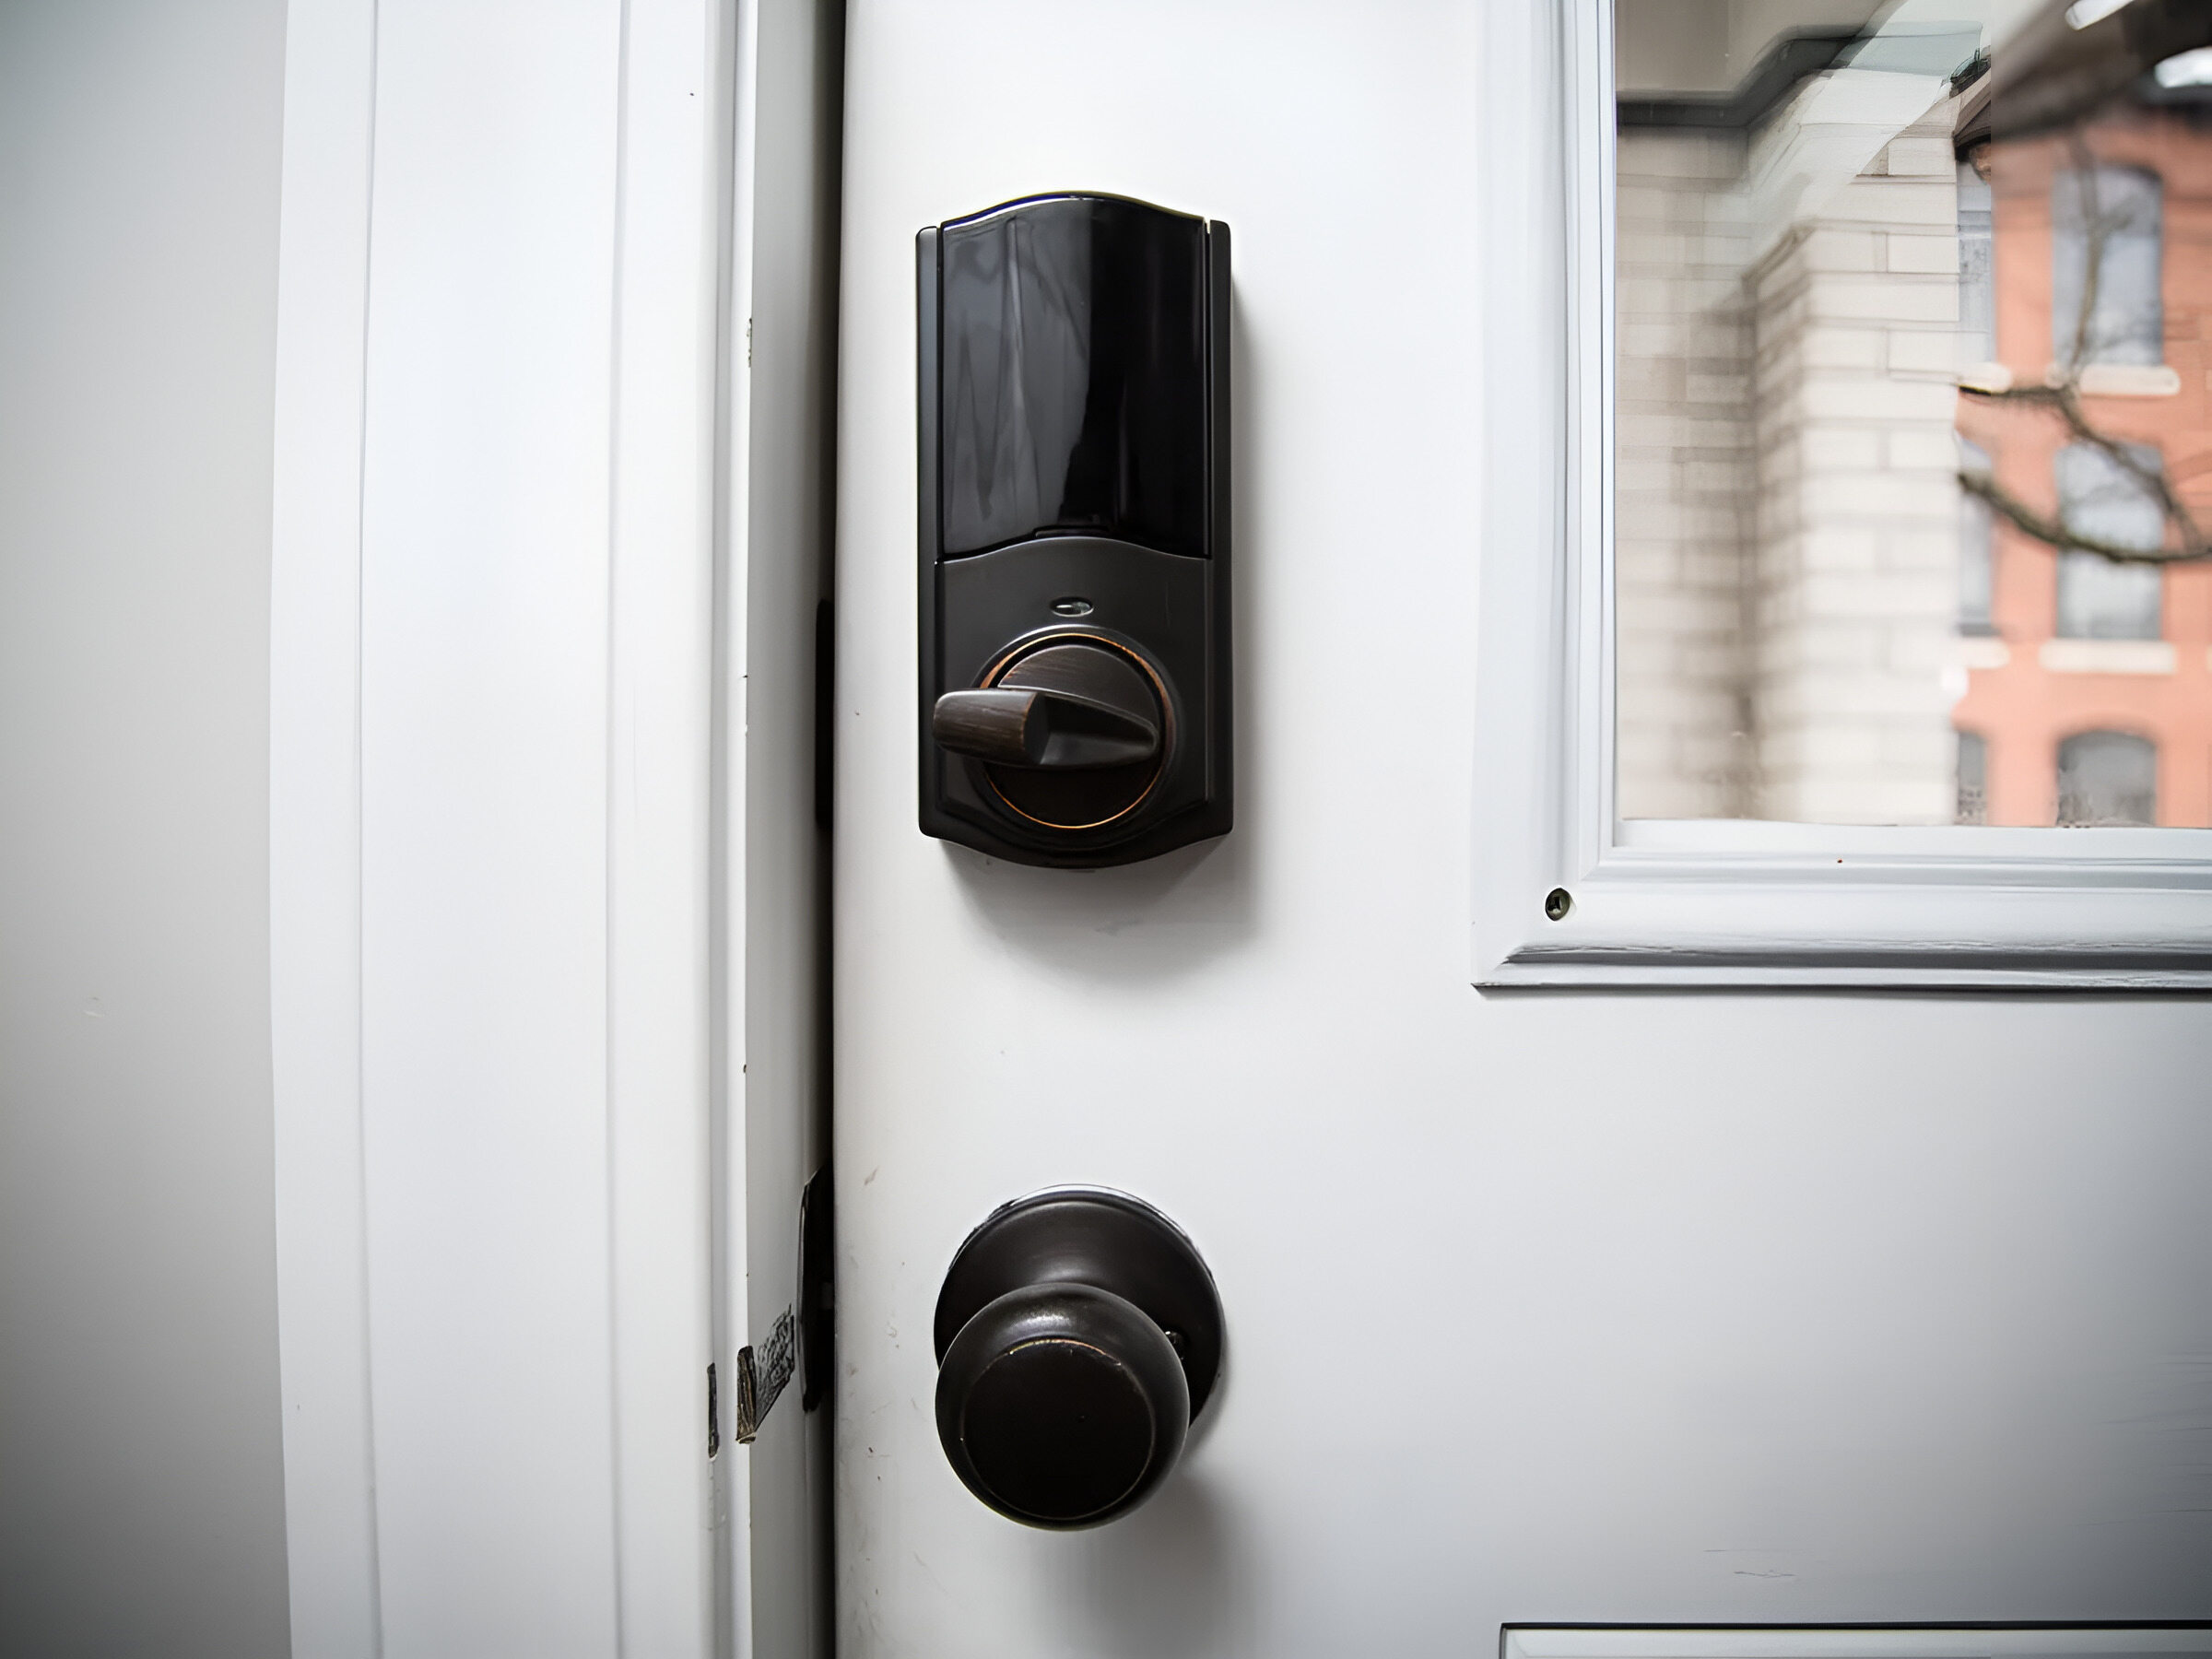
- Inspect the smart lock: Examine your smart lock visually and look for any indicators, buttons, or openings that suggest the presence of a battery compartment. Manufacturers typically design their smart locks with easy access to the battery compartment.
- Search online resources: If you are unable to locate the battery compartment through the user manual or visual inspection, consider conducting an online search. Look for forums, videos, or tutorials specific to your smart lock model that can provide insights into the location of the battery compartment.
- Contact customer support: If all else fails, reach out to the manufacturer’s customer support for guidance. They will be able to assist you in finding the exact location of the battery compartment.
Remember to exercise caution when accessing the battery compartment, as it may involve removing screws or disassembling certain parts of your smart lock. Follow the manufacturer’s instructions to ensure proper access to the battery compartment without causing any damage.
Once you have successfully located the battery compartment, you are ready to proceed with the next steps of the battery replacement process.
Step 4: Remove the old battery
With the battery compartment located, it’s time to remove the old battery from your smart lock. Here’s how you can safely remove the old battery:
- Ensure the smart lock is in an unlocked position: Before attempting to remove the battery, make sure your smart lock is in an unlocked state. This will prevent any accidental lockouts or disruptions during the battery replacement process.
- Power off the smart lock (if applicable): Some smart lock models have a power button or switch. If your smart lock has this feature, power it off before removing the battery. This step is optional and may not apply to all smart locks.
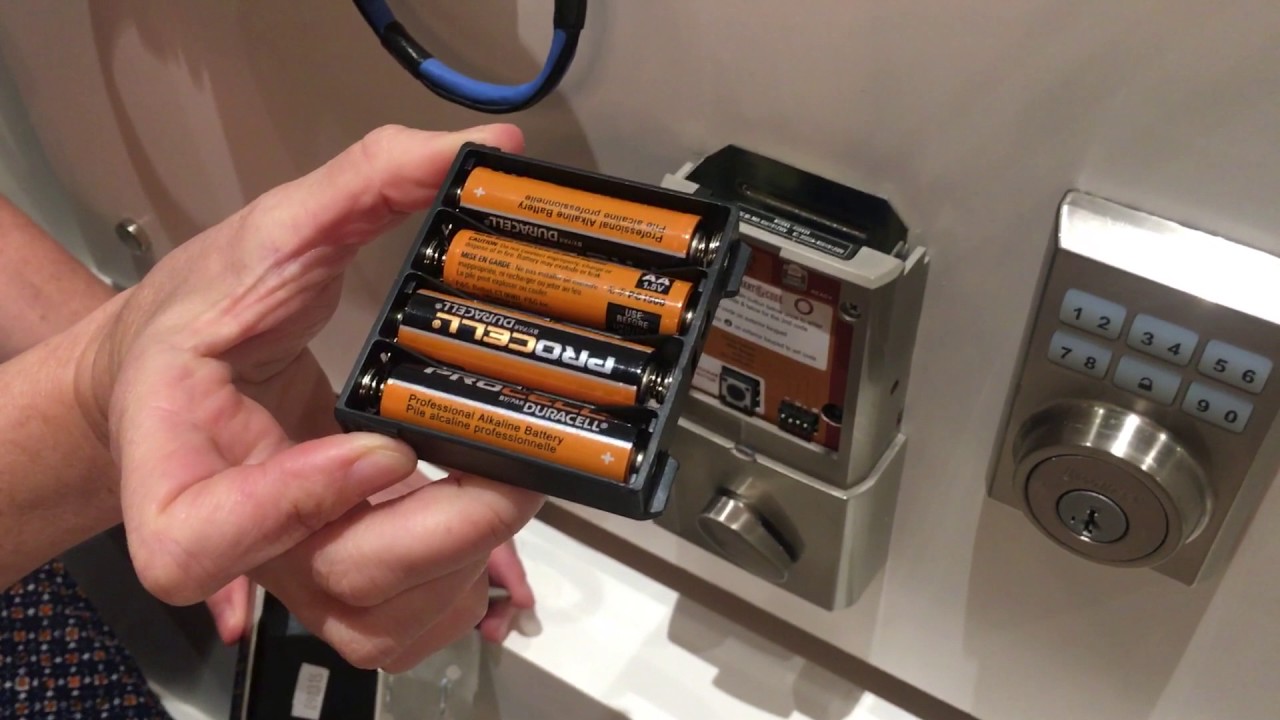
- Open the battery compartment: Depending on your smart lock model, you may need to use a screwdriver to remove any screws securing the battery compartment. Once the screws are removed, gently open the battery compartment to access the old battery.
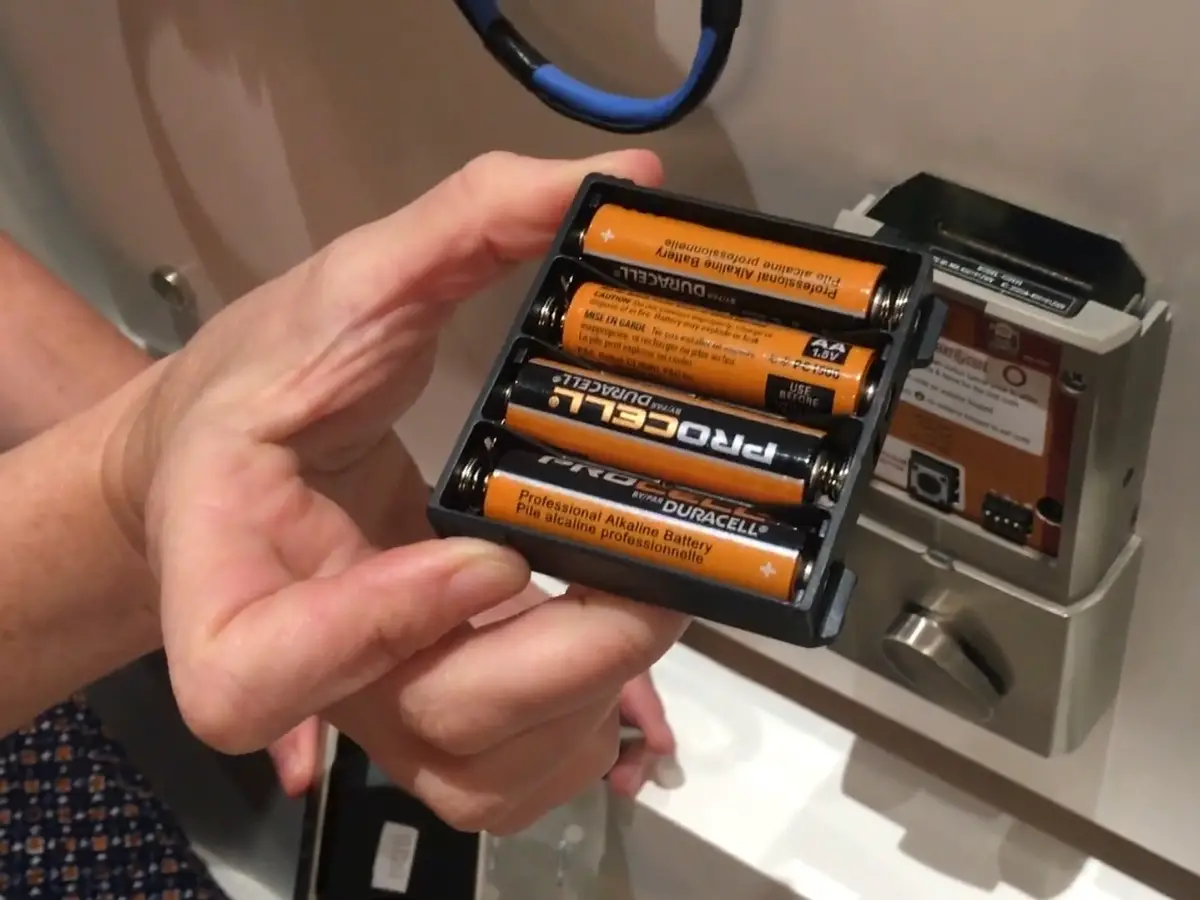
- Remove the old battery: Carefully remove the old battery from its housing. Pay attention to the battery’s orientation and make a mental note or take a picture for reference when inserting the new battery. Some batteries may slide out easily, while others may require a slight lift or pull.
- Inspect the battery compartment: While the battery is removed, take a moment to inspect the battery compartment for any debris, corrosion, or damage. Use a clean cloth or wipe to gently clean the compartment if necessary.
Always handle the old battery with care and dispose of it properly according to local regulations. Avoid touching the battery terminals with your bare hands and keep them away from children and pets.
With the old battery removed and the battery compartment inspected, you are now ready to proceed with the next step of the battery replacement process.
Step 5: Insert the new battery
Now that the old battery has been removed, it’s time to insert the new battery into your smart lock. Here’s a step-by-step guide on how to properly insert the new battery:
- Check the battery orientation: Refer to the user manual or the markings inside the battery compartment to determine the correct orientation of the new battery. Make sure you align the positive (+) and negative (-) ends of the battery correctly.
- Insert the new battery: Place the new battery into the battery compartment, ensuring it fits securely in its designated space. Apply gentle pressure, if needed, to ensure proper contact between the battery and the connectors inside the compartment.
- Replace any battery compartment covers or lids: If your smart lock has a cover or lid for the battery compartment, make sure to close it securely. This will protect the battery and ensure the proper functioning of your smart lock.
- Power on the smart lock (if applicable): If your smart lock has a power button or switch, turn it on after inserting the new battery. This step is optional and may not apply to all smart locks.
Double-check that the new battery is inserted correctly and securely. Ensure that the battery is making a solid connection with the smart lock’s internal components.
It’s important to use a battery that is well-suited for your smart lock model and meets the manufacturer’s specifications. Using an incorrect battery type or size may lead to malfunctioning or damage to your smart lock.
Once the new battery is successfully inserted, you are now ready to perform a quick test to ensure that the smart lock is functioning correctly.
Step 6: Test the smart lock
After inserting the new battery, it is crucial to test your smart lock to ensure that it is functioning properly. Follow these steps to perform a quick test:
- Close and lock the door: Make sure the door is securely closed and locked.
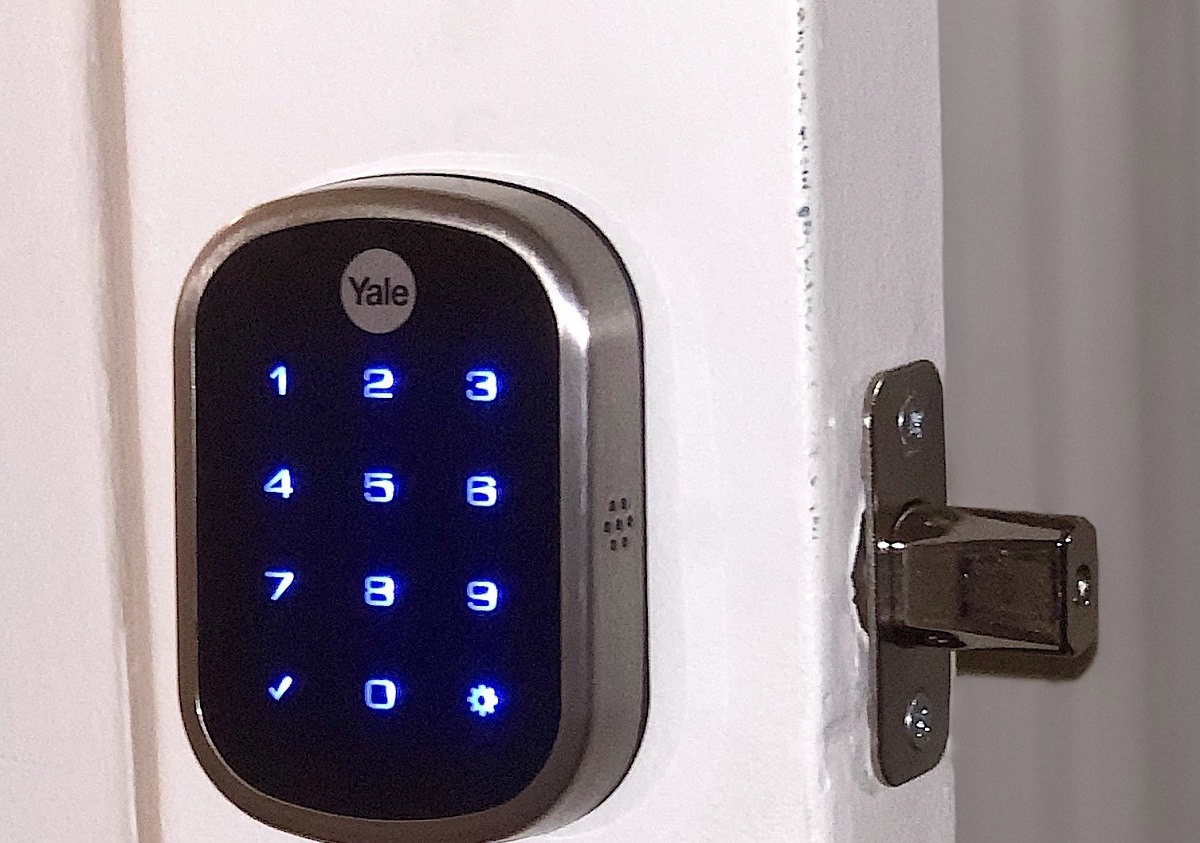
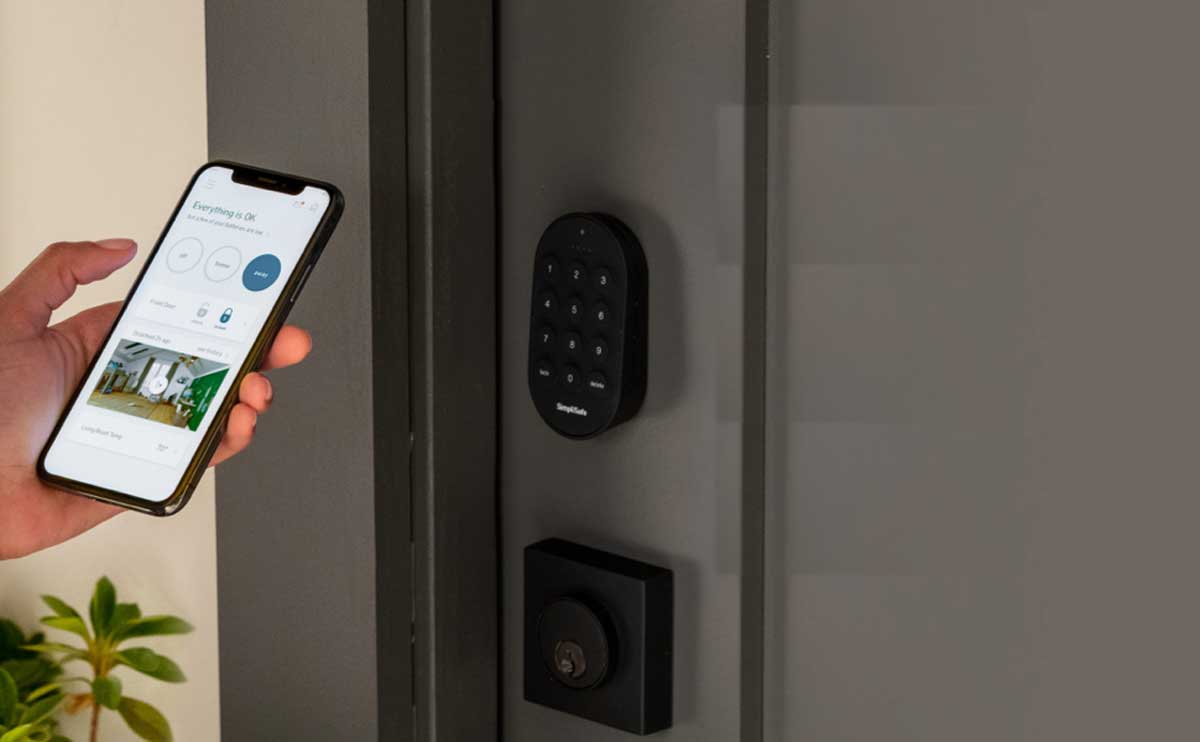
- Activate the smart lock: Use the appropriate method to activate your smart lock, such as entering the access code or pressing the lock button on the keypad or mobile app.
- Observe the response: Pay attention to how the smart lock responds. It should engage the locking mechanism smoothly and provide visual or audible feedback, such as a light or sound indicating that it is locked. If the smart lock does not respond as expected, double-check the battery orientation and placement.
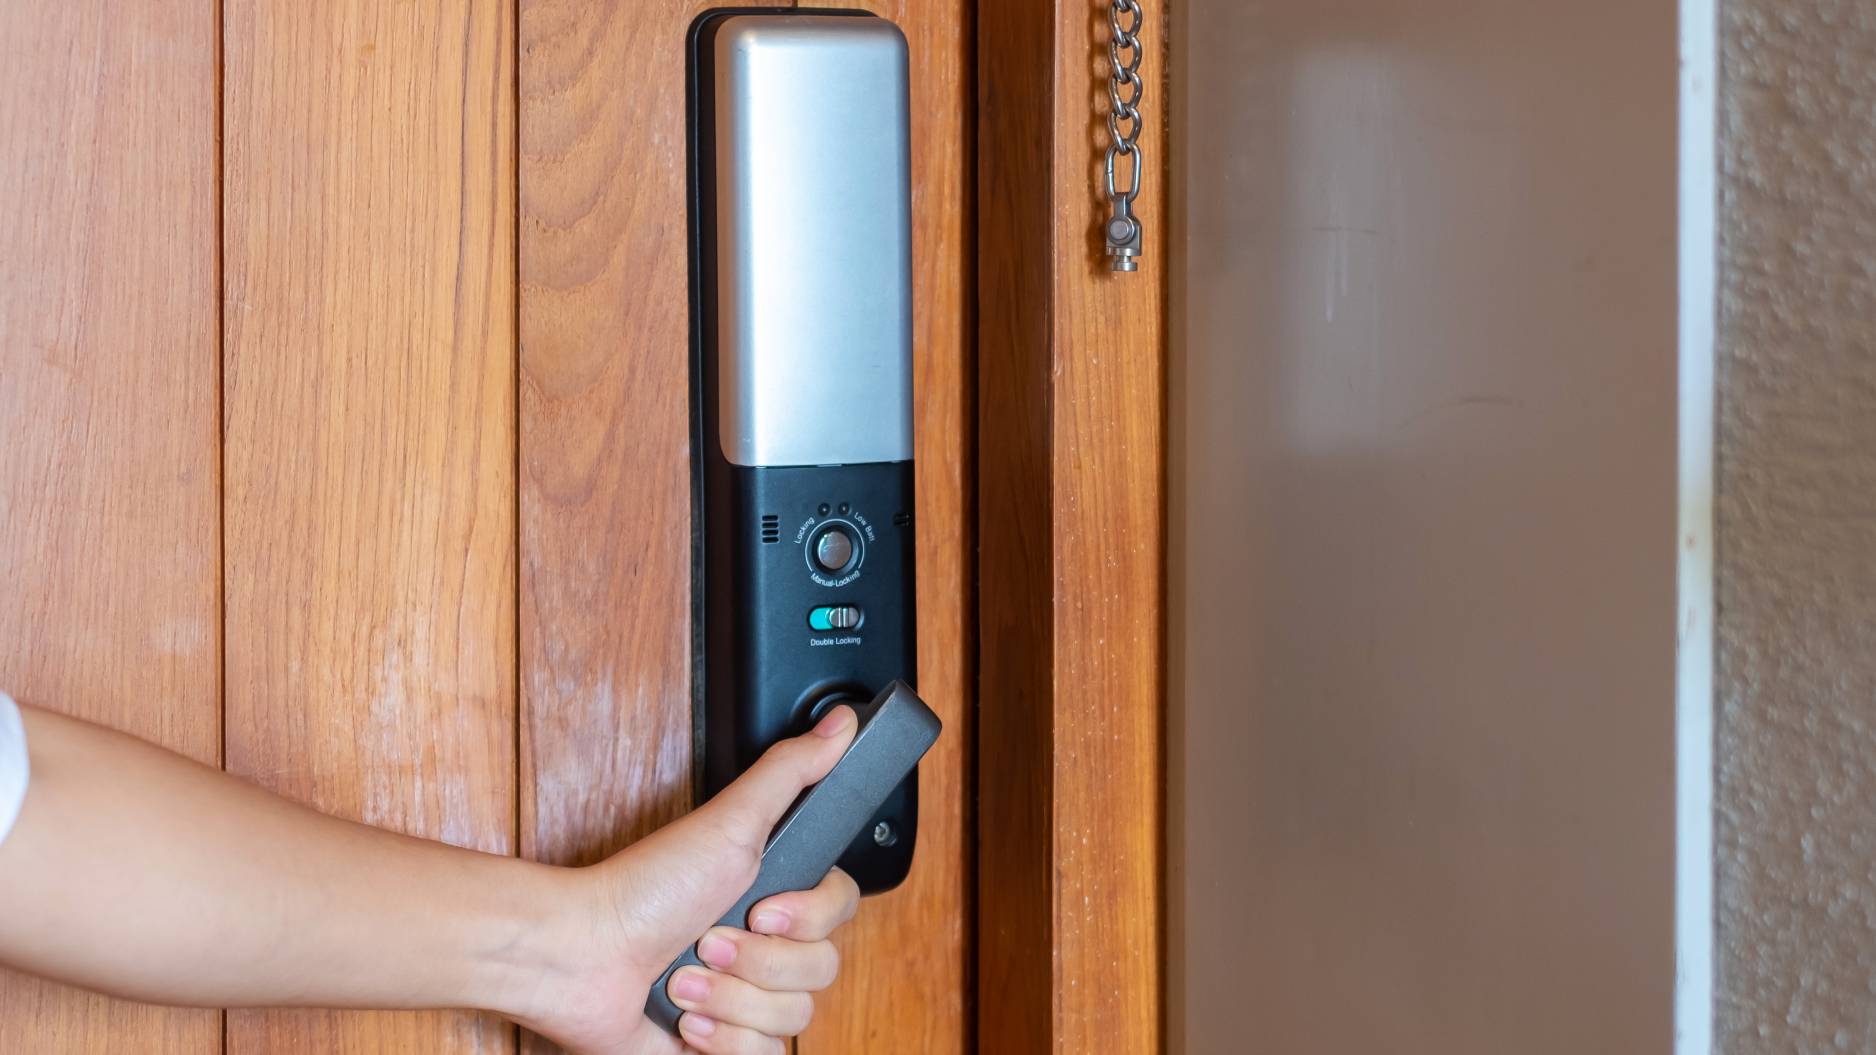
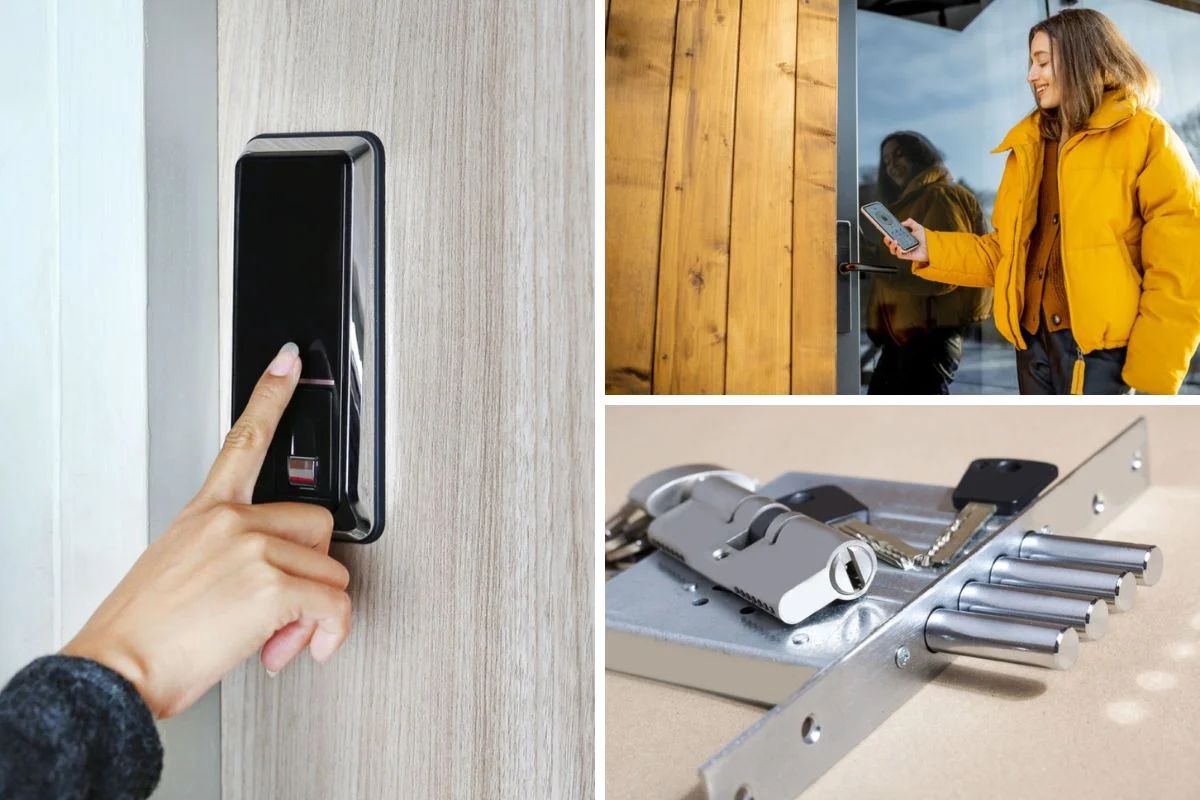
- Test additional features (if applicable): If your smart lock has additional features, such as remote access or biometric sensors, test those functionalities as well to ensure they are working correctly.
If the smart lock fails to function as expected after replacing the battery, consult the user manual or contact customer support for troubleshooting assistance. It may be necessary to double-check the battery type, reinsert the battery, or perform a factory reset on the smart lock.
Remember, testing the smart lock is vital to ensure the security of your property and the smooth operation of the lock. Take the time to perform this step thoroughly before moving on to the next.
Once you are satisfied with the performance of your smart lock, proceed to the final step of securing the battery compartment.
Step 7: Securely close the battery compartment
The final step in changing the battery on your smart lock is to securely close the battery compartment. This will ensure that the battery stays firmly in place and that the lock remains protected. Follow these steps to properly close the battery compartment:
- If you had to remove any screws to access the battery compartment, use a screwdriver to reattach them. Make sure they are tightened securely but not excessively so.
- If your smart lock has a cover or lid for the battery compartment, align it properly over the compartment opening. Gently press it down until it snaps into place or until secure.
- Inspect the battery compartment to ensure that there are no obstructions, debris, or loose components inside. Wipe the exterior of the lock and the battery compartment with a clean cloth or wipe.
Closing the battery compartment properly is essential for maintaining the integrity of your smart lock. It prevents dust, moisture, and other external factors from interfering with the battery and lock mechanism. A secured battery compartment also helps preserve the overall functionality and lifespan of your smart lock.
After securing the battery compartment, take a moment to test the lock once again to ensure that it remains functional and responsive. This additional test will give you peace of mind that the battery replacement process was successful and that your smart lock is ready for regular use.
Congratulations! You have successfully replaced the battery on your smart lock. By following these steps, you have ensured the uninterrupted operation and security of your smart lock for the foreseeable future.
Conclusion
Changing the battery on a smart lock is a straightforward process that can be done with a few simple steps. By following the steps outlined in this guide, you can successfully replace the battery on your smart lock and ensure its continuous functionality and security.
Remember to gather the necessary tools and materials before starting, and always double-check the type of battery required for your smart lock. Properly identifying the battery type will help you avoid compatibility issues and ensure a seamless battery replacement process.
Locating the battery compartment is essential in order to access the old battery and insert the new one. Refer to the user manual or contact customer support if you need assistance in finding the battery compartment.
When removing the old battery, exercise caution and dispose of it properly. Take the opportunity to inspect the battery compartment for any debris or damage before inserting the new battery.
Ensure that you insert the new battery correctly, aligning the positive and negative ends as indicated by the user manual or markings inside the battery compartment. Test the smart lock to verify its functionality, and if any issues arise, consult the user manual or customer support for troubleshooting assistance.
Lastly, securely close the battery compartment to protect the battery and ensure the proper functioning of your smart lock. This step will help maintain the integrity of the lock and preserve its longevity.
By following these steps, you can confidently change the battery on your smart lock and enjoy the convenience and security it provides for your home or office. Regularly replacing the battery will ensure your smart lock operates smoothly and without any hiccups.
Thank you for reading this guide, and we hope it has been helpful in guiding you through the battery replacement process for your smart lock. If you have any further questions or concerns, don’t hesitate to reach out to the manufacturer’s customer support for additional assistance.