Introduction
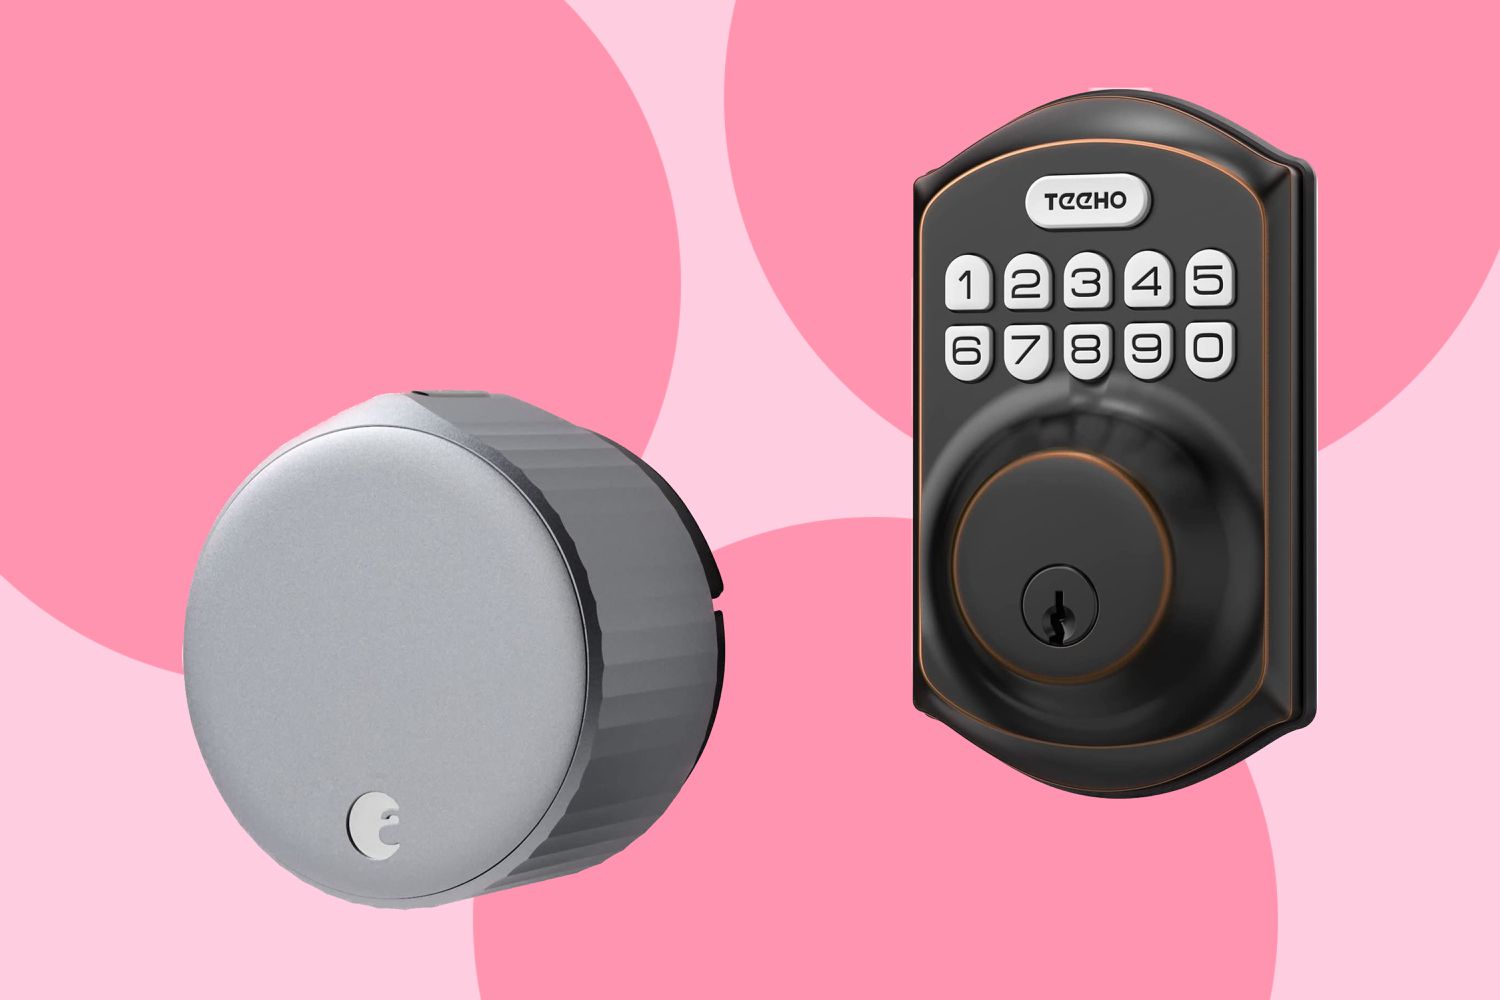
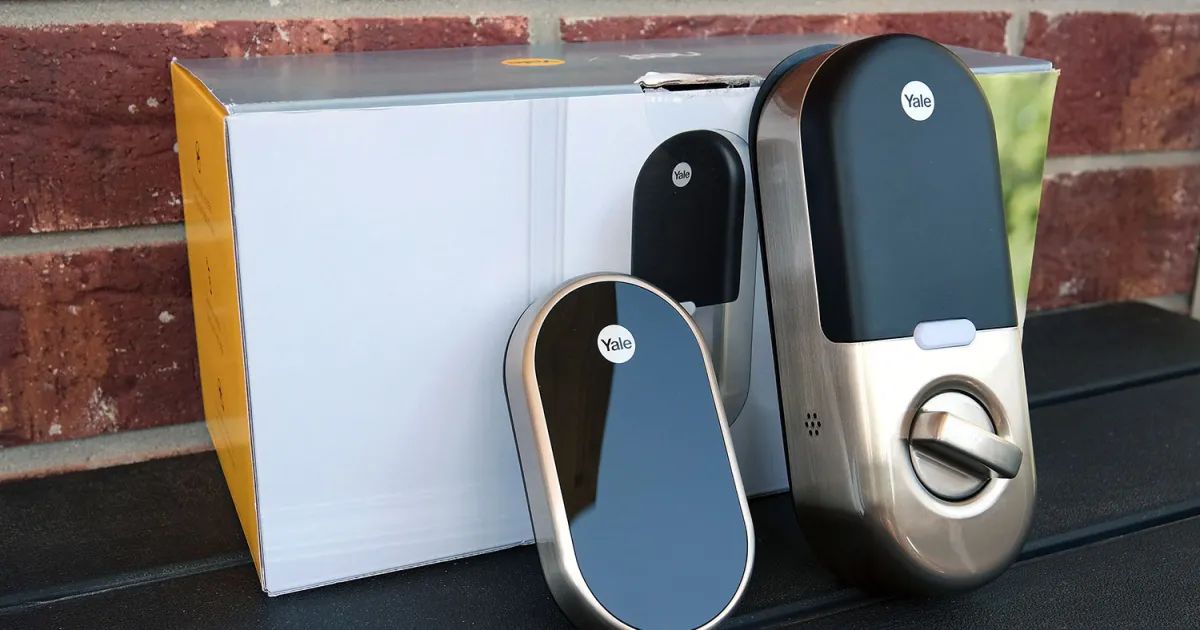
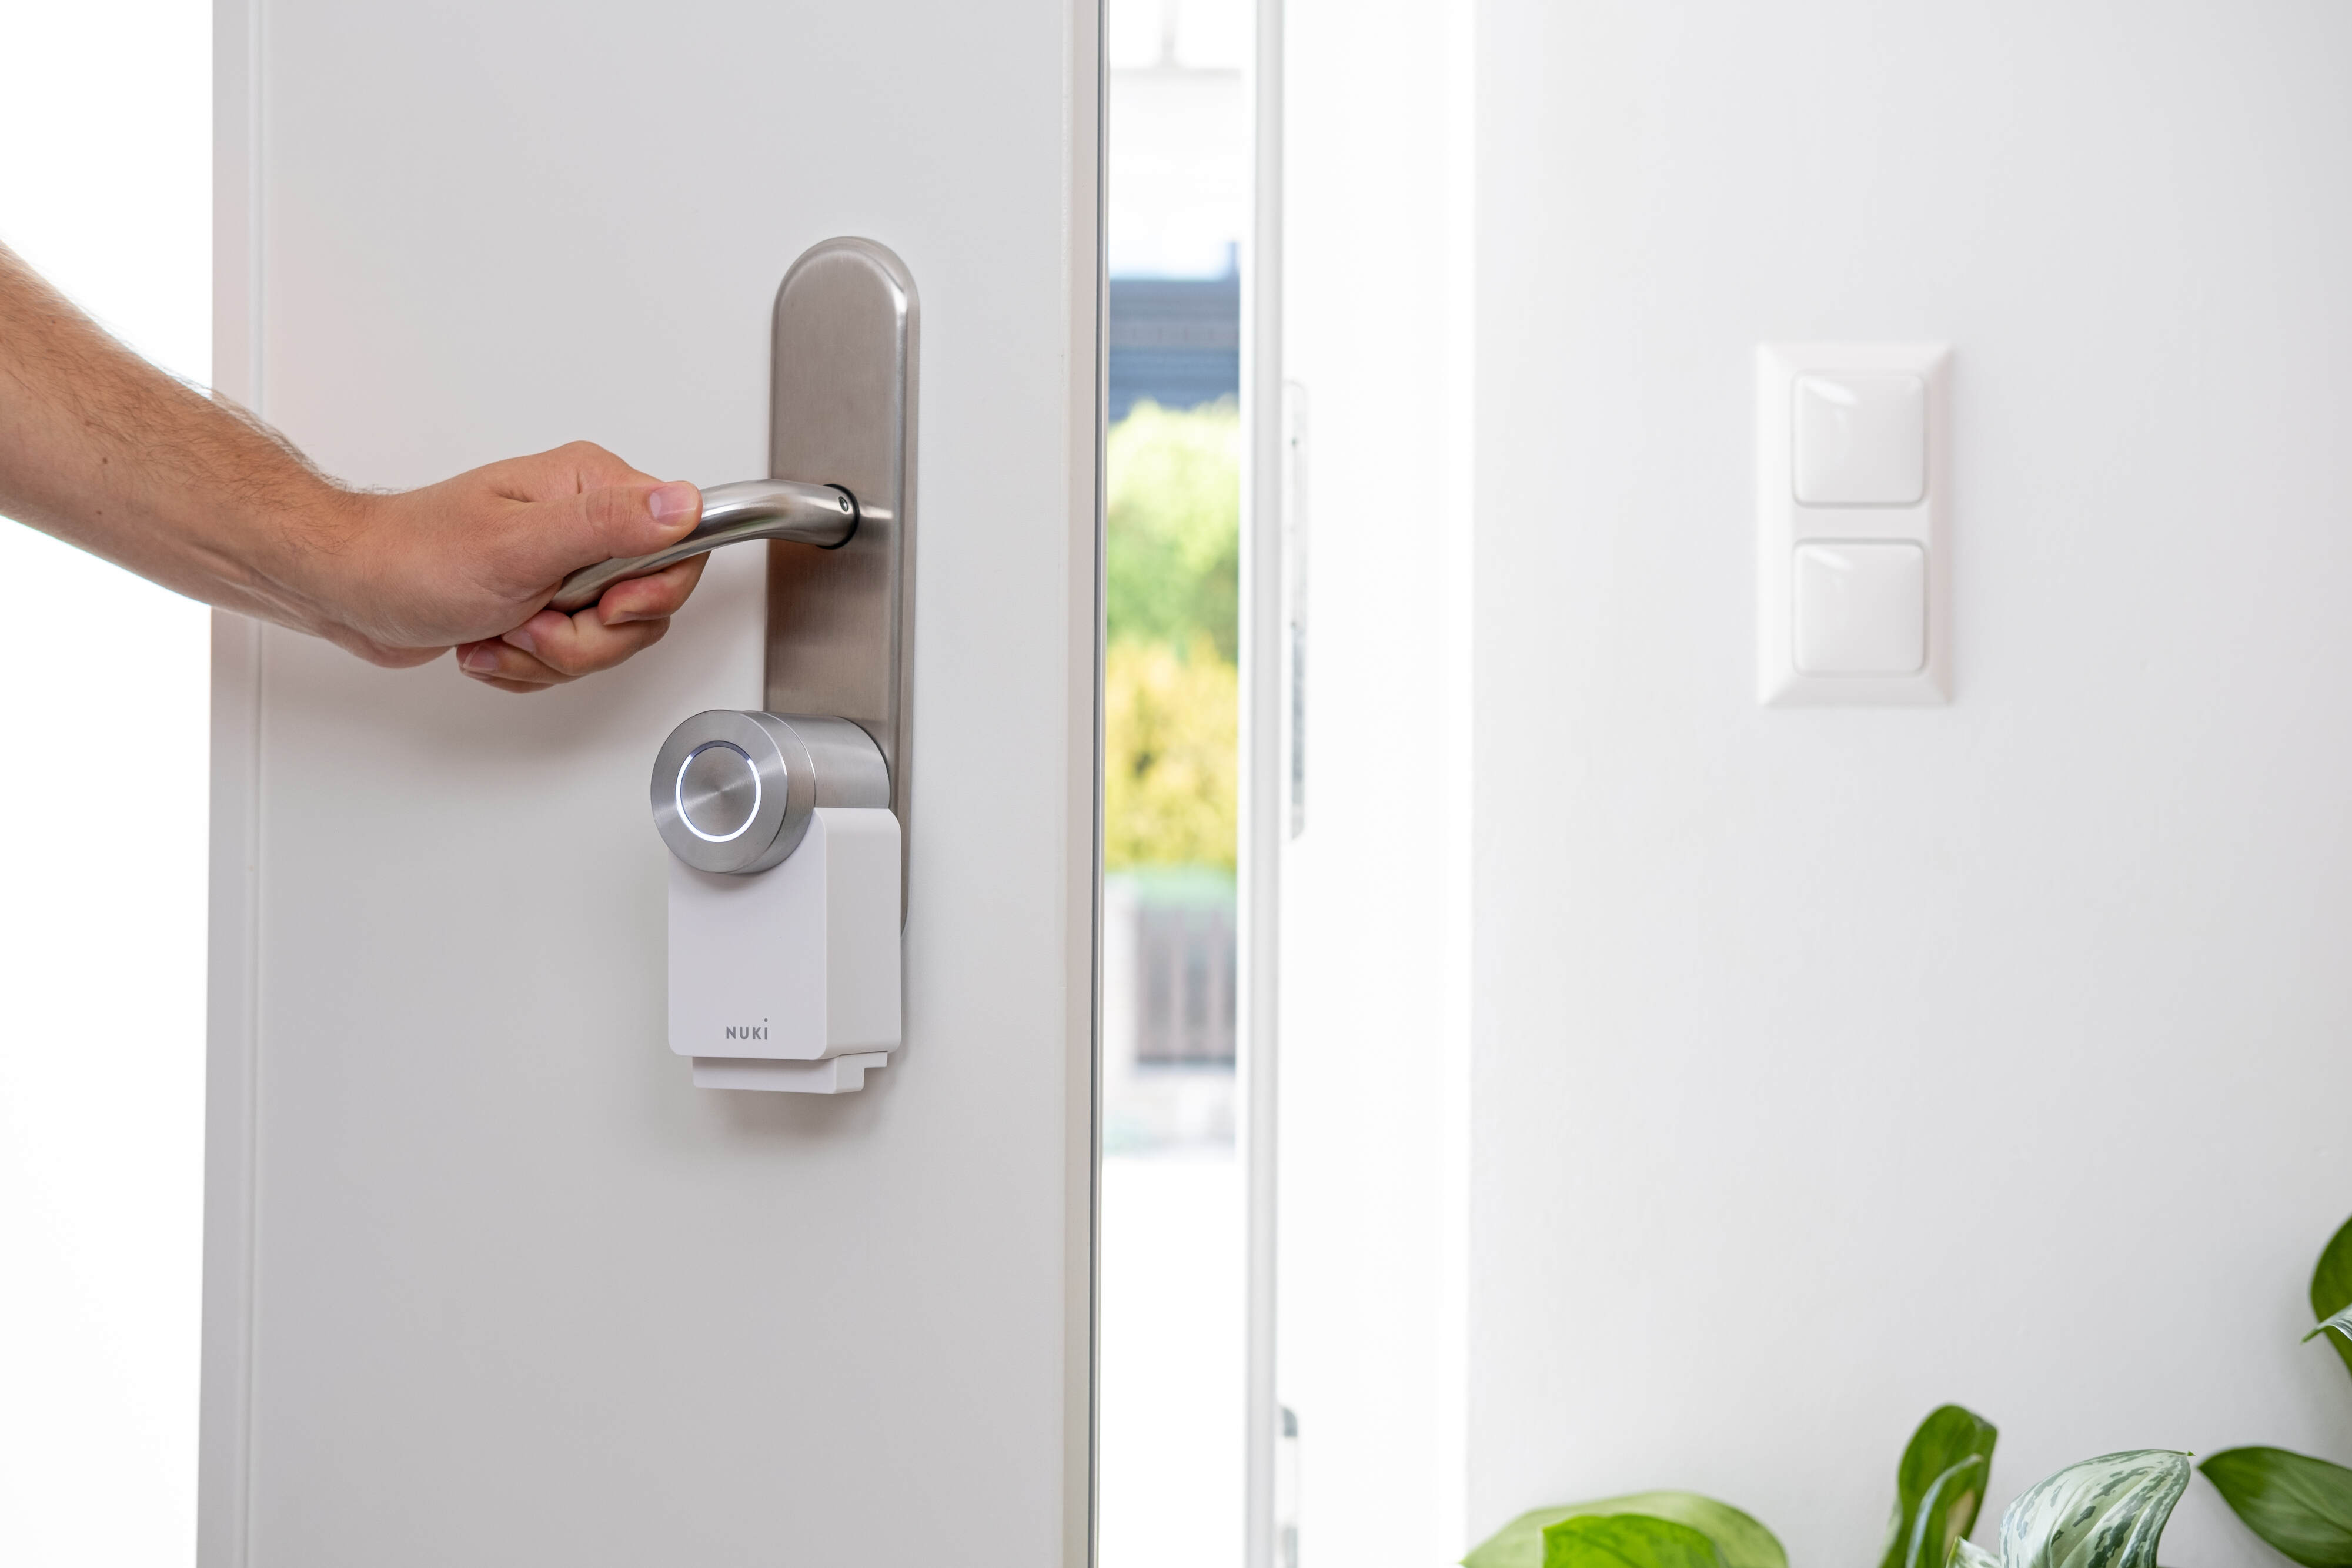
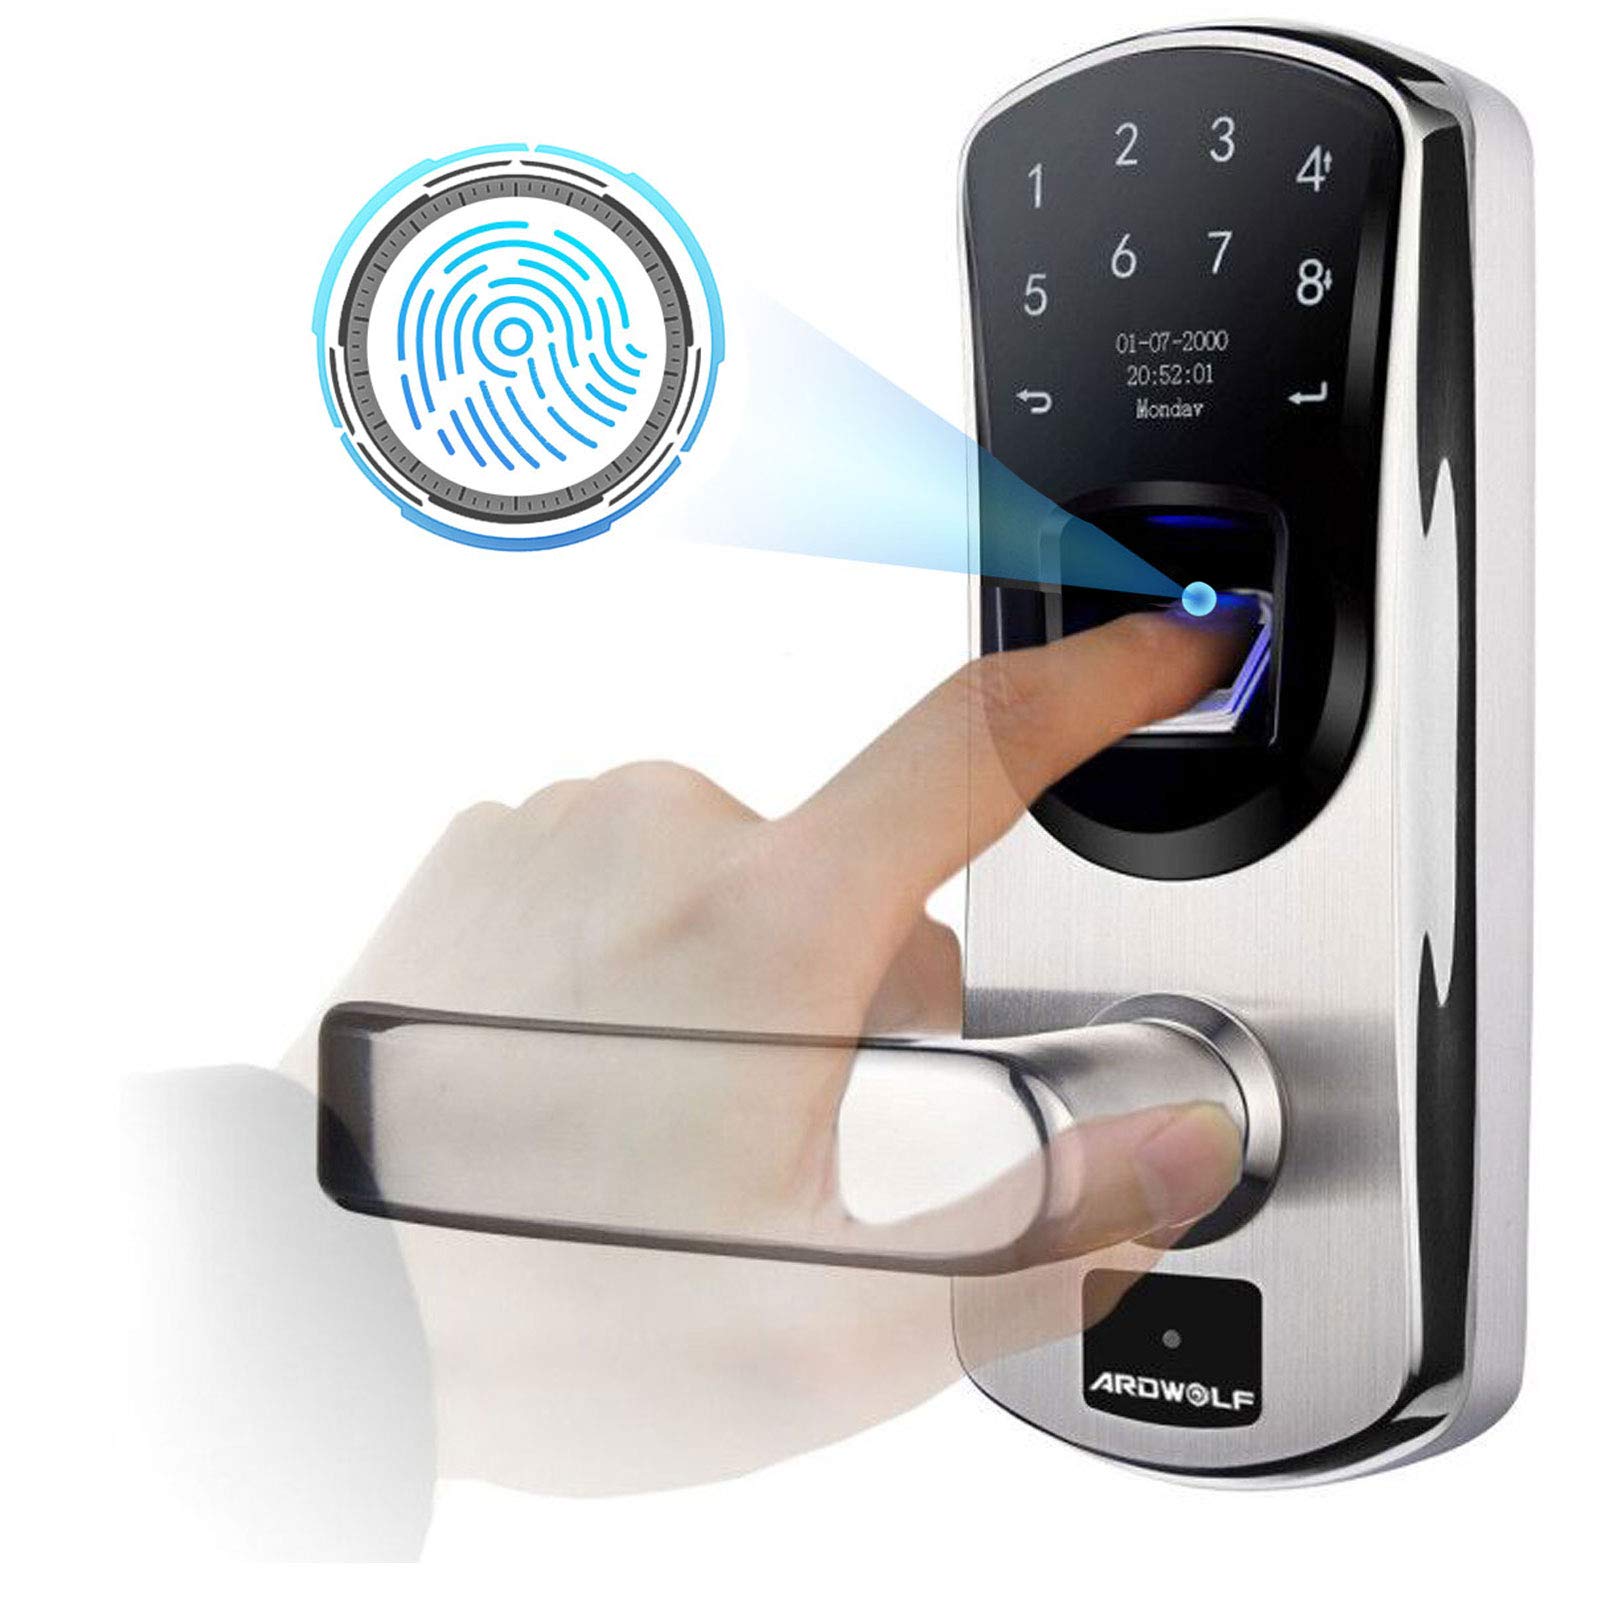
Welcome to the world of smart home automation, where convenience and security go hand in hand. One of the most popular smart devices homeowners are embracing is the smart door lock. With its ability to provide keyless entry, remote access, and advanced security features, installing a smart door lock can significantly enhance the overall functionality and safety of your home.
In this comprehensive guide, we will walk you through the process of installing a smart door lock. Whether you are a seasoned DIY enthusiast or a novice looking to take your first step into home automation, we have got you covered. From gathering the necessary tools and equipment to setting up the smart lock app, we will cover everything you need to know to ensure a successful installation.
Rest assured, no matter the type of door you have or your level of technical expertise, installing a smart door lock is a straightforward process that can be completed within a few hours. By the end of this guide, you will be ready to enjoy the convenience and peace of mind that comes with a smart home security system.
So, let’s get started on this exciting journey towards transforming your traditional lock into a smart, connected device that seamlessly integrates into your daily life.
Gathering the Necessary Tools and Equipment
Before you begin installing a smart door lock, it’s important to make sure you have all the necessary tools and equipment. Having these items readily available will ensure a smooth and hassle-free installation process. Here are the essential tools you will need:
- Screwdriver: Depending on the type of lock and mounting plate, you may need a Phillips or flathead screwdriver.
- Tape Measure: To ensure proper alignment and fit of the smart lock and related components.
- Pencil: For marking and measuring on your door and frame.
- Level: To ensure the lock is properly aligned and straight during installation.
- Drill: If you need to create new holes for screws or install additional hardware.
- Hammer: For any necessary adjustments to the door or frame.
- Wire Cutter: In case you need to trim or remove excess wires during installation.
Besides the tools listed above, it’s essential to check the manufacturer’s instructions or the smart door lock’s packaging for any specific tools or accessories required. Some smart locks may include additional components like mounting plates, adapters, or connectors.
It’s worth mentioning that some smart door locks require a stable internet connection for remote access and advanced features. In such cases, ensure that you have a reliable Wi-Fi network and a compatible smartphone or tablet to set up and control the lock via the dedicated mobile app.
By gathering all the necessary tools and equipment beforehand, you can streamline the installation process, minimize disruptions, and ensure a successful installation of your new smart door lock.
Preparing Your Door
Before you can install a smart door lock, it’s important to prepare your door to ensure a proper fit and functionality. Follow these steps to prepare your door for installation:
- Remove the existing hardware: If you have a traditional lock and handle, remove them from the door using a screwdriver. Make sure to keep any screws or other hardware for future use or reference.
- Clean and inspect the door: Thoroughly clean the door surface to remove any dirt, dust, or debris. Inspect the door for any damage or defects that may affect the installation or operation of the smart lock.
- Measure and mark: Use a tape measure to measure the distance between the edge of the door and the center of the existing lock’s borehole. Mark this measurement on the door as it will help you properly align the smart lock.
- Check the door thickness: Measure the thickness of your door to verify that it falls within the smart lock’s specified range. Most smart locks are designed to fit standard door thicknesses, but it’s essential to ensure compatibility.
- Ensure proper alignment: Use a level to check that the door is properly aligned and not leaning to one side. If necessary, adjust the hinges or frame to ensure the door is level and balanced.
- Examine the strike plate: The strike plate is the metal plate on the door frame that the latch bolt enters to secure the door. Make sure the strike plate is properly aligned and securely attached to the frame.
- Consider additional hardware: Depending on the smart lock you choose, you may need to install additional hardware such as a mounting plate or adapter. Refer to the manufacturer’s instructions for guidance on any additional preparations required.
By taking the time to properly prepare your door, you can ensure a smooth and successful installation of your smart door lock. Make sure to follow the manufacturer’s instructions and any specific guidelines provided to achieve the best results.
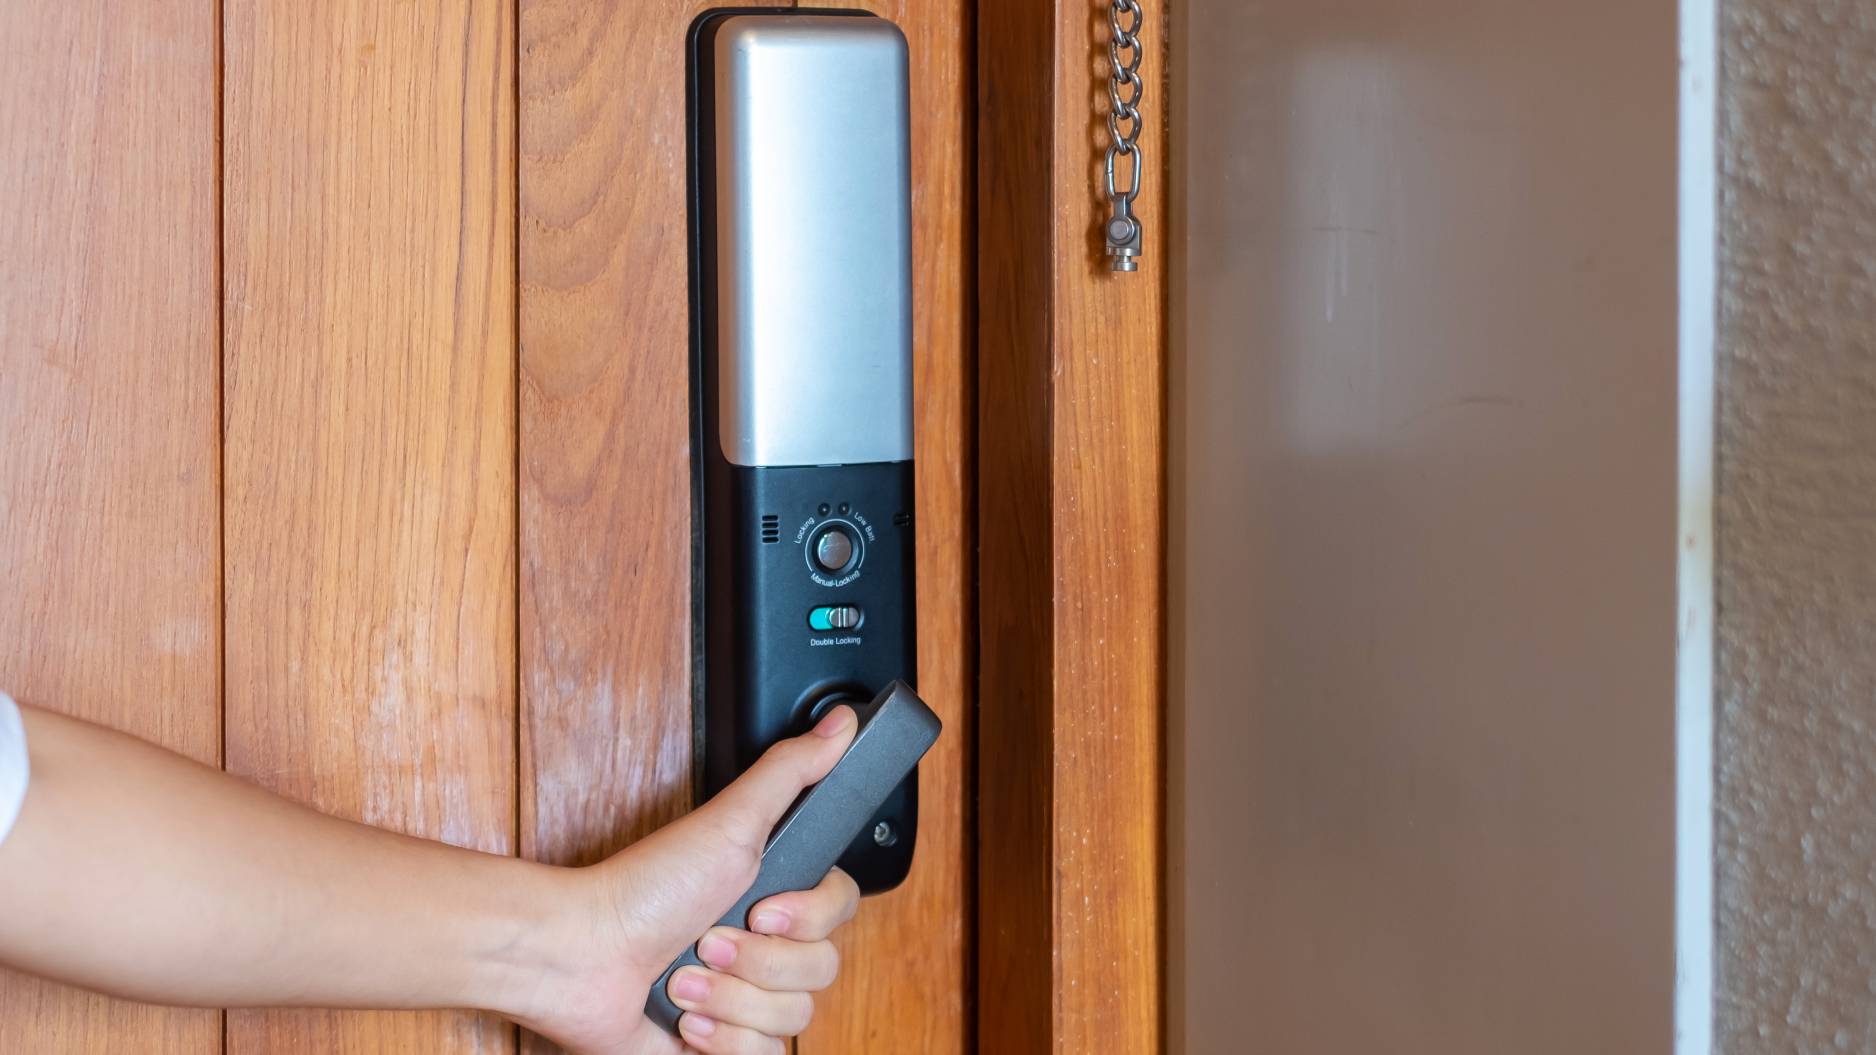
Installing the Smart Door Lock
Now that you have gathered the necessary tools and prepared your door, it’s time to install the smart door lock. Follow these step-by-step instructions to ensure a proper installation:
- Position the mounting plate: Place the mounting plate provided with the smart lock onto the door, aligning it with the markings you made earlier. Use a pencil to trace around the plate, indicating where you need to install it.
- Create holes: Using a drill and the appropriate-sized drill bit, create holes where you marked for the mounting plate. Be careful to use the correct depth as specified by the manufacturer.
- Install the mounting plate: Align the holes in the mounting plate with the drilled holes on the door, then secure the plate in place using the screws provided.
- Attach the smart lock: Depending on the type of smart lock you have, follow the manufacturer’s instructions to attach it to the mounting plate. This may involve inserting the lock mechanism into the plate and securing it with screws or other mechanisms.
- Tighten all screws: Once the smart lock is attached, make sure to tighten all the screws, ensuring that the lock is securely fastened to the door.
- Test the lock: Before moving on to the next steps, test the smart lock to ensure it operates smoothly and functions correctly. Make sure the lock can lock and unlock seamlessly without any resistance or issues.
- Install batteries: If your smart lock operates on battery power, insert the required batteries into the lock as per the manufacturer’s instructions. Make sure to follow the polarity indicators.
It’s important to note that each smart lock installation may vary slightly depending on the brand and model. Always refer to the specific instructions provided by the manufacturer to ensure a successful installation. If you encounter any difficulties or have questions, consult the manufacturer’s customer support or seek professional assistance.
Remember, the proper installation of your smart door lock is crucial for its optimal performance and security. Take your time, follow the instructions carefully, and double-check all components to ensure that the smart lock is installed correctly.
Setting Up the Smart Lock App
Once the smart door lock is installed, the next step is to set up the accompanying smart lock app on your smartphone or tablet. The app allows you to control and manage the lock remotely, granting you access to advanced features and functionalities. Follow these steps to set up the smart lock app:
- Download the app: Visit the App Store or Google Play Store on your smartphone or tablet. Search for the dedicated smart lock app provided by the manufacturer and download it.
- Create an account: Open the app and follow the instructions to create a new account. Provide the necessary information, such as your email address and a secure password. Some apps may require you to verify your email address to activate your account.
- Add the smart lock: Once you have created an account, follow the on-screen prompts to add your smart lock to the app. This may involve scanning a QR code or entering a unique code provided with the lock.
- Connect to the lock: Ensure your smartphone or tablet is connected to the same Wi-Fi network as the smart lock. Follow the instructions provided by the app to establish a connection between your device and the lock.
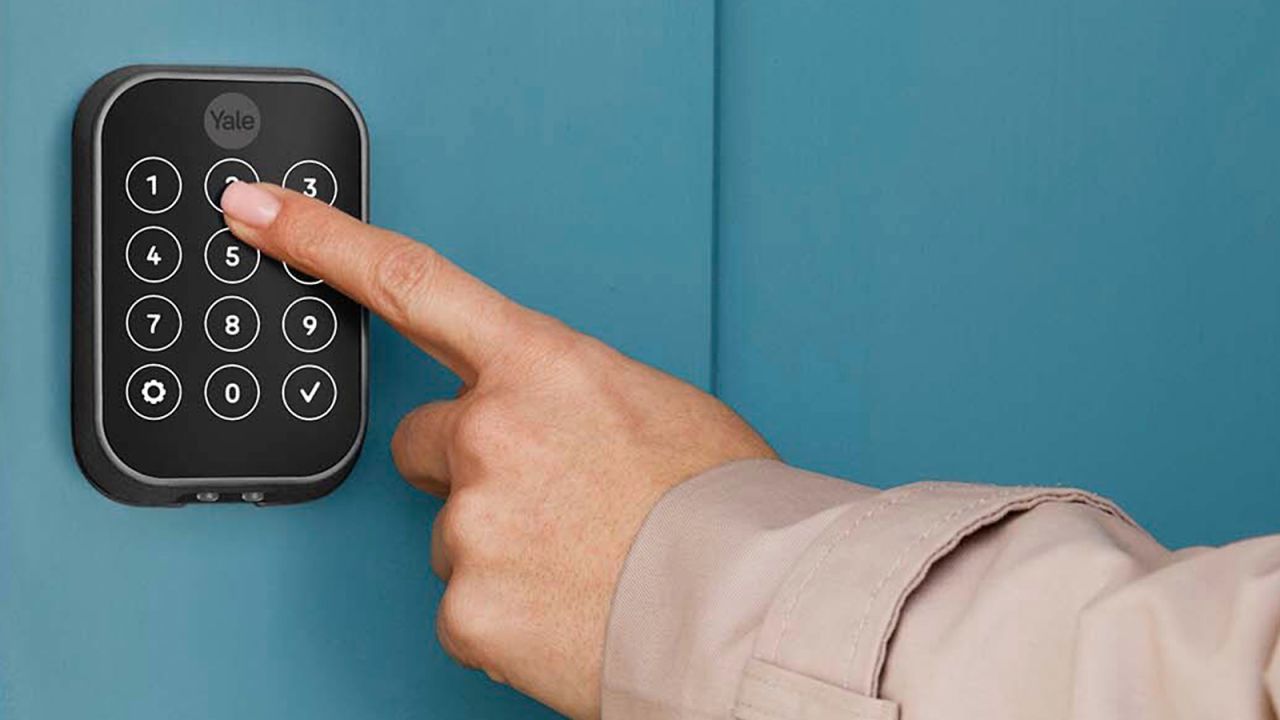
- Configure settings: Within the app, you can customize various settings according to your preferences. This includes setting up access codes or key fobs, enabling notifications, and adjusting other security options.
- Test remote access: If your smart lock offers remote access functionality, test this feature to confirm that you can control the lock from anywhere using the app. Make sure you have a stable internet connection for remote access to work seamlessly.
It’s important to note that the app setup process may differ depending on the brand and model of the smart door lock. Always refer to the manufacturer’s instructions or documentation for specific guidance on setting up the app.
By successfully setting up the smart lock app, you gain convenient control over your smart door lock, allowing you to lock or unlock your door remotely, monitor access logs, and customize security settings based on your preferences.
Testing and Troubleshooting
After the installation and setup of your smart door lock, it’s essential to test its functionality and troubleshoot any potential issues. Follow these steps to ensure everything is in working order:
- Test the lock functionality: Use the smart lock app or physical methods (such as a key code or key fob) to lock and unlock the door. Make sure the lock operates smoothly and without any obstructions. Check that the locking mechanism engages properly and securely.
- Verify remote access: If your smart lock offers remote access, test this feature by using the app to lock and unlock the door while you are away from home. Ensure that the commands are executed accurately and in a timely manner.
- Check battery status: If your smart lock operates using batteries, regularly check the battery status via the app or any indicator lights on the lock. Replace the batteries as needed to ensure consistent performance.
- Monitor any connectivity issues: If you experience connectivity issues between the smart lock and the app, troubleshoot by checking your Wi-Fi signal strength and ensuring that your smartphone or tablet is within range of your home network.
- Investigate error messages: If you encounter any error messages or notifications, consult the smart lock app or manufacturer’s documentation to understand the issue. Follow the provided troubleshooting steps or contact customer support for further assistance.
- Ensure security features are working: If your smart lock offers additional security features such as tamper alerts or activity logs, verify that these functions are working correctly. Test any security notifications or check the app’s activity log for accurate and up-to-date information.
Regular testing and troubleshooting will help you identify and address any potential issues with your smart door lock promptly. If you encounter persistent problems or are unsure about any aspect of the lock’s performance, don’t hesitate to seek assistance from the manufacturer’s customer support or a professional locksmith.
Remember, maintaining a fully functional and secure smart door lock is key to enjoying a seamless and secure home automation experience.
Tips for Maintenance and Security
To keep your smart door lock in optimal condition and maximize its security features, it’s important to follow these maintenance and security tips:
- Regularly clean the lock: Periodically clean the smart lock and its components using a soft, dry cloth. Avoid using harsh chemicals or abrasive cleaners, as they may damage the lock’s finish.
- Update the firmware: Stay up to date with the latest firmware or software updates for your smart lock. Manufacturers often release updates to improve security and fix any potential vulnerabilities.
- Secure the app: Protect your smart lock app by using a strong, unique password or enabling biometric authentication. Avoid sharing your login credentials with others.
- Monitor access logs: Regularly check the app’s access logs to review who has entered or exited your home. If you notice any unauthorized activity, promptly investigate and take necessary actions.
- Change access codes regularly: If your smart lock supports access codes, consider changing them periodically to maintain security. Avoid using easily guessable or commonly used codes.
- Inform trusted individuals: If you need to grant access to family members, friends, or service providers, provide them with their own unique access codes or digital keys. This allows you to track and manage access more effectively.
- Secure your Wi-Fi network: Ensure that your home Wi-Fi network is password protected and uses encryption. Regularly change the Wi-Fi network password to prevent unauthorized access.
- Keep an eye on battery life: If your smart lock relies on batteries, monitor the battery life to prevent unexpected power failures. Replace the batteries as needed to ensure uninterrupted functionality.
- Stay vigilant: Stay informed about the latest security best practices and news related to smart locks. Be cautious of phishing attempts or suspicious communications claiming to be from your smart lock’s manufacturer.
- Consider professional installation: If you are unsure about the installation or encounter difficulties, consider seeking professional installation services. They can ensure a proper installation and address any technical concerns.
By following these maintenance and security tips, you can maintain a secure and robust smart door lock system. Regularly reviewing and updating your security practices will help you stay ahead of potential vulnerabilities and protect your home and loved ones.
Conclusion
Congratulations on successfully installing and setting up your smart door lock! By embracing this advanced home automation technology, you have elevated the security and convenience of your home. With keyless entry, remote access, and other innovative features, your smart door lock offers a heightened level of control and peace of mind.
Throughout this guide, we have covered the essential steps of installing a smart door lock, from gathering the necessary tools and preparing your door to setting up the smart lock app and troubleshooting any issues. Remember to follow manufacturer instructions, test the lock’s functionality, and utilize the app’s features for customization and monitoring.
In addition, we have provided maintenance and security tips to ensure the longevity and integrity of your smart door lock. Regular cleaning, firmware updates, secure access codes, and monitoring access logs are just a few practices to keep in mind to maximize your lock’s performance and protect your home.
As smart home technology continues to evolve, it’s essential to stay informed about advancements and best practices. Regularly check for updates from the manufacturer and stay vigilant against potential security risks. By staying proactive and adapting to the changing landscape of smart security, you can continue to enjoy the benefits of your smart door lock for years to come.
Remember, whether you’re looking to enhance the convenience of your daily routine or bolster the security of your home, a smart door lock is a worthwhile investment. Enjoy the convenience of keyless entry, the peace of mind of remote access, and the added layers of security that come with this innovative technology.
Now that you have completed the installation and familiarized yourself with the functions of your smart door lock, it’s time to sit back, relax, and embrace the modern possibilities that await you within the walls of your home.