Introduction
Smart locks have become increasingly popular, providing convenience and enhanced security for homeowners. If you’re looking to enhance your home’s security and streamline access, changing your existing smart lock might be a great option. Whether you’re replacing a faulty smart lock or simply looking to upgrade to a more advanced model, this step-by-step guide will walk you through the process.
Changing a smart lock may seem like a daunting task, but with the right tools and instructions, it can be straightforward and easily accomplished. In this guide, we’ll outline the necessary steps to replace your smart lock, from gathering the tools to connecting it to your mobile device.
By following this guide, you’ll be able to change your smart lock efficiently and confidently, ensuring that your home is secure and convenient for you and your family.
Note: The specific steps may vary depending on the brand and model of your smart lock, so refer to the manufacturer’s instructions for any unique requirements or considerations. Additionally, if you’re not comfortable with DIY projects or have complex smart lock system installations, it’s always recommended to seek professional assistance.
Step 1: Gather the necessary tools
Before you begin replacing your smart lock, it’s essential to ensure that you have all the necessary tools. Having everything on hand will make the installation process smoother and save you time and frustration.
Here are the tools you’ll need:
- Screwdriver: Check the type of screws used in your smart lock system and have the appropriate screwdriver, such as a Phillips or flathead screwdriver.
- Smart lock kit: Make sure you have the new smart lock system ready for installation. This includes the lock mechanism, keypad or touchpad, and any accompanying components.
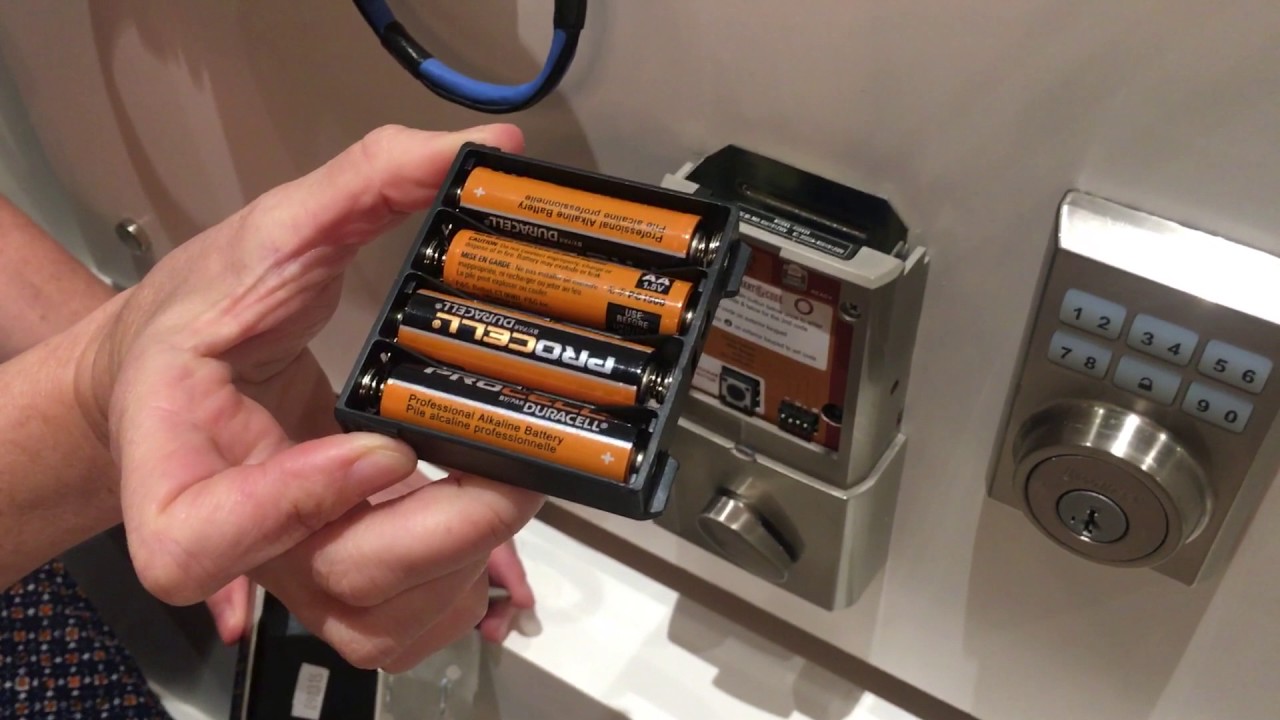
- Batteries: Check the requirements of your new smart lock and have the correct batteries ready. Typically, smart locks use AA or AAA batteries.
- Wifi/Bluetooth compatibility: If your new smart lock requires connectivity to your mobile device, ensure that you have a stable internet connection and a smartphone or tablet with the compatible app installed.
- Optional tools: Depending on your smart lock system, you may need additional tools such as a measuring tape, level, or wire stripper. Refer to the manufacturer’s instructions to determine any extra tools needed.
Gather these tools in one place, preferably near the door where you’ll be installing the new smart lock. This will make it easier to access them during the installation process without unnecessary delays.
Keep in mind that specific smart lock brands or models may have unique requirements or additional tools, so it’s always recommended to refer to the manufacturer’s instructions for the most accurate information.
Step 2: Assess your current smart lock
Before removing the existing smart lock, it’s important to assess its current condition and the type of installation it requires. This step will help you understand the specific steps involved in removing the old lock and ensure a smooth transition to the new one.
Here are a few things to consider when assessing your current smart lock:
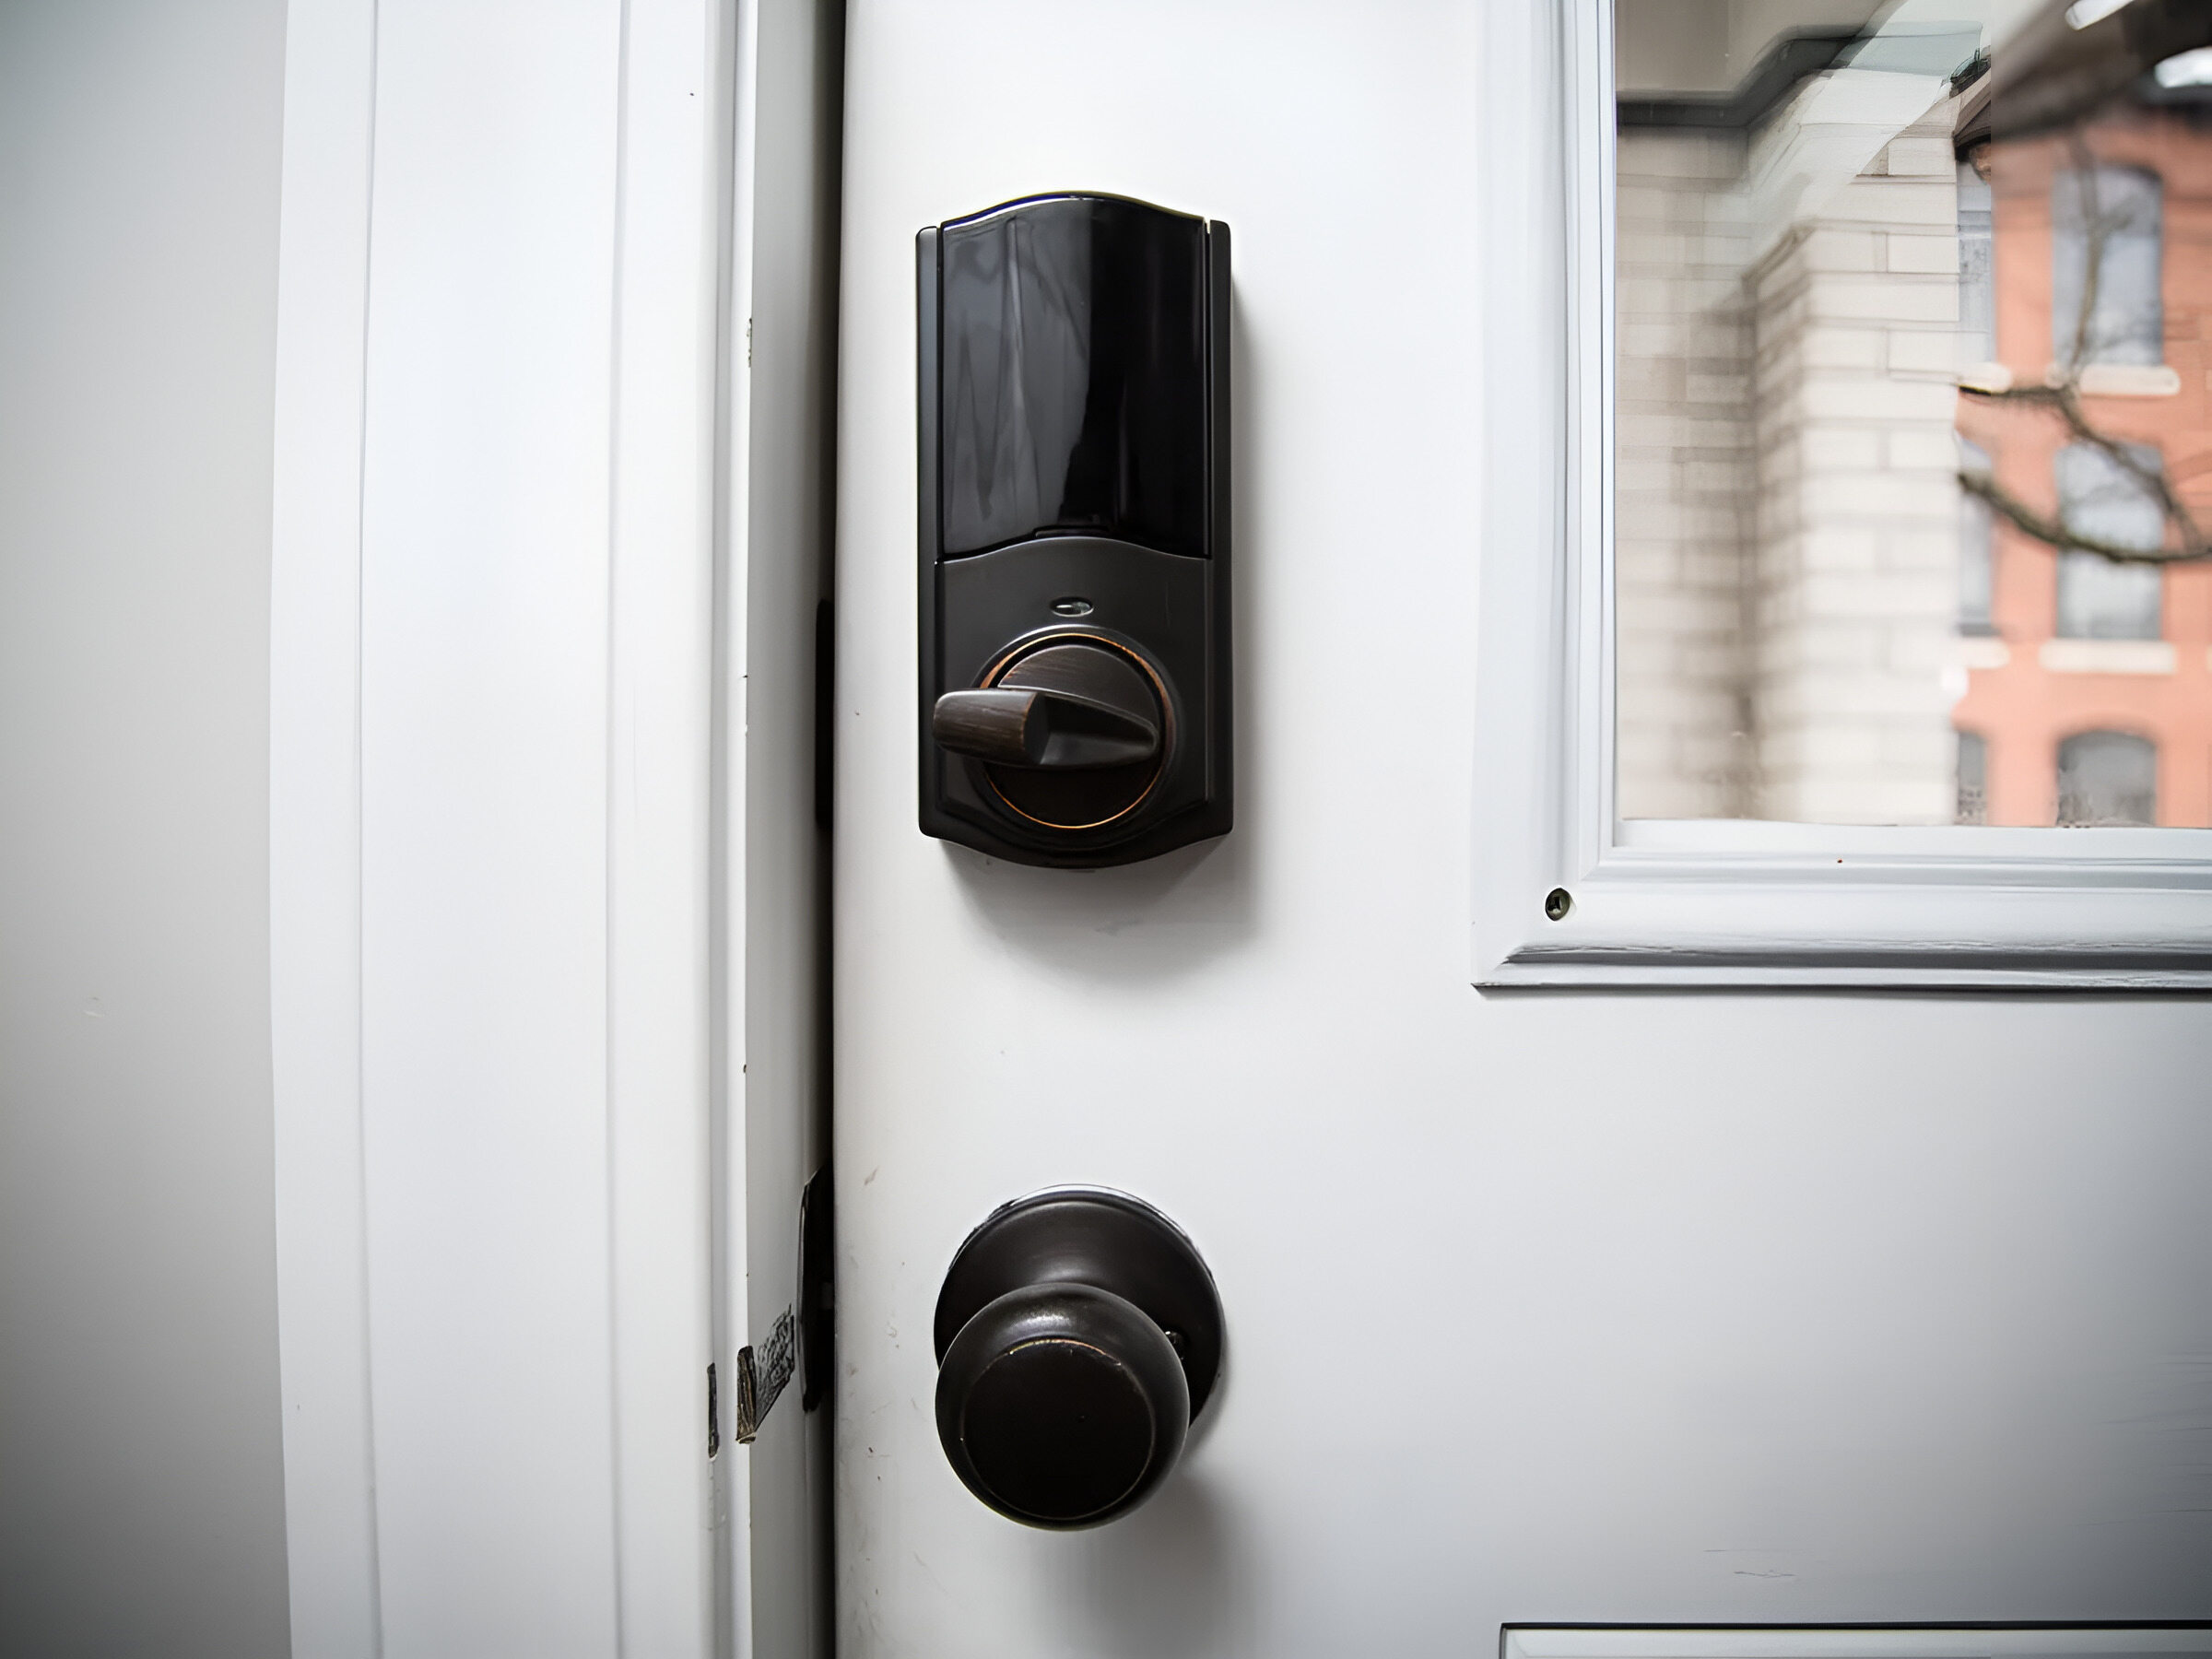
- Lock type: Determine whether your current smart lock is a deadbolt or a lever lock. This will impact the removal process, as the steps for removing a deadbolt lock may differ from those of a lever lock.
- Mounting mechanism: Take note of how your existing smart lock is mounted on the door. Some smart locks are attached using screws on the interior side of the door, while others may have screws on both sides.
- Wiring: If your smart lock is connected to your home’s electrical system, identify the wiring setup. Note if it’s hardwired or battery-operated. This information will be important when detaching the old lock and installing the new one.
- Size and compatibility: Measure the size and dimensions of the existing smart lock, including its compatibility with the door’s thickness. Ensure that the new smart lock you’ve chosen is of the appropriate size and compatible with your door.
- Access methods: Take note of the access methods supported by your current smart lock. It could be a keypad, keycard, fingerprint reader, or smartphone app. This will help you understand the features and settings you need to consider when setting up the new smart lock.
By thoroughly assessing your current smart lock, you’ll have a better understanding of the specific steps required for its removal. This information will also guide you in ensuring that the new smart lock is compatible with your existing door and security setup.
Make sure to refer to the manufacturer’s instructions for your current smart lock when assessing its specific features and installation requirements.
Step 3: Remove the existing smart lock
With the assessment of your current smart lock complete, it’s time to proceed with the removal process. Follow these step-by-step instructions to ensure a smooth and successful removal:
- Prepare the door: Start by ensuring that the door is fully closed and secure. This will prevent any mishaps or accidental damage during the removal process.
- Locate the screws: Identify the screws that hold the smart lock in place. These are typically located on the interior side of the door, although some smart locks may have screws on both sides.
- Unscrew the mounting screws: Use the appropriate screwdriver to loosen and remove the mounting screws. Take care not to strip the screws or damage the surrounding area as you remove them.
- Disconnect any wiring: If your smart lock is wired to your home’s electrical system, carefully detach the wiring connections following the manufacturer’s instructions. If it’s a battery-operated lock, skip this step.
- Detach the smart lock: Once the screws and wiring (if applicable) are removed, gently pull the smart lock away from the door. Be cautious not to force it or damage any components in the process.
- Inspect the door: Take a moment to inspect the door for any damage or wear caused by the previous smart lock. Address any issues as necessary before proceeding to the installation of the new smart lock.
Remember to handle the existing smart lock with care as you remove it from the door. Keep the mounting screws, wiring, and any other components in a safe place in case you need them during the installation of the new smart lock.
Different smart lock models may have slight variations in the removal process, so it’s always advisable to consult the manufacturer’s instructions for your specific smart lock.
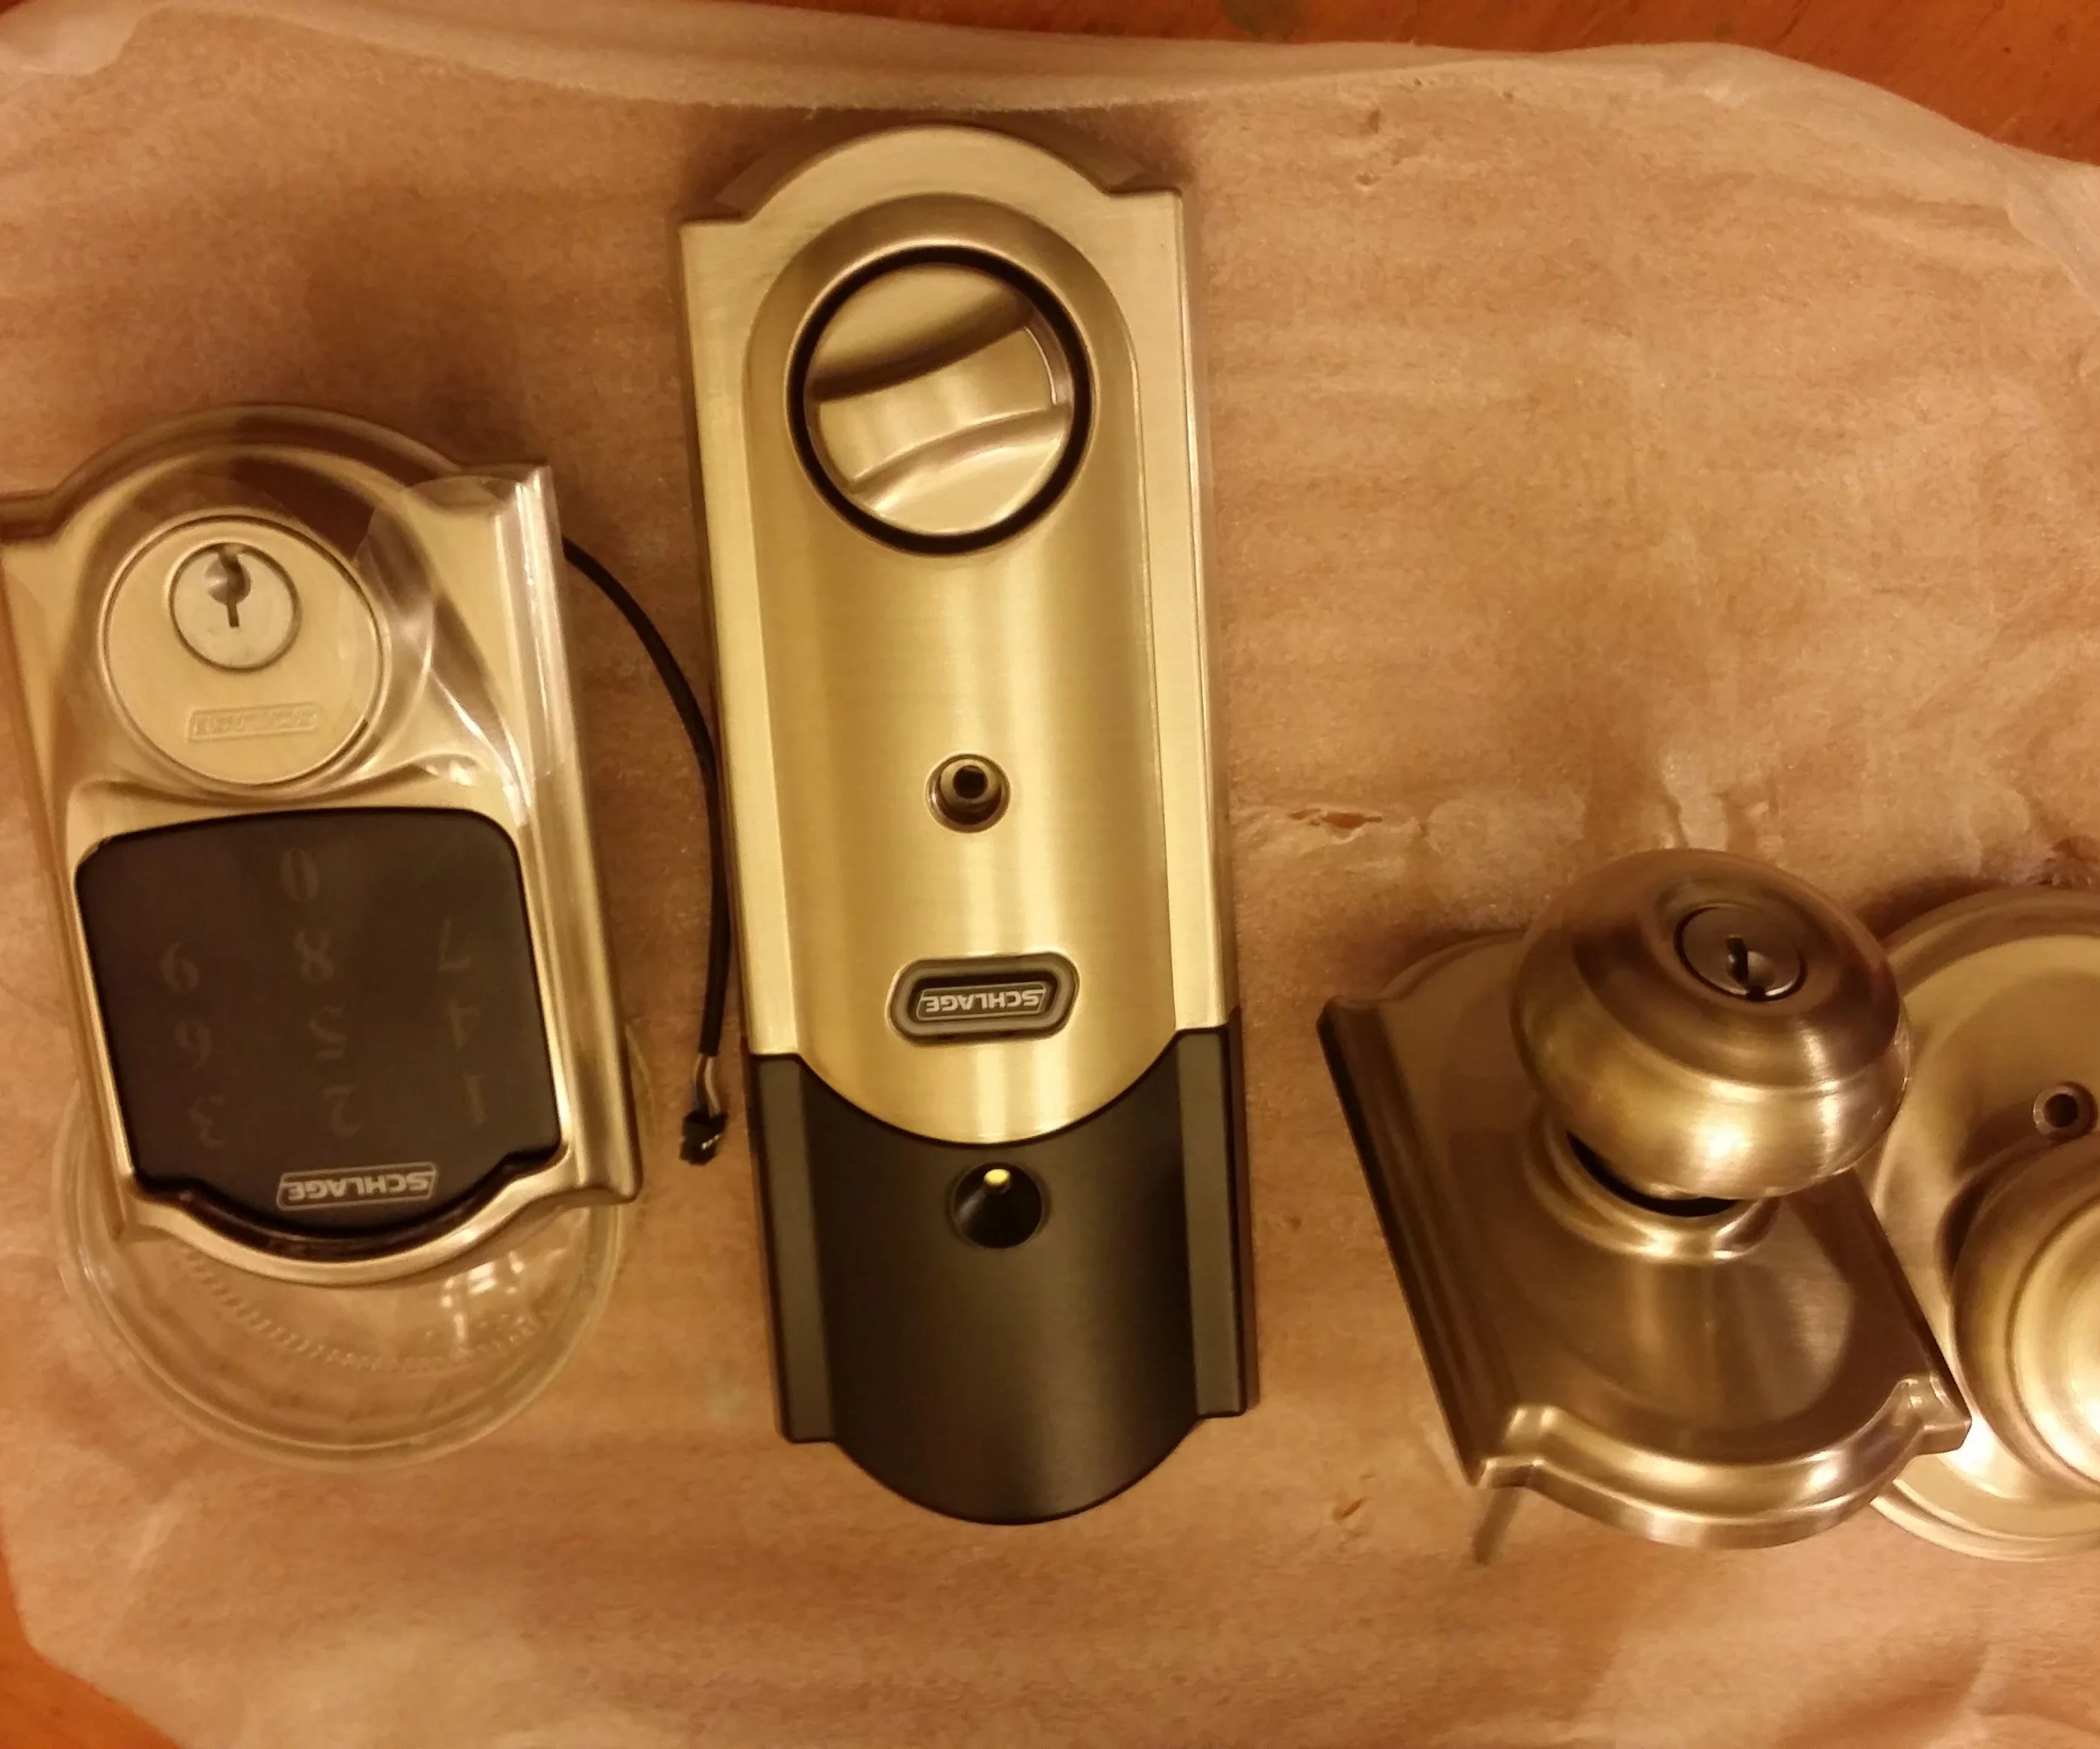
Step 4: Prepare the new smart lock
Now that you’ve successfully removed the existing smart lock, it’s time to prepare the new smart lock for installation. Follow these steps to ensure a smooth and efficient setup:
- Read the instructions: Begin by reading the manufacturer’s instructions provided with the new smart lock. Familiarize yourself with the specific requirements and steps for installation.
- Inspect the components: Carefully unpack and inspect the components of the new smart lock. Ensure that all necessary parts are included, such as the lock mechanism, keypad or touchpad, and any mounting accessories.
- Check compatibility: Confirm that the new smart lock is compatible with your door’s thickness and type. Make sure it aligns with the dimensions and specifications mentioned in the manufacturer’s instructions.
- Install batteries: If the smart lock requires batteries, insert them according to the manufacturer’s instructions. Double-check the polarity to ensure they are correctly inserted.
- Configure additional features: If your new smart lock offers optional features such as Bluetooth or Wi-Fi connectivity, now is the time to set them up. Follow the manufacturer’s instructions to connect the lock to your smartphone or home automation system.
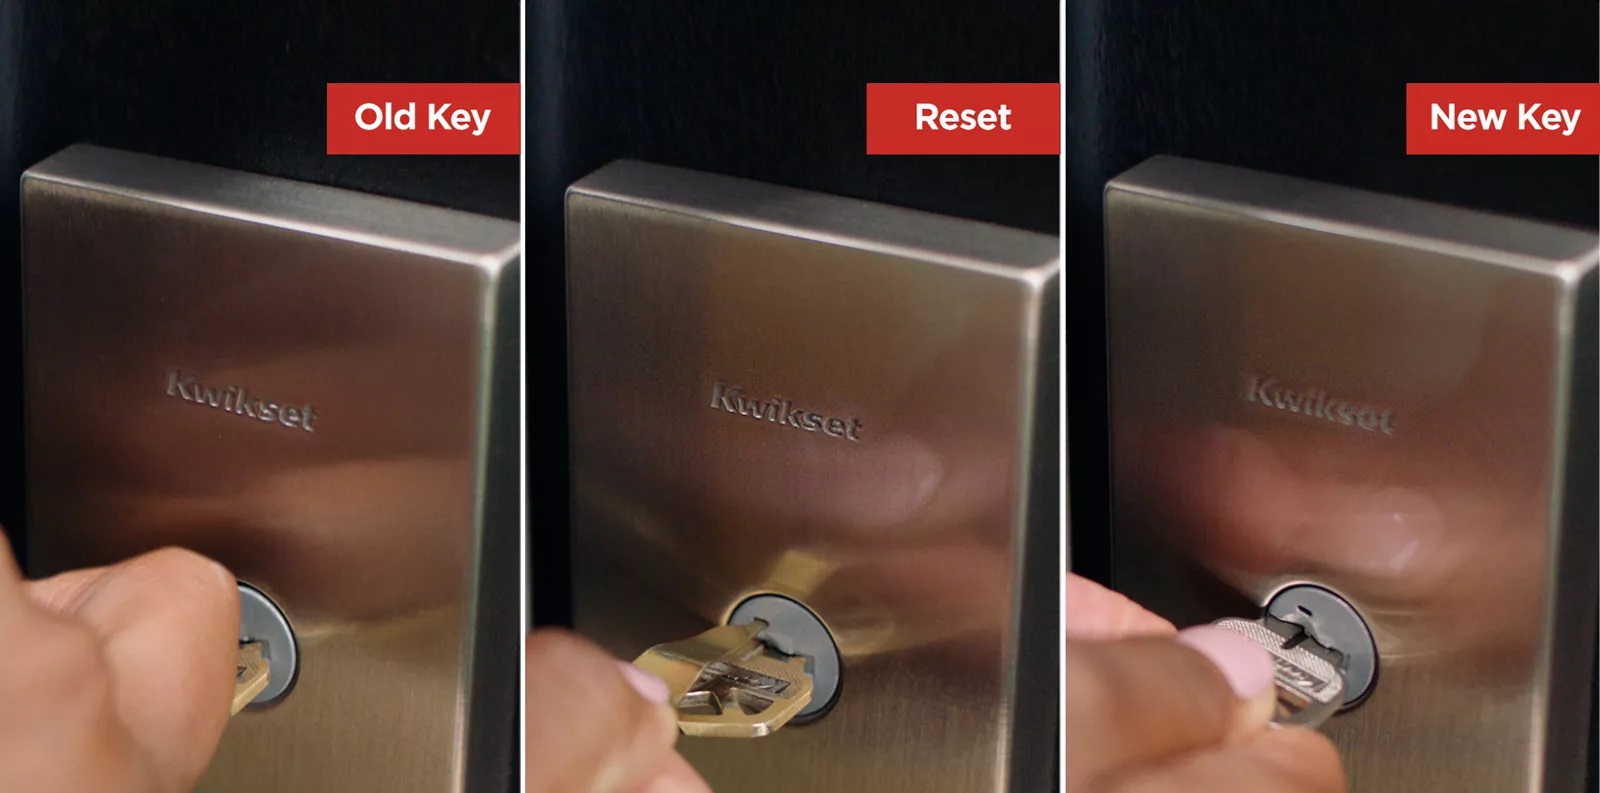
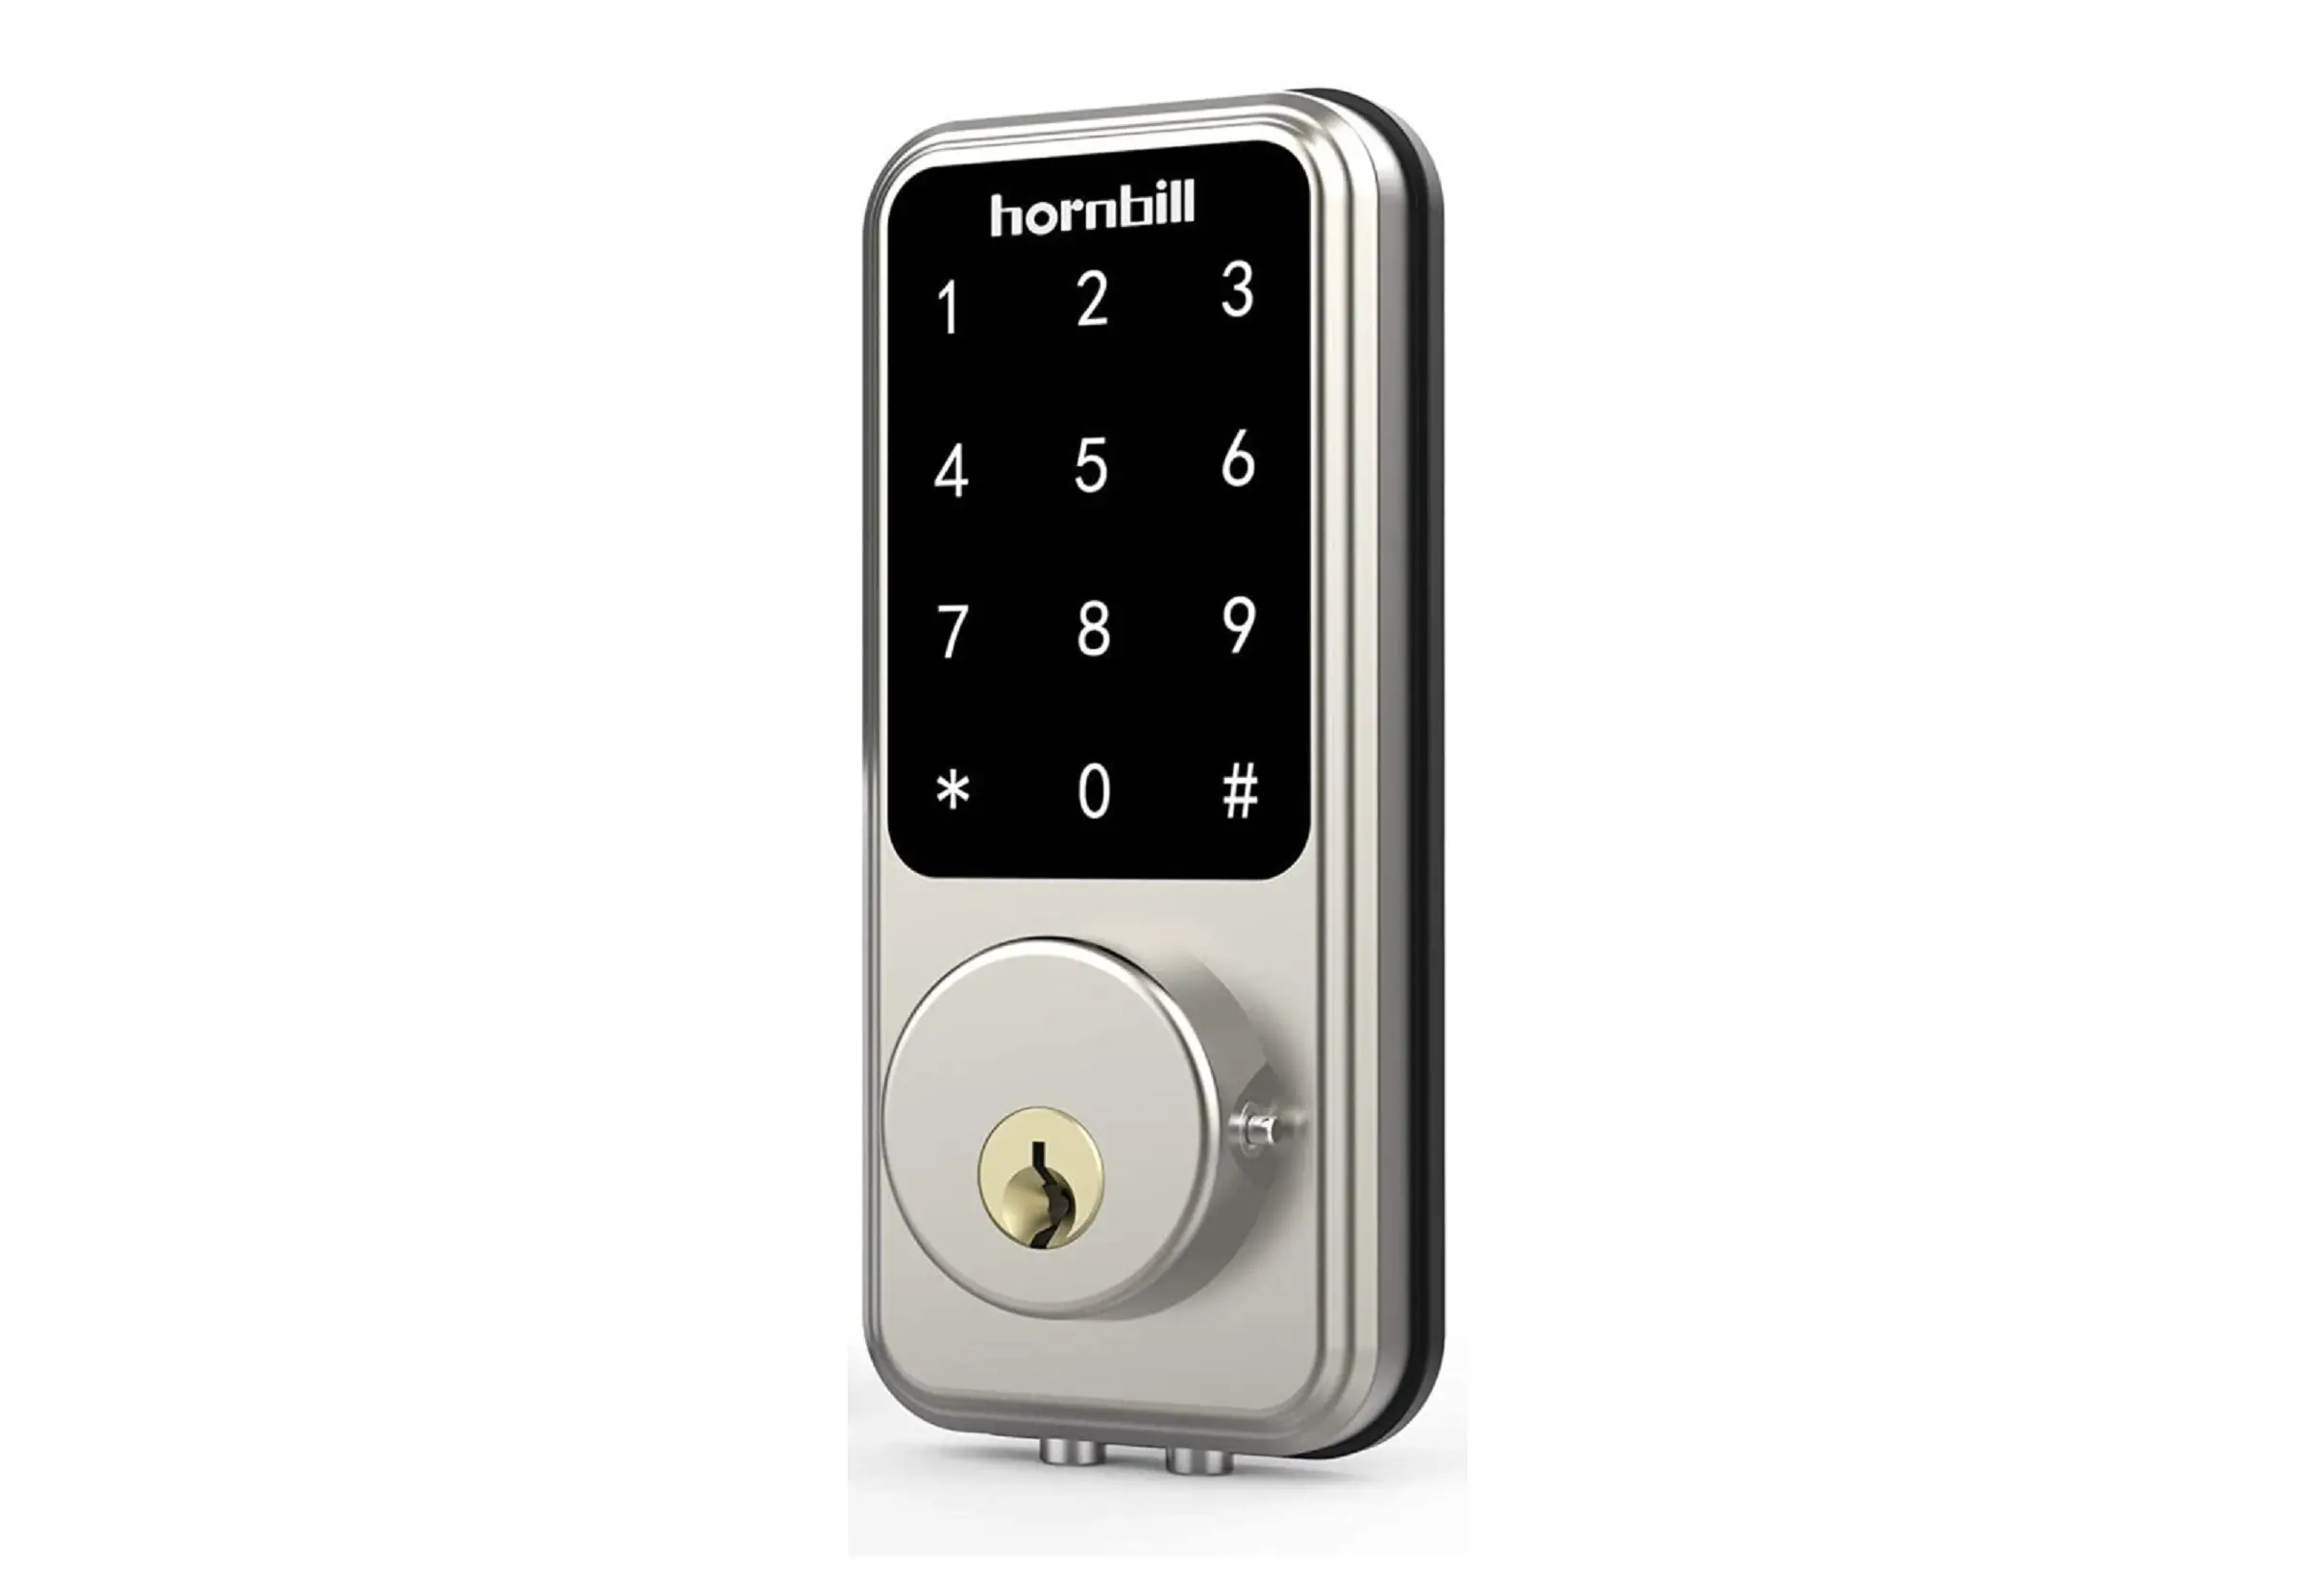
- Set up access codes: Depending on the smart lock you’ve chosen, you may need to set up access codes for keyless entry. Follow the instructions to program the desired codes, making sure to choose unique and secure combinations.
It’s crucial to carefully follow the manufacturer’s instructions during the preparation stage to ensure proper installation and functionality of your new smart lock.
Take your time to review the instructions, inspect the components, and complete any necessary configuration or setup steps before moving on to the installation process. This will help ensure a seamless installation and smooth operation of your new smart lock.
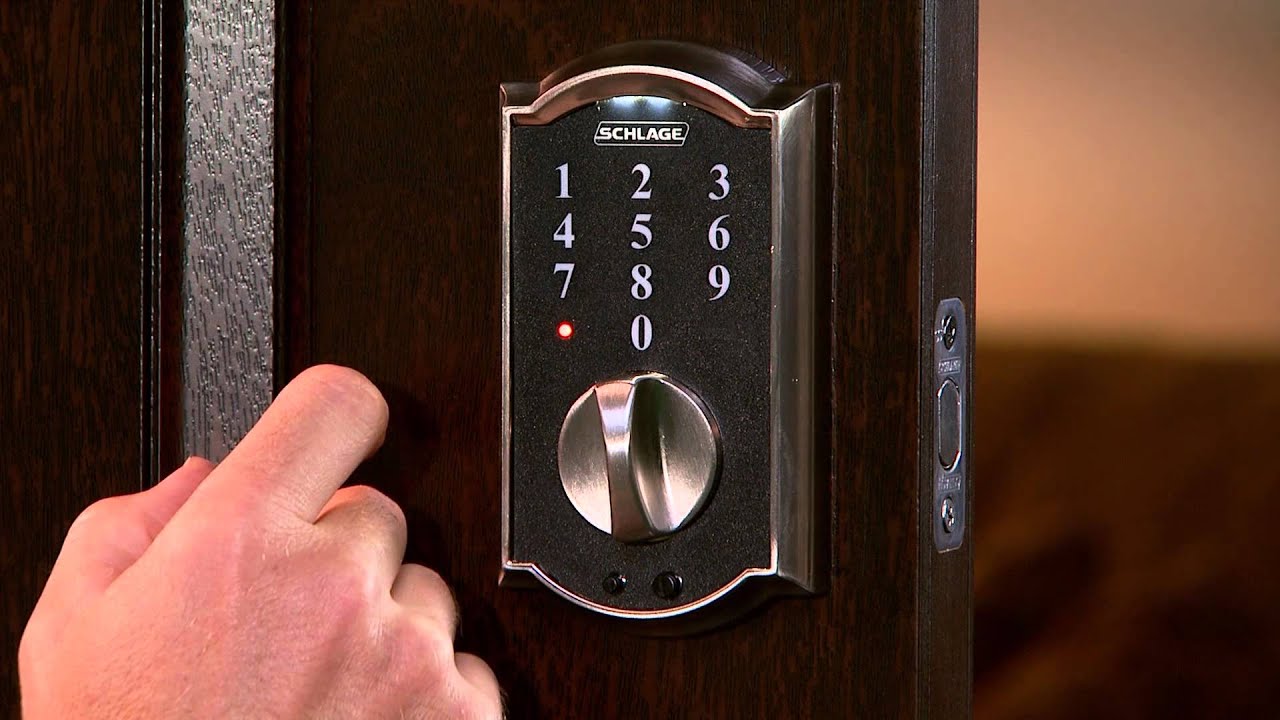
Step 5: Install the new smart lock
Now that you’ve prepared the new smart lock, it’s time to install it on your door. Follow these step-by-step instructions to ensure a successful installation:
- Position the lock: Hold the lock mechanism against the door, ensuring that it aligns correctly with the existing holes or template provided. Make sure the latch or bolt is fully extended and properly aligned with the strike plate on the door frame.
- Secure the lock: Attach the lock mechanism to the door using the provided screws. Tighten them securely, but be careful not to over-tighten, as this may damage the lock or door.
- Mount the keypad or touchpad: If your smart lock includes a keypad or touchpad, position it on the exterior side of the door. Align it with the lock mechanism and secure it by attaching the provided screws or mounting bracket.
- Verify smooth operation: Test the locking and unlocking mechanism to ensure smooth and effortless operation. If there are any issues, refer to the manufacturer’s instructions for troubleshooting steps.
- Connect wiring (if applicable): If your smart lock is wired and requires connection to your home’s electrical system, follow the manufacturer’s instructions to connect the wiring. Double-check the polarity and ensure all connections are secure.
- Adjustments and alignment: If necessary, make minor adjustments to the lock or strike plate to ensure proper alignment and functionality. This may involve adjusting the position of the strike plate or tightening loose screws.
- Test the lock again: Once the installation is complete, perform several tests to ensure that the lock is functioning correctly. Test both the manual and keyless entry methods, ensuring that the lock engages and disengages smoothly.
Remember to follow the manufacturer’s instructions specific to your smart lock model, as there may be slight variations in the installation process. Take your time during this step to ensure that the lock is properly installed and functioning as intended.
If you encounter any difficulties or have any concerns during the installation process, don’t hesitate to consult the manufacturer’s customer support or seek professional assistance.
Step 6: Test the new smart lock
After installing the new smart lock, it’s crucial to thoroughly test its functionality to ensure that it meets your expectations and functions as intended. Here are the steps to test your new smart lock:
- Manual operation: Test the manual operation of the lock by using the traditional key, if applicable. Insert the key, turn it, and ensure that the bolt or latch extends or retracts smoothly.
- Keyless entry: If your smart lock offers keyless entry, test the keypad or touchpad. Enter the access codes you set during the setup process and verify that the lock opens and closes properly in response.
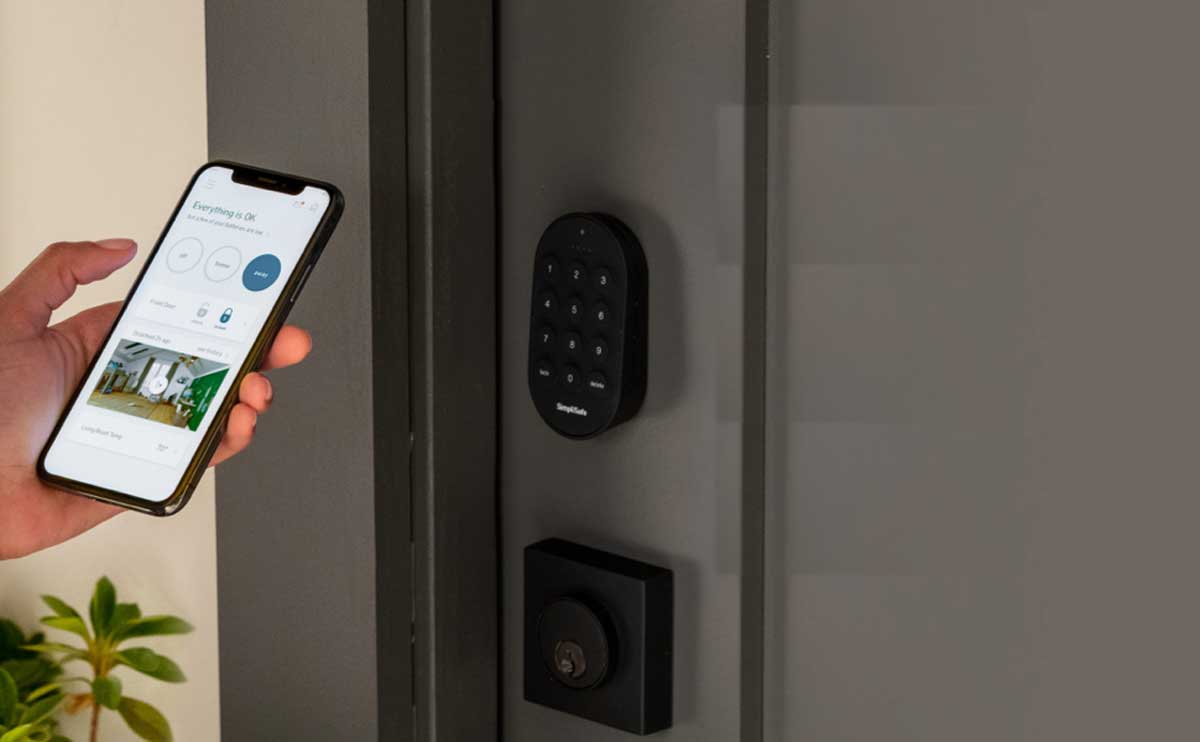
- Remote access: If your smart lock is connected to your mobile device, utilize the compatible app to remotely lock and unlock the door. Test the remote access feature to ensure that it functions reliably from a distance.
- Notifications and alerts: Check if your smart lock’s app provides notifications and alerts for any lock activity, such as when someone enters or exits the house. Verify that you receive real-time updates and alerts on your mobile device as expected.
- Battery life: Monitor the battery life of your smart lock, especially if it operates on batteries. Keep track of when batteries need to be replaced and make a note of any low battery warnings provided by the lock.
- Security features: Explore and test any additional security features offered by your smart lock, such as auto-locking, tamper alerts, or temporary guest access codes. Ensure that these features are working correctly and providing the desired level of security.
By thoroughly testing the new smart lock, you can identify any issues or malfunctions early on and address them accordingly. It’s important to ensure the lock’s reliability and functionality to maximize the convenience and security it provides.
If you encounter any issues or have any concerns during the testing process, consult the manufacturer’s instructions, customer support, or user forums for troubleshooting guidance.
Take your time to familiarize yourself with all the features and settings of your new smart lock to make the most of its capabilities and enjoy the enhanced security and convenience it offers.
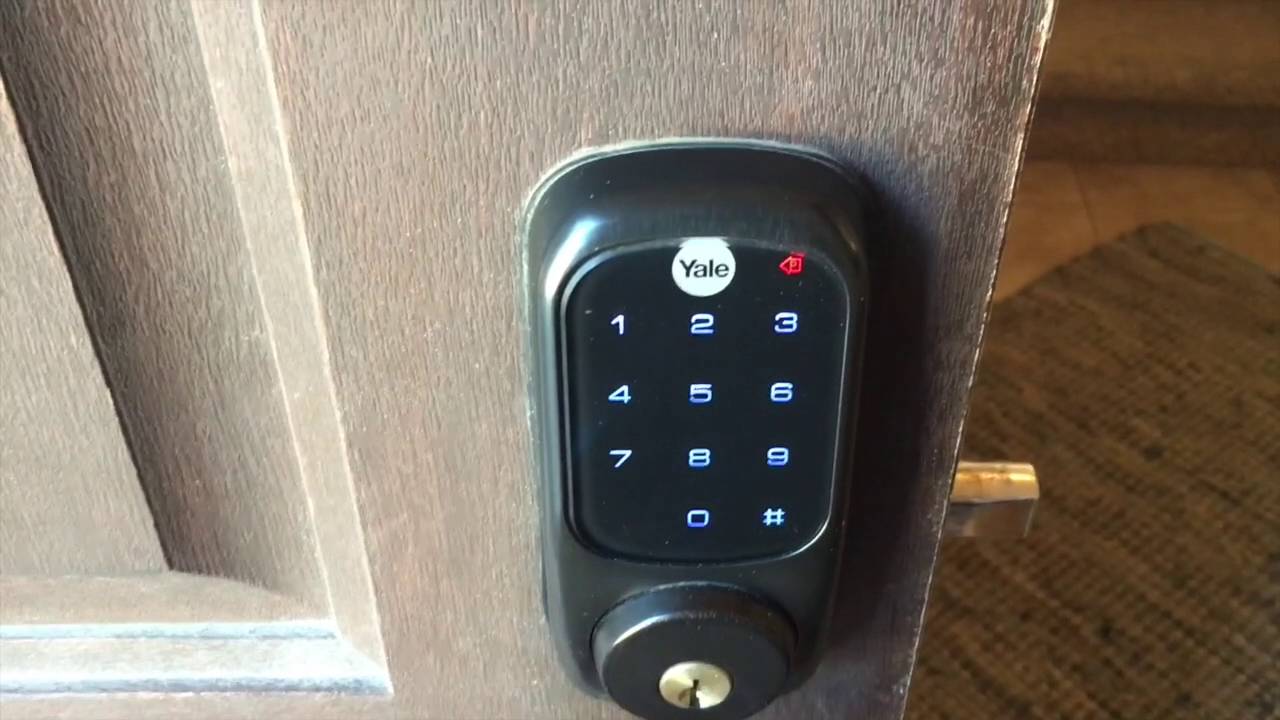
Step 7: Connect the smart lock to your mobile device
Connecting your new smart lock to your mobile device will allow you to enjoy the convenience of remote control and access management. Follow these steps to establish a connection between your smart lock and mobile device:
- Download the app: Locate and download the app specific to your smart lock from the App Store or Google Play Store. Make sure to select the correct app provided by the manufacturer.
- Create an account: Launch the app and create a new account if required. This typically involves providing your email address and creating a password.
- Enable Bluetooth or Wi-Fi: Ensure that Bluetooth or Wi-Fi is enabled on your mobile device before proceeding. This will establish the connection between your smart lock and device.
- Add the lock to the app: Follow the prompt within the app to add your new smart lock. This may involve scanning a QR code or entering a unique identifier provided with the lock.
- Pair the lock: The app will guide you through the process of pairing the lock with your mobile device. This may involve entering a pairing code or physically activating the lock to establish the connection.
- Test the connection: Once the lock is successfully paired, test the connection by performing basic lock functions through the app. Lock and unlock the door remotely and ensure that the app accurately reflects the lock’s status.
- Explore additional features: Take some time to navigate through the app and explore any additional features and settings offered by your smart lock. Customize access codes, manage user permissions, and configure any desired smart home integrations.
Connecting your smart lock to your mobile device is an essential step in maximizing its capabilities and convenience. It allows you to manage access, monitor lock status, and receive notifications remotely.
If you encounter any difficulties during the connection process, refer to the manufacturer’s instructions, consult the app’s user guide, or reach out to customer support for further assistance.
Once the connection is established, you’ll be able to enjoy the seamless integration between your smart lock and mobile device, enhancing the security and convenience of your home.
Step 8: Set up additional features and security settings
Once you have successfully connected your smart lock to your mobile device, it’s time to explore and configure any additional features and security settings provided by your smart lock. Follow these steps to customize and enhance your smart lock experience:
- Manage user access: Depending on your smart lock model, you may have the ability to create multiple access codes for different users. Set up unique codes for family members, friends, or trusted individuals who require access to your home.
- Assign permissions: If your smart lock app allows for user management, assign specific permissions and restrictions to different users. This enables you to control their access privileges and monitor their lock activity.
- Schedule access: Some smart locks provide scheduling features, allowing you to set predefined time periods when certain access codes are active. Utilize this feature to grant temporary access to individuals or restrict access during specific timeframes.
- Configure notifications: Customize the notification settings within the app to receive alerts for lock activity, low battery warnings, or any security-related events. Tailor these notifications to align with your preferences and needs.
- Integrate with a smart home system: If you have a smart home system in place, explore the integration options with your smart lock. This allows you to synchronize it with other devices, such as lights and security cameras, for enhanced automation and control.
- Enable auto-locking: Some smart locks offer an auto-lock feature that automatically locks the door after a predetermined period of time. Enable this feature if desired, ensuring that your door remains secure even if you forget to lock it.
- Adjust security settings: Depending on your smart lock, you may have the ability to adjust the sensitivity of certain security features, such as tamper detection or incorrect code entry lockouts. Customize these settings to suit your security preferences.
By taking the time to set up additional features and security settings, you can personalize your smart lock according to your specific needs and preferences, ensuring a seamless and secure experience.
Refer to the manufacturer’s instructions or the smart lock app’s documentation for specific guidance on configuring these settings. If you have any questions or encounter any issues, don’t hesitate to reach out to customer support for assistance.
With the additional features and security settings customized to your preferences, your smart lock will provide an optimized experience that aligns with your lifestyle and enhances the security of your home.
Conclusion
Changing a smart lock can be an excellent way to enhance your home’s security and convenience. By following the step-by-step guide outlined in this article, you can confidently replace your existing smart lock with a new one, taking advantage of the latest features and technology.
Throughout this process, it’s important to gather the necessary tools, assess your current smart lock, and carefully remove it. Then, prepare the new smart lock and install it following the manufacturer’s instructions. Testing the new smart lock’s functionality, connecting it to your mobile device, and setting up additional features and security settings are crucial steps to maximize its potential.
As you enjoy your new smart lock, always refer to the manufacturer’s instructions and user guides for troubleshooting, maintenance, and any software updates that may improve the performance of your smart lock.
Remember, a smart lock is just one component of a comprehensive home security system. It’s wise to have additional security measures in place, such as security cameras, alarm systems, and strong physical door locks, to ensure the safety of your home and loved ones.
By following these guidelines and taking proper care of your new smart lock, you can enjoy the convenience, peace of mind, and enhanced security that it provides.