Introduction
Welcome to our guide on how to change accounts on your Samsung tablet. Whether you want to add a new account or remove an existing one, this step-by-step tutorial will walk you through the process.
Your Samsung tablet allows you to conveniently access various accounts, such as your Google account, Samsung account, and social media accounts. By managing these accounts, you can personalize your tablet experience, sync data, and enjoy a seamless connection with your digital world.
Changing accounts on your Samsung tablet is a straightforward process that can be easily done through the settings menu. Whether you’re looking to switch to a different Google account or remove an unwanted Samsung account, we’ve got you covered.
In the following sections, we’ll guide you through the necessary steps to access the settings menu, select the accounts option, add a new account, and remove an existing account. So, grab your Samsung tablet and let’s get started!
Step 1: Accessing the Settings
The first step to change accounts on your Samsung tablet is to access the settings menu. The settings menu is where you can customize various aspects of your tablet and manage accounts.
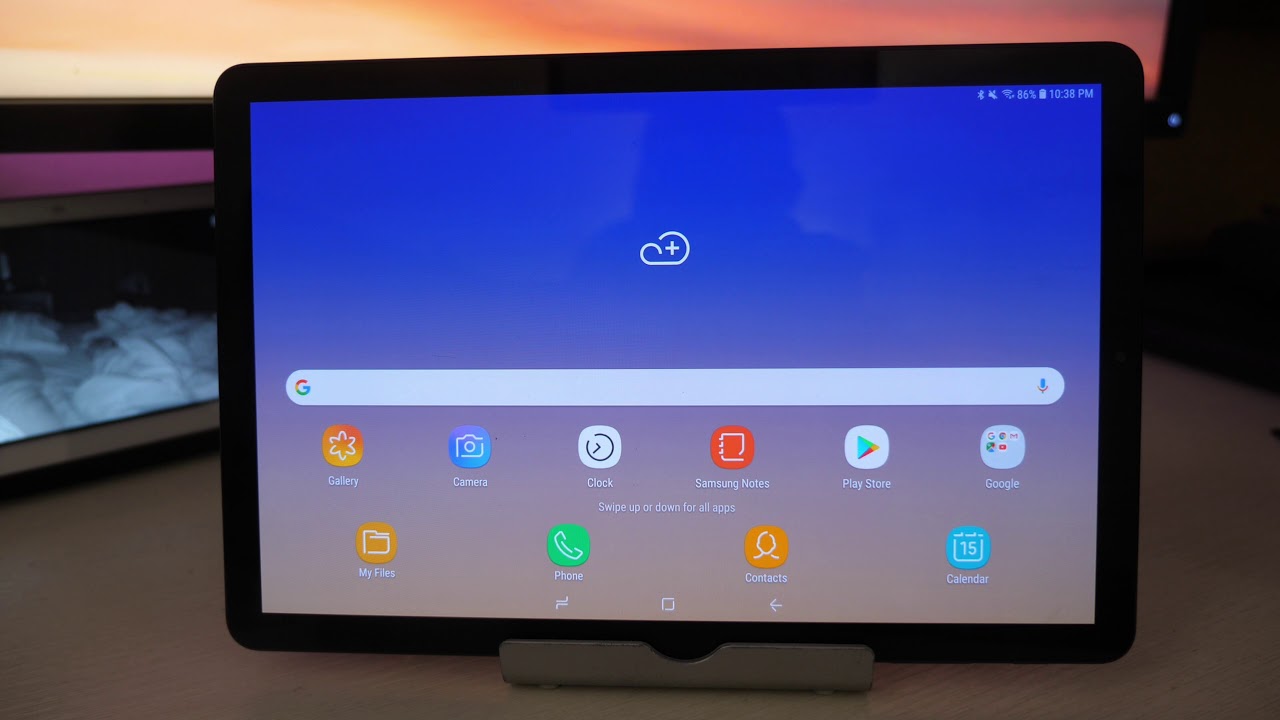
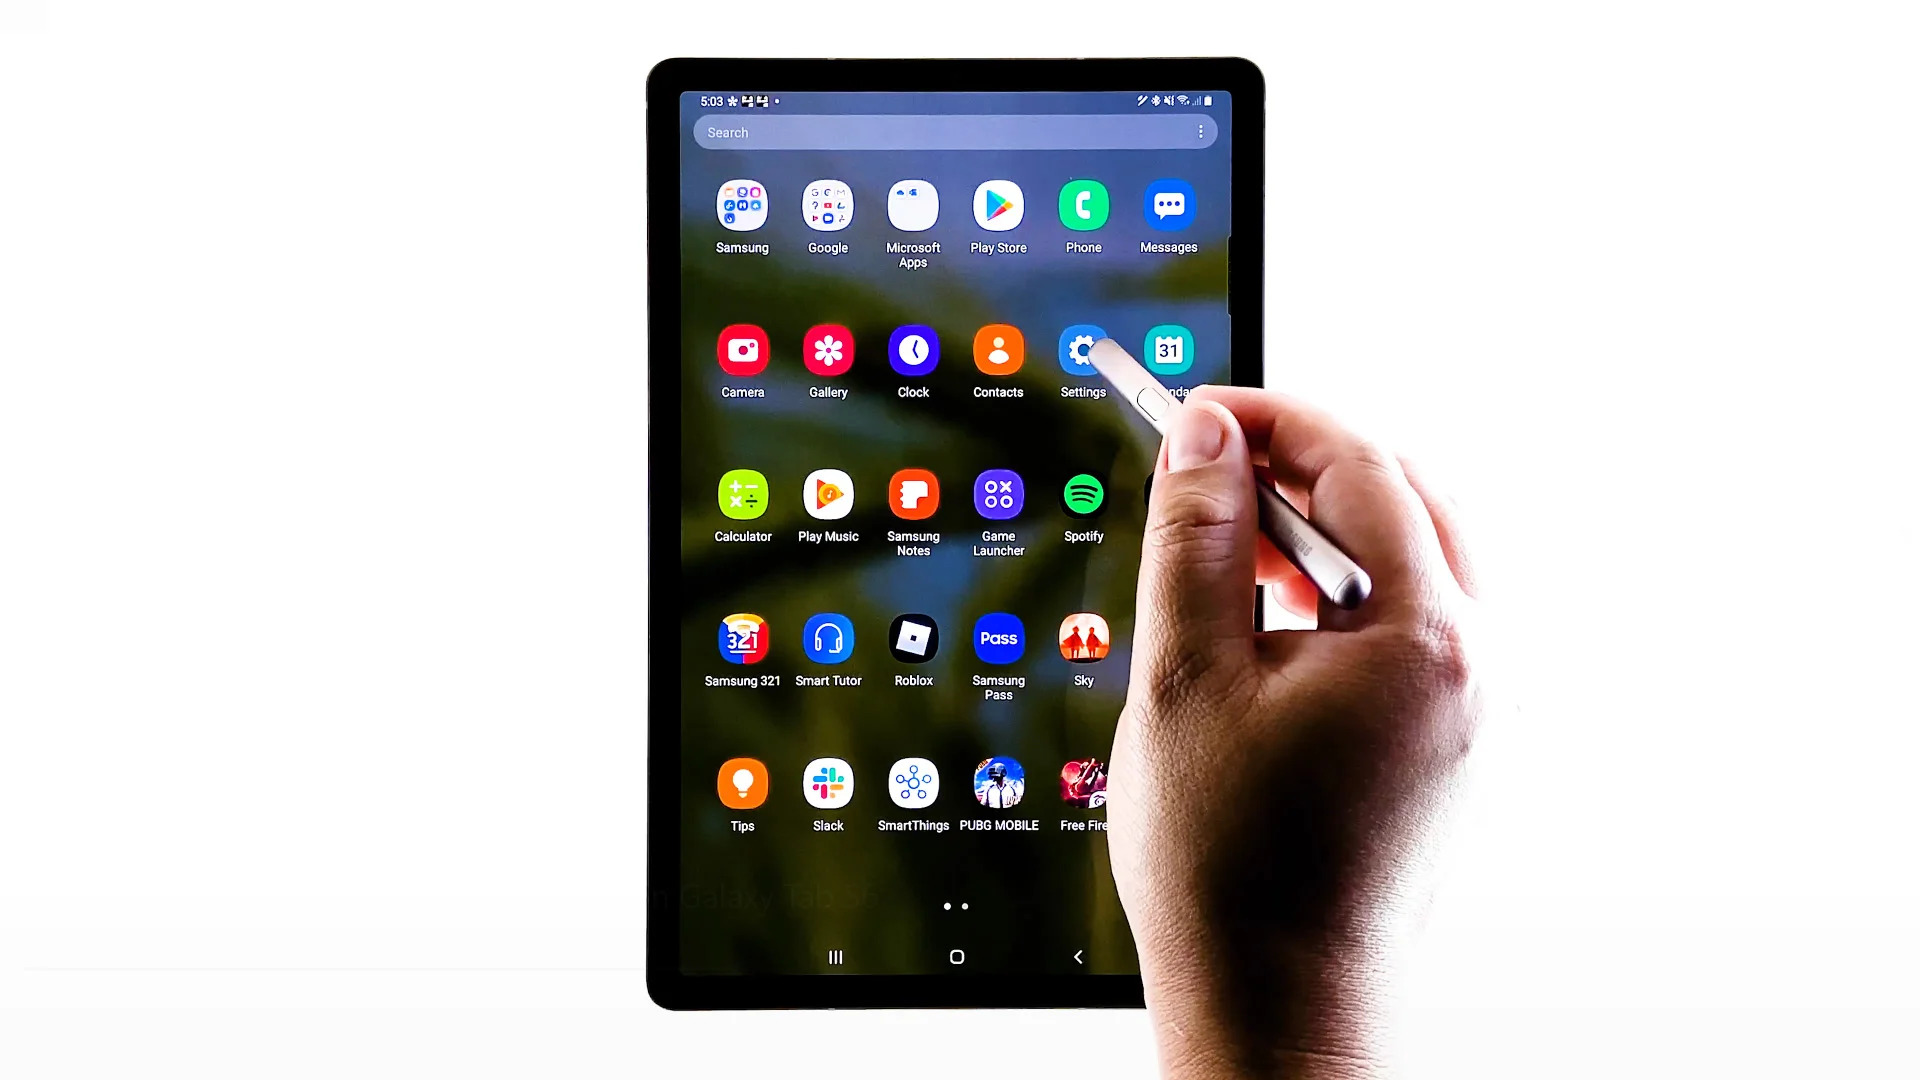
To access the settings menu, start by locating the settings app on your Samsung tablet. The app icon typically resembles a gear or a cogwheel. You can usually find it on your home screen or in the app drawer.
Once you’ve located the settings app, tap on it to open the settings menu. On most Samsung tablets, the settings menu is organized into different sections, such as “Connections,” “Device,” and “Personalization.”
Scroll through the settings menu to find the section labeled “Accounts” or “Cloud and accounts.” The exact wording may vary depending on your tablet model and Android version.
Tap on the “Accounts” or “Cloud and accounts” section to proceed. This is where you’ll manage your accounts, including adding new accounts and removing existing ones.
Now that you’ve accessed the settings menu and located the accounts section, you’re ready to move on to the next step: selecting the accounts option.
Step 2: Selecting the Accounts Option
After accessing the settings menu on your Samsung tablet, the next step is to select the accounts option. This will allow you to manage and make changes to your accounts.
Within the accounts section, you’ll see a list of the accounts that are currently added to your Samsung tablet. This may include your Google account, Samsung account, social media accounts, and more.
To make changes to your accounts, tap on the account that you want to modify. This will open a new screen with options specific to that account.
For example, if you select your Google account, you may see options to sync data, manage app permissions, and control account settings. Similarly, if you select your Samsung account, you’ll have access to options such as backup and restore, find my mobile, and more.
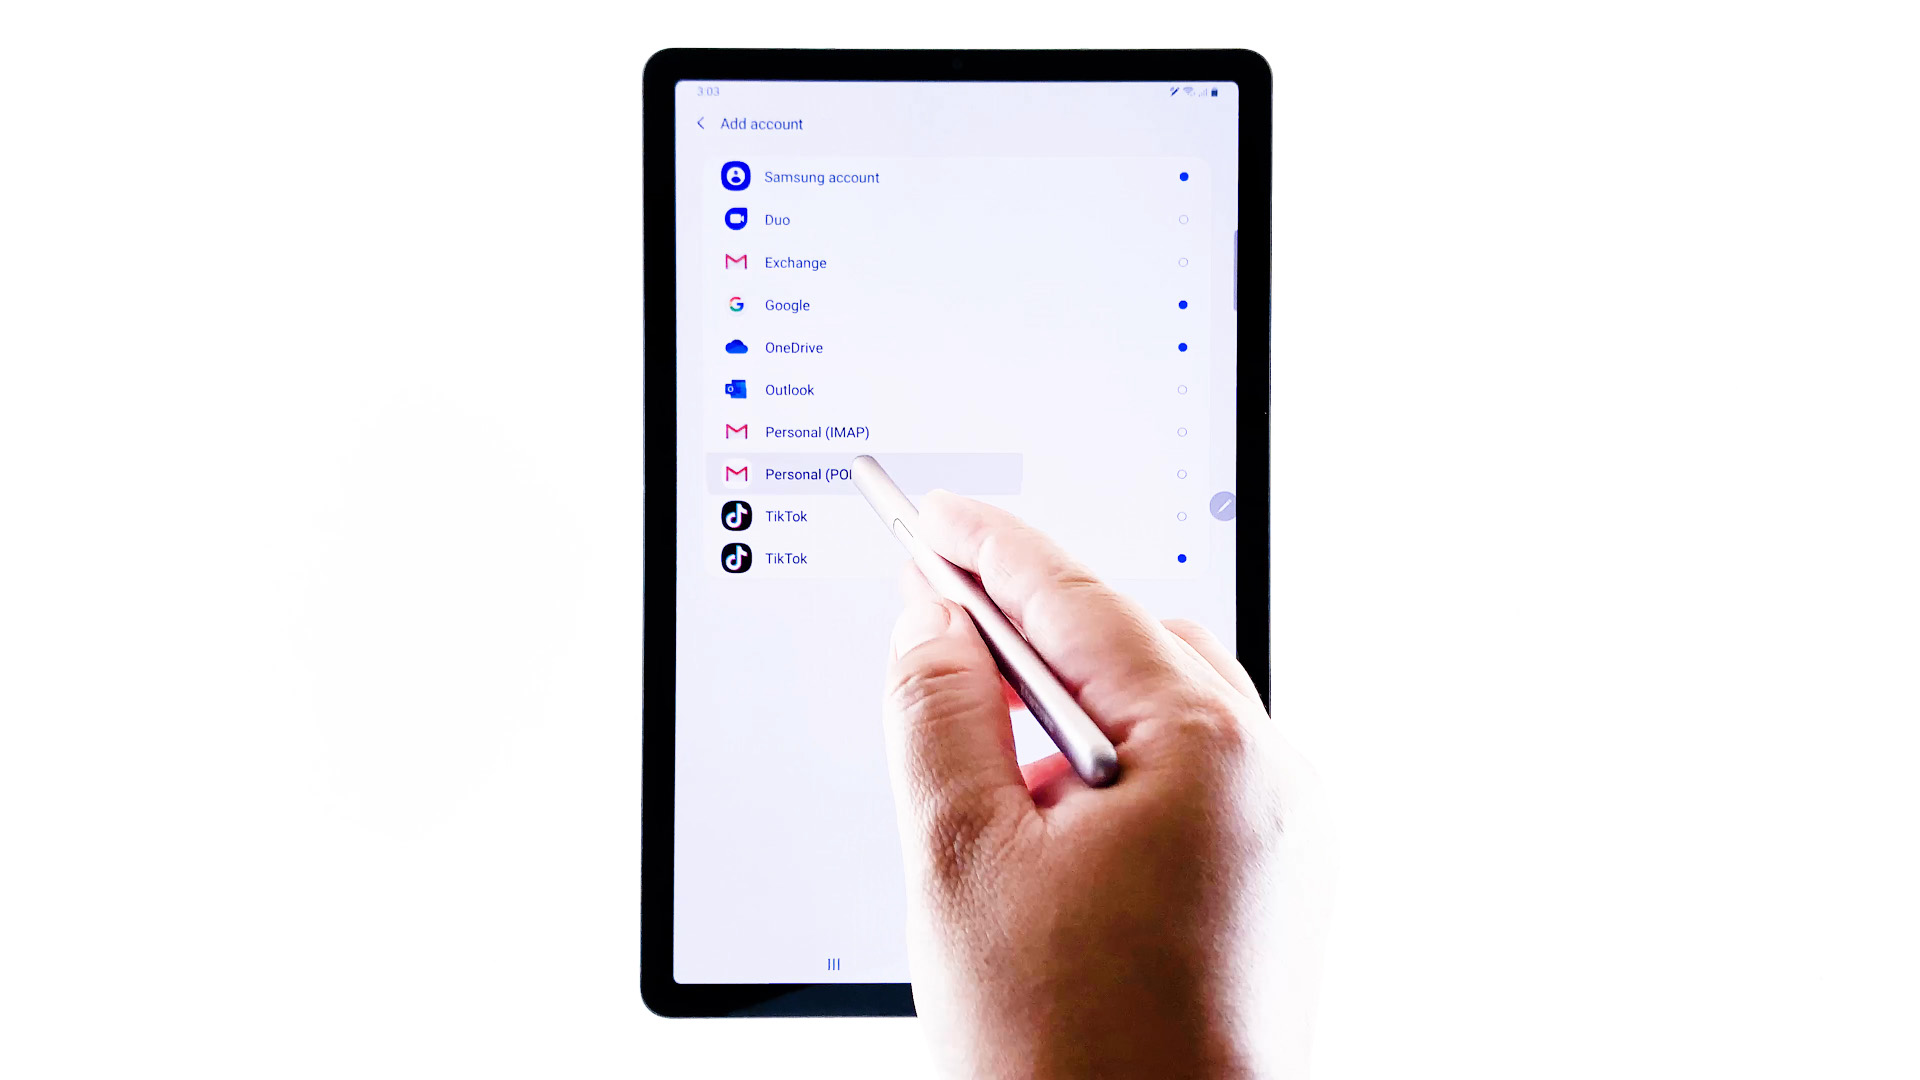
If you want to add a new account to your Samsung tablet, look for the option to “Add Account” or a plus icon (+). Tapping on this will give you a list of account types that you can add, such as Google, Samsung, Microsoft, and more. Select the account type you wish to add and follow the on-screen prompts to complete the setup process.
On the other hand, if you want to remove an existing account from your Samsung tablet, look for an option that says “Remove Account” or a trash bin icon. Note that removing an account will delete all associated data and may affect the functionality of certain apps.
Once you’ve made your desired changes to an account or added/removed an account, you can use the back button or navigate to the previous screen to continue managing other accounts or exit the settings menu altogether.
Now that you know how to select the accounts option within the settings menu, you’re ready to move on to the next step: adding a new account.
Step 3: Adding a New Account
If you’re looking to add a new account to your Samsung tablet, whether it’s a Google account, Samsung account, or another account type, follow these steps:
1. In the accounts section of the settings menu, look for the option to “Add Account” or a plus icon (+).
2. Tap on the “Add Account” option to proceed. You’ll be presented with a list of account types that you can add.
3. Select the account type you want to add, such as Google, Samsung, Microsoft, or any other available options.
4. Follow the on-screen prompts to sign in to the account. This may include entering your email address, password, and other necessary information.
5. Once you’ve successfully signed in, you’ll be prompted to configure the account settings. This may vary depending on the account type but typically includes options to sync data, enable app permissions, and customize account preferences.
6. Customize the account settings according to your preferences and tap on the “Next” or “Finish” button to complete the process.
7. The new account will now be added to your Samsung tablet, and you’ll have access to its associated features and services.
Adding a new account to your Samsung tablet allows you to expand your digital connectivity and personalize your device further. Whether you want to access your email, sync contacts and calendars, or enjoy other account-specific benefits, following these steps will help you seamlessly integrate a new account into your tablet.
Now that you know how to add a new account, let’s move on to the final step: removing an existing account.
Step 4: Removing an Existing Account
If you have an existing account on your Samsung tablet that you no longer need or want to use, you can easily remove it by following these steps:
1. In the accounts section of the settings menu, locate the account you wish to remove.
2. Tap on the account to open the account settings screen.
3. Look for an option that says “Remove Account” or a trash bin icon. This option may be located at the top or bottom of the screen.
4. Tap on the “Remove Account” option. A confirmation prompt will appear, asking you to confirm the account removal.
5. Read the confirmation prompt carefully to ensure that you understand the consequences of removing the account. Keep in mind that removing an account will also delete all associated data and may affect the functionality of certain apps.
6. If you’re sure you want to proceed, tap on the “Remove” or “OK” button to confirm the removal.
7. Depending on the account type, you may be asked to enter your account password or provide additional verification before the removal is finalized.
8. Once the removal process is complete, the account will be removed from your Samsung tablet, and any associated data will be deleted.
Removing an existing account from your Samsung tablet can help declutter your device and ensure that only the accounts you actively use are present. It’s a good idea to review your accounts periodically and remove any unnecessary or unused accounts to enhance the efficiency and security of your tablet.
With these steps, you now know how to remove an existing account from your Samsung tablet. This concludes our guide on how to change accounts on your Samsung tablet. Whether you added a new account or removed an existing one, we hope this tutorial has been helpful in managing your accounts effectively.
Conclusion
Managing and changing accounts on your Samsung tablet is a simple process that can be done through the settings menu. Whether you want to add a new account or remove an existing one, following the steps outlined in this guide will help you navigate the process with ease.
By accessing the settings menu, selecting the accounts option, and following the prompts, you can seamlessly add a new account to your tablet. This allows you to personalize your device, sync data, and enjoy a connected digital experience.
Conversely, if you have an account that you no longer need or want to use, you can easily remove it. Removing an existing account helps optimize your tablet’s functionality and declutter your device.
Remember to exercise caution when removing an account, as it will delete all associated data and may affect the functionality of certain apps. It’s always a good idea to review your accounts periodically and remove any unnecessary or unused accounts to enhance the efficiency and security of your tablet.
We hope this guide has been helpful in assisting you with changing accounts on your Samsung tablet. With the ability to add or remove accounts, you can tailor your tablet experience to suit your needs and preferences.
Thank you for reading, and we hope you enjoy using your Samsung tablet with your newly managed accounts!


