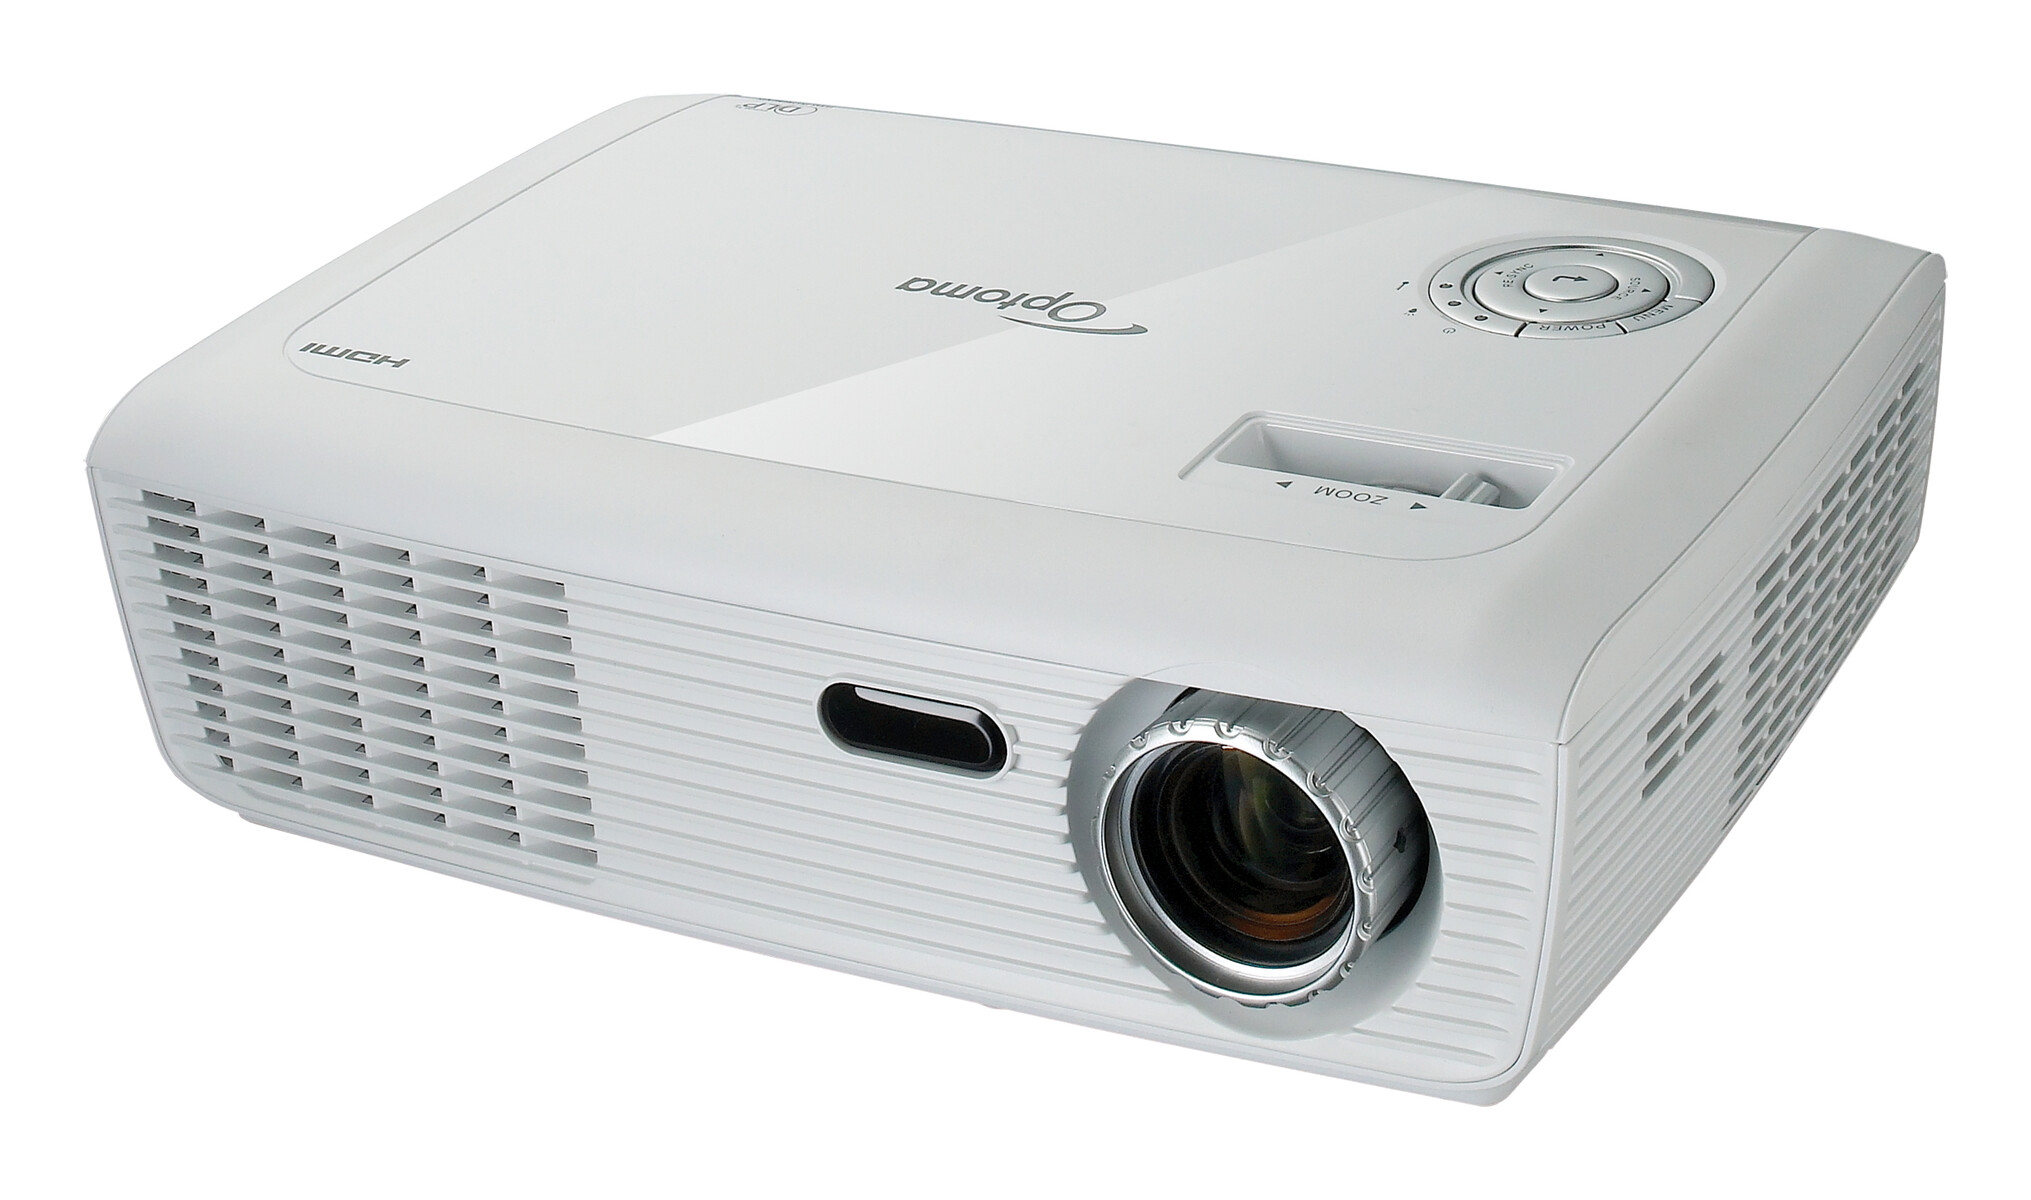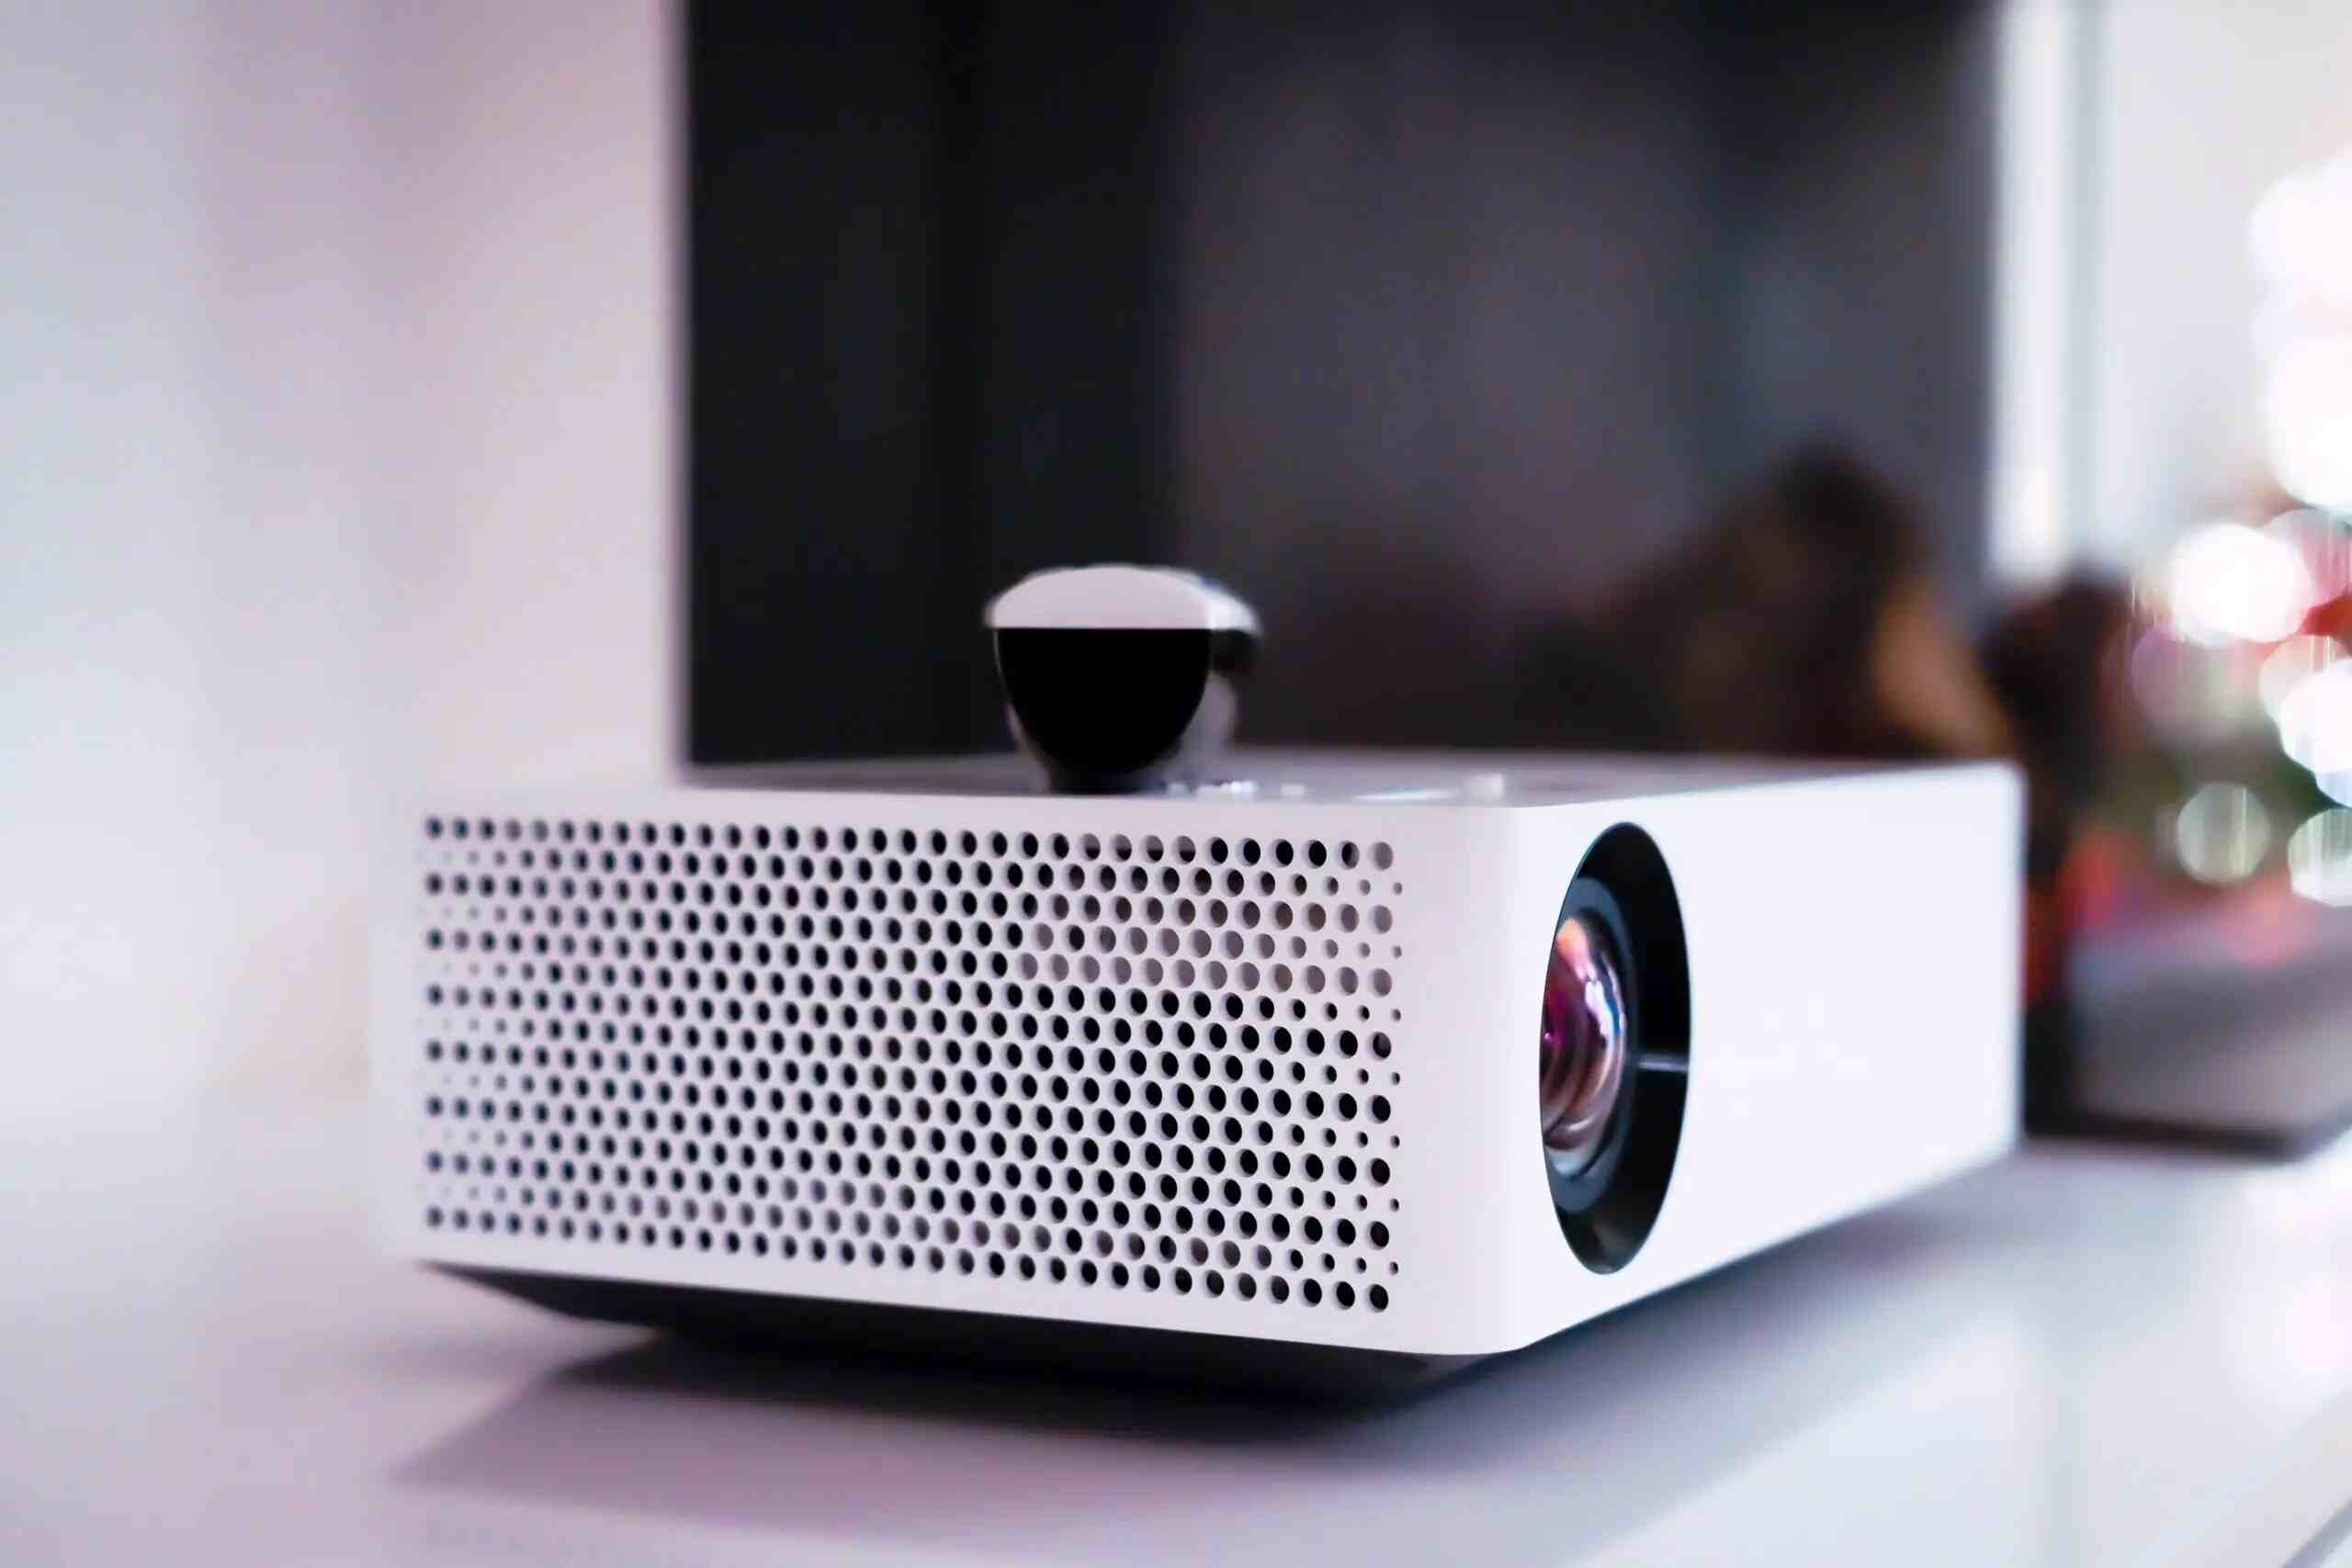
Introduction
Welcome to our step-by-step guide on how to change a bulb in a projector. Whether you’re a home theater enthusiast or a professional presenter, knowing how to replace a projector bulb is an essential skill to ensure continued optimal performance. Over time, projector bulbs dim and lose their brightness, affecting the quality of the projected image. By replacing the bulb, you can restore the projector’s brightness and image clarity, extending its lifespan.
In this guide, we will walk you through the process of changing a bulb in a projector. We will provide detailed instructions and helpful tips to make this task easier for you. Don’t worry if you’re not a technical expert; our guide is designed to be beginner-friendly, and anyone with a bit of patience and the necessary tools can successfully replace a projector bulb.
Before we dive into the step-by-step instructions, it’s important to note that projector models vary, so it’s always advisable to consult the user manual specific to your projector. The user manual will provide model-specific instructions and any additional precautions you should take during the bulb replacement process.
Now, let’s gather the tools and materials you’ll need to change the bulb in your projector.
Tools and Materials Needed
Before you begin the process of changing a bulb in a projector, it’s important to gather the necessary tools and materials. Having everything ready ahead of time will help streamline the process and ensure a smooth bulb replacement. Here are the tools and materials you’ll need:
- A replacement projector bulb: Make sure you purchase the correct bulb for your projector model. Check the user manual or the manufacturer’s website for the specific bulb type or part number.
- Gloves: It’s a good idea to wear gloves to protect the bulb from any oil residue on your hands. This will also help prevent any accidental damage to the bulb during the replacement process.
- A small screwdriver set: A set of small screwdrivers will be handy for removing screws and securing the bulb access panel.
- A soft cloth or microfiber cloth: This will be used to handle the bulb and clean any dust or debris from the projector.
- Compressed air or a bulb cleaning brush: If your projector’s bulb area is dusty, you may need to use compressed air or a bulb cleaning brush to remove any debris. This will help ensure optimal bulb performance.
It’s important to note that these tools and materials may vary depending on your projector model and specific requirements. Make sure to consult the user manual for any additional tools or materials recommended by the manufacturer.
Now that you have gathered the necessary tools and materials, let’s move on to the step-by-step process of changing the bulb in your projector.
Step 1: Prepare the projector
Before you begin the process of changing the bulb in your projector, it’s important to prepare the projector and create a safe working environment. Follow these steps to ensure a smooth and hassle-free bulb replacement:
- Turn off the projector: Make sure the projector is completely powered off and unplugged from the power source. This will reduce the risk of electrical shock and ensure your safety.
- Allow the projector to cool down: Projector bulbs can become extremely hot during operation. It’s crucial to give the projector sufficient time to cool down before attempting to replace the bulb. This will prevent any burns or damage to the new bulb.
- Find a clean and well-lit area: Select a work surface that is clean and free from dust or debris. This will help prevent any contamination during the bulb replacement process. Additionally, ensure the area is well-lit so you can clearly see the components and perform the necessary tasks with ease.
- Read the user manual: Take a few moments to review the user manual specific to your projector model. Familiarize yourself with the manufacturer’s instructions and any precautions or warnings regarding the bulb replacement process. This will ensure that you follow the correct steps and avoid any potential damage to the projector.
By following these preparation steps, you are ensuring a safe and organized environment for changing the bulb in your projector. Once you have completed these steps, you are ready to move on to the next step: locating the bulb access panel.
Step 2: Locate the bulb access panel
Locating the bulb access panel is an important step in the process of changing a bulb in a projector. The bulb access panel is where the old bulb is housed and where the replacement bulb will be installed. Follow these steps to locate the bulb access panel in your projector:
- Refer to the user manual: Review the user manual or any accompanying documentation to determine the exact location of the bulb access panel. Different projectors have different designs, so it’s important to follow the manufacturer’s instructions specific to your model.
- Inspect the projector: Take a close look at the projector to identify any obvious signs of the bulb access panel. Look for removable panels or hatches on the sides, front, or back of the projector. In some cases, the panel may be located underneath the projector.
- Look for labels or indicators: Manufacturers often label or provide indicators to help users locate the bulb access panel. Check for any markings or symbols that indicate the presence of the bulb access panel.
- Online resources: If you’re still having trouble locating the bulb access panel, you can search for online resources specific to your projector model. Many manufacturers provide instructional videos or diagrams that can assist you in finding the access panel.
Once you have located the bulb access panel, you are one step closer to replacing the old bulb with a new one. In the next step, we will guide you through removing the bulb access panel.
Step 3: Remove the bulb access panel
Now that you have located the bulb access panel, it’s time to remove it in order to access the old bulb. Follow these steps to remove the bulb access panel from your projector:
- Switch off the projector: Ensure that the projector is turned off and unplugged from the power source before proceeding. This will eliminate any risk of electrical shock during the panel removal.
- Prepare your tools: Keep a small screwdriver set handy as you will need it to remove any screws securing the bulb access panel. Different projectors may require different types of screws, so make sure you have the appropriate screwdriver size and type.
- Inspect the panel: Carefully examine the bulb access panel to identify any screws or fasteners holding it in place. These may be located on the sides or the back of the panel.
- Remove the screws: Using the appropriate screwdriver, gently loosen and remove the screws securing the bulb access panel. Place them in a secure location to avoid misplacement.
- Set aside the panel: Once all the screws have been removed, carefully lift and set aside the bulb access panel. Be cautious not to force it or damage any components attached to it.
With the bulb access panel successfully removed, you now have clear access to the old bulb in your projector. In the next step, we will guide you through the process of identifying and removing the old bulb.
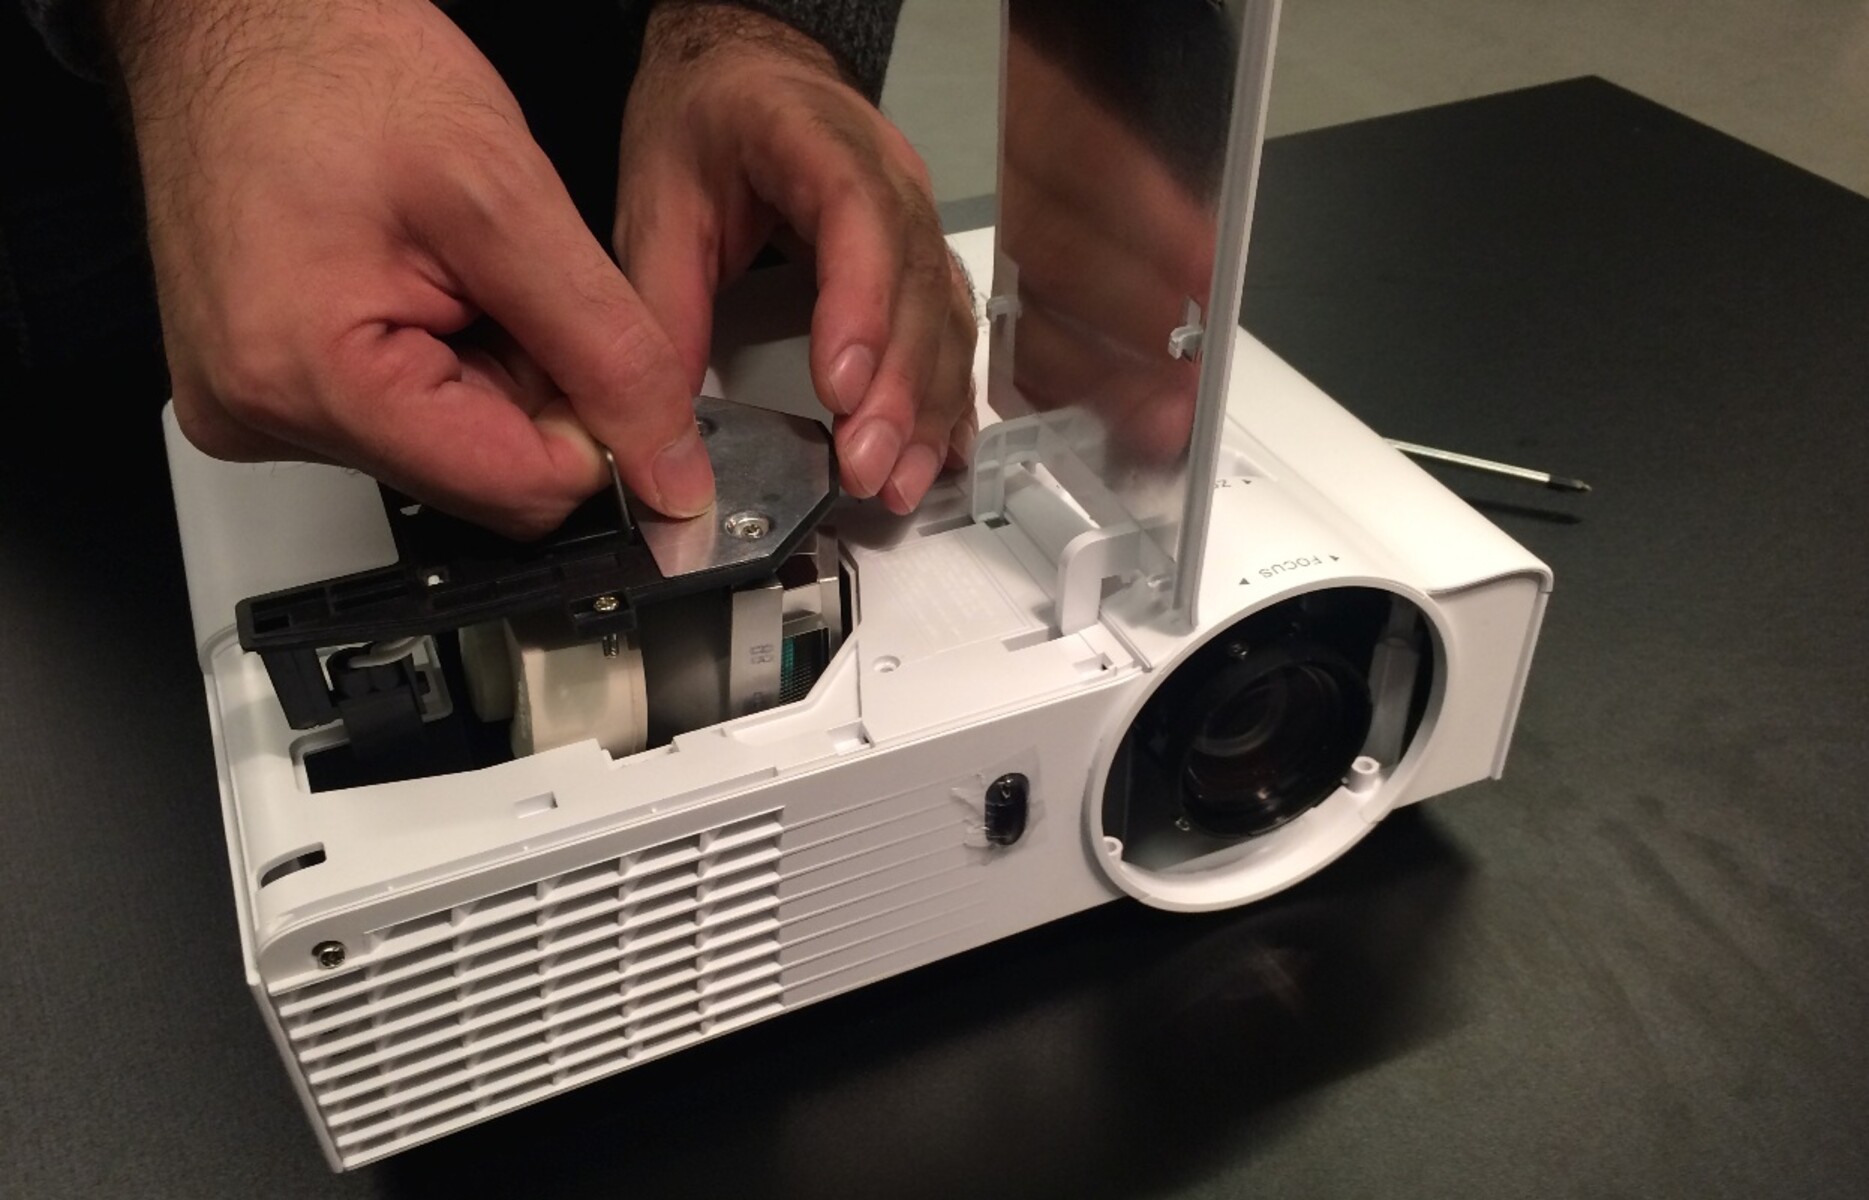
Step 4: Identify the bulb assembly
Identifying the bulb assembly is an important step before removing the old bulb from your projector. Understanding the assembly will help ensure a smooth replacement process. Follow these steps to identify the bulb assembly:
- Inspect the bulb housing: Take a close look at the area where the bulb is housed. It is typically located within the bulb assembly, which may be enclosed in a protective casing.
- Observe any retaining clips or screws: Look for any retaining clips or screws that may be securing the bulb assembly. These clips or screws may need to be loosened or removed in order to access the bulb.
- Check for any connectors or cables: Look for any connectors or cables attached to the bulb assembly. These connectors or cables may need to be disconnected before you can remove the bulb.
- Inspect the labeling or markings: Some projectors may have labels or markings on the bulb assembly that indicate specific instructions or precautions. Take note of any information provided.
- Refer to the user manual: If you are unsure about any aspect of the bulb assembly, consult the user manual or manufacturer’s documentation specific to your projector model. These resources will provide detailed instructions on how to properly identify and handle the bulb assembly.
By following these steps, you will be able to confidently identify the bulb assembly in your projector. This knowledge will be crucial as you move on to the next step: removing the old bulb.
Step 5: Remove the old bulb
With the bulb assembly identified, it’s time to remove the old bulb from your projector. Follow these steps to safely and effectively remove the old bulb:
- Ensure the projector is off and unplugged: Before proceeding, double-check that the projector is completely turned off and disconnected from the power source. This eliminates the risk of electrical shock during the bulb removal process.
- Wear gloves and use caution: Put on your gloves to avoid any direct contact with the bulb. This helps prevent oil from your hands from transferring onto the bulb and potentially impacting its performance.
- Unscrew or detach any retaining clips: If there are retaining clips or screws securing the bulb assembly, carefully loosen or remove them. Keep track of any screws or clips by placing them in a secure location.
- Disconnect any connectors or cables: If there are connectors or cables attached to the bulb assembly, disconnect them by gently pulling them apart. Take care not to tug on the cables excessively to avoid any damage.
- Remove the old bulb: With the retaining clips, screws, and cables detached, carefully lift out the old bulb from the bulb assembly. Hold it by the base and avoid touching the glass surface to prevent any damage or fingerprints.
- Dispose of the old bulb properly: Safely dispose of the old bulb according to local waste disposal regulations. Some local recycling centers or projector manufacturers may have specific guidelines for bulb disposal. Ensure that you follow these guidelines to protect the environment.
By following these steps, you have successfully removed the old bulb from your projector. Now, it’s time to move on to the next step: installing the new bulb for optimal performance.
Step 6: Install the new bulb
Now that the old bulb has been removed, it’s time to install the new bulb in your projector. Follow these steps to ensure a proper installation:
- Inspect the new bulb: Before proceeding, carefully inspect the new bulb to ensure there are no visible damages or defects. It’s important to handle the new bulb with clean gloves to avoid any oil residue from your hands.
- Align the new bulb: Align the new bulb with the socket in the bulb assembly. Take note of any notches or alignment marks that indicate the correct orientation.
- Gently insert the new bulb: With the proper alignment, carefully insert the new bulb into the socket. Make sure it is securely inserted and seated properly.
- Reattach any connectors or cables: If there were connectors or cables that were disconnected in the previous steps, reattach them to the new bulb. Ensure they are securely connected and properly aligned.
- Secure the bulb assembly: If there were retaining clips or screws that were removed earlier, secure the bulb assembly in place by tightening the clips or screws. Ensure they are snug but not overly tight.
- Double-check the installation: Once the new bulb is installed, double-check to ensure all connections are secure and the bulb is properly seated. Avoid touching the glass surface of the bulb to prevent any damage.
By following these steps, you have successfully installed the new bulb in your projector. In the next step, we will guide you through the process of reattaching the bulb access panel to complete the bulb replacement.
Step 7: Reattach the bulb access panel
With the new bulb properly installed, it’s time to reattach the bulb access panel to your projector. Follow these steps to securely reattach the panel and complete the bulb replacement:
- Position the panel correctly: Ensure that the bulb access panel is aligned properly with the projector. It should fit snugly and align with any screw holes or tabs.
- Hold the panel in place: Using your hand, hold the bulb access panel firmly against the projector casing. Ensure that it is aligned correctly before proceeding.
- Secure the panel with screws: Insert the screws that were removed earlier into the screw holes of the bulb access panel. Use a screwdriver to tighten the screws gently, making sure not to overtighten them.
- Test the panel’s stability: After securing the screws, lightly press on the bulb access panel to test its stability. It should be securely fastened to the projector casing without any wobbling or movement.
- Confirm all screws are tightened: Go through each screw and ensure they are all tightened securely. This will prevent any potential vibrations or loosening during regular projector use.
By following these steps, you have successfully reattached the bulb access panel to your projector. In the next step, we will guide you through testing the projector to ensure the bulb replacement was successful and the projector is functioning properly.
Step 8: Test the projector
Now that you have completed the bulb replacement process and reattached the bulb access panel, it’s time to test the projector. Follow these steps to ensure that the new bulb is functioning properly:
- Plug in the projector: Connect the projector to a power source and ensure it is securely plugged in.
- Turn on the projector: Power on the projector using the designated power button or remote control.
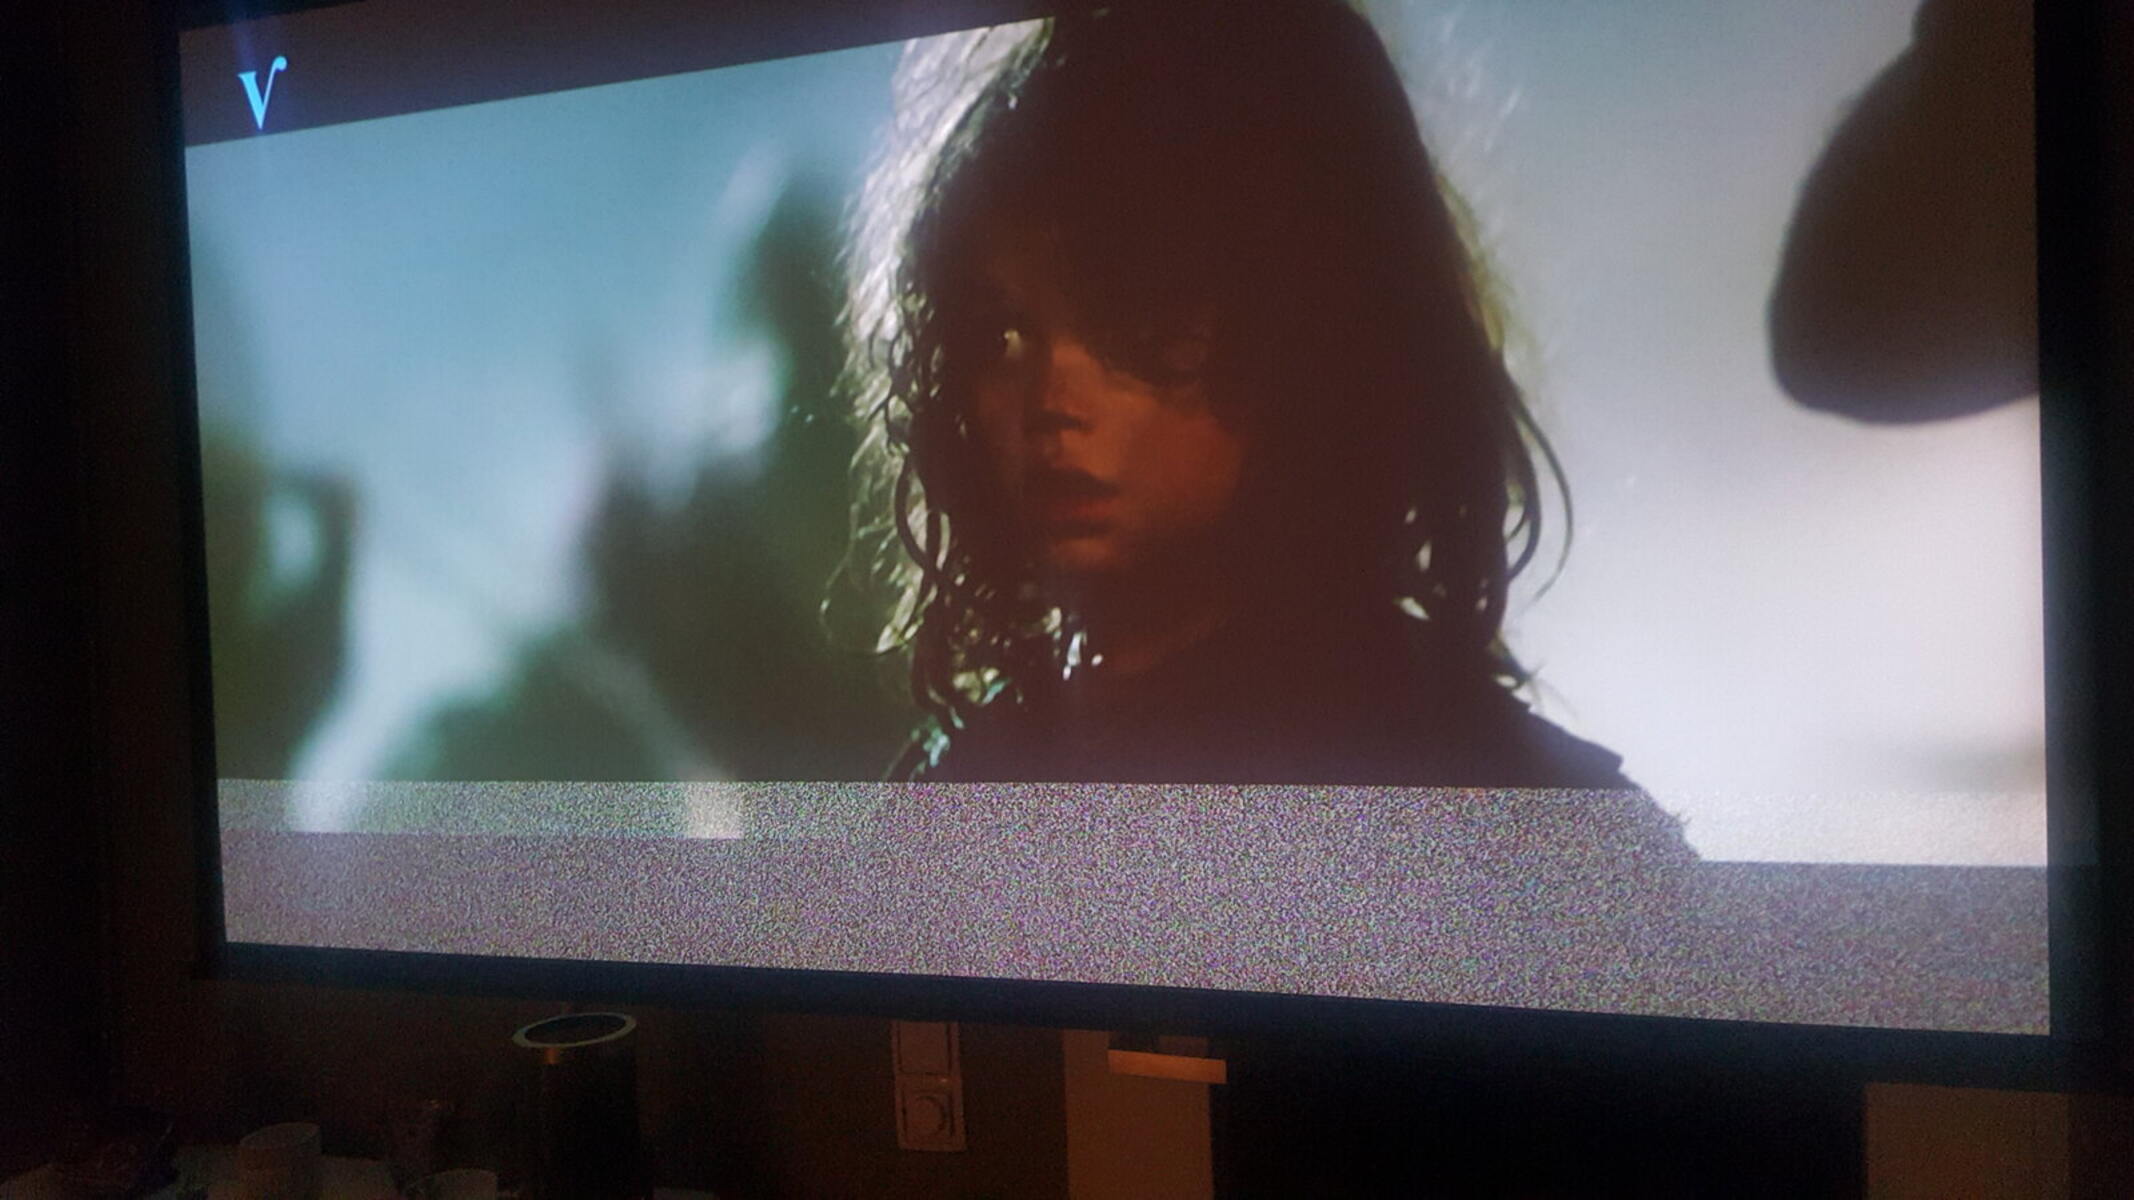
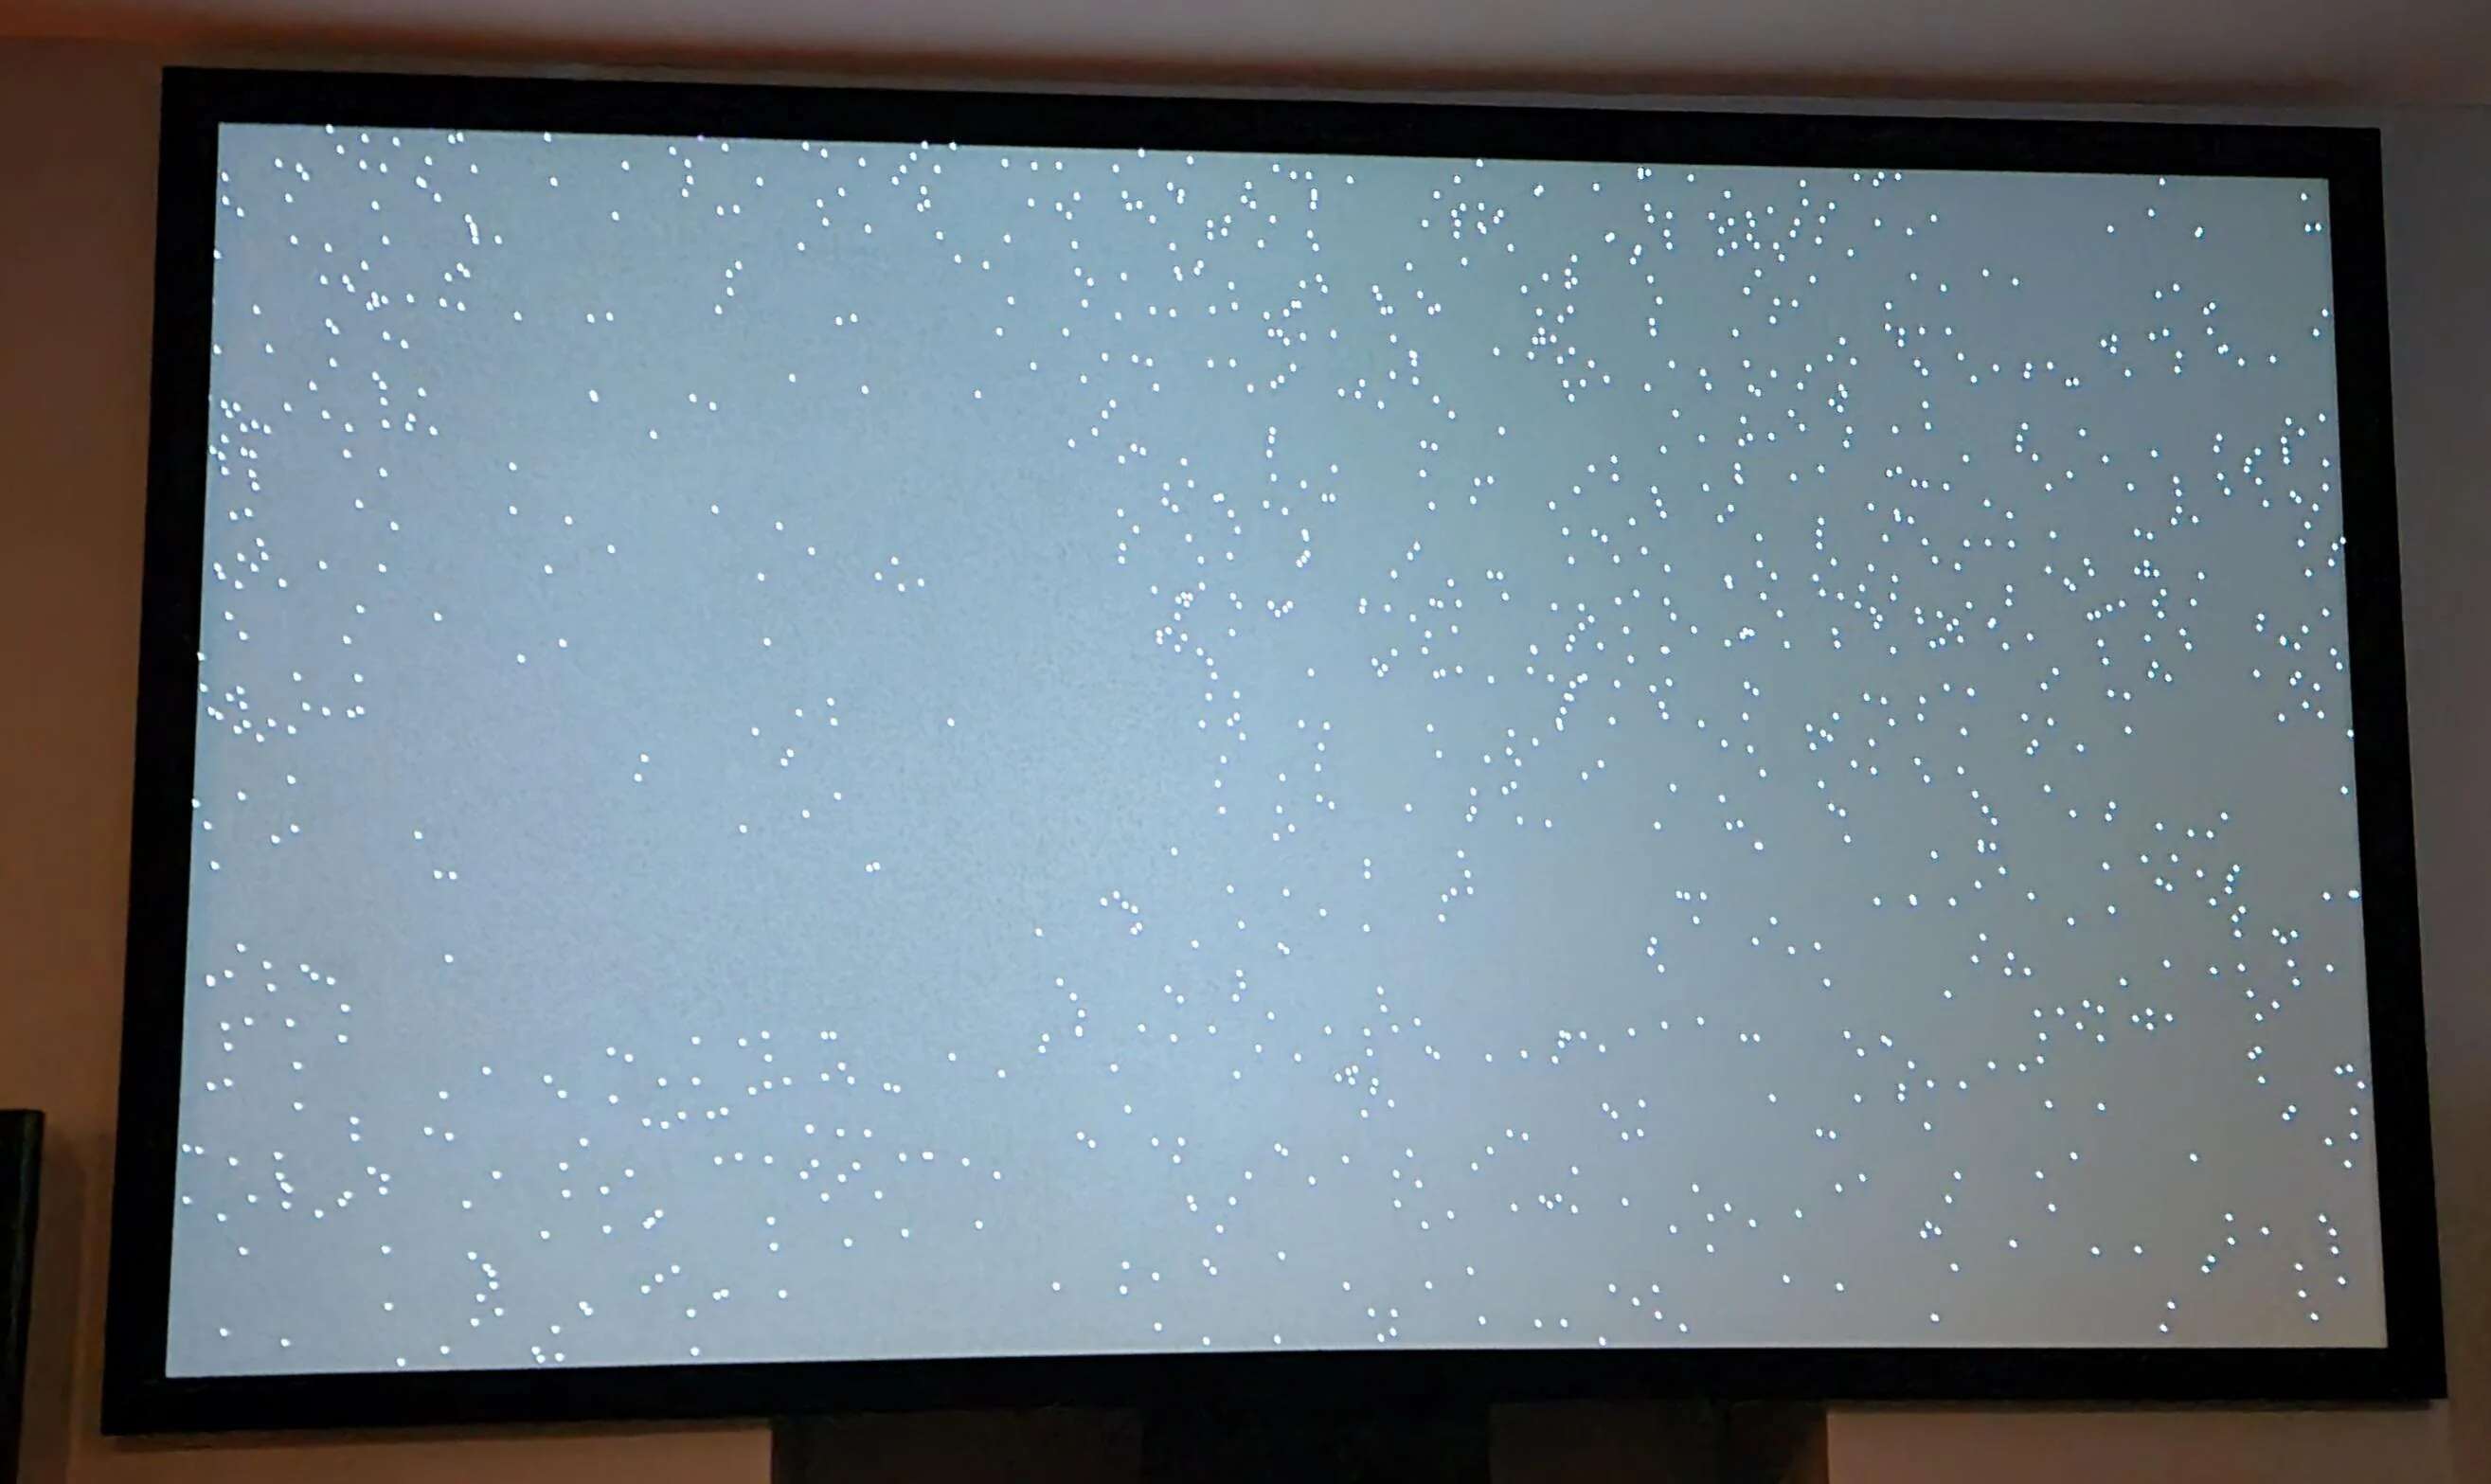
- Observe the projected image: Allow the projector to warm up for a few minutes and observe the projected image. Check for any flickering, dimness, or abnormal colors that may indicate an issue with the new bulb.
- Check for any error messages: Some projectors may display error messages on the screen if there are any issues with the bulb replacement. Take note of any error messages and refer to the user manual or manufacturer’s documentation for troubleshooting.
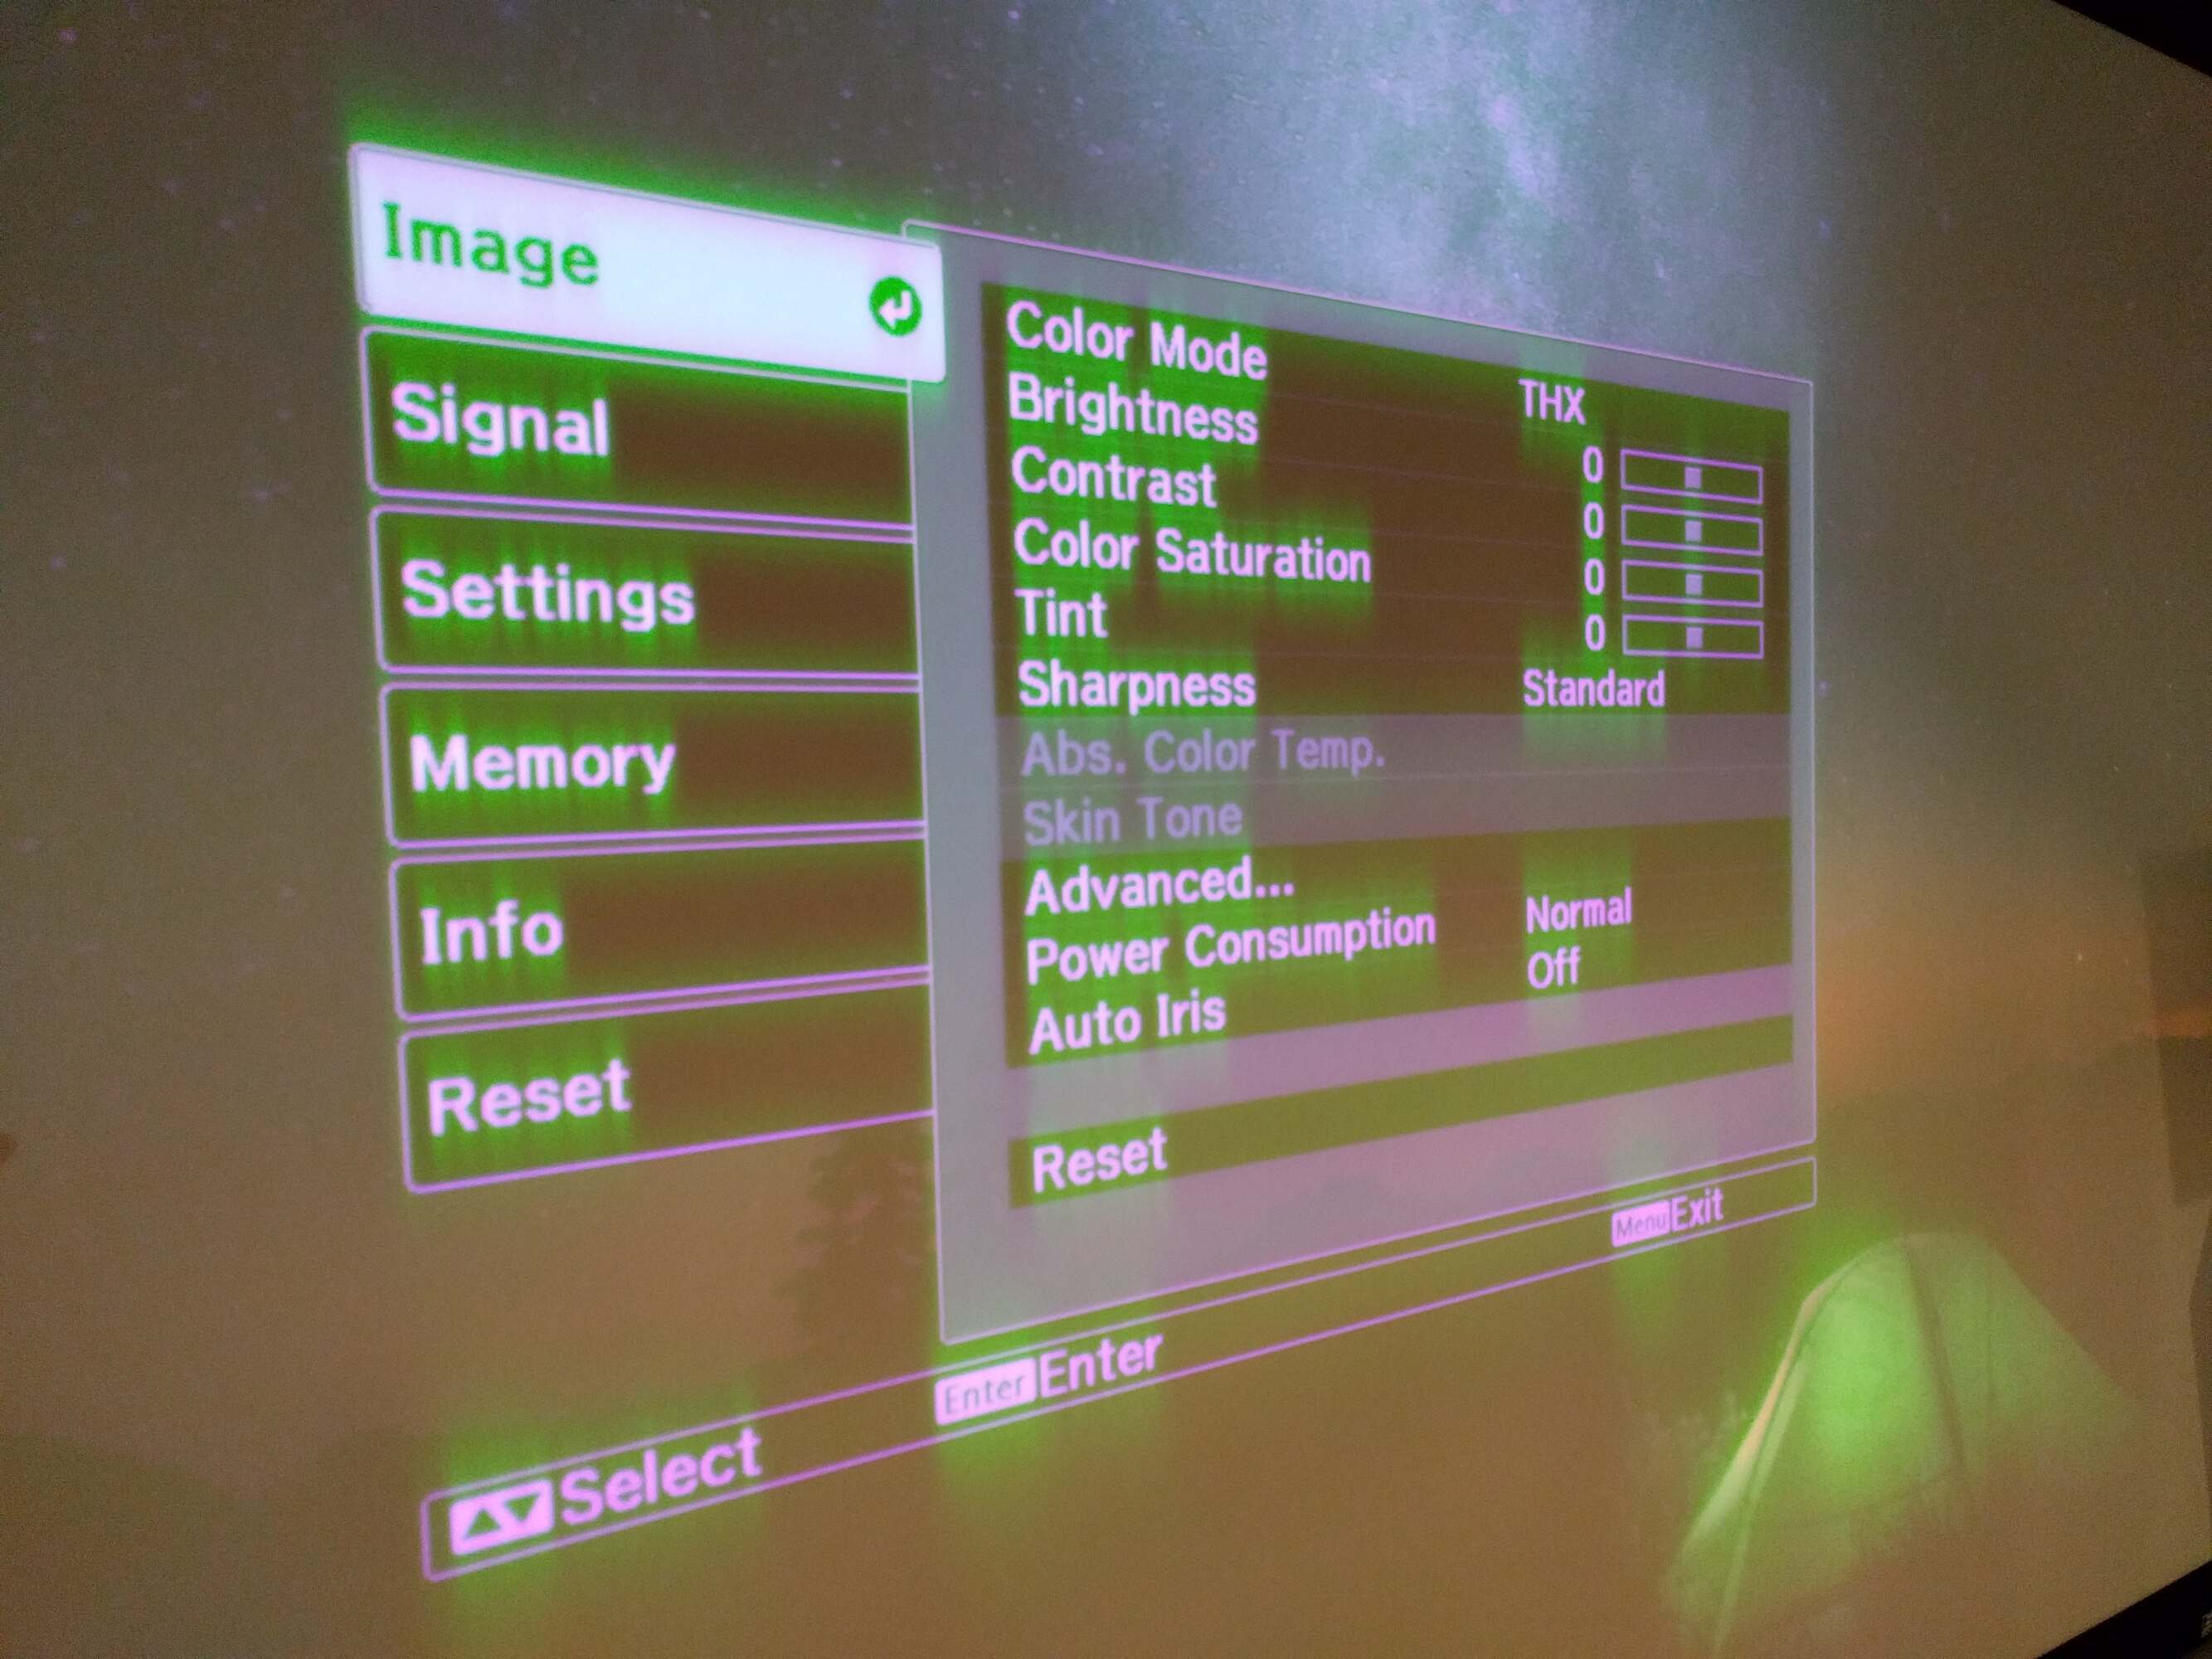
- Test different settings: Adjust the projector’s settings, such as brightness and color, to ensure that the new bulb is providing optimal image quality. Make any necessary adjustments to suit your preferences.
- Verify functionality: Test different features and functionalities of the projector, such as input sources and controls, to ensure they are working as expected with the new bulb.
If everything appears to be working properly and the projected image is bright and clear, congratulations! You have successfully replaced the bulb in your projector. If you encounter any issues or abnormalities during the testing process, refer to the user manual or seek assistance from technical support to troubleshoot and resolve the problem.
Conclusion
Changing a bulb in a projector may seem like a complex task, but with the right guidance and a little patience, it can be easily accomplished. By following the step-by-step instructions in this guide, you have successfully learned how to change a bulb in a projector and ensure its optimal performance.
Remember, proper preparation is key to a successful bulb replacement. Make sure to gather the necessary tools and materials, carefully prepare the projector, and familiarize yourself with the user manual specific to your projector model. This will help you navigate the process with confidence.
Throughout the steps, it is crucial to handle the bulb with care, wear gloves, and avoid touching the glass surface to prevent any damage. Additionally, follow safety precautions such as turning off the projector and disconnecting it from the power source before starting any work.
Once you have successfully installed the new bulb and reattached the bulb access panel, it is important to test the projector. Ensure that the projected image is clear, bright, and free from any abnormalities. Adjust the settings if necessary to optimize the image quality.
Remember that projector models may vary, and it’s always best to refer to your specific user manual for detailed instructions and precautions. If you encounter any difficulties or issues during the bulb replacement process, consult technical support or seek professional assistance.
By following this guide, you can confidently change the bulb in your projector, enhancing its performance and extending its lifespan. Now, sit back, relax, and enjoy your favorite movies, presentations, or gaming sessions with a bright and vibrant projected image!