Introduction
Canceling a subscription on Roku is a straightforward process that allows you to manage your streaming services efficiently. In this guide, we will focus specifically on canceling the Discovery Plus subscription on your Roku device. Whether you have finished watching the available content or simply want to explore other streaming options, canceling your Discovery Plus subscription can be done in just a few simple steps.
Discovery Plus is a popular streaming service that offers a wide range of shows and documentaries across various genres, including lifestyle, science, history, and more. However, if you no longer wish to continue your subscription or want to try out different streaming platforms, canceling your Discovery Plus subscription on Roku is quick and hassle-free.
By following the steps outlined in this guide, you will be able to navigate through the Roku interface and cancel your Discovery Plus subscription without any difficulty. Whether you’re using a Roku streaming stick, Roku Express, Roku Ultra, or any other Roku device, the cancelation process remains the same. So, let’s dive in and discover how to cancel your Discovery Plus subscription on Roku!
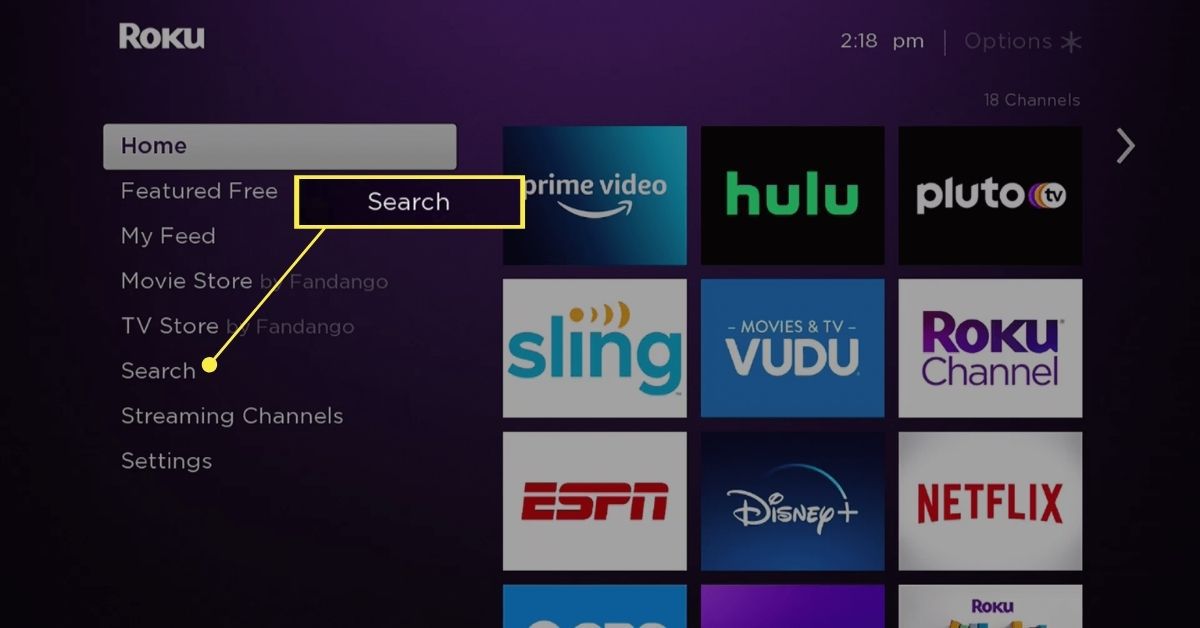
Step 1: Access the Roku home screen
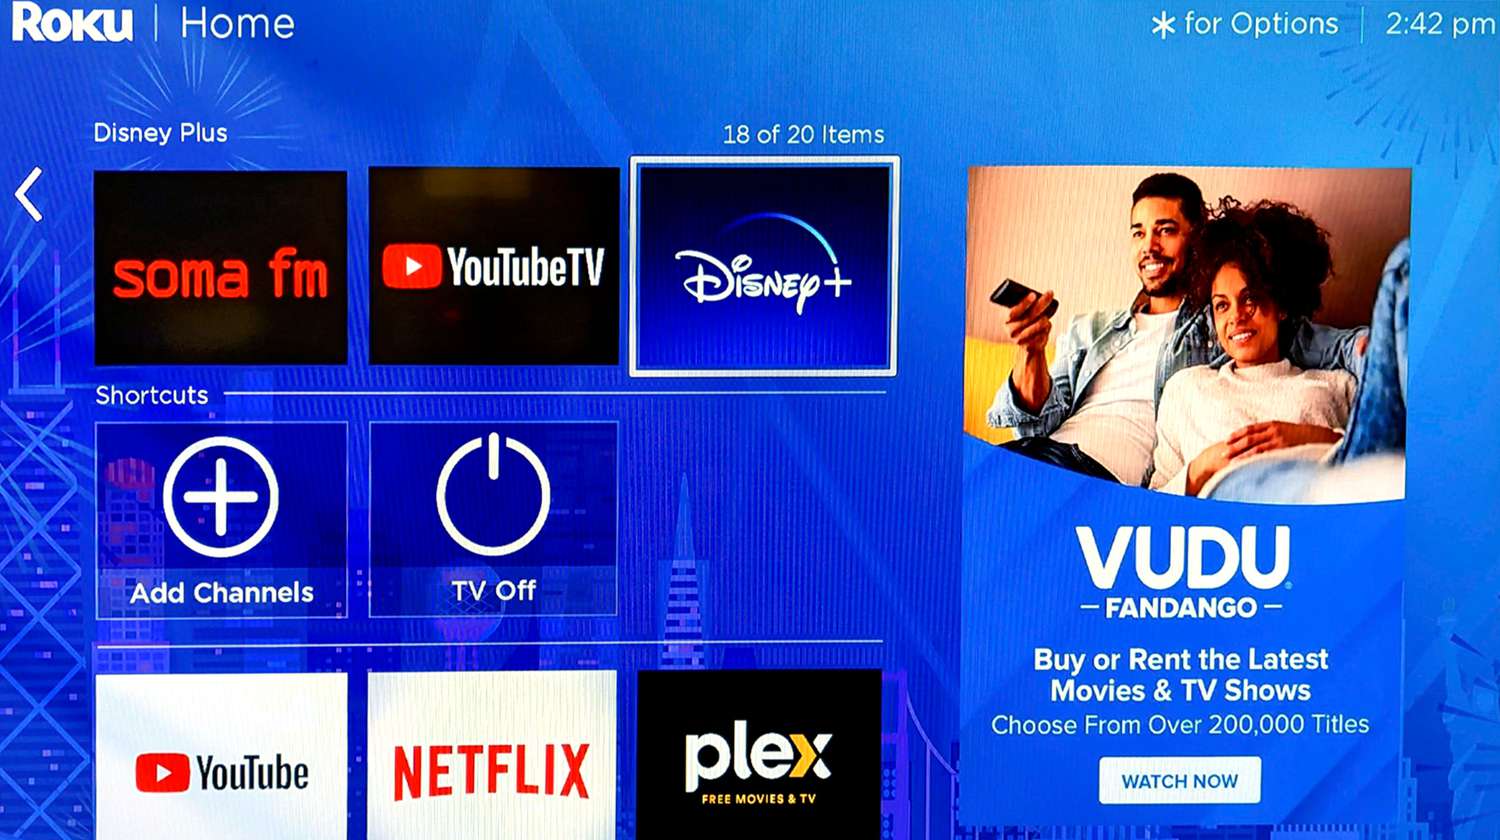
To begin the process of canceling your Discovery Plus subscription, you need to access the home screen of your Roku device. If you are currently using Roku, ensure that you are on the main screen where all your streaming channels are displayed. If not, press the Home button on your Roku remote to navigate to the home screen.
When you are on the Roku home screen, you will see a grid of icons representing various streaming channels. These icons are arranged in rows and columns, making it easy to navigate and find the desired channel.
It’s important to note that the appearance and layout of the Roku home screen may vary depending on the Roku device you are using. However, regardless of your device model, the process of canceling the Discovery Plus subscription remains the same.
Once you are on the Roku home screen, you are ready to move on to the next step of canceling your Discovery Plus subscription on Roku.
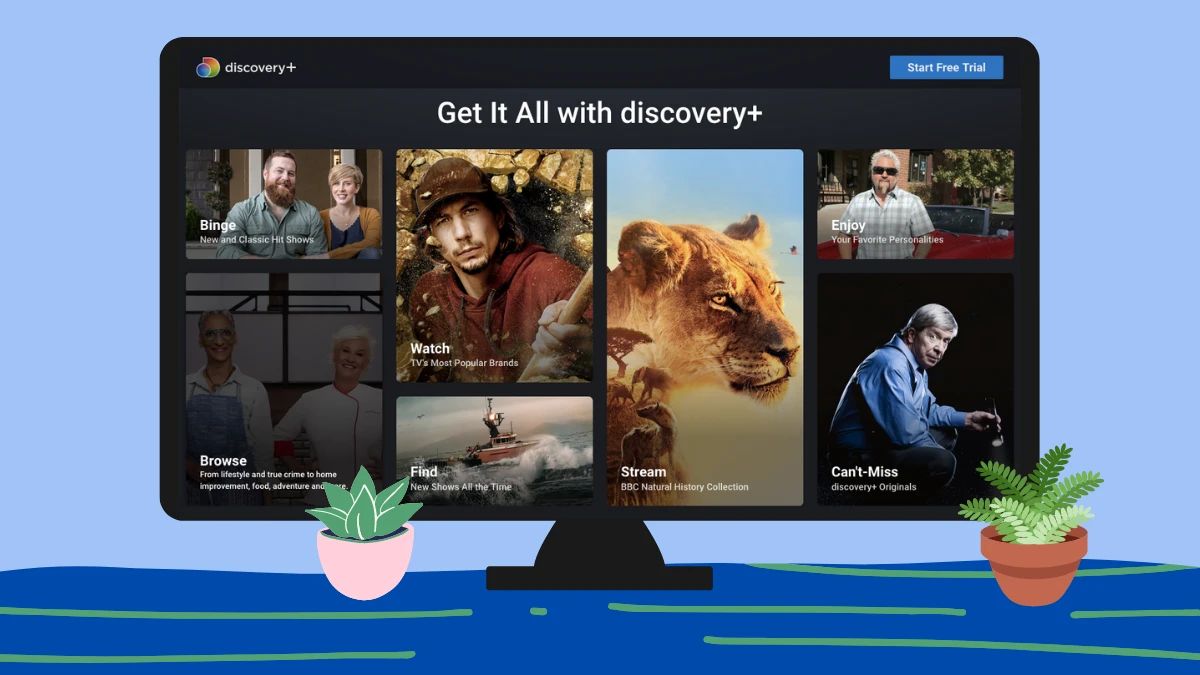
Step 2: Open the Discovery Plus channel
After accessing the Roku home screen, the next step is to locate and open the Discovery Plus channel. Look for the Discovery Plus icon among the available channels displayed on your Roku device.
Navigate through the rows and columns of icons using the arrow keys on your Roku remote. Pay attention to the channel names as you scroll to locate the Discovery Plus channel. The icons may be arranged differently on your Roku device, but the Discovery Plus channel should be easily recognizable by its familiar logo.
Once you have located the Discovery Plus channel, use the arrow key to highlight the channel icon, and then press the OK or select button on your Roku remote to open the channel.
After selecting the Discovery Plus channel, you may experience a brief loading period as the channel initializes. Be patient while the channel loads, as this should only take a few moments.
Once the Discovery Plus channel has successfully loaded, you will be taken to the main screen of the channel, where you can explore the various shows, documentaries, and other content available for streaming.
In the next step, we will dive into the ‘My Stuff’ section of the Discovery Plus channel, where you can manage your subscription and proceed with cancelation.
Step 3: Navigate to the ‘My Stuff’ section
Once you have successfully opened the Discovery Plus channel on your Roku device, it’s time to navigate to the ‘My Stuff’ section. This section allows you to manage your subscription and access personalized content.
Look for the ‘My Stuff’ option on the main screen of the Discovery Plus channel. It is typically located in the menu bar at the top or bottom of the screen. Use the arrow keys on your Roku remote to highlight the ‘My Stuff’ option.
Once the ‘My Stuff’ option is highlighted, press the OK or select button on your remote to enter the ‘My Stuff’ section.
In the ‘My Stuff’ section, you may find a range of options such as ‘Recently Watched’, ‘Favorites’, or ‘Continue Watching’. These sections allow you to easily access your favorite shows, documentaries, and other content that you have saved or previously started watching.
Scroll through the ‘My Stuff’ section using the arrow keys on your remote to familiarize yourself with the available options. Take note of any shows or documentaries that you may want to continue watching later.
In the next step, we will explore how to access the ‘Subscription’ menu within the ‘My Stuff’ section, where you can manage your Discovery Plus subscription.
Step 4: Select ‘Subscription’ from the menu
After entering the ‘My Stuff’ section in the Discovery Plus channel, it’s time to access the ‘Subscription’ menu. This menu allows you to manage your Discovery Plus subscription and make changes as needed.
Navigate through the ‘My Stuff’ section using the arrow keys on your Roku remote until you come across the ‘Subscription’ option. It is typically located within the menu or settings section of the ‘My Stuff’ screen.
Once you have located the ‘Subscription’ option, use the arrow keys to highlight it. Make sure the option is selected before proceeding to the next step.
Press the OK or select button on your Roku remote to enter the ‘Subscription’ menu.
With the ‘Subscription’ menu open, you will have access to various options related to your Discovery Plus subscription. This includes managing your billing information, modifying subscription plans, or, in this case, canceling your subscription.
Take a moment to familiarize yourself with the available options within the ‘Subscription’ menu. This will help you navigate through the subsequent steps of canceling your Discovery Plus subscription on Roku.
In the next step, we will delve into how to access the ‘Manage Subscriptions’ option within the ‘Subscription’ menu.
Step 5: Click on ‘Manage Subscriptions’
Once you have entered the ‘Subscription’ menu within the Discovery Plus channel on Roku, you will find various options related to managing your subscription. One of these options is ‘Manage Subscriptions,’ which allows you to make changes to your Discovery Plus subscription.
Using the arrow keys on your Roku remote, navigate through the available options in the ‘Subscription’ menu. Look for the ‘Manage Subscriptions’ option and highlight it.
Ensure that the ‘Manage Subscriptions’ option is selected, and then press the OK or select button on your remote to proceed.
By clicking on ‘Manage Subscriptions’, you will be taken to a new screen that provides you with detailed information about your Discovery Plus subscription. This includes your subscription plan, renewal date, and billing details.
Take a moment to review this information and verify that it corresponds to your current subscription. This step ensures that you are canceling the correct subscription and avoids any unintentional cancelations.
Once you have reviewed your subscription details, you are ready to move on to the next step and select the specific Discovery Plus subscription for cancelation.
Step 6: Choose ‘Discovery Plus’
After accessing the ‘Manage Subscriptions’ screen within the Discovery Plus channel on Roku, it’s time to select the specific Discovery Plus subscription that you want to cancel. This step allows you to confirm the cancellation for the correct subscription.
Navigate through the list of available subscriptions using the arrow keys on your Roku remote. Look for the ‘Discovery Plus’ option and highlight it.
Ensure that ‘Discovery Plus’ is selected and press the OK or select button on your remote to proceed.
By choosing ‘Discovery Plus’, you are confirming that you want to cancel your subscription to the Discovery Plus streaming service. Double-check to make sure that you have selected the correct subscription before proceeding to the next step.
It’s important to note that if you have multiple subscriptions managed through Roku, they will be listed in the ‘Manage Subscriptions’ screen. Take extra care to select the ‘Discovery Plus’ subscription specifically for cancelation.
In the next step, we will explore how to proceed with canceling your selected Discovery Plus subscription on Roku.
Step 7: Select ‘Cancel Subscription’
Once you have chosen the ‘Discovery Plus’ subscription that you wish to cancel, it’s time to proceed with the cancellation process. In this step, you will find the ‘Cancel Subscription’ option within the Discovery Plus channel on Roku.
Navigate through the available options on the ‘Manage Subscriptions’ screen using the arrow keys on your Roku remote. Look for the ‘Cancel Subscription’ option and highlight it.
Ensure that the ‘Cancel Subscription’ option is selected and press the OK or select button on your remote to continue.
By selecting ‘Cancel Subscription’, you are signaling your intent to cancel the Discovery Plus subscription you have chosen. This action will prompt a confirmation dialog to ensure that you want to proceed with the cancellation.
At this point, Roku may present you with additional options, such as pausing your subscription rather than canceling it. Read through the information provided and make your desired choice carefully.
In the next step, we will cover confirming the cancellation request for your Discovery Plus subscription on Roku.
Step 8: Confirm cancellation
After selecting the ‘Cancel Subscription’ option, you will be prompted to confirm your decision to cancel your Discovery Plus subscription on Roku. This step ensures that you are intentionally canceling the subscription and provides one final opportunity to reconsider.
Read the confirmation message carefully. It typically includes information about the consequences of canceling, such as the loss of access to Discovery Plus content and any applicable refunds or credits.
Once you have reviewed the information, use the arrow keys on your Roku remote to highlight the ‘Confirm’ or ‘Yes’ option. This confirms your cancellation request.
Press the OK or select button on your remote to finalize the cancellation of your Discovery Plus subscription.
After confirming the cancellation, Roku may display a confirmation message acknowledging that your subscription has been successfully canceled.
It’s always a good idea to take note of any confirmation or reference numbers provided by Roku. These can serve as proof of cancellation or be used for any future inquiries or support requests.
With the cancellation confirmed, you have successfully canceled your Discovery Plus subscription on Roku.
Remember, after canceling your subscription, you will no longer have access to Discovery Plus content once your current billing period ends.
Now that you have completed the cancellation process, you are free to explore other streaming options or reconsider subscribing to Discovery Plus at a later time.
Conclusion
Canceling your Discovery Plus subscription on Roku is a simple and straightforward process. By following the steps outlined in this guide, you can easily navigate through the Roku interface and cancel your subscription in just a few simple clicks.
We started by accessing the Roku home screen and then opening the Discovery Plus channel. From there, we navigated to the ‘My Stuff’ section and selected the ‘Subscription’ menu. In the ‘Subscription’ menu, we clicked on ‘Manage Subscriptions’ and chose the specific Discovery Plus subscription for cancelation. Finally, we selected ‘Cancel Subscription’ and confirmed the cancellation.
Remember to review the confirmation messages and take note of any reference numbers provided by Roku. This will help ensure a smooth cancellation process and serve as proof of your cancellation if needed in the future.
After canceling your subscription, you will no longer have access to Discovery Plus content once your current billing period ends. You are now free to explore other streaming options or consider subscribing to Discovery Plus again at a later time.
Whether you are looking to try out different streaming services or simply want to take a break from Discovery Plus, canceling your subscription on Roku is a hassle-free process that allows you to manage your streaming services efficiently.
Thank you for following this guide on how to cancel your Discovery Plus subscription on Roku. Happy streaming!