Identify your gear and calibrate Apple Pencil limits
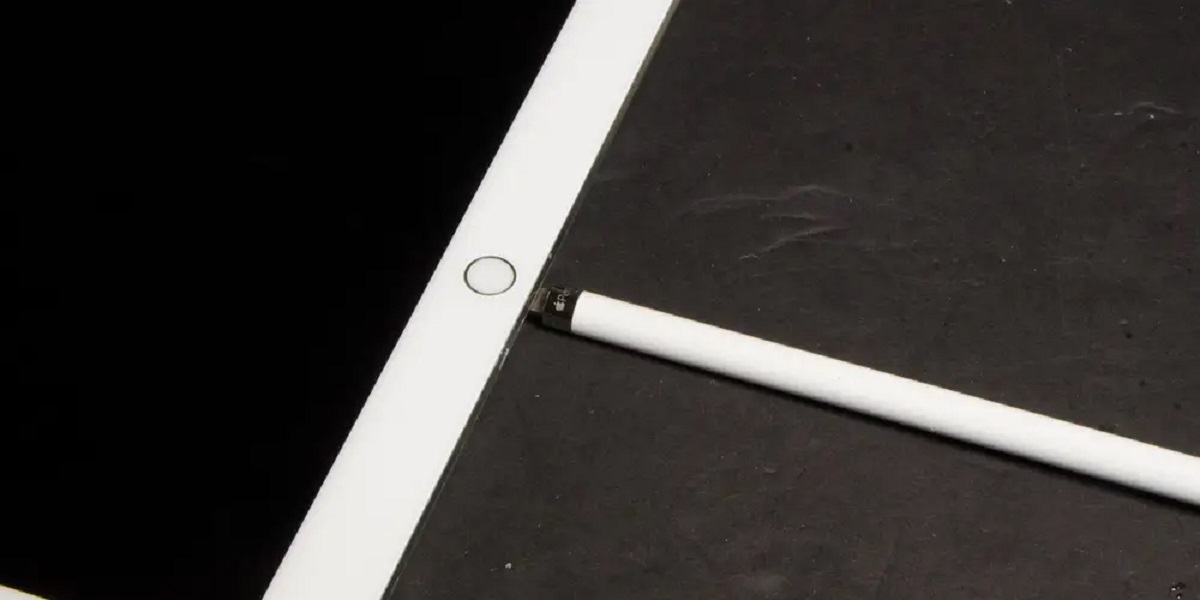
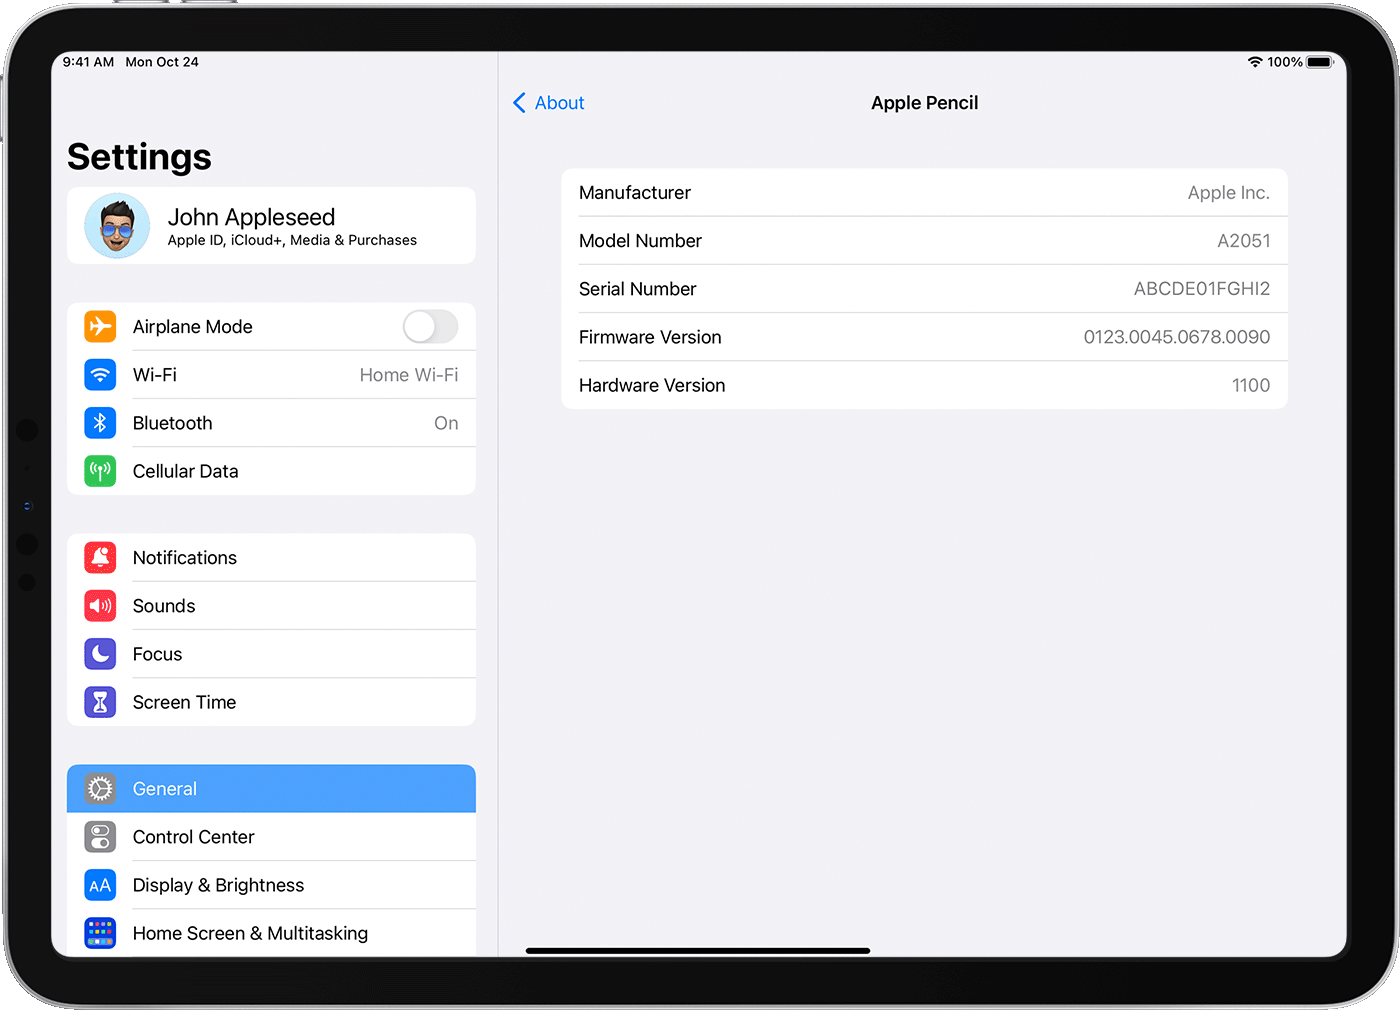
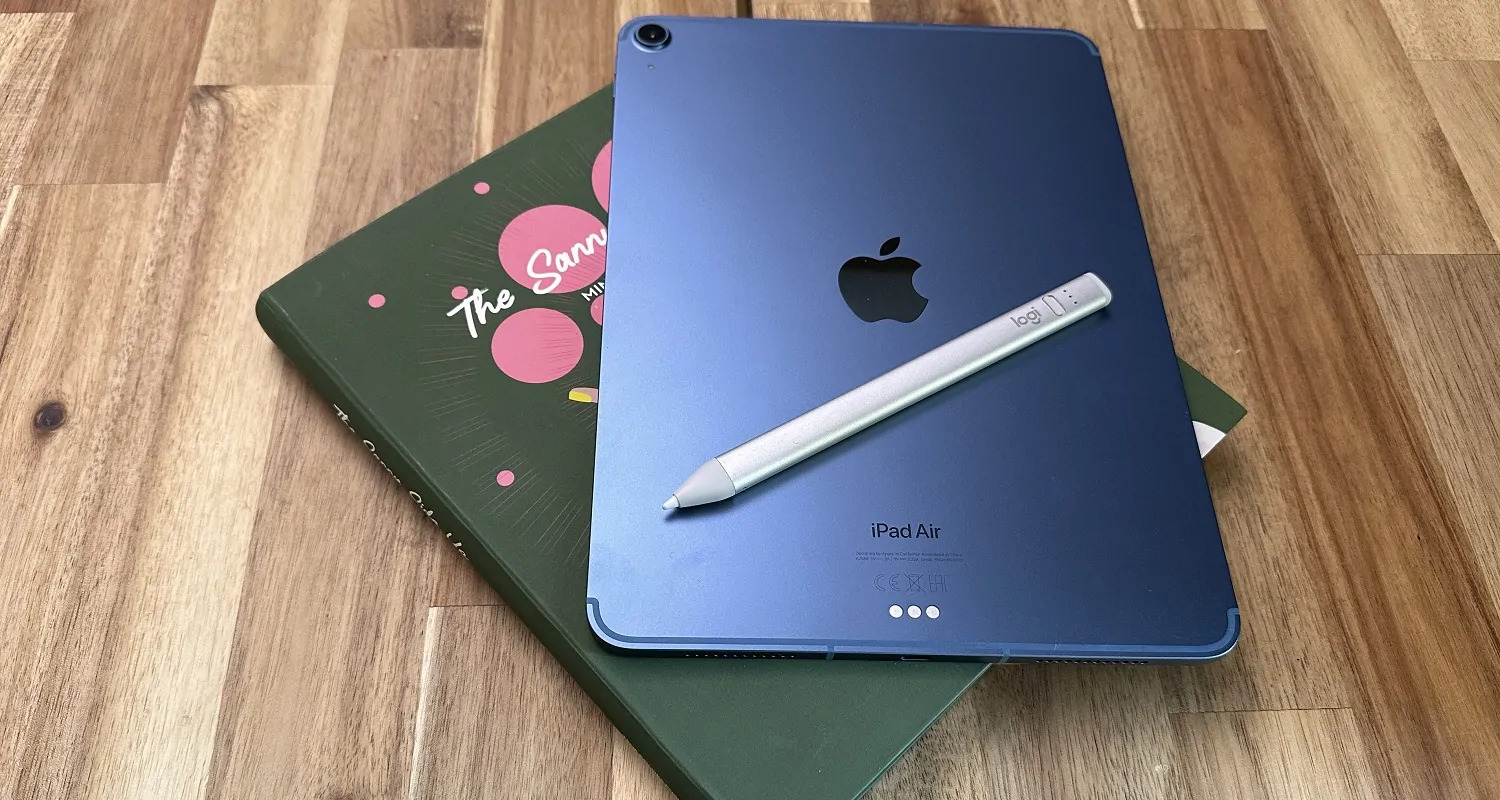
To calibrate Apple Pencil properly, start by physically inspecting your hardware. The first generation has a removable cap that reveals a Lightning connector. The second generation has a flat side with a magnetic charging strip and no cap. If you are unsure which model you own, you can identify your Apple Pencil model by checking the barrel for a model number. Look for the model number on the barrel. Once you have identified the hardware, confirm the pencil is actually powered on. A dead battery is the most common reason for a stylus that seems "broken." You need to tell if Apple pencil is dead by attaching it to your iPad and checking the battery widget. If no charge percentage appears, the battery is likely drained. Even if the pencil shows a charge, it may have internal damage. Try drawing a straight line in Notes. If the line wavers, skips, or fails to register, the hardware itself is compromised. Remember that calibration is not a single iPad setting. It is a chain of model-specific checks, app-level tool adjustments, and the hard truth that sometimes the pencil, not the software, is the problem. Only once you have ruled out a dead or damaged stylus should you proceed to tweak anything else.
Tune the feel and response
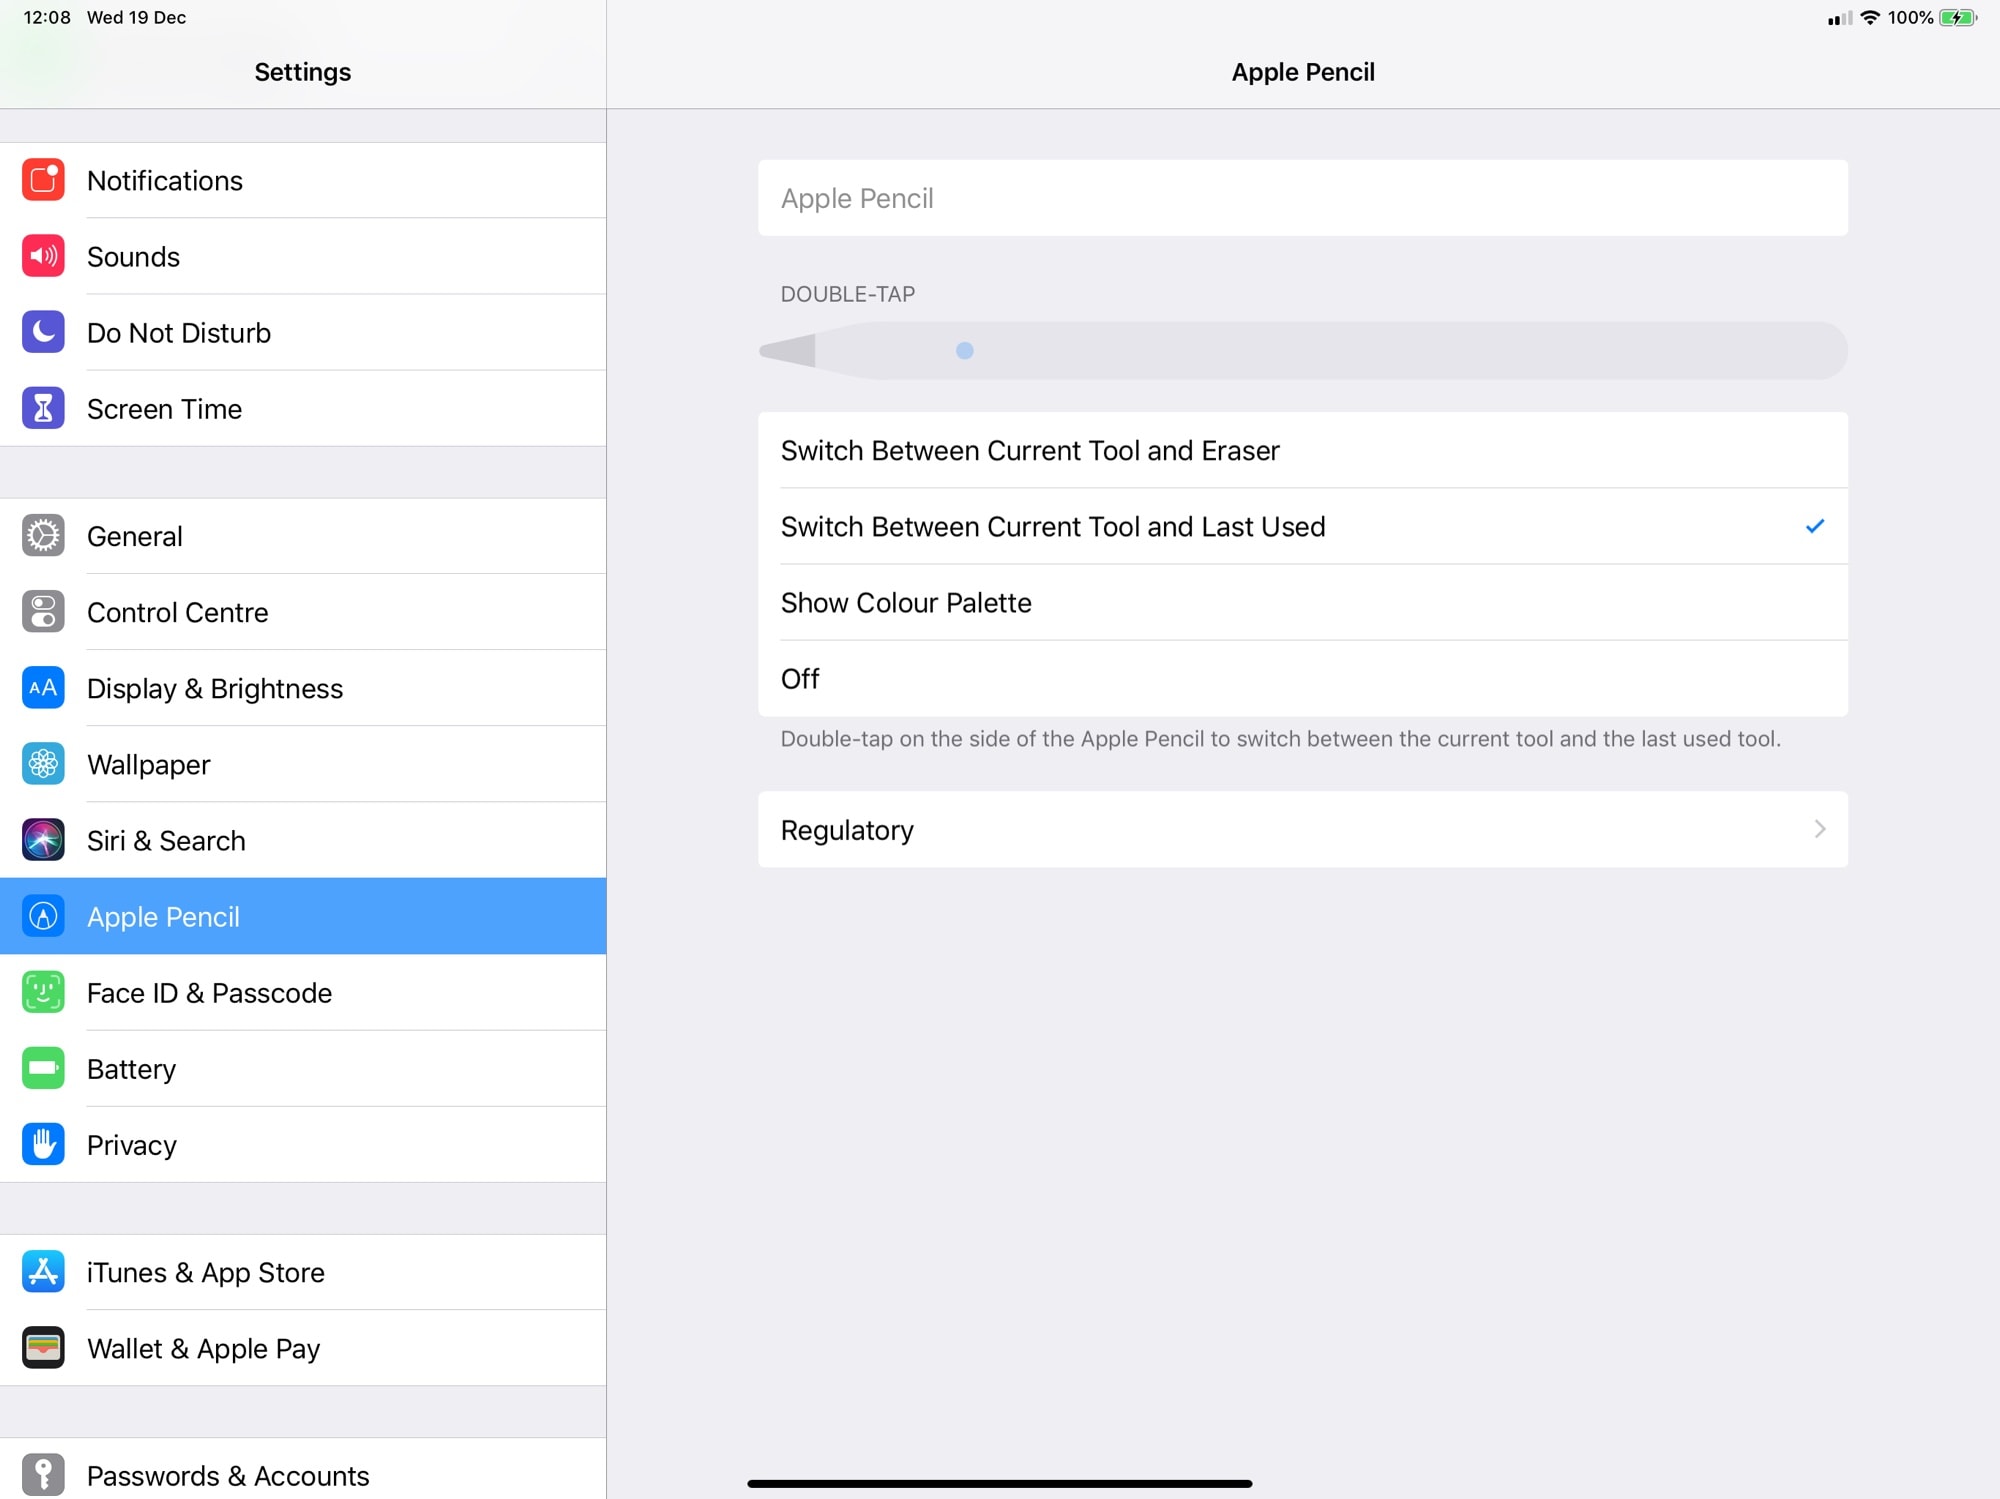
To tune the feel and response of your Apple Pencil, start by opening a drawing or note-taking app. Choose one that offers brush or tool settings. Most professional apps like Procreate, Adobe Fresco, or GoodNotes let you **adjust Apple pencil sensitivity**. Modify the pressure curves. Make light strokes feel heavier. Reduce the pressure required to trigger a line. This is useful if you prefer a lighter touch. If strokes feel sluggish or too reactive, check the app's stabilisation or smoothing options. These control how much the software cleans up your hand movement. Remember that the hardware itself rarely needs intervention. A laggy or jumpy line often points to a worn tip, a dirty screen, or a Bluetooth glitch. Before diving into settings, test your pencil. Draw a slow diagonal line in a basic app like Notes. If the line wobbles or breaks, restart your iPad or re-pair the pencil. Only after confirming the hardware is stable should you spend time tweaking per-app profiles. Each app stores its own calibration data. You will need to repeat these adjustments for every program you use regularly. This approach keeps your expectations aligned with how the pencil actually behaves across different creative tools. You cannot find a single universal sensitivity slider in iPadOS Settings because Apple relies on each app to interpret the pencil’s raw data individually.
Write in specific apps
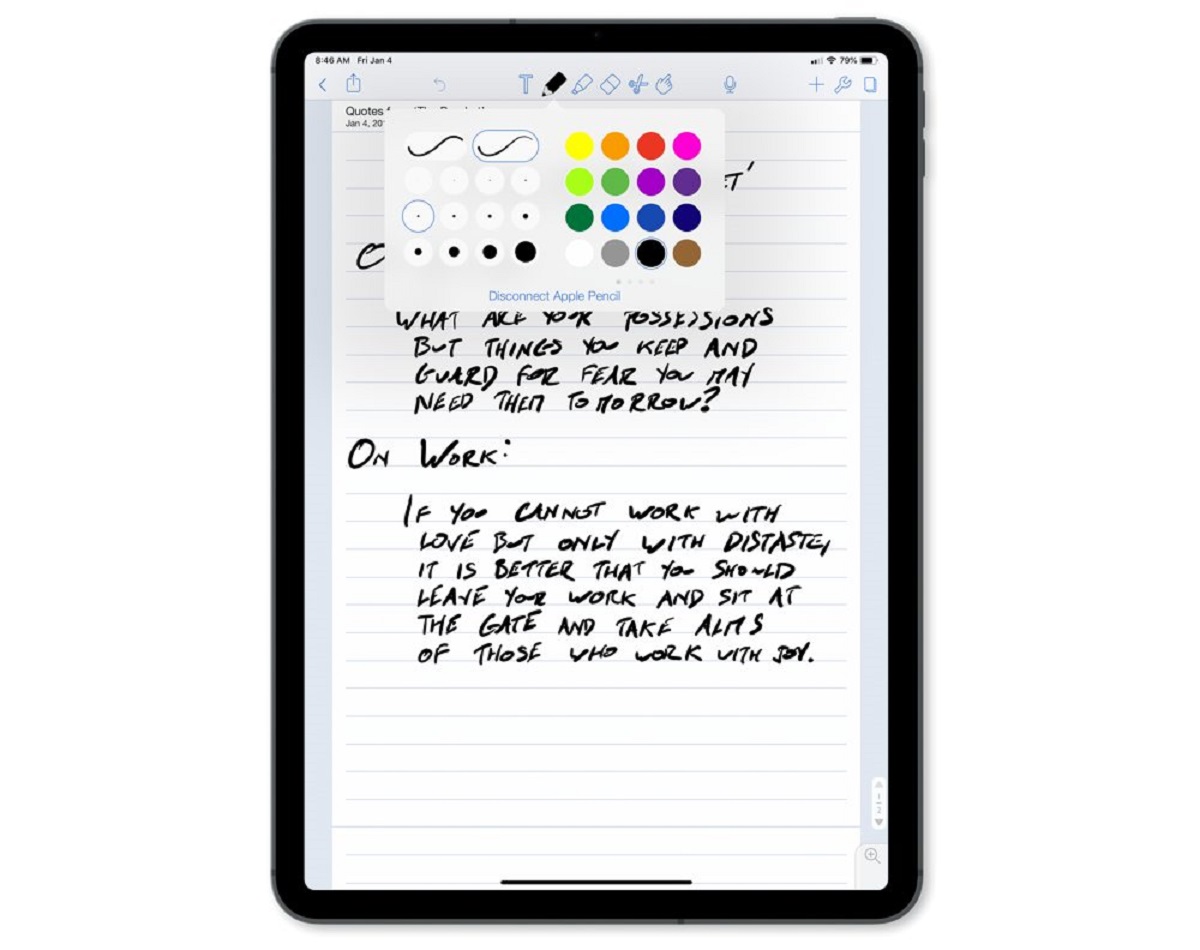
Open Notability. Tap the hand icon in the toolbar to write in Notability without Apple pencil using your finger. Tap the hand icon again to return to the pencil. Open the tool palette. Cycle through the pen, highlighter, and eraser. This may help reset the pencil's behavior without restarting anything.
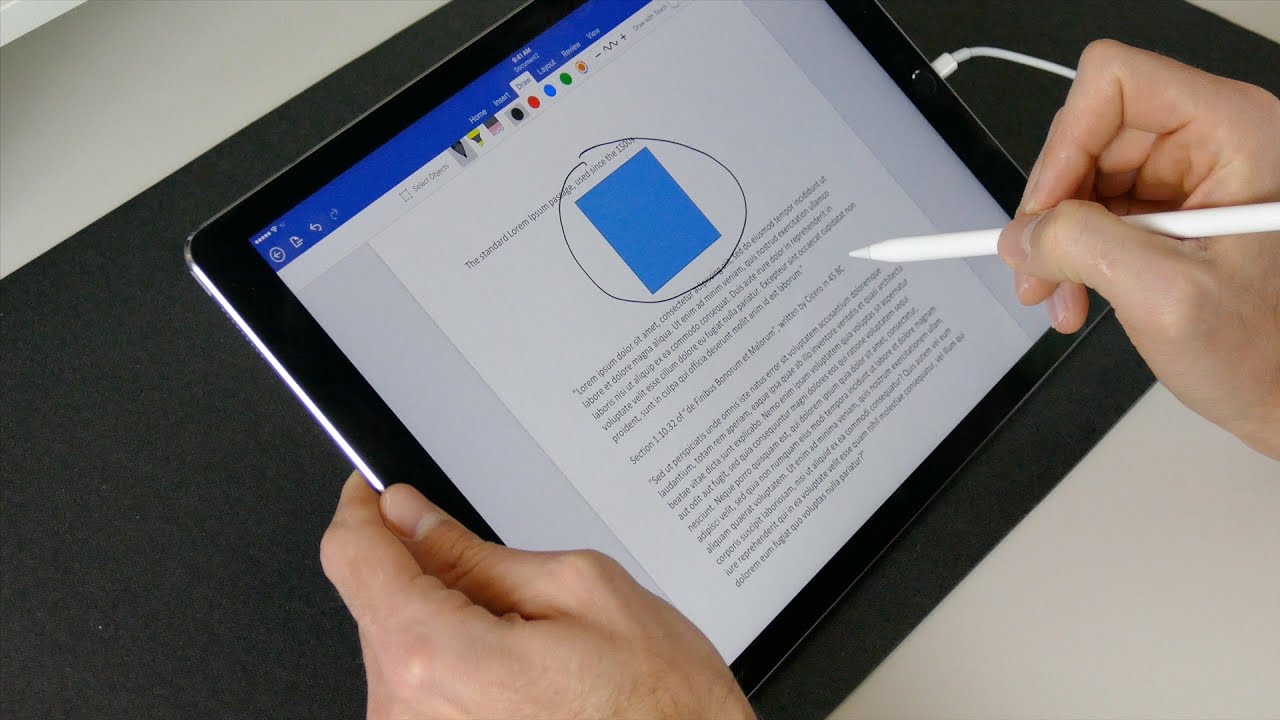
Google Docs uses a web-based canvas that introduces noticeable latency, especially on older iPad models. To write with Apple pencil on Google docs, open the "Draw" menu rather than typing. Draw a slow, continuous loop. If the line breaks or skips, the issue is likely the browser's rendering, not the pencil. Swipe Safari or Chrome away from the app switcher to hard close it. Reopen the document. This may help restore smooth tracking.
If neither app behaves after these steps, test the pencil in a native Apple app like Notes. Consistent problems there point to a hardware issue, such as a worn tip or a loose internal connection, rather than an app-level calibration problem.
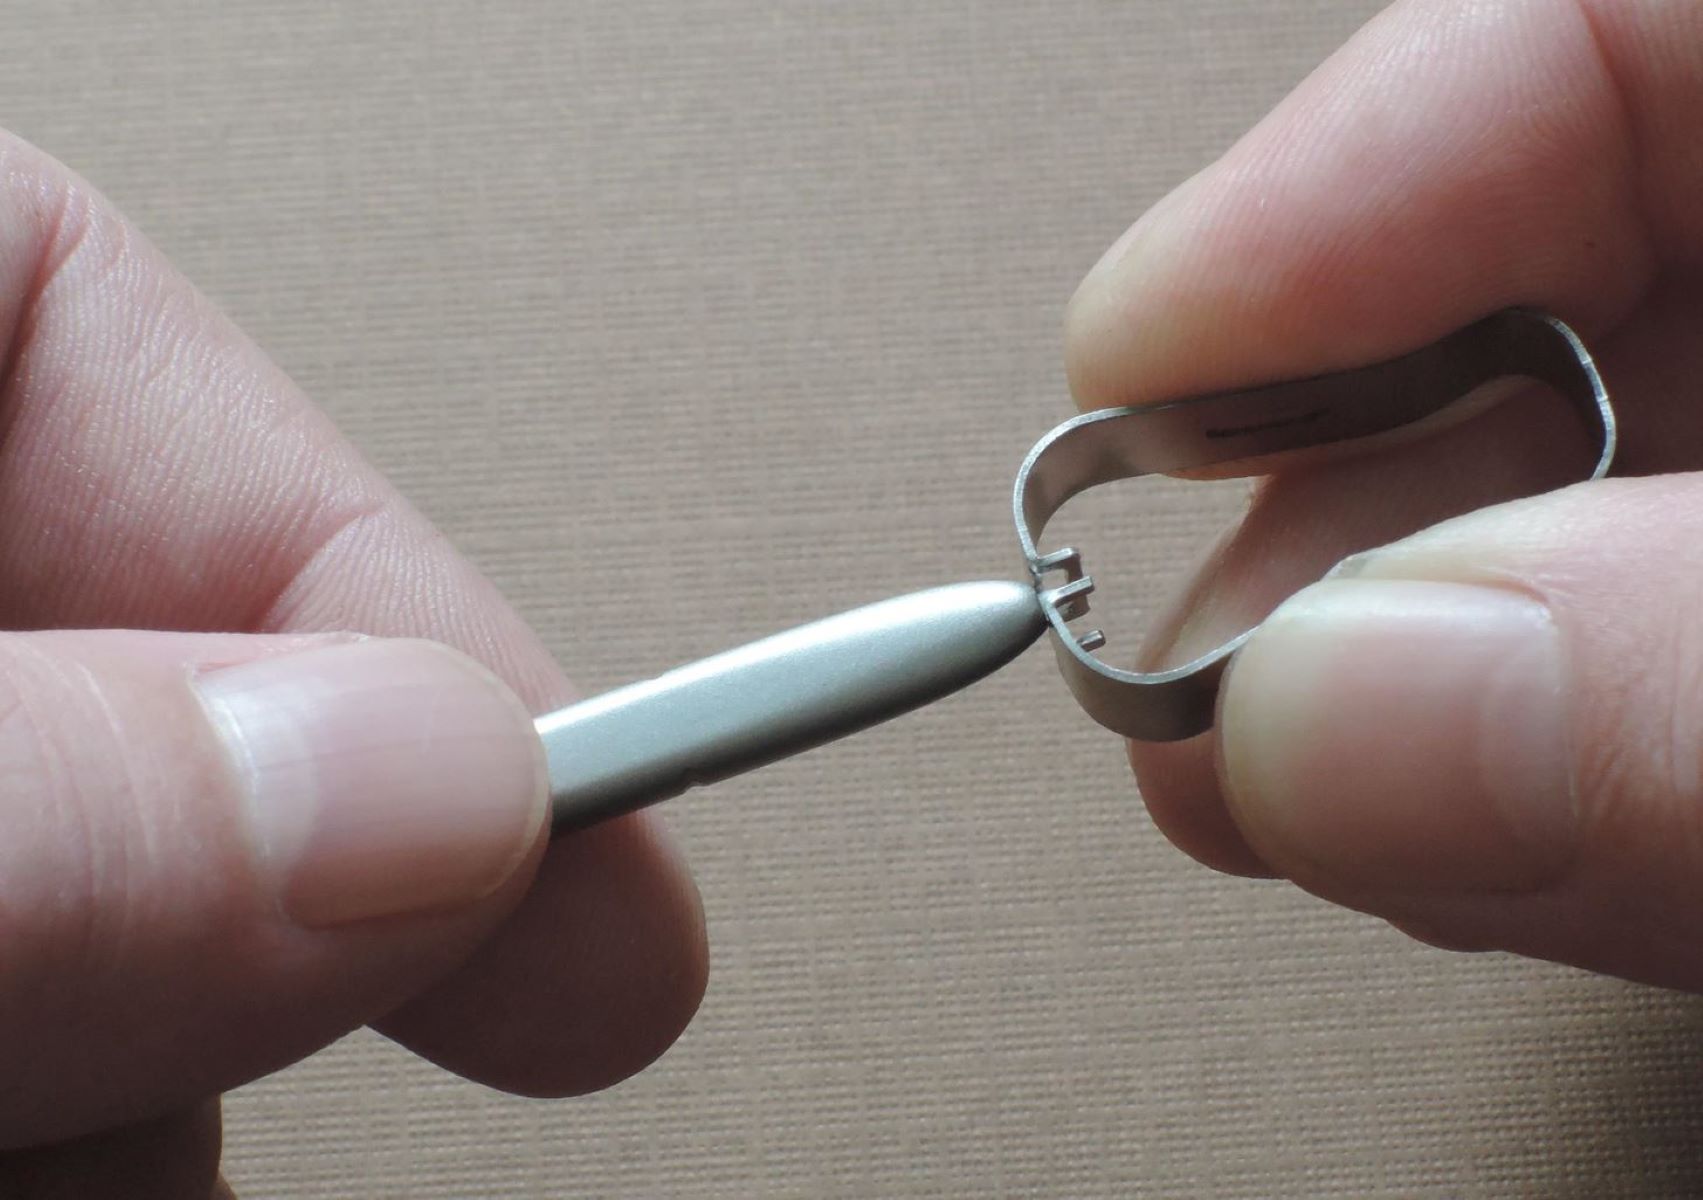
\nRelated reading: Tip Replacement: Swapping Out Your Stylus Tip.