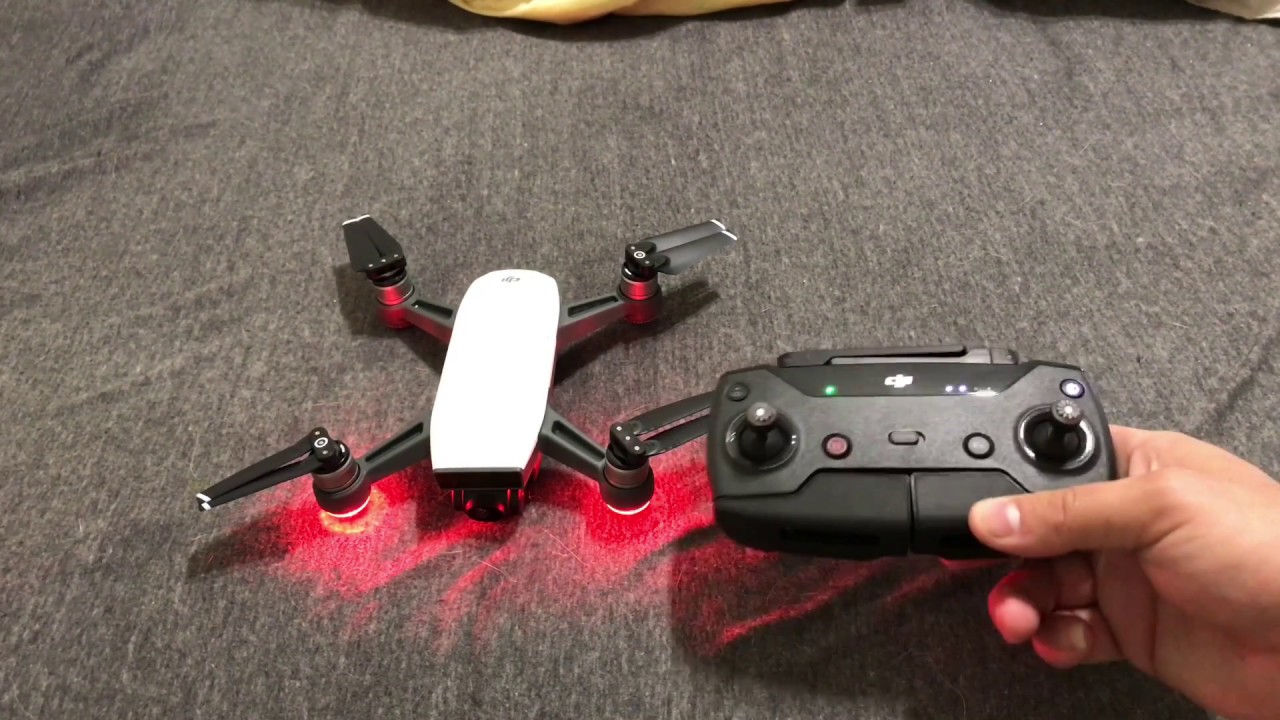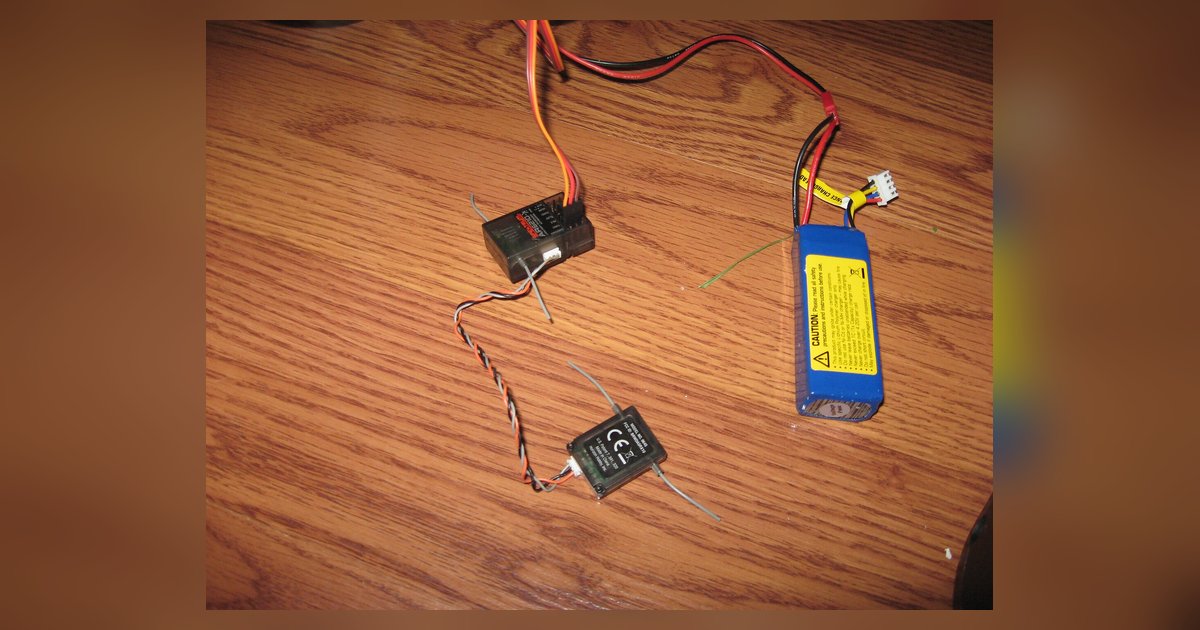
You need to put both the receiver and radio into binding mode so they exchange a unique link key. Without this handshake, the receiver ignores your transmitter even if everything is wired correctly.
What binding a drone receiver actually does
Pairing creates a permanent link between one receiver and one radio model by storing a unique identifier, often a 16-byte key, in both devices. A receiver fresh out of the box ships in an “unbound” state, listening for any transmitter that sends a pairing request. Until that handshake completes, the receiver outputs only zeros to the flight controller, which Betaflight interprets as no stick movement. This prevents interference from other radios nearby. Once linked, the receiver will ignore all other transmitters unless you explicitly re-establish the connection.
Syncing an FrSky receiver
For FrSky D16 receivers (e.g., X4R-SB, R-XSR), power the receiver via the flight controller, then press and hold the bind button on the receiver while powering it on, then release the button; the LED will flash rapidly. The LED will flash rapidly. On your radio, enter the Model Setup menu, set the internal RF mode to D16, and select “Bind.” The radio emits a pairing signal. When the receiver LED changes from rapid flashing to a solid green or slow blink, the process succeeded. For ACCESS receivers (e.g., Archer series), use the same button sequence but set the RF mode to ACCESS and confirm the receiver’s firmware version matches your radio’s module firmware. If the LED stays off or blinks erratically, power cycle both devices and try again. A successful handshake always produces a clear, consistent LED pattern described in the receiver’s manual.
Linking a Crossfire receiver
With a Crossfire Nano or Diversity receiver wired to your flight controller, open the TBS Agent Lite menu on your radio (consult your radio's manual for the exact menu location). Select “Bind Receiver” from the list. The radio will display “Searching for receiver.” Power cycle the receiver by briefly unplugging its power wire or the flight controller’s USB. The receiver’s LED should flash rapidly, then turn solid. If Agent Lite cannot find the receiver, locate the tiny bind button on the receiver itself and press it to force the receiver into pairing mode. This emergency fallback forces the receiver into pairing mode regardless of the radio’s Agent Lite state. After a solid LED appears, exit the menu; stick movement should appear in Betaflight’s Receiver tab.
When the handshake fails silently
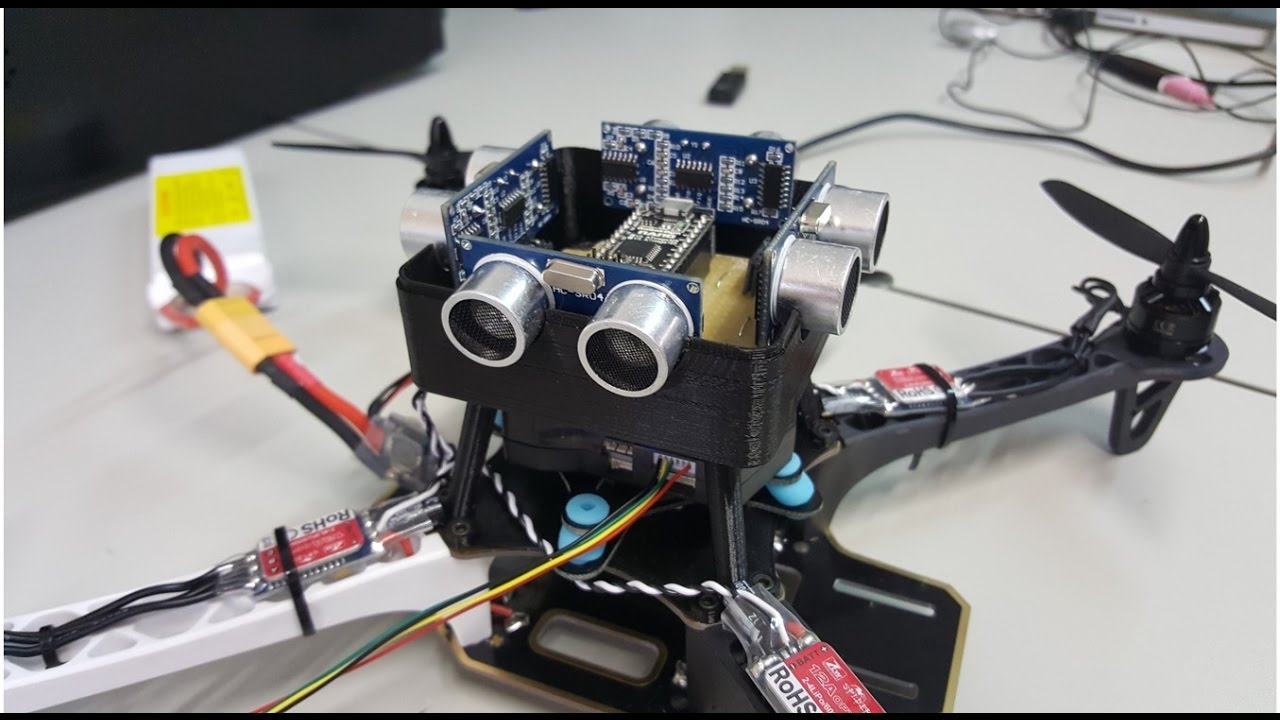
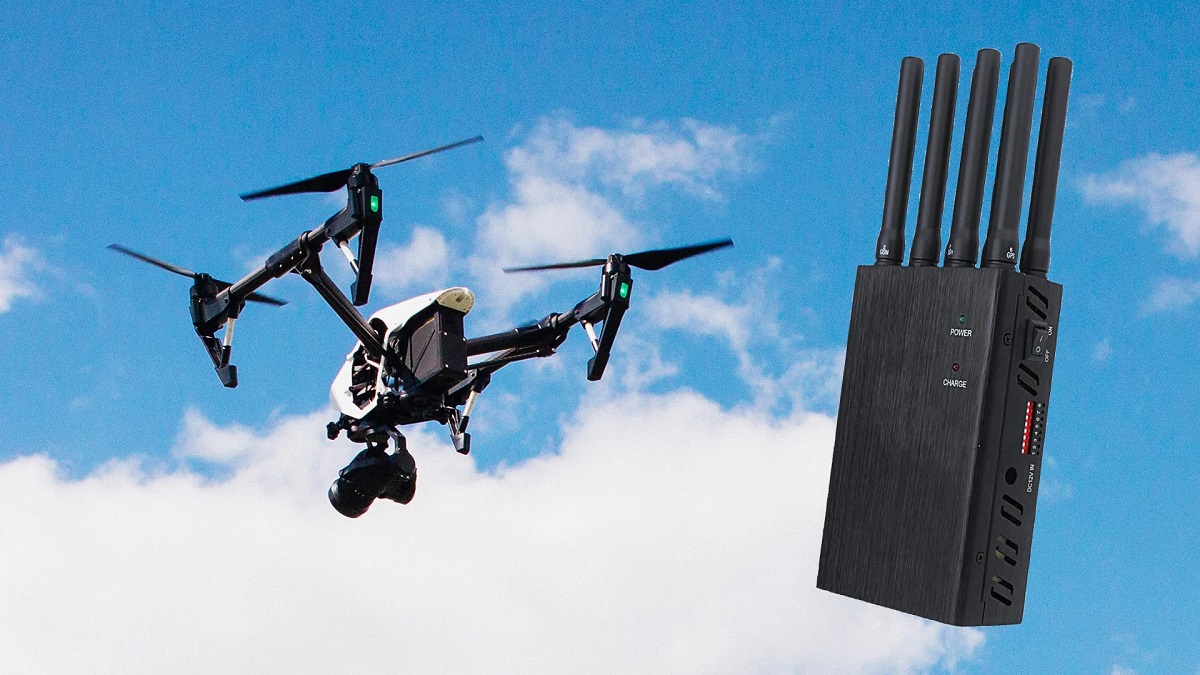
The most common silent failure is mismatched firmware between the receiver and the radio module. For example, an FrSky receiver flashed with ACCESS firmware will connect to a radio running ACCST D16, the LED may go solid, but no sticks move. To diagnose, check the firmware version on both devices via the radio’s Info screen and the receiver’s firmware flashing tool (e.g., FrSky’s STK tool or Crossfire’s TBS Agent). If you ever need to build a drone with Arduino for a custom flight controller, the same pairing rules apply: the receiver must be matched to the radio before any serial data flows. Conversely, if you order walmart drone delivery, the receiver in that box is already linked at the factory, so you never see this step. And if you want to use a drone in Ghost Recon Breakpoint, the game simulates the process automatically. But for a real build, if you accidentally skip this step, you may wonder how to block interference; the real fix is simply completing the pairing sequence. Always power cycle both devices after a silent attempt, then recheck Betaflight’s Receiver tab for moving bars.
The receiver must be matched to the radio before any serial data flows; if you skip this step, no stick movement will ever appear in Betaflight. For a deeper dive into the full scope of buying, building and flying drones, this binding process is just one critical step in a rewarding journey that connects every component of your build.