Introduction
Welcome to the world of technology, where everything seems to be digitized and stored on our computers. From important work documents to cherished family photos, our computers hold a plethora of valuable data. But what if something were to happen to our computer? A hardware failure, a virus attack, or even accidental deletion could potentially wipe away all our precious files in the blink of an eye. This is where backing up your computer becomes crucial.
Backing up your computer is like creating a safety net for your data. It ensures that even if something goes wrong with your computer, you have a copy of all your files securely stored elsewhere. One of the best ways to backup your computer is by using an external hard drive. In this article, we will guide you through the process of backing up your computer to an external hard drive in Windows 10.
By following the steps outlined in this guide, you will be able to safeguard your important files, restore them easily if needed, and have peace of mind knowing that your data is secure. So, let’s dive into the steps of backing up your computer to an external hard drive in Windows 10.
Step 1: Connect the External Hard Drive
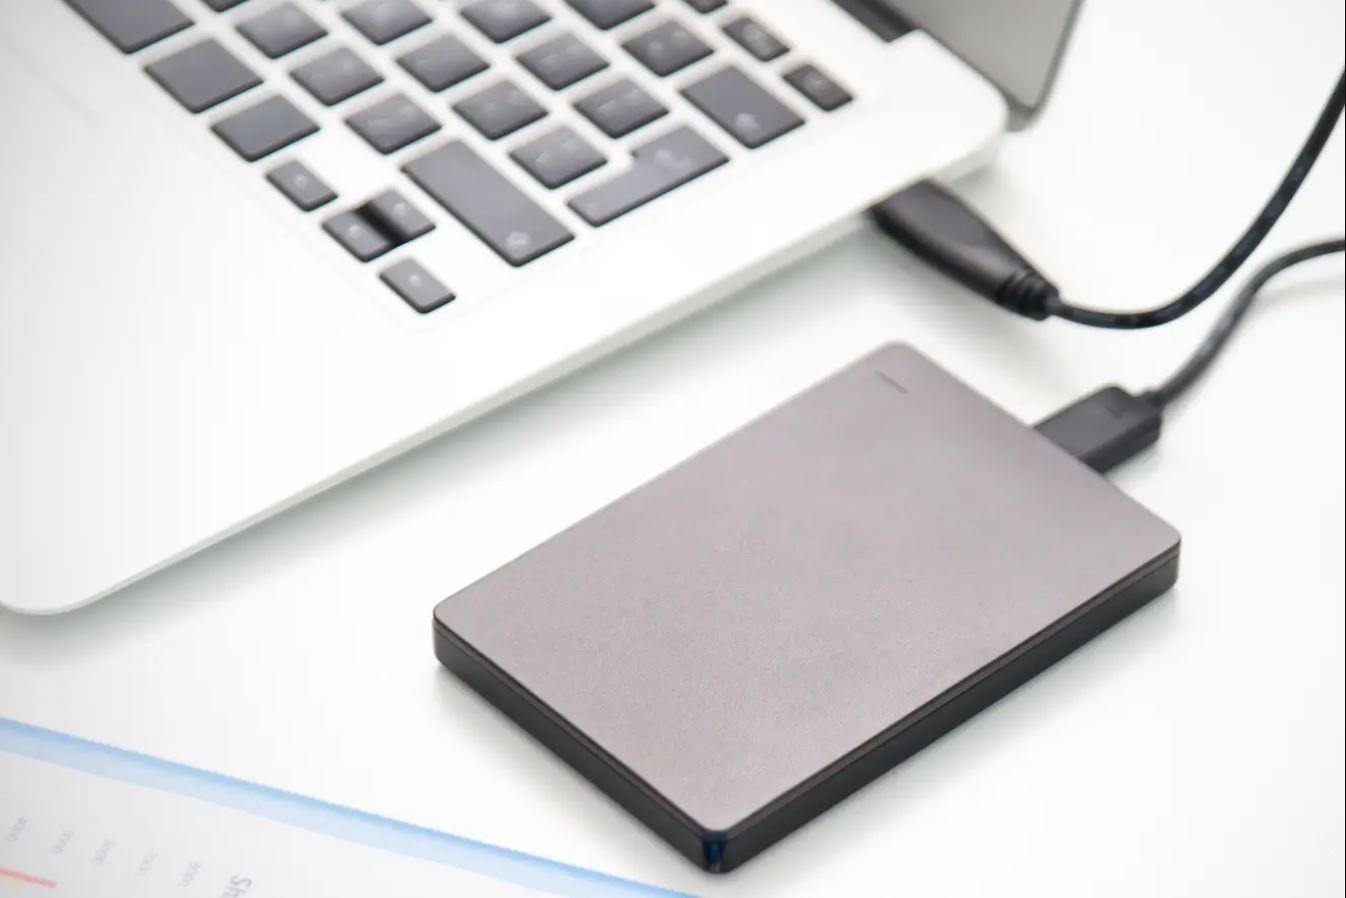
The first step in backing up your computer to an external hard drive is to ensure that the drive is properly connected to your computer. To do this, follow these simple steps:
- Locate an available USB port on your computer.
- Take the USB cable that came with your external hard drive and plug one end into the external hard drive and the other end into the USB port on your computer.
- Make sure that the external hard drive is powered on and that it is recognized by your computer. You may hear a sound or see a notification on your screen indicating that a new device has been connected.
- Wait for a few moments to allow your computer to detect and install the necessary drivers for the external hard drive.
- Once the external hard drive is successfully connected and recognized by your computer, you are ready to proceed with the next steps.
It is important to note that different external hard drives may have varying connection methods. Some may use USB 3.0 or USB-C, while others may require additional power sources. Refer to the user manual or documentation that came with your specific external hard drive for any special instructions on how to connect it to your computer.
Once you have successfully connected the external hard drive to your computer, you can move on to the next step of configuring the backup settings in Windows 10.
Step 2: Open File History Settings
Now that your external hard drive is connected to your computer, it’s time to open the File History settings in Windows 10. The File History feature allows you to automatically back up your files and folders to the external hard drive. Here’s how you can access the File History settings:
- Click on the “Start” menu at the bottom left corner of your screen.
- In the search bar, type “Control Panel” and click on the search result to open it.
- Once the Control Panel window appears, locate and click on the “System and Security” option.
- In the System and Security section, click on “File History” to open the File History settings.
- The File History window will now open, displaying the options related to backing up your files and folders.
Alternatively, you can also access the File History settings directly from the Windows 10 settings menu:
- Open the “Settings” app on your computer. You can do this by clicking on the “Start” menu and then clicking on the gear icon (Settings).
- In the Settings window, click on the “Update & Security” option.
- From the left sidebar, select the “Backup” tab.
- Under the “Backup using File History” section, click on the “More options” link.
Regardless of the method you choose, accessing the File History settings will allow you to customize your backup preferences and select the files and folders you want to include in the backup. In the next step, we will explore how to select a drive to store the backup.
Step 3: Select a Drive to Backup
After opening the File History settings, the next step is to choose a drive where you want to store the backup of your files. Windows 10 allows you to select your external hard drive as the destination for your backups. Here’s how you can do it:
- In the File History settings window, under the “Backup files to” section, click on the “Add a drive” button.
- A list of available drives will appear. Look for your external hard drive from the list.
- Click on your external hard drive to select it as the backup drive.
Once the drive is selected, Windows 10 will start using it to store the backup of your files. It is important to ensure that the external hard drive has enough storage space to accommodate all the files you want to back up. If the drive becomes full, Windows will automatically remove older versions of the files to make room for new backups.
Additionally, you can also click on the “Exclude folders” link in the File History settings to specify any folders that you don’t want to include in the backup. This can be useful if you have large files or folders that you don’t need to back up regularly.
By selecting the appropriate drive and excluding unnecessary folders, you can ensure that your backup process is efficient and tailored to your specific needs. In the next step, we will explore how to customize the backup settings even further.
Step 4: Customize Backup Settings
Once you have selected the external hard drive as the backup drive, you can further customize the backup settings in Windows 10 to suit your preferences. Here’s how you can customize the backup settings:
- In the File History settings window, click on the “More options” link.
- Under the “Back up my files” section, you can choose how frequently you want Windows to automatically back up your files. The options include every 10 minutes, every hour, or every day. You can also choose a specific time for the backup to occur.
- Below the backup frequency settings, you will find the “Keep my backups” option. Here, you can specify how long you want Windows to keep your backed up files. The options range from forever to a specific number of months.
- If you want to exclude specific folders from the backup, you can click on the “Exclude folders” link and add the folders you wish to exclude.
- Furthermore, if you want to manually start the backup process instead of automatically, you can click on the “Back up now” button.
Customizing the backup settings allows you to tailor the backup process according to your preferences. You can choose the frequency and duration of backups, exclude specific folders, and even manually initiate the backup process if needed.
It is recommended to keep the backup frequency reasonably frequent to ensure that your files are backed up regularly. However, bear in mind that more frequent backups may consume more space on your external hard drive.
Once you have customized the backup settings, you are ready to begin the backup process. In the next step, we will cover how to start the backup and monitor its progress.
Step 5: Start the Backup Process
Now that you have configured the backup settings to your preference, it’s time to start the backup process. Windows 10 makes it easy to initiate the backup and ensure that your files are securely backed up on the external hard drive. Here’s how you can start the backup process:
- In the File History settings window, click on the “Back up now” button. Alternatively, you can also wait for the automatic backup to occur based on the frequency you set.
- Windows will begin the backup process and start copying your selected files and folders to the external hard drive. The time it takes to complete the backup depends on the size of your files and the speed of your computer and external hard drive.
- During the backup process, it is advisable to keep your computer connected to a power source to ensure that the process is not interrupted.
- You can continue to use your computer as usual while the backup is underway. Windows will prioritize the backup process in the background without causing any significant impact on your computer’s performance.
- Once the backup is complete, Windows will automatically update the backup whenever changes are made to your files and folders. This continuous backup ensures that your data is always up to date.
It’s important to note that the first backup may take longer depending on the size of your files. Subsequent backups will be faster, as Windows will only copy the modified portions of your files.
Now that you have initiated the backup process, it’s time to monitor the progress and ensure that your files are successfully backed up. In the next step, we will discuss how to monitor the backup progress using the File History settings.
Step 6: Monitor Backup Progress
Once you have started the backup process, it’s important to monitor the progress to ensure that your files are being successfully backed up. Windows 10 provides a simple way to keep track of the backup progress using the File History settings. Here’s how you can monitor the backup progress:
- Open the File History settings by following the steps mentioned in Step 2.
- In the File History settings window, you will see a section labeled “Automatically back up my files.” Under this section, you will find the information regarding the last backup time and the size of the backup.
- Clicking on the “More options” link will provide you with additional details about the backup process, including the date and time of the last backup and the next scheduled backup.
- You can also click on the “Restore files” button to access previous versions of your files that have been backed up. This allows you to restore individual files or entire folders if needed.
- Windows will continue to run the backup process in the background, without interrupting your computer usage. You can periodically check the File History settings to ensure that the backups are occurring as expected.
Monitoring the backup progress is essential to ensure that your files are properly backed up and backed up regularly. Make it a habit to periodically check the backup status and verify that the date and time of the last backup are recent.
In the event of any issues or errors during the backup process, Windows will display a notification or an error message. If you encounter any such messages, it is recommended to troubleshoot the issue or seek assistance to ensure the integrity of your backups.
Now that you are familiar with monitoring the backup progress, let’s move on to the final step, which covers how to restore files from the backup if needed.
Step 7: Restore Files from Backup
Having a backup is not just about backing up your files, but also about being able to restore them when needed. Windows 10 provides an easy way to restore files from your backup using the File History feature. Here’s how you can restore files from your backup:
- Open the File History settings by following the steps mentioned in Step 2.
- Click on the “Restore files” button. This will open the File History window where you can browse through your backed-up files and folders.
- You can navigate through the different versions of your files by using the timeline on the left side of the File History window.
- Once you locate the file or folder you want to restore, you can either right-click on it and select “Restore to” to restore it to its original location or click and drag it to a different location on your computer.
- If you’re not sure which version of a file to restore, you can click on the file and then click on the “Previous” and “Next” buttons to preview different versions of that file.
- Windows will restore the selected file(s) to their original location or the location you specified. If there is a conflict, meaning a file with the same name already exists in that location, Windows will prompt you to choose whether to replace the existing file or keep both versions.
By following these steps, you can easily retrieve specific files or entire folders from your backup and restore them to your computer. This feature is especially useful in situations where you accidentally delete a file or if your computer experiences a data loss event.
It’s important to note that the File History feature in Windows 10 is primarily designed for personal file backup and recovery. It may not be suitable for system-wide backups or restoring system files. For system-level backup and recovery, consider using alternative methods or dedicated backup software.
With the ability to restore files from your backup, you can now have the confidence of knowing that your important data is protected and easily recoverable. Take some time to explore the File History settings and familiarize yourself with the restore process to ensure a seamless data recovery experience.
Conclusion
Backing up your computer is an essential step to protect your valuable files and ensure their safety in the event of hardware failures, viruses, or accidental deletions. By following the steps outlined in this guide, you can easily backup your computer to an external hard drive in Windows 10.
We started by connecting the external hard drive to your computer, ensuring it was properly recognized. Then, we opened the File History settings and selected the drive to store the backup. Customizing the backup settings allowed us to specify the frequency of backups, the duration of file retention, and which folders to exclude, providing flexibility to meet individual needs.
By starting the backup process, we let Windows automatically copy and update your selected files and folders to the external hard drive. Monitoring the backup progress allows you to ensure that your files are being successfully backed up, and you can restore files from the backup if needed.
Having a backup is a proactive step towards protecting your important data. With Windows 10’s File History feature and an external hard drive, you have an effective and convenient solution for securing your files and ensuring their recoverability.
Remember, a backup is only effective if it is regularly updated. Make it a habit to periodically check the backup status and verify that your files are being backed up as intended. This will ensure that you have the most recent version of your files readily available for restoration.
Take the time to explore the File History settings and familiarize yourself with the restore process. This knowledge will give you peace of mind, knowing that your data is protected and easily recoverable.
So, don’t delay any longer. Connect that external hard drive, set up your backup, and safeguard your files. Start the backup process today and enjoy the peace of mind that comes with knowing your valuable data is protected.


