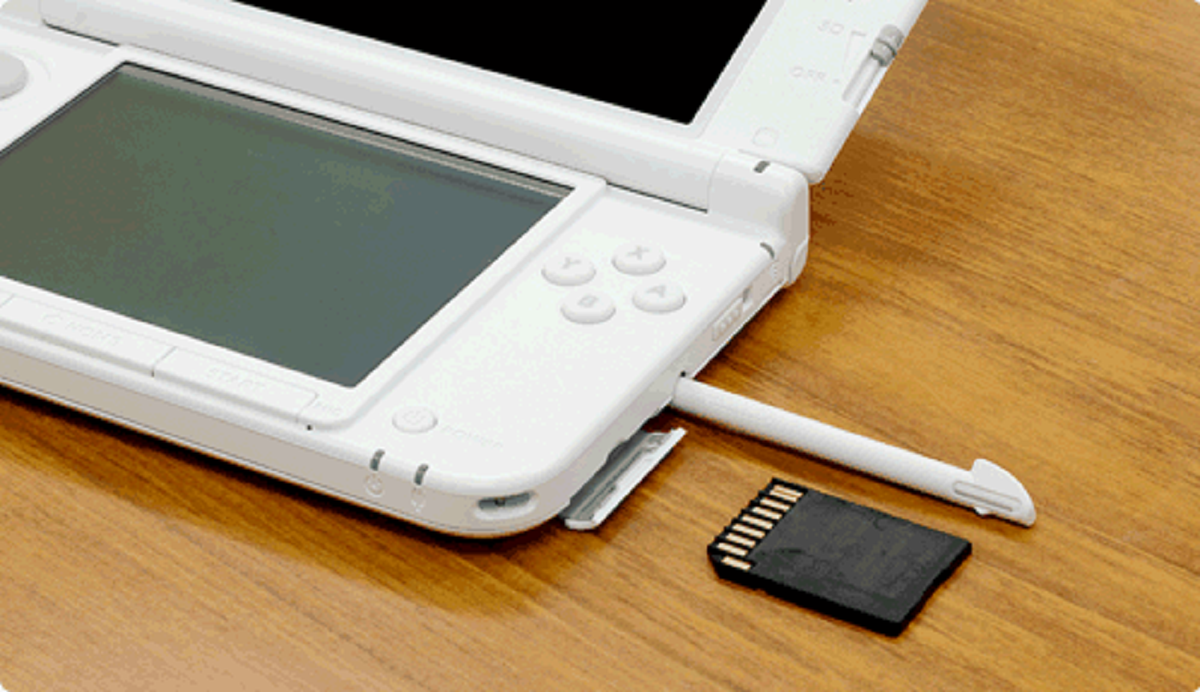
Importance of Backing Up SD Card Before Formatting
Backing up your SD card before formatting is crucial for safeguarding your valuable data. Whether you’re using an SD card in your camera, smartphone, or any other device, formatting it without a backup can lead to irreversible data loss. Here’s why it’s important to prioritize backing up your SD card before performing any formatting:
1. Protecting Your Memories: SD cards often hold precious memories in the form of photos and videos. These could be cherished moments with loved ones, breathtaking landscapes, or once-in-a-lifetime events. Losing these memories due to a formatting mistake or technical glitch can be heartbreaking. By backing up your SD card, you ensure that your memories are safe and can be accessed even after formatting.
2. Preserving Important Documents: In some cases, SD cards are used to store critical documents, such as legal papers, work-related files, or project data. Losing such information can have serious consequences for your professional or personal life. Creating a backup ensures that your important documents are securely stored and can be recovered easily in case of any data loss.
3. Retaining Customized Settings: Many SD cards contain personalized settings and configurations for various devices. Whether it’s the setup preferences on your digital camera or the app settings on your smartphone, formatting without a backup means losing these customized settings. By backing up your SD card, you can restore your personalized configurations quickly and avoid the hassle of reconfiguring everything from scratch.
4. Avoiding Application and System Loss: SD cards often store applications, software, and system files. Formatting the card without a backup can result in the loss of these crucial components, affecting the functionality of your devices. Keeping a backup ensures that you can reinstall applications and restore system files without any hassle.
5. Preventing Operational Disruption: Formatting an SD card without a backup can disrupt the smooth operation of your devices. If the SD card contains essential system files or app data, the device might encounter errors or even fail to start up properly. By backing up the SD card, you minimize the risk of operational disruption and ensure seamless functioning of your devices.
Remember, prevention is always better than cure. Taking a few minutes to back up your SD card before formatting can save you from the agony, frustration, and potential loss associated with accidental data removal. So, make it a habit to back up your SD card before any formatting or system changes, and keep your valuable data protected.
Understanding the Risks of Formatting Without Backup
Formatting an SD card without a backup can be a risky move that may result in irreversible data loss. It’s essential to understand the potential risks involved before proceeding with any formatting action. Here are some key risks you should be aware of:
1. Data Loss: The primary risk of formatting without a backup is the loss of valuable data stored on the SD card. Formatting erases all the files and folders on the card, including photos, videos, documents, and other important data. Once the formatting process is complete, it may be extremely challenging or even impossible to recover the lost data.
2. Irreplaceable Memories: If your SD card contains precious photos and videos capturing special moments, formatting without a backup can wipe out these irreplaceable memories forever. Whether it’s a family vacation or a milestone event, losing these memories can be devastating. It’s crucial to have a backup to secure and preserve these cherished moments.
3. Time and Effort: Without a backup, formatting an SD card means starting from scratch. You’ll need to recreate any customized settings, reinstall applications, and transfer files back onto the card. This process can be time-consuming and require considerable effort, especially if you have a large amount of data to restore.
4. Work or Project Disruption: If the SD card contains important work-related files or project data, formatting without a backup can disrupt your workflow or project progress. Losing critical information can result in setbacks, delays, and a considerable waste of time and resources.
5. Device Compatibility Issues: Certain devices, such as cameras or smartphones, may store device-specific data or configurations on the SD card. Formatting without a backup can lead to compatibility issues when reinserting the card into the device. System errors or malfunctions may occur, requiring additional troubleshooting and possible reconfiguration.
By understanding the risks associated with formatting without a backup, you can make an informed decision and take appropriate precautions. It’s highly recommended to always create a backup of your important data before formatting an SD card. This simple step can save you from the potential consequences of data loss and ensure the safety of your cherished memories and vital information.
Different Methods to Back Up SD Card
When it comes to backing up your SD card, there are several methods available depending on your preferences and needs. Here are three popular methods to consider:
1. Back Up SD Card to a Computer:
One of the most common ways to back up an SD card is by connecting it to a computer using a card reader or via USB. Once connected, you can access the SD card’s contents and manually copy and paste the files and folders to a designated folder on your computer’s hard drive. This method provides direct control over the backup process and allows for easy organization and management of your backed-up files.
2. Back Up SD Card to Cloud Storage:
Cloud storage services like Google Drive, Dropbox, or iCloud offer convenient and secure means to back up your SD card data. By installing the corresponding application on your computer or mobile device, you can simply select the files and folders you want to back up and upload them to the cloud storage service. This method ensures that your data is stored remotely, protecting it from physical damage or loss of the SD card.
3. Back Up SD Card to an External Hard Drive:
If you prefer a physical backup solution, using an external hard drive is an excellent option. Connect the external hard drive to your computer and copy and paste the contents of your SD card onto the hard drive using the file explorer or backup software. This method provides the advantage of having a dedicated backup device, enhancing the security and accessibility of your data.
Each of these methods has its advantages and considerations. Consider factors such as storage capacity, ease of use, data security, and cost when choosing the most suitable backup method for your needs. It’s also a good idea to regularly review and update your backup strategy to ensure your data remains safe and accessible.
Method 1: Back Up SD Card to a Computer
Backing up an SD card to a computer is a straightforward and reliable method to safeguard your data. Here’s a step-by-step guide on how to back up your SD card to a computer:
Step 1: Connect the SD Card to the Computer:
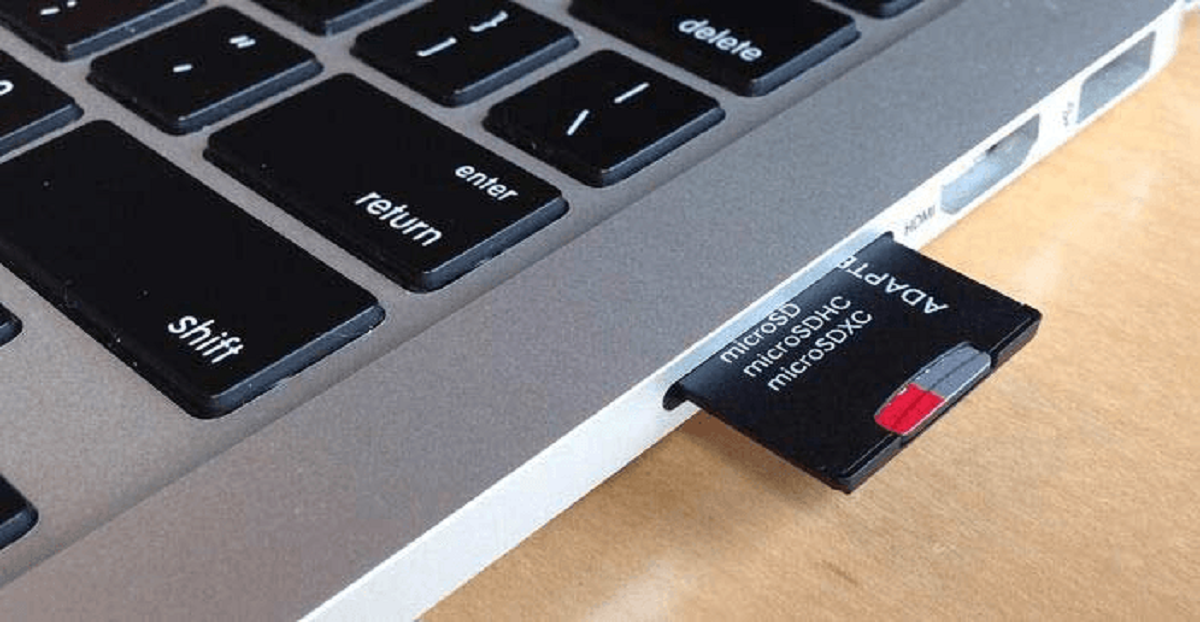
Insert your SD card into a card reader or connect your device (camera, smartphone, etc.) directly to the computer using a USB cable. Ensure that the computer recognizes the SD card and detects it as a removable storage device.
Step 2: Open the SD Card’s Contents:
Once the SD card is connected, open the file explorer (Windows) or Finder (Mac) and navigate to the SD card. It should appear as a separate drive.
Step 3: Create a Backup Folder:
In a suitable location on your computer’s hard drive, create a new folder to store the backup files. You can name it something like “SD Card Backup” or any other descriptive name.
Step 4: Select and Copy the Files:
Within the SD card, select the files and folders you want to back up. You can either select specific files or choose the entire contents of the SD card. Right-click and choose “Copy”, or use the keyboard shortcut (Ctrl+C or Command+C).
Step 5: Paste the Files into the Backup Folder:
Navigate to the newly created backup folder and right-click inside the folder. Choose “Paste”, or use the keyboard shortcut (Ctrl+V or Command+V) to paste the copied files into the backup folder.
Step 6: Wait for the File Transfer to Complete:
Depending on the size of the files and the transfer speed, it may take a few moments or longer for the files to be copied from the SD card to the computer. Be patient and ensure that the transfer process is complete before disconnecting the SD card or shutting down your computer.
Step 7: Verify the Backup:
Once the file transfer is complete, navigate to the backup folder and verify that the files and folders have been successfully copied from the SD card to your computer. Double-check the files to ensure they are intact and accessible.
By following these steps, you can easily back up your SD card to your computer, providing a secure copy of your data in case of any accidental loss or formatting. Remember to regularly update your backup and keep multiple copies in different locations for added security.
Method 2: Back Up SD Card to Cloud Storage
Backing up your SD card to cloud storage offers convenience, accessibility, and an extra layer of security. Here’s a step-by-step guide on how to back up your SD card to a cloud storage service:
Step 1: Choose a Cloud Storage Service:
There are numerous cloud storage providers available, such as Google Drive, Dropbox, or iCloud. Select a service that meets your storage requirements, offers reliable performance, and provides easy integration with your devices.
Step 2: Install the Cloud Storage Application:
Once you have chosen a cloud storage service, download and install the corresponding application on your computer or mobile device. The application will typically be available through the provider’s website or app store.
Step 3: Create an Account or Sign In:
Launch the cloud storage application and create a new account if you don’t already have one. If you do have an account, sign in with your credentials to access the service.
Step 4: Upload the SD Card Contents:
Connect the SD card to your computer using a card reader or via USB. Open the file explorer (Windows) or Finder (Mac) and navigate to the SD card. Select the files and folders you want to back up, then drag and drop them into the cloud storage application or use the upload function provided by the application.
Step 5: Monitor the Upload Progress:
Cloud storage services typically display the upload progress, allowing you to monitor the transfer of your files from the SD card to the cloud server. Ensure that the upload completes successfully before disconnecting the SD card or closing the application.
Step 6: Access and Manage Your Backed-Up Files:
Once the upload is complete, your files and folders are securely stored in the cloud storage service. You can access and manage your backed-up data through the cloud storage application or by logging into your account on the provider’s website.
Step 7: Sync and Update Your Backups:
Cloud storage services often provide automatic file synchronization, ensuring that any changes made to the files on your SD card are reflected in the cloud backup. You can set up automatic syncing to keep your backup up to date without manual intervention.
By following these steps, you can easily back up your SD card to cloud storage. This method offers the advantage of remote storage, allowing you to access your files from any device with an internet connection. Just remember to regularly check and update your cloud storage backups to ensure your data remains safe and up to date.
Method 3: Back Up SD Card to an External Hard Drive
Backing up your SD card to an external hard drive provides a physical backup solution that offers security and portability. Here’s a step-by-step guide on how to back up your SD card to an external hard drive:
Step 1: Connect the External Hard Drive:
Connect your external hard drive to your computer using a USB cable or the appropriate connection method. Ensure that the computer recognizes the external hard drive and assigns it a drive letter.
Step 2: Open the External Hard Drive:
Open the file explorer (Windows) or Finder (Mac) and navigate to the external hard drive. It should appear as a separate drive.
Step 3: Create a Backup Folder:
In the external hard drive, create a new folder dedicated to storing your SD card backup. Give it a descriptive name, such as “SD Card Backup” or any other relevant title.
Step 4: Select and Copy the Files:
Navigate to your SD card using the file explorer (Windows) or Finder (Mac). Select the files and folders you want to back up by clicking and dragging a selection box around them or using the keyboard shortcut (Ctrl+A or Command+A) to select all. Right-click and choose “Copy”, or use the keyboard shortcut (Ctrl+C or Command+C).
Step 5: Paste the Files into the Backup Folder:
Go back to the external hard drive window and navigate to the newly created backup folder. Right-click inside the folder and choose “Paste”, or use the keyboard shortcut (Ctrl+V or Command+V) to paste the copied files into the backup folder.
Step 6: Wait for the File Transfer to Complete:
Depending on the size of the files and the transfer speed, it may take some time for the files to be copied from the SD card to the external hard drive. Ensure that the transfer process is complete before disconnecting the external hard drive or shutting down the computer.
Step 7: Verify the Backup:
Once the file transfer is complete, navigate to the backup folder on the external hard drive and verify that the files and folders have been successfully copied from the SD card. Double-check the files to ensure they are intact and accessible.
By following these steps, you can easily back up your SD card to an external hard drive. The external hard drive provides a reliable and portable backup solution, allowing you to keep your data safe and accessible, even if you need to transfer it to a different computer or device.
Best Practices for Backing Up SD Cards
Backing up your SD card is an essential practice to protect your valuable data. To ensure a successful and reliable backup, consider the following best practices:
1. Regular Backup Schedule:
Set up a regular backup schedule to ensure that your SD card data is consistently backed up. Depending on your usage, you might choose to back up weekly, monthly, or after significant data additions or changes. Consistency is key to maintaining an up-to-date backup.
2. Multiple Backup Copies:
Create multiple backup copies of your SD card data and store them in different locations. This provides an additional layer of protection against physical damage, theft, or any other unforeseen circumstances. Consider keeping at least one backup off-site, such as in cloud storage or at a separate physical location.
3. Verify Backup Integrity:
After performing a backup, take the time to verify the integrity of the backup files. Check that the files have been copied correctly and are accessible. By verifying the backup, you can detect potential errors or issues early and take corrective measures.
4. Use Compression and Encryption:
If you have limited storage space or require added security, consider using compression and encryption techniques when backing up your SD card. Compression reduces the file size, allowing you to store more data in less space, while encryption ensures the privacy and protection of your sensitive information.
5. Document Your Backup Process:
Keep a record of your backup process, including the method used, the location of the backup files, and any specific details or settings. This documentation will serve as a reference in case you need to restore your SD card data or make any adjustments to your backup strategy.
6. Perform Test Restores:
Regularly perform test restores from your backup to ensure the integrity of the backup files and your ability to recover data when needed. Testing your restore process helps identify any potential issues or discrepancies before an actual data loss situation occurs.
7. Update Backup Strategy with SD Card Changes:
Review and update your backup strategy whenever you make changes to your SD card, such as adding new folders, deleting obsolete files, or upgrading to a higher capacity card. Ensuring that your backup strategy aligns with your SD card’s current state helps avoid missed or incomplete backups.
By following these best practices, you can establish a robust and reliable backup system for your SD card data. Remember that data loss can occur unexpectedly, so proactive backup measures are paramount to safeguard your important files and preserve your memories.
Step-by-Step Guide: Backing Up SD Card to a Computer
Backing up your SD card to a computer is a simple and effective method to ensure the safety of your data. Follow these step-by-step instructions:
Step 1: Connect the SD Card to the Computer:
Insert your SD card into a card reader or connect your device (camera, smartphone, etc.) directly to the computer using a USB cable. Wait for the computer to recognize the SD card and assign it a drive letter.
Step 2: Open the SD Card’s Contents:
Launch the file explorer (Windows) or Finder (Mac) and navigate to the SD card. You should see it listed as a separate drive.
Step 3: Create a Backup Folder:
In a suitable location on your computer’s hard drive, create a new folder for storing the backup files. Give the folder a descriptive name, such as “SD Card Backup” or something similar.
Step 4: Select and Copy the Files:
Within the SD card, select the files and folders you want to back up. You can either select specific files or choose to back up the entire contents of the card. Right-click and choose “Copy” or use the keyboard shortcut (Ctrl+C or Command+C) to copy the selected files.
Step 5: Paste the Files into the Backup Folder:
Navigate to the newly created backup folder and right-click inside the folder. Choose “Paste” or use the keyboard shortcut (Ctrl+V or Command+V) to paste the copied files into the backup folder. The files will begin copying from the SD card to your computer.
Step 6: Wait for the File Transfer to Complete:
Depending on the size of the files and the transfer speed, it may take a few moments or longer for the files to be copied from the SD card to your computer. Ensure that the file transfer is complete before disconnecting the SD card or shutting down your computer.
Step 7: Verify the Backup:
Once the file transfer is complete, navigate to the backup folder and verify that the files and folders have been successfully copied from the SD card to your computer. Double-check a few files to ensure they are intact and accessible.
By following these steps, you can easily back up your SD card to your computer. Remember to regularly update your backup and keep multiple copies in different locations for added security. By having a reliable backup, you can protect your data and have peace of mind knowing that your important files are safe and accessible.
Step-by-Step Guide: Backing Up SD Card to Cloud Storage
Backing up your SD card to cloud storage offers convenience and ensures that your data is safely stored off-site. Follow these step-by-step instructions to back up your SD card to cloud storage:
Step 1: Choose a Cloud Storage Service:
Select a cloud storage service that suits your needs, such as Google Drive, Dropbox, or iCloud. Visit the service’s website and create an account if you don’t already have one.
Step 2: Install the Cloud Storage Application:
Download and install the cloud storage application onto your computer or mobile device. Sign in to the application using your account credentials.
Step 3: Connect the SD Card to your Computer:
Insert your SD card into a card reader or connect your device (camera, smartphone, etc.) directly to your computer using a USB cable. Ensure that the computer recognizes the SD card and assigns it a drive letter.
Step 4: Open the Cloud Storage Application:
Launch the cloud storage application on your computer or mobile device. Navigate to the location where you want to store the SD card backup.
Step 5: Upload the SD Card Contents:
Inside the cloud storage application, locate the button or option to upload files. Click on it or drag and drop the files and folders from your SD card into the upload area. The application will start uploading the files to your cloud storage account.
Step 6: Monitor the Upload Progress:
Keep an eye on the upload progress bar or indicator within the cloud storage application. Ensure that the upload completes successfully before disconnecting the SD card or closing the application.
Step 7: Verify the Backup:
After the upload is complete, navigate to your cloud storage account website or open the application to confirm that the SD card files have been successfully backed up. Double-check a few files to ensure they are intact and accessible.
By following these steps, you can easily back up your SD card to cloud storage. This method offers the advantage of remote storage, allowing you to access your files from any device with an internet connection. Just remember to regularly review and update your cloud storage backups to ensure the security and availability of your data.
Step-by-Step Guide: Backing Up SD Card to an External Hard Drive
Backing up your SD card to an external hard drive provides a physical backup solution that keeps your data secure and easily portable. Follow these step-by-step instructions to back up your SD card to an external hard drive:
Step 1: Connect the External Hard Drive:
Connect your external hard drive to your computer using a USB cable or the appropriate connection method. Ensure that the computer recognizes the external hard drive and assigns it a drive letter.
Step 2: Open the External Hard Drive:
Launch the file explorer (Windows) or Finder (Mac) and navigate to the external hard drive. It should appear as a separate drive.
Step 3: Create a Backup Folder:
In the external hard drive, create a new folder dedicated to storing your SD card backup. Give the folder a descriptive name, such as “SD Card Backup” or any other relevant title.
Step 4: Connect the SD Card:
Insert your SD card into a card reader or connect your device (camera, smartphone, etc.) directly to your computer using a USB cable. Wait for the computer to recognize the SD card and assign it a drive letter.
Step 5: Select and Copy the Files:
Navigate to your SD card using the file explorer (Windows) or Finder (Mac). Select the files and folders you want to back up by clicking and dragging a selection box around them or using the keyboard shortcut (Ctrl+A or Command+A) to select all. Right-click and choose “Copy” or use the keyboard shortcut (Ctrl+C or Command+C) to copy the selected files.
Step 6: Paste the Files into the Backup Folder:
Go back to the external hard drive window and navigate to the backup folder. Right-click inside the folder and choose “Paste” or use the keyboard shortcut (Ctrl+V or Command+V) to paste the copied files into the backup folder. The files will start copying from the SD card to the external hard drive.
Step 7: Wait for the File Transfer to Complete:
Depending on the size of the files and the transfer speed, it may take some time for the files to be copied from the SD card to the external hard drive. Make sure that the file transfer is complete before disconnecting the external hard drive or shutting down your computer.
Step 8: Verify the Backup:
Once the file transfer is complete, navigate to the backup folder on the external hard drive and verify that the files and folders have been successfully copied from the SD card. Double-check a few files to ensure they are intact and accessible.
By following these steps, you can easily back up your SD card to an external hard drive. The external hard drive provides a reliable and portable backup solution, allowing you to keep your data safe and accessible, even if you need to transfer it to a different computer or device.
Tips for Ensuring a Successful Backup
Backing up your SD card is crucial for protecting your data, and ensuring a successful backup process is essential. Consider these tips to maximize the effectiveness and reliability of your SD card backup:
1. Verify Sufficient Storage Space:
Before initiating a backup, ensure that your computer, cloud storage, or external hard drive has enough available storage space to accommodate the files and folders from your SD card. Running out of space during the backup process can lead to incomplete or corrupted backups.
2. Check for Corrupted Files:
Prior to backing up, perform a quick check on your SD card to identify and address any corrupted files. Corrupted files can cause errors during the backup process or compromise the integrity of your backup. Repair or replace any corrupted files before proceeding with the backup.
3. Organize and Label Backup Files:
Maintain a systematic approach to organizing your backup files. Use a clear and consistent naming convention for folders and files to facilitate easy retrieval and future reference. Categorize your files based on date, subject, or any other relevant criteria to ensure efficient management of your backup data.
4. Encrypt Sensitive Data:
If your SD card contains sensitive or confidential information, consider encrypting the backup files for enhanced security. Encryption ensures that even if someone gains unauthorized access to your backup files, the data remains unreadable and protected.
5. Test Restores Regularly:
Perform periodic test restores from your backup to verify the integrity of the backup files and your ability to recover data when needed. Testing your restore process helps identify any potential issues or discrepancies early on, giving you the chance to address them before a real data loss event occurs.
6. Create Redundant Backups:
Consider creating redundant backups by backing up to multiple locations or using a combination of different methods. For example, you can back up to a computer and also use cloud storage or an external hard drive. Redundancy minimizes the risk of data loss if one backup location or method becomes compromised.
7. Update Your Backup Strategy:
Regularly review and update your backup strategy to ensure it aligns with your current needs and technology advancements. Consider factors such as changes in data volume, storage capacity, and backup methods to optimize your backup process.
By following these tips, you can ensure a successful backup of your SD card data and have peace of mind knowing that your valuable files are securely stored and easily recoverable in case of accidental loss or damage.
Conclusion
Backing up your SD card before formatting is a crucial step in protecting your valuable data. Whether it’s preserving cherished memories, safeguarding important documents, or ensuring the smooth operation of your devices, a backup provides an extra layer of security and peace of mind.
In this article, we explored different methods of backing up an SD card, including backing up to a computer, cloud storage, and an external hard drive. Each method offers its own advantages, so choose the one that best suits your needs and preferences.
Additionally, we discussed the risks of formatting without a backup, emphasizing the potential loss of data, memories, and personalized settings. Understanding these risks reinforces the importance of establishing a regular backup routine.
To successfully back up your SD card, follow step-by-step guides specific to each method, ensuring a reliable and accurate backup process. By adhering to best practices such as regular backup schedules, multiple backup copies, and test restores, you can enhance the effectiveness and efficiency of your backup strategy.
Remember to consider additional factors like storage capacity, encryption, and updating your backup strategy as your data and technology needs evolve. By staying proactive and diligent in your backup process, you can minimize the risk of data loss and ensure the availability of your important files.
Protecting your data should always be a priority. By consistently backing up your SD card, you can mitigate the potential consequences of accidental loss, formatting errors, or device malfunctions. Take the time to establish a robust backup system and make it a regular habit. Your future self will thank you when your precious memories and vital information are kept safe and easily accessible.


