Introduction
Welcome to our guide on how to adjust laser engraver mirrors. Laser engraving is a precise and intricate process that requires accurate alignment of the mirrors within the engraver. These mirrors are crucial in directing the laser beam, ensuring that it hits the desired location on the material being engraved. Over time, these mirrors can become misaligned due to various factors, such as vibrations or accidental movement.
Proper alignment of the mirrors is essential for achieving high-quality engraving results. Without accurate alignment, the laser beam may be directed to the wrong spot, leading to blurry or inaccurate engravings. Adjusting the mirrors is a relatively simple process that can be done by following a few steps and using the right tools.
In this guide, we will walk you through the process of adjusting laser engraver mirrors to ensure optimal performance and precise engraving. We will explain the importance of mirror alignment, list the necessary tools, and provide a step-by-step guide to help you through the adjustment process. By the end of this guide, you will have a clear understanding of how to adjust the mirrors on your laser engraver and maintain their alignment for consistent and high-quality engraving results.
Why Adjusting Laser Engraver Mirrors is Important
Properly adjusting the mirrors in your laser engraver is crucial for achieving optimal engraving results. Here are a few reasons why mirror alignment is important:
- Improved Engraving Quality: When the mirrors are aligned correctly, the laser beam will be directed precisely onto the material, resulting in sharp and clear engravings. Misaligned mirrors can lead to blurry or distorted images, reducing the overall quality of your engravings.
- Enhanced Efficiency: Proper mirror alignment ensures that the laser beam efficiently reaches the intended location on the material. This reduces the need for reworking or redoing engravings and saves both time and materials.
- Consistency: Accurate mirror alignment ensures consistent engraving results. When the mirrors are misaligned, the laser beam may hit different spots during each engraving, leading to inconsistent depth and clarity. Aligning the mirrors helps maintain a consistent engraving process.
- Prevention of Material Damage: Misaligned mirrors can cause the laser beam to hit unintended areas, potentially damaging the material or causing unwanted marks. Proper alignment minimizes the risk of accidental damage and ensures precise control over the engraving process.
- Longevity of Laser Components: Misaligned mirrors can put additional strain on the laser tube and other components of the engraver. By maintaining proper alignment, you can extend the lifespan of these components by reducing unnecessary wear and tear.
By taking the time to adjust your laser engraver mirrors, you can achieve high-quality engraving results, save time and materials, maintain consistency, prevent material damage, and extend the lifespan of your engraver. With these benefits in mind, let’s move on to the tools required for mirror adjustment.
Tools Needed for Adjusting Laser Engraver Mirrors
Before you begin adjusting the mirrors in your laser engraver, it’s essential to have the right tools on hand. Here are the tools you will need:
- Allen Wrenches: Most laser engravers use screws with Allen heads to secure and adjust the mirrors. Make sure you have a set of Allen wrenches in various sizes to fit the screws on your engraver.
- Clean, Lint-free Cloth: A lint-free cloth is necessary for cleaning the mirrors. Avoid using paper towels or tissues, as they can leave behind debris or lint on the mirrors.
- Cleaning Solution: You may need a gentle cleaning solution to remove any dirt or residue on the mirrors. Make sure the cleaning solution is suitable for use on optical surfaces and follow the manufacturer’s instructions.
- Laser Safety Glasses: While adjusting the mirrors, it’s crucial to wear laser safety glasses that provide adequate protection against the laser beam. These glasses should have the appropriate wavelength rating for your laser engraver.
- Laser Power Meter: A laser power meter is a useful tool for measuring the intensity of the laser beam. It can help you ensure that the laser power is set correctly during the mirror adjustment process.
- Laser Level: A laser level can assist in aligning the mirrors horizontally and vertically. It provides a straight reference line that you can use to adjust the mirrors accurately.
- Mirror Holder: A mirror holder or mirror mount is a device that securely holds the mirrors in place while you adjust them. It helps maintain stability and prevents accidental movements during the adjustment process.
Having these tools readily available will make the mirror adjustment process smoother and more efficient. Ensure that you have all the necessary tools before proceeding with the adjustment steps. Now that we have the tools sorted, let’s move on to the step-by-step guide for adjusting laser engraver mirrors.
Step-by-Step Guide to Adjusting Laser Engraver Mirrors
Adjusting the mirrors in your laser engraver may seem intimidating at first, but with the right approach and careful attention, it can be a straightforward process. Follow this step-by-step guide to ensure accurate alignment of your laser engraver mirrors:
- Step 1: Removing the Laser Tube Cover
- Step 2: Identifying the Mirrors
- Step 3: Cleaning the Mirrors
- Step 4: Aligning the Mirrors
- Step 5: Checking the Alignment
- Step 6: Replacing the Laser Tube Cover
Before starting, make sure to turn off the laser engraver and disconnect the power. Locate and remove the cover that protects the laser tube to access the mirrors.
Identify the primary mirror and the secondary mirror in your laser engraver. The primary mirror is usually the first mirror that the laser beam encounters, while the secondary mirror directs the beam towards the material being engraved.
Using a clean, lint-free cloth and a suitable cleaning solution, gently wipe the mirrors to remove any dust or residue that may affect their performance. Be careful not to scratch or damage the mirrors during this process.
Start with the primary mirror and use an Allen wrench to adjust its position. The goal is to ensure that the laser beam is centered and hits the center of the secondary mirror.
Next, move on to the secondary mirror and adjust its position so that the laser beam is directed accurately onto the material being engraved. Take your time and make small adjustments until you achieve the desired alignment.
After adjusting both mirrors, carefully put the laser tube cover back in place. Reconnect the power and turn on the laser engraver. Test the alignment by engraving a small sample design. Check if the engraving is clear, sharp, and accurately placed.
If the alignment is satisfactory, turn off the laser engraver and disconnect the power again. Put the laser tube cover back in its original position, ensuring that it is securely fastened.
By following these step-by-step instructions, you can adjust the mirrors in your laser engraver for optimal performance. Remember to take your time, make small adjustments, and double-check the alignment before finalizing the process. Now, let’s move on to some tips for maintaining proper mirror alignment.
Removing the Laser Tube Cover
The first step in adjusting the mirrors of your laser engraver is to remove the laser tube cover. It’s important to note that before performing any tasks on the laser engraver, you should follow proper safety procedures, including turning off the power and wearing appropriate protective gear such as laser safety glasses.
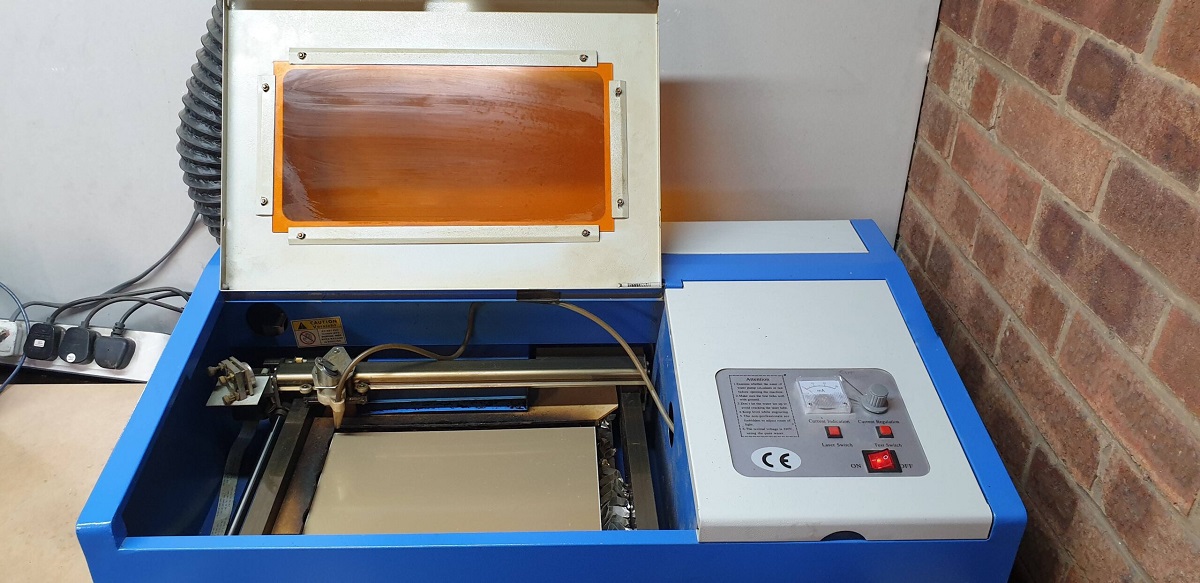
To remove the laser tube cover, locate the cover on the laser engraver. It is typically made of a durable material such as metal or plastic and is designed to protect the delicate laser tube and other internal components from damage.
Once you have located the laser tube cover, carefully unscrew or unfasten any screws or clips that are securing it in place. Take your time to ensure that all fasteners are removed, as forcefully removing the cover can cause damage.
After removing all the fasteners, gently lift the laser tube cover, taking care not to disturb or damage any wires or connections. Set the cover aside in a safe place where it won’t get damaged or misplaced.
By removing the laser tube cover, you gain access to the mirrors that need adjustment. It’s crucial to handle the cover and the engraver components with care to avoid any accidents or further damage.
Now that you have successfully removed the laser tube cover, you can proceed to the next step of identifying the mirrors and beginning the adjustment process.
Identifying the Mirrors
Once you have removed the laser tube cover, the next step in adjusting the mirrors of your laser engraver is to identify the primary mirror and the secondary mirror. Understanding the purpose of each mirror will help you align them correctly for optimal engraving results.
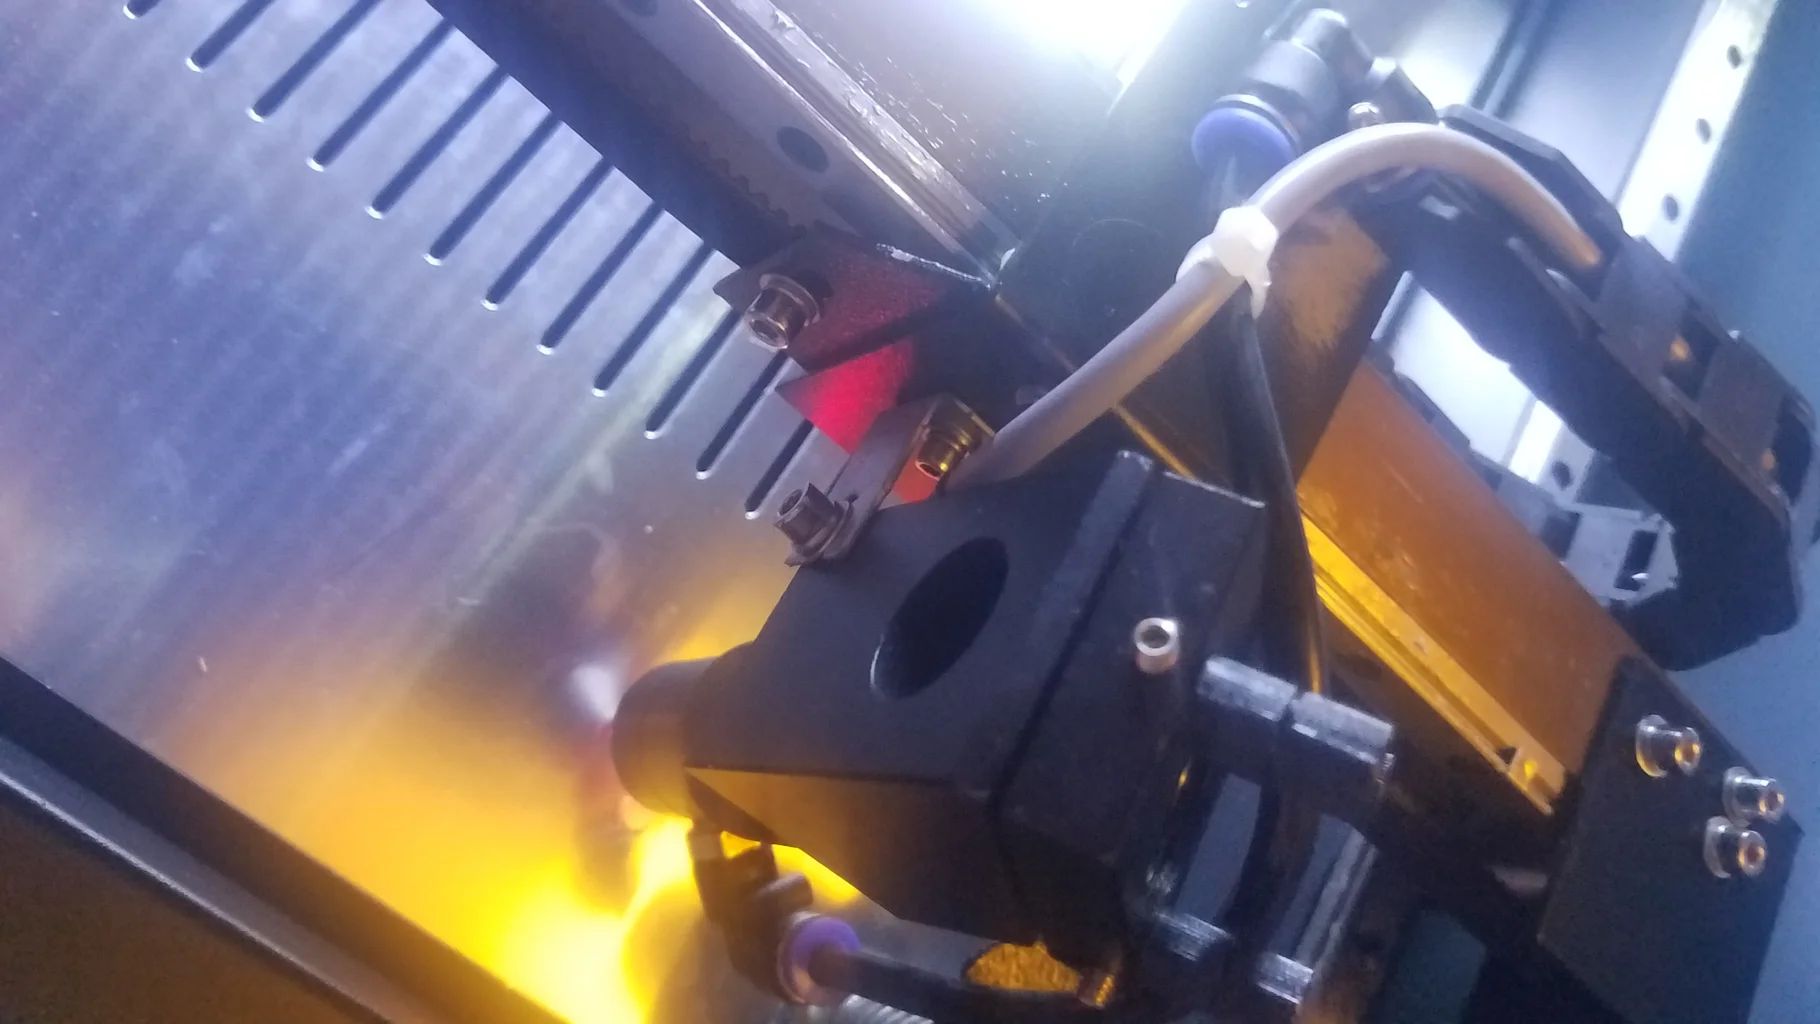
The primary mirror is typically the first mirror that the laser beam encounters after leaving the laser tube. Its role is to redirect the laser beam towards the secondary mirror. The primary mirror is usually larger in size compared to the secondary mirror.
The secondary mirror, on the other hand, is responsible for directing the laser beam onto the material being engraved. It reflects the laser beam from the primary mirror and focuses it onto the desired spot on the material’s surface.
To identify the mirrors in your laser engraver, observe the path of the laser beam from the laser tube to the material. The primary mirror is usually positioned closer to the laser tube and the secondary mirror is located further along the beam path, closer to the engraving area.
If you are unsure which mirror is the primary or secondary mirror in your laser engraver, consult the user manual or reach out to the manufacturer for guidance. They can provide specific information based on the model of your laser engraver.
Taking the time to properly identify the primary and secondary mirrors is crucial for accurate alignment. It ensures that you adjust the correct mirrors and achieve the desired results during the adjustment process.
With the mirrors correctly identified, you are now ready to move on to the next step: cleaning the mirrors to ensure optimal performance.
Cleaning the Mirrors
After identifying the mirrors in your laser engraver, the next step is to clean them thoroughly. Over time, dust, debris, and residue can accumulate on the mirrors, affecting their performance and potentially leading to blurry or distorted engravings. Cleaning the mirrors ensures they are free from any contaminants and allows for optimal laser beam reflection.
Before you begin cleaning, make sure you have a clean, lint-free cloth and a suitable cleaning solution. Avoid using paper towels or tissues, as they can leave behind debris or lint on the mirrors.
Here’s a step-by-step guide to cleaning the mirrors:
- Turn off the power: Before cleaning the mirrors, turn off the power to the laser engraver and disconnect it from the power source. This step is essential for your safety.
- Gently wipe the mirrors: Take the lint-free cloth, and using gentle, circular motions, wipe the mirrors to remove any dust or residue. Avoid applying too much pressure or scratching the mirrors.
- Use a cleaning solution if necessary: If there are stubborn stains or residue on the mirrors, apply a small amount of a suitable cleaning solution to the cloth. Make sure the cleaning solution is appropriate for optical surfaces. Avoid spraying the solution directly onto the mirrors.
- Clean the edges of the mirrors: Pay attention to the edges of the mirrors as well, as dirt and residue can accumulate there. Use caution to avoid touching the reflective surface of the mirrors.
- Dry the mirrors: After cleaning, allow the mirrors to air dry. Do not use any additional substances or materials to dry the mirrors as they may leave lint or residue behind.
By regularly cleaning the mirrors of your laser engraver, you can maintain their performance and ensure high-quality engraving results. Clean mirrors will reflect the laser beam accurately, resulting in sharp and precise engravings. Now that the mirrors are clean, it’s time to move on to the next step: aligning the mirrors for optimal performance.
Aligning the Mirrors
Once you have cleaned the mirrors of your laser engraver, the next step is to align them properly. The alignment process ensures that the laser beam hits the desired spot on the material, resulting in accurate and high-quality engravings. Here’s a step-by-step guide to aligning the mirrors:
- Start with the primary mirror: Begin by adjusting the position of the primary mirror. Use an Allen wrench to loosen the screws that hold the mirror in place. Make small adjustments to the mirror’s position to ensure that the laser beam is centered and hits the center of the secondary mirror.
- Move to the secondary mirror: Once the primary mirror is aligned, proceed to adjust the position of the secondary mirror. This mirror directs the laser beam onto the material being engraved. Use an Allen wrench to loosen the screws holding the mirror and make small adjustments until the laser beam is accurately directed onto the material.
- Check for alignment: After adjusting both mirrors, it’s important to check the alignment. Carefully put the laser tube cover back in place and reconnect the power. Test the alignment by engraving a small sample design onto a piece of material. Check if the engraving is clear, sharp, and accurately placed. If adjustments are needed, repeat the alignment process until the desired results are achieved.
- Ensure stability: Once you have achieved proper alignment, tighten the screws on both mirrors to secure them in place. This ensures that the mirrors remain stable during the engraving process and maintain their alignment over time.
It’s important to be patient and make small adjustments to the mirror positions during the alignment process. Take your time to carefully align the mirrors, as even slight misalignments can impact the quality of your engravings.
Remember to refer to your laser engraver’s user manual for specific instructions on aligning the mirrors, as different models may have slightly different adjustment mechanisms.
Now that the mirrors are properly aligned, you can move on to the next step of checking the alignment to ensure consistent engraving results.
Checking the Alignment
After aligning the mirrors of your laser engraver, it is crucial to check the alignment to ensure consistent and accurate engraving results. Checking the alignment allows you to verify that the laser beam is hitting the intended spot on the material. Here are the steps to check the alignment:
- Replace the laser tube cover: Carefully put the laser tube cover back in its original position. Ensure that it is securely fastened to protect the internal components of the engraver.
- Reconnect the power: Once the laser tube cover is in place, reconnect the power to the laser engraver and turn it on.
- Engrave a sample design: Select a small and simple design to engrave on a piece of material. It is advisable to use a material similar to the one you will be working on regularly.
- Observe the engraving result: After engraving the sample design, examine the engraving closely. Look for sharpness, clarity, and accuracy. The engraved lines or shapes should be clear and well-defined, without any blurring or distortion.
- Make any necessary adjustments: If you notice any issues with the engraving, such as blurry or misplaced lines, you may need to make further adjustments to the mirror alignment. Repeat the alignment process and test engrave again until satisfactory results are achieved.
It is important to be patient during the alignment and checking process. Making small and precise adjustments will help you achieve the desired engraving quality. Regularly checking the alignment will ensure that your laser engraver consistently delivers accurate and high-quality results.
If you encounter difficulties or are unsure about the alignment process, consult your laser engraver’s user manual or seek assistance from the manufacturer for specific instructions and guidance.
Once you have verified the alignment and are satisfied with the engraving results, you can move on to the final step of replacing the laser tube cover and ensuring proper maintenance of alignment.
Replacing the Laser Tube Cover
Once you have checked the alignment and are satisfied with the engraving results, the final step is to replace the laser tube cover. This protective cover helps safeguard the delicate internal components of the laser engraver, including the laser tube and the mirrors.
Follow these steps to safely and securely replace the laser tube cover:
- Turn off the power: Before replacing the laser tube cover, ensure that the power to the laser engraver is turned off and safely disconnected.
- Position the cover: Carefully position the laser tube cover over the designated area on the engraver. Align any screw holes or clips with the corresponding slots or brackets.
- Secure the cover: Insert and tighten the screws or fasten the clips to secure the laser tube cover in place. Make sure that the cover is snugly fitted and doesn’t have any loose or wobbly parts.
- Double-check the alignment: After replacing the laser tube cover, take a moment to double-check the alignment of the mirrors. Ensure that they have remained in their correct positions and haven’t been disturbed during the cover replacement process.
- Reconnect the power: Once you are confident that the laser tube cover and mirrors are secured and in proper alignment, reconnect the power to the laser engraver.
It’s important to note that throughout the process of replacing the laser tube cover, you should exercise caution and follow proper safety protocols. Ensure that all power connections are secure, and be mindful of any sharp edges or delicate components.
By regularly inspecting and replacing the laser tube cover, you can help extend the lifespan of your laser engraver and protect it from debris, dust, and potential damage.
With the laser tube cover securely back in place, your laser engraver is ready for use. Remember to maintain regular cleaning, alignment checks, and proper maintenance to ensure consistent and high-quality engraving results.
Tips for Maintaining Proper Mirror Alignment
Maintaining proper mirror alignment in your laser engraver is essential for consistent and accurate engraving results. Here are some tips to help you keep the mirrors aligned over time:
- Regular cleaning: Clean the mirrors on a regular basis to remove dust, debris, and residue that can affect their performance. Use a lint-free cloth and a suitable cleaning solution to gently wipe the mirrors and ensure optimal reflection of the laser beam.
- Handle with care: When handling the mirrors, use caution to avoid touching the reflective surfaces. Fingerprints or smudges can interfere with the laser beam’s path and affect engraving quality. If you need to make further adjustments to the mirrors, always use the appropriate tools and follow proper procedures.
- Check alignment periodically: Schedule regular alignment checks to ensure that the mirrors are properly aligned. Over time, vibrations or other factors may cause the mirrors to shift slightly. By identifying and correcting any misalignments, you can maintain optimal engraving performance.
- Monitor laser power: Keep an eye on the laser power to ensure it is set correctly. Higher or lower power settings than necessary can impact the laser beam’s intensity and accuracy. Use a laser power meter to measure the power output periodically and make adjustments if needed.
- Minimize vibrations: Place your laser engraver on a stable and sturdy surface to minimize vibrations during the engraving process. Vibrations can cause the mirrors to shift and result in misalignment. Additionally, avoid bumping or moving the engraver unnecessarily to maintain consistent alignment.
- Refer to the user manual: Follow the manufacturer’s instructions and guidelines provided in the user manual. Different laser engraver models may have specific recommendations for mirror adjustment and maintenance. Consult the manual for detailed instructions and any additional tips for maintaining proper mirror alignment.
By incorporating these tips into your laser engraver maintenance routine, you can prolong the lifespan of your mirrors and ensure consistently accurate engraving results. Regular cleaning, monitoring, and occasional alignment checks will help you maintain optimal mirror alignment and produce high-quality engravings time after time.
Conclusion
Adjusting the mirrors in your laser engraver is a critical task that ensures optimal engraving quality and performance. By following the step-by-step guide in this article, you can confidently align the mirrors and achieve sharp, accurate, and consistent engravings.
Remember the importance of regularly cleaning the mirrors to remove dirt and residue that can impact their performance. Additionally, handle the mirrors with care and make small adjustments to achieve proper alignment. Checking the alignment and maintaining the laser power are also important steps in ensuring optimal engraving results.
Taking the time to properly align and maintain the mirrors in your laser engraver will not only improve engraving quality but also extend the lifespan of the equipment. Consistent mirror alignment reduces the risk of unnecessary wear and tear on the laser tube and other components, resulting in a more reliable and durable engraver.
Refer to your laser engraver’s user manual and consult the manufacturer for specific guidance related to your model. Each engraver may have slight variations in the adjustment process, so it is important to follow the manufacturer’s recommendations.
By incorporating the tips and techniques outlined in this guide, you can confidently adjust and maintain the mirrors in your laser engraver, ensuring optimal performance and exceptional engraving results for years to come.


