Introduction
Transporting a laser engraver can be a daunting task, as these machines are delicate and require special care to ensure they arrive at their destination safely. Whether you are moving your engraver to a new location, attending a trade show, or shipping it to a customer, it’s crucial to properly prepare and pack it to avoid any damage during transit.
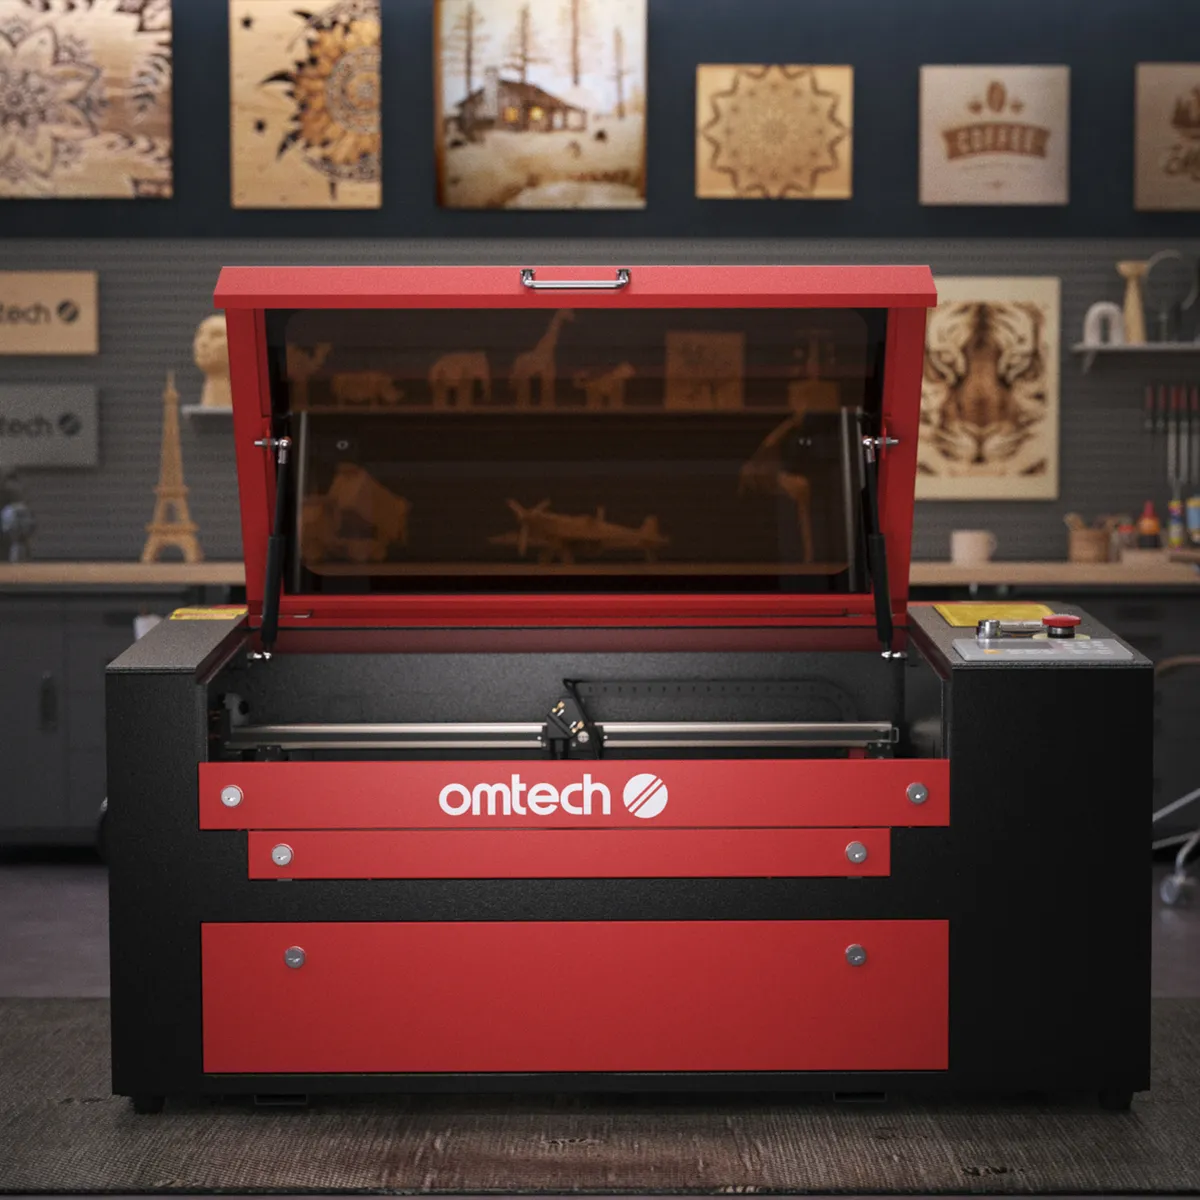
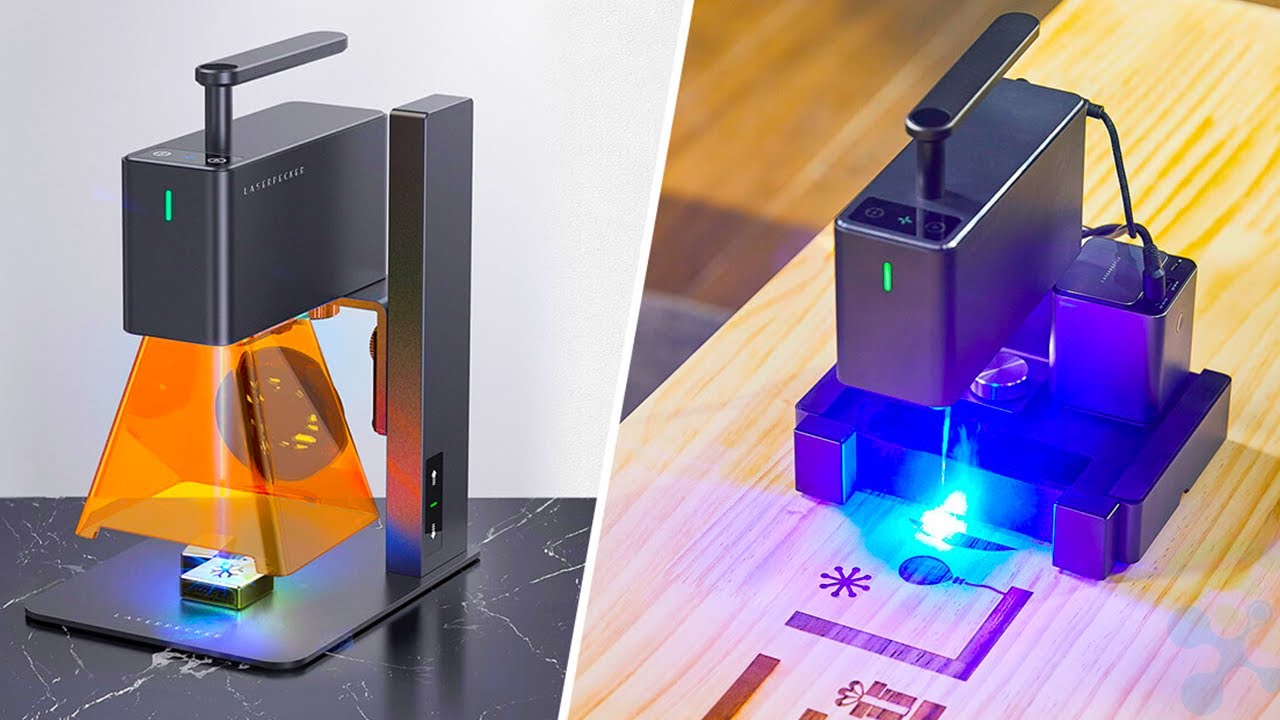
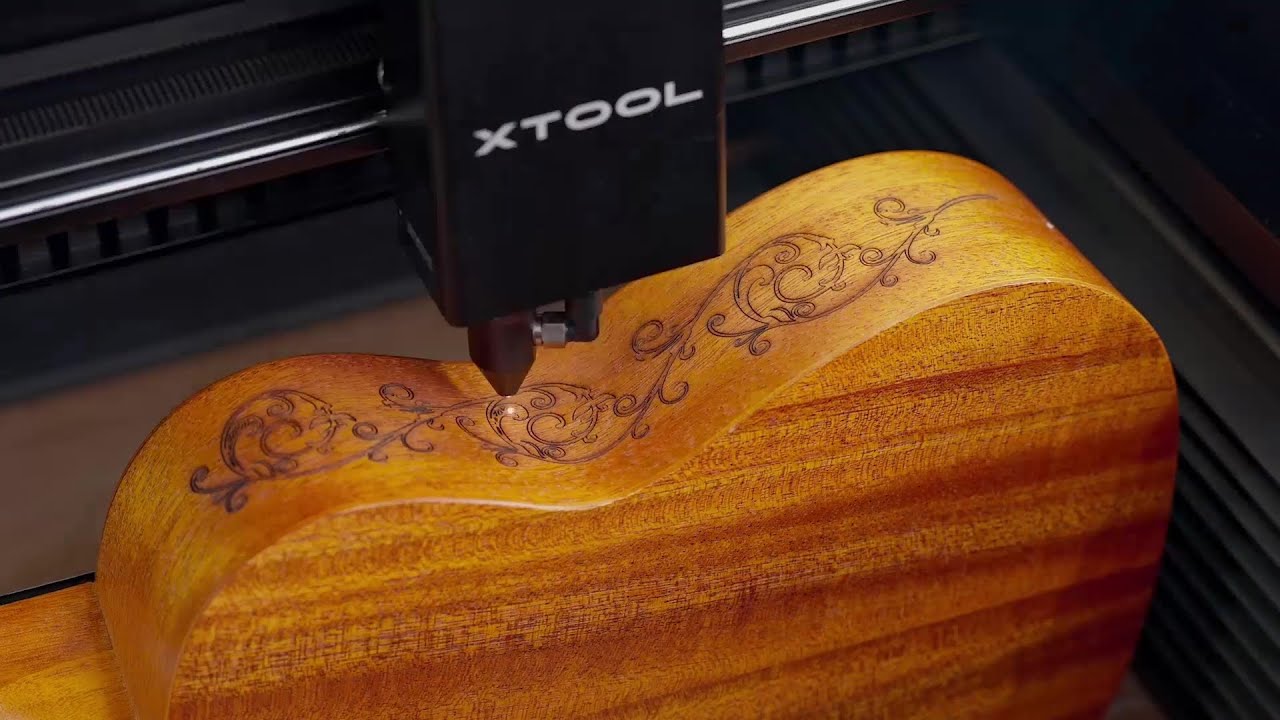
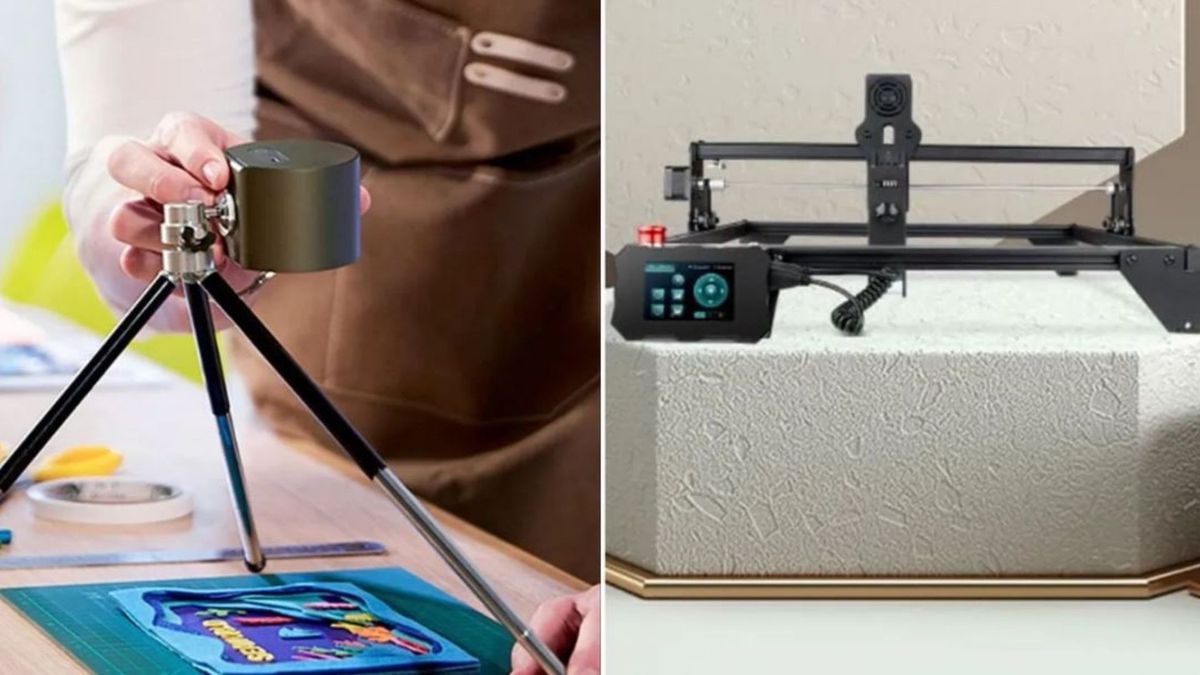
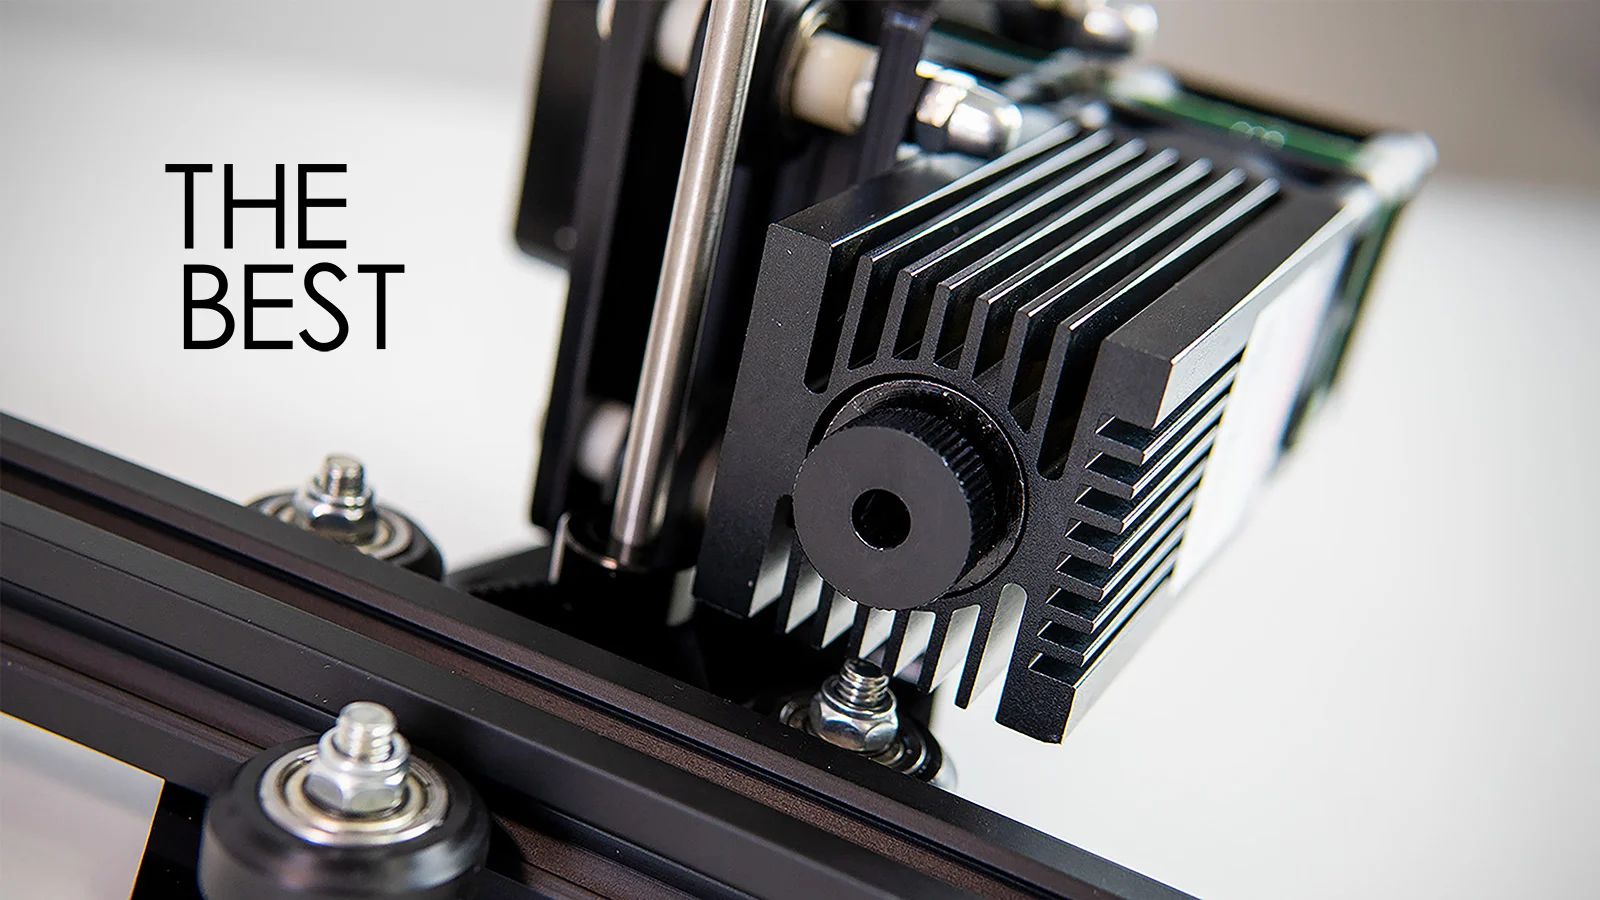
Laser engravers are precision instruments that utilize laser technology to create detailed engravings and designs on various materials. They consist of several delicate components, such as mirrors, lenses, and a laser beam source, which need to be protected during transport. Failing to take the necessary precautions can result in costly repairs or even render the machine unusable.
In this guide, we will walk you through the step-by-step process of safely transporting your laser engraver. From disconnecting the machine and securing the engraving material to packaging it and loading it into a vehicle, we will cover everything you need to know to ensure a smooth and worry-free transport.
Please note that while we provide general guidelines, it’s essential to refer to your specific laser engraver’s user manual for any manufacturer recommendations or precautions. Additionally, if you are unsure or uncomfortable with any of the steps, it is always advised to seek professional assistance.
Preparing for Transport
Before you begin the process of transporting your laser engraver, it’s important to adequately prepare for the journey. This includes gathering the necessary tools and materials and ensuring that the engraver is in optimal condition for transit. Here are the essential steps to take when preparing your laser engraver for transport:
- Read the user manual: Review the manufacturer’s user manual for any specific instructions or recommendations regarding transportation. Follow their guidelines to ensure you don’t inadvertently damage the machine.
- Perform a maintenance check: Inspect the laser engraver for any signs of damage or loose components. Tighten screws, check electrical connections, and ensure all parts are secure.
- Disconnect external components: If your laser engraver has any external components such as exhaust fans or air compressors, disconnect and pack them separately to prevent damage during transport.
- Secure loose items: Remove any loose objects from the engraver’s cutting area. These can include small pieces of material, tools, or scrap metal that could potentially damage the machine during transit.
- Back up files: If your laser engraver is equipped with a computer interface, make sure to back up any important files or designs. This will protect your work in case of any unforeseen damage during transport.
- Clean the engraver: Thoroughly clean the laser engraver, especially the cutting area, to remove any debris or dust that could affect the machine’s performance during transport. Use appropriate cleaning materials recommended by the manufacturer.
- Document the machine’s condition: Take photographs or make a list of the current condition of your laser engraver. This will serve as evidence in case any issues arise during transport and will help determine if any damage occurred.
By following these preparatory steps, you will ensure that your laser engraver is in good condition and ready for safe transport. Taking the time to prepare adequately will significantly reduce the risk of damage during the journey.
Disconnecting the Laser Engraver
Once you have prepared your laser engraver for transport, the next step is to properly disconnect it from its power source and other external connections. This will prevent any potential damage and ensure a smooth and safe transport. Here’s how to disconnect a laser engraver effectively:
- Power down the machine: First, turn off and unplug the laser engraver from the power source. This will protect both the machine and the person handling it during the disconnection process.
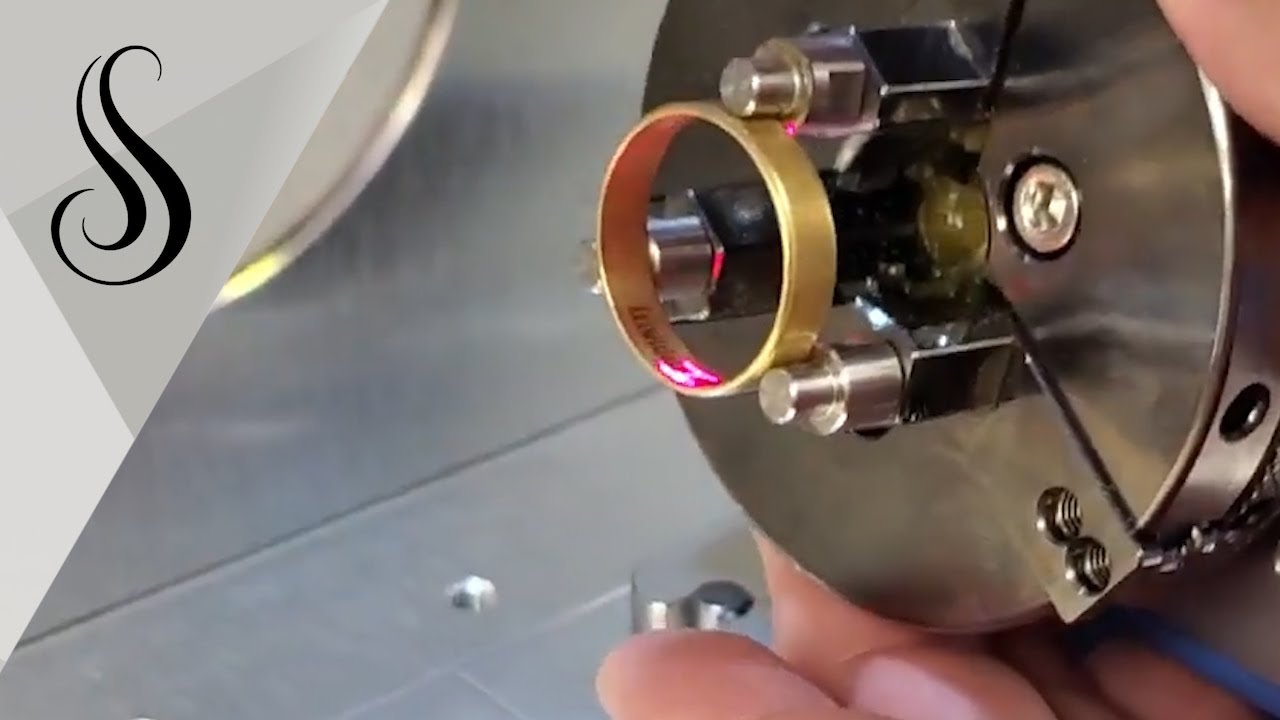
- Remove the laser beam source: Carefully disconnect the laser beam source from the machine. Follow the manufacturer’s instructions to ensure you disconnect it properly without causing any damage.
- Disconnect the water cooling system: If your laser engraver has a water cooling system, drain and disconnect it according to the manufacturer’s guidelines. This will prevent water leaks and potential damage during transport.
- Detach any external wiring: Disconnect any external wiring, such as USB cables or communication cables, that are connected to the machine. Wrap them neatly and secure them to avoid tangling or damage.
- Secure the laser head: If your laser engraver has a removable laser head, carefully remove and secure it using protective packaging materials such as foam or bubble wrap. This will prevent any potential damage to the fragile components.
- Label and unplug peripheral devices: If you have any peripheral devices, such as a computer or monitor, unplug them and make sure to label the cables for easy reconnection later.
It is crucial to handle the disconnection process with care and follow the manufacturer’s guidelines to avoid any damage to the laser engraver. Take your time to properly disconnect all components and ensure that everything is safely secured before proceeding to the next steps of transportation.
Securing the Engraving Material
In addition to properly disconnecting your laser engraver, it’s important to secure any engraving material that may be present in the machine. This includes items such as wood, acrylic, metal, or any other materials that have been engraved or are intended for future projects. Here are the steps to securely handle the engraving material during transport:
- Remove any loose material: Check the engraving area for loose material and remove it carefully. This includes any scraps, offcuts, or unfinished projects that may be left on the machine’s surface.
- Secure delicate or fragile items: If you have engraved delicate or fragile materials, such as glass or thin acrylic, remove them from the machine and carefully package them using appropriate protective materials. Consider using foam, bubble wrap, or cardboard sheets to prevent any damage during transportation.
- Label and organize the material: To easily identify and retrieve your engraving material, label each item or box clearly. Consider using a numbering or color-coding system to keep track of multiple materials or projects.
- Secure larger pieces: If you have larger pieces of material that cannot be easily removed, secure them in place using clamps or tape to prevent them from shifting during transport. Additionally, cover the material with a protective layer, such as a piece of cloth or foam, to prevent scratches or damage.
- Protect materials from vibration: Vibrations during transit can cause damage to the engraving material. To minimize this risk, place foam or padding between each piece of material or use a shock-absorbing mat to cushion the items.
- Consider the temperature: Some engraving materials, such as certain types of plastics, can be affected by temperature changes. If you are transporting your laser engraver in extreme temperatures, take precautions to protect the material from potential warping or distortion.
By securing your engraving material properly, you significantly reduce the risk of damage during transportation. Take the time to assess each item, consider its fragility, and use appropriate packaging materials to ensure its safety throughout the journey.
Removing Moving Parts
Before packaging your laser engraver for transport, it’s important to remove any moving parts that could be susceptible to damage during the journey. By disassembling these components and packing them separately, you can ensure their safety and protect the overall integrity of the machine. Here are the steps to remove moving parts from your laser engraver:
- Refer to the user manual: Consult the laser engraver’s user manual for guidance on which parts can be safely removed. Each machine may have different instructions, so it’s important to follow the manufacturer’s guidelines.
- Identify removable components: Take note of the parts that can be easily detached without affecting the engraver’s core functionality. These typically include the laser head, mirrors, lens holders, and any other movable parts.
- Disconnect internal wiring: Carefully disconnect any internal wiring connected to the removable parts. Take note of the connections and labeling to ease reassembly later.
- Remove the laser head: Gently remove the laser head from its mount, taking care not to damage the delicate lens or delicate components. Place it in a protective case or wrap it securely, using materials like foam or bubble wrap.
- Secure mirrors and lens holders: Remove the mirrors and lens holders from their respective positions. Pack them individually in cushioned packaging to prevent any damage or scratches.
- Label and organize the parts: Clearly label each part and keep them organized in separate compartments or bags. This will make reassembling the laser engraver easier once you reach your destination.
- Document the disassembly process: Take photos or make notes during the removal process to ensure you remember the correct placement and connection of each part during reassembly.
By carefully removing and packing the moving components, you minimize the chances of damage during transport. Remember to handle these parts with care, as they are often delicate and easily susceptible to scratches or impact.
Packaging the Laser Engraver
Proper packaging is crucial to ensure the safe transportation of your laser engraver. By securely packaging the machine, you can protect it from shocks, vibrations, and potential damage during transit. Here are the steps to effectively package your laser engraver:
- Choose a sturdy box: Select a box that is strong, rigid, and large enough to accommodate your laser engraver and its components. Make sure the box is in good condition without any tears or damage.
- Prepare cushioning materials: Line the bottom of the box with a layer of cushioning material, such as foam or bubble wrap, to provide a protective barrier against shocks. Avoid using materials that could generate static electricity.
- Place the laser engraver: Carefully place the laser engraver in the center of the box, ensuring that it is properly aligned and stable. Use a level to check if it’s balanced and make necessary adjustments if needed.
- Fill empty spaces: Fill any remaining gaps around the laser engraver with additional cushioning materials, such as foam peanuts or bubble wrap, to prevent movement during transportation.
- Package small components: Securely pack the removed moving parts, accessories, or peripheral devices in separate containers or bags. Place them strategically around the laser engraver, making sure they are well-padded and won’t come into direct contact with each other.
- Seal the box: Once everything is properly placed, seal the box tightly using packaging tape. Reinforce the seams and corners for added durability.
- Label the box: Clearly label the box with “Fragile” and “Handle with Care” signs. Include your contact information and any other instructions that will help ensure the safe handling of the package.
It’s important to remember that the packaging should be snug but not too tight. Avoid applying excessive pressure on the laser engraver or its components. The goal is to create a protective environment that minimizes movement and provides cushioning against impact.
Loading the Engraver into a Vehicle
Loading your laser engraver into a vehicle requires careful consideration to ensure it remains stable and secure during transportation. Improper loading can lead to shifting, vibrations, and potential damage to the machine. Follow these steps to safely load your laser engraver into a vehicle:
- Measure the dimensions: Measure the dimensions of your laser engraver and compare them to the available space in your vehicle. Ensure that your vehicle can accommodate the size and weight of the machine without any issues.
- Select a suitable vehicle: Choose a vehicle that is appropriate for transporting your laser engraver. Consider using a van or truck with a flat and spacious cargo area, preferably with tie-down points for added stability.
- Clear the path: Clear a safe and unobstructed path from the packing area to the vehicle. Remove any obstacles that could impede the loading process.
- Enlist help: Seek assistance from a reliable and capable individual to help with the loading process. Having an extra set of hands will make the task easier and reduce the risk of injury.
- Position loading equipment: If necessary, use loading ramps or other equipment to make the transition from the ground to the vehicle’s cargo area smoother. Ensure the ramps are sturdy and secured to prevent accidents.
- Declutter the cargo area: Clear and clean the cargo area of the vehicle before loading your laser engraver. This will help create a stable and secure space for transportation.
- Use proper lifting techniques: Lift the laser engraver with caution, using proper lifting techniques to avoid strain or injury. Bend at the knees, maintain a straight back, and lift with your leg muscles.
- Load the engraver: Carefully position and slide the laser engraver onto the loading area, ensuring it remains stable and centered. Avoid any sudden movements or impacts that could damage the machine.
- Secure the engraver: Once the engraver is in the vehicle, secure it in place using tie-down straps or cargo restraints. Anchor the straps to the vehicle’s built-in tie-down points, ensuring they are taut and secure.
Loading the laser engraver into a vehicle requires precision and caution. Take your time, follow the steps carefully, and ensure that the machine is properly secured to prevent any movement or damage during transit.
Securing the Engraver in the Vehicle
Properly securing your laser engraver in the vehicle is crucial to prevent shifting, vibrations, and potential damage during transport. By taking the necessary precautions, you can ensure that your machine remains stable and protected throughout the journey. Follow these steps to securely fasten your laser engraver in the vehicle:
- Use tie-down straps: Secure the laser engraver using high-quality tie-down straps or cargo restraints. Fasten them tightly around the machine, taking care not to overtighten and cause damage.
- Anchor to secure points: Attach the tie-down straps to secure points in the vehicle’s cargo area. These points are specifically designed to handle the weight and strain of securing heavy items.
- Ensure even weight distribution: Distribute the weight of the laser engraver evenly throughout the vehicle’s cargo space. This will help maintain balance and stability during transit.
- Use padding or blankets: Place padding or blankets between the laser engraver and any hard surfaces or objects in the vehicle. This will provide an extra layer of protection against scratches or impacts.
- Fill gaps and empty spaces: Fill any gaps or empty spaces around the laser engraver with additional padding or cushioning materials. This will prevent movement and minimize the risk of damage.
- Avoid stacking heavy items on top: Do not place heavy items or other cargo on top of the laser engraver. This can cause unnecessary pressure and potentially damage the machine.
- Double-check the security: Before starting the vehicle, double-check that the tie-down straps are secure and the laser engraver is not showing any signs of movement. Regularly monitor the straps during the journey.
- Drive cautiously: In order to minimize vibrations and sudden movements, drive cautiously and avoid rough roads or sharp turns. Maintaining a smooth and steady driving style will help protect the machine during transit.
- Follow manufacturer guidelines: Refer to the manufacturer’s guidelines for any specific instructions or recommendations regarding securing the laser engraver in a vehicle. Adhering to their recommendations will ensure the machine is properly handled.
By properly securing your laser engraver in the vehicle, you can have peace of mind knowing that it will remain stable and protected throughout the transportation process. Taking the time to follow these steps will help minimize the risk of damage and ensure a successful transport.
Driving with the Laser Engraver
When transporting a laser engraver, it’s important to take certain precautions while driving to ensure the safety of both the machine and other passengers. By following these guidelines, you can minimize the risk of damage and ensure a smooth journey:
- Secure the vehicle: Ensure that your vehicle is in good condition and properly maintained before embarking on the journey. Make sure the tires are properly inflated, the brakes are functioning correctly, and all fluids are at their appropriate levels.
- Choose a safe route: Plan your route in advance, considering factors such as traffic conditions, road quality, and any potential hazards. Opt for well-maintained and smooth roads whenever possible.
- Drive defensively: Practice defensive driving techniques, such as maintaining a safe following distance, avoiding sudden maneuvers, and obeying all traffic laws. This will help prevent accidents and protect your machine from potential damage.
- Take speed into consideration: Drive at a moderate and consistent speed that allows for a smooth ride. Excessive speed or sudden braking can cause the laser engraver to shift or sustain damage.
- Minimize vibrations: Avoid driving over bumpy roads or rough terrain as much as possible. These conditions can create vibrations that may impact the internal components of the laser engraver.
- Monitor rearview mirrors: Regularly check your rearview mirrors to ensure the laser engraver remains secure and there are no signs of movement or instability during transit.
- Be cautious of temperature: Maintain a comfortable temperature inside the vehicle, as extreme heat or cold can affect the laser engraver and its components. Consider using climate control settings if necessary.
- Take necessary breaks: If it’s a long-distance journey, take breaks periodically to rest and check the condition of the laser engraver. This will help identify any issues and prevent fatigue-related accidents.
- Stay alert: Be alert and attentive throughout the entire journey. Avoid distractions, such as using your mobile phone, eating, or engaging in activities that may divert your attention from the road.
By driving responsibly and taking the necessary precautions, you can ensure the safety of your laser engraver during transport. Prioritize the smoothness of the ride, monitor the machine, and obey traffic laws to safeguard both the machine and those on the road.
Unpacking the Laser Engraver
After safely transporting your laser engraver to its destination, it’s time to carefully unpack it. Unpacking the machine requires attention to detail to avoid any damage during the process. Follow these steps to effectively unpack your laser engraver:
- Prepare a clean workspace: Clear a designated workspace where you can safely unpack the laser engraver. Ensure that the area is clean, well-lit, and free of any potential hazards.
- Inspect the packaging: Carefully inspect the outer packaging for any signs of damage or mishandling during transit. If there are visible signs of damage, take photos and report it to the carrier.
- Open the packaging: Carefully and systematically open the packaging, ensuring not to use any sharp tools that may damage the machine. Cut through the tape or carefully unwrap the packaging materials.
- Remove protective materials: Start by removing any foam, bubble wrap, or padding materials from around the laser engraver. Dispose of them properly and avoid using excessive force.
- Inspect for damage: Thoroughly inspect the laser engraver for any signs of damage or loose components caused during transportation. Check the machine’s exterior, internal components, and wiring connections.
- Retrieve the documentation: Locate the user manual and any other documentation that came with the laser engraver. Keep them accessible for reference during the reassembly process.
- Organize the removed parts: If you removed any moving parts or accessories, organize them in a safe and easily accessible location. Keep track of any screws, bolts, or small components to ensure they are not misplaced.
During the unpacking process, it’s important to exercise caution and pay attention to details. By taking the time to unpack the laser engraver properly, you can ensure that it is undamaged and ready for reassembly.
Reassembling the Laser Engraver
Once the laser engraver has been safely unpacked, it’s time to proceed with reassembling the machine. Reassembling the laser engraver requires careful attention to detail and following the manufacturer’s instructions to ensure everything is properly aligned and connected. Follow these steps to effectively reassemble your laser engraver:
- Refer to the user manual: Consult the laser engraver’s user manual for step-by-step instructions on how to reassemble the machine. Follow the manufacturer’s guidelines to ensure proper reassembly.
- Organize the removed parts: Retrieve the removed parts and accessories, ensuring they are organized and easily accessible during the reassembly process. Refer to any labeling or notes you made during the disassembly for accurate placement.
- Align and connect components: Begin by aligning the laser head, mirrors, lens holders, or any other removed components in their respective positions. Follow the manufacturer’s guidelines to ensure accurate alignment.
- Reconnect internal wiring: Carefully reconnect any internal wiring that was disconnected during the disassembly process. Refer to your notes or photographs taken during the disassembly to ensure correct connections.
- Securely fasten components: Use the appropriate tools and techniques to securely fasten components such as screws, bolts, or clips. Ensure that everything is tight but not overtightened to prevent damage.
- Check for loose connections: Double-check all connections and wiring to ensure that nothing is loose or improperly connected. This will prevent any technical or operational issues once the laser engraver is powered on.
- Test functionality: Before using the laser engraver for any projects, conduct a test run to ensure that all components are properly reassembled and fully functional. Follow the manufacturer’s instructions for the test procedure.
Reassembling the laser engraver requires patience and attention to detail. By following the manufacturer’s guidelines and taking the time to ensure proper alignment and connections, you can successfully bring your laser engraver back to its operational state.
Testing the Laser Engraver
After reassembling the laser engraver, it’s crucial to perform thorough testing to ensure that everything is functioning correctly. Testing the machine will help identify any potential issues or misalignments that may have occurred during the transportation and reassembly process. Follow these steps to effectively test your laser engraver:
- Power on the machine: Connect the laser engraver to a suitable power source and turn it on. Allow the machine to initialize and reach the required operating temperature as specified by the manufacturer.
- Check the control panel: Verify that the control panel displays the necessary information and functions properly. Ensure all buttons, knobs, and switches respond as expected.
- Run a test job: Start by running a simple test job on scrap material to verify that the laser is firing correctly and producing the desired results. Check for any issues such as uneven engraving, excessive charring, or weak laser output.
- Inspect engraving quality: Carefully examine the engraving quality to ensure that it meets your expectations. Look for any signs of misalignment, distortion, or inconsistency in the engraved designs or text.
- Test all functions and settings: Explore the different settings and functions of the laser engraver, such as power, speed, and depth of engraving. Test each setting to ensure they are working as intended.
- Check mechanical movements: Monitor the mechanical movements of the laser engraver, such as the movement of the laser head and the motion of the engraving bed. Ensure they are operating smoothly and without any unusual noises or vibrations.
- Run additional test jobs: For a comprehensive evaluation, run a series of test jobs on different materials and settings. This will help identify any specific issues related to certain materials or engraving techniques.
- Monitor for safety features: Pay attention to any safety features integrated into the laser engraver, such as emergency stop buttons or coolant temperature warnings. Ensure that these features are functioning properly.
By thoroughly testing your laser engraver after reassembly, you can validate its performance and detect any issues early on. If any problems arise during testing, consult the user manual or seek assistance from the manufacturer to resolve them before using the machine for critical projects.
Conclusion
Transporting a laser engraver can be a delicate task, but with proper preparation and careful execution, you can ensure the safe and secure transport of your machine. By following the steps outlined in this guide, from preparing the laser engraver and disconnecting its components to packaging it, loading it into a vehicle, and reassembling it at the destination, you can reduce the risk of damage and ensure its optimal performance.
Preparing for transport involves gathering the necessary tools, performing maintenance checks, disconnecting the machine’s components, and securing the engraving materials. Packaging the laser engraver entails choosing a sturdy box, padding it properly, and labeling it to indicate its fragility. Loading the machine into a vehicle requires selecting a suitable vehicle, securing it with tie-down straps, and driving with caution to minimize vibrations and sudden movements.
Upon arrival at the destination, unpacking the laser engraver should be done in a clean space, inspecting the packaging for any damage. Reassembling the laser engraver involves consulting the user manual, aligning and connecting the components, and checking for loose connections. Finally, testing the machine ensures its proper functionality by running test jobs, inspecting the results, and confirming that all settings and safety features are working as intended.
By following these guidelines, you can safely transport your laser engraver and protect it from potential damage. Remember to refer to your specific machine’s user manual and seek professional assistance if needed. Effective transportation and proper reassembly will ultimately extend the lifespan of your laser engraver and maintain its high-quality performance.