Introduction
Google Sheets is a powerful online spreadsheet tool that allows users to create, edit, and analyze data. One of the key features of Google Sheets is the ability to add columns to your spreadsheet. Columns are essential for organizing and categorizing your data, making it easier to work with and understand.
In this article, we will explore multiple methods for adding columns in Google Sheets. Whether you prefer using the menu options, keyboard shortcuts, or even the more advanced formatting options, we’ve got you covered. By the end of this article, you will be equipped with the knowledge to effortlessly add columns to your Google Sheets documents.
We will walk you through each method step-by-step, ensuring that you have a clear understanding of the process. Whether you are a beginner or an advanced user, there is an approach that suits your level of expertise.
Adding columns to your Google Sheets can be incredibly beneficial. It allows you to expand your dataset, insert additional information, or rearrange existing data. By organizing your data into columns, you can have a more structured and organized spreadsheet, improving the readability and usability of your document.
So, if you’re ready to enhance your Google Sheets experience and make the most out of the available features, let’s dive into the various methods for adding columns in Google Sheets. Choose the method that best fits your workflow and start optimizing your data management today!
Method 1: Using the Insert Menu
The easiest way to add columns in Google Sheets is by using the Insert menu. Follow these simple steps to effortlessly add columns to your spreadsheet:
- Open your Google Sheets document and navigate to the row where you want to insert the column. Click on the cell in that row to select it.
- Next, go to the Insert menu located at the top of the screen. Click on the Insert option, and a drop-down menu will appear.
- From the drop-down menu, select the “Column right” or “Column left” option, depending on where you want to insert the column.
- Once you’ve selected the appropriate option, a new column will be added to your spreadsheet, shifting the existing columns accordingly.
It’s as simple as that! You can now start inputting data into your newly inserted column or format it according to your requirements. The Insert menu offers a quick and convenient way to add columns as needed, making it suitable for users of all levels of expertise.
Using the Insert menu ensures that the column is seamlessly integrated into your spreadsheet, maintaining the integrity of any existing formulas and data. This method is especially useful when you want to add multiple columns to your document or when you want to insert a column in a specific location.
Remember that you can always undo any changes made by using the Ctrl+Z (Windows) or Command+Z (Mac) keyboard shortcut. So, don’t hesitate to experiment with adding columns and explore the possibilities of organizing your data more effectively in Google Sheets.
Now that you know how to add columns using the Insert menu, let’s explore another method for adding columns in Google Sheets.
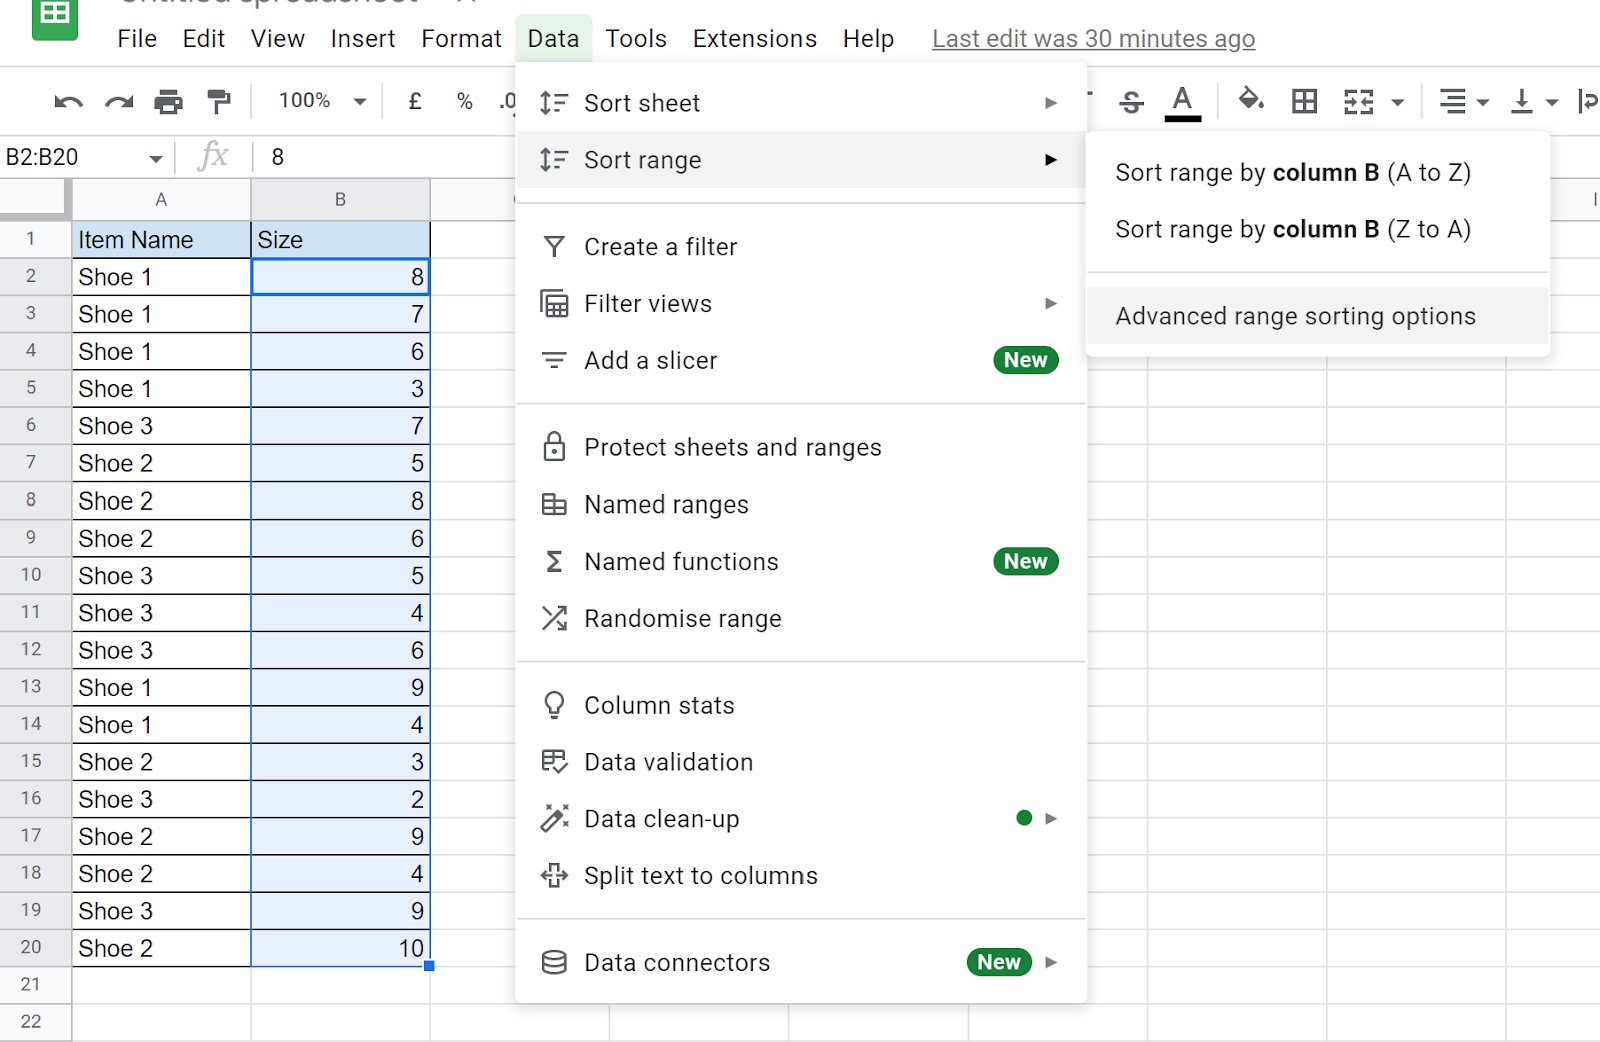
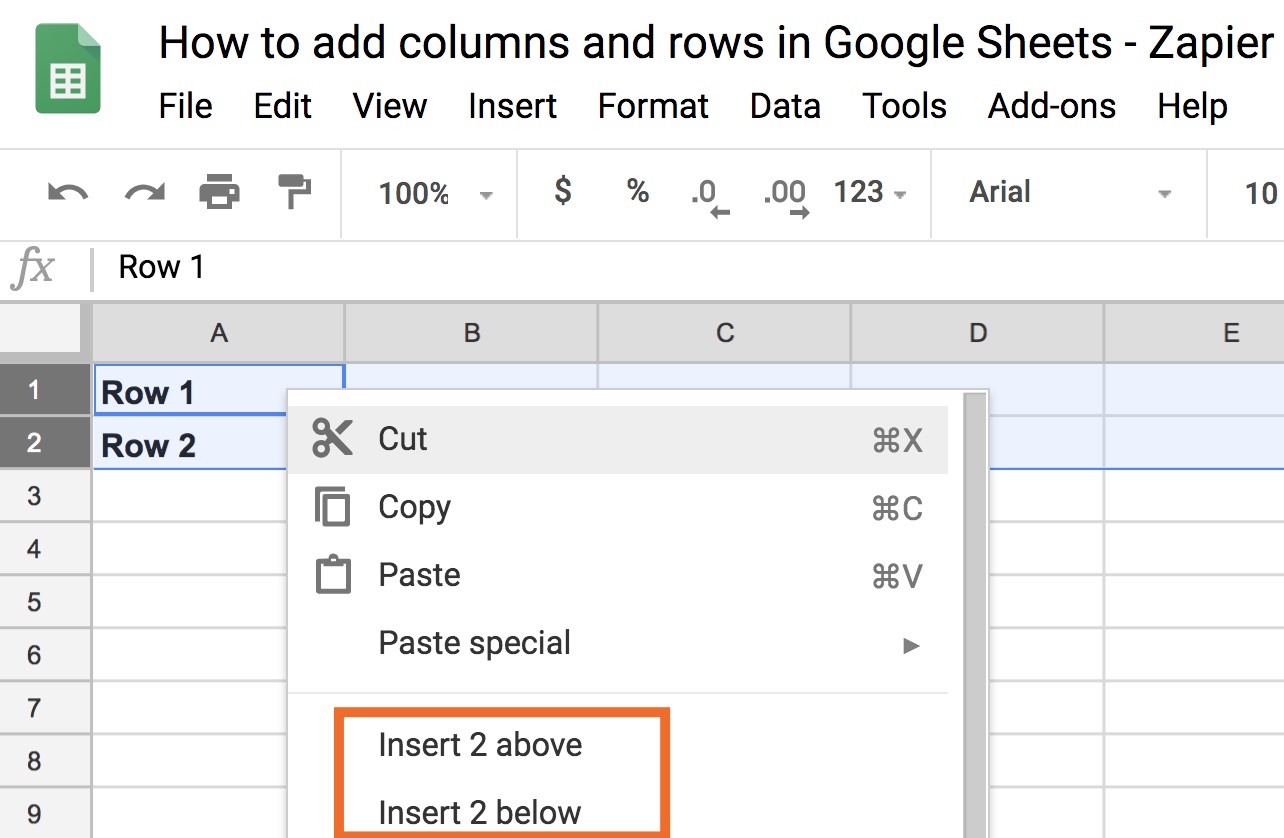
Method 2: Using the Right-click Menu
Another convenient way to add columns in Google Sheets is by utilizing the right-click menu. This method allows for a quick and simple insertion of columns with just a few clicks. Follow these steps to add columns using the right-click menu:
- Open your Google Sheets document and locate the column where you want to insert a new column. Right-click on the column header letter to open the context menu.
- In the context menu, hover over the “Insert” option, and a sub-menu will appear.
- From the sub-menu, select either “Insert 1 above” or “Insert 1 below,” depending on where you want to insert the column.
- Upon selecting the desired option, a new column will be added to your spreadsheet, shifting the existing columns accordingly.
With just a right-click, you can effortlessly add a column to your Google Sheets document. This method offers a quick and intuitive way to insert columns without navigating through menu options. It is especially useful when you want to add a column in a specific location without disrupting your workflow.
The right-click menu in Google Sheets is a powerful tool that provides access to many other options for managing your spreadsheet. Aside from adding columns, you can also use the right-click menu for deleting columns, renaming them, adjusting column width, and much more. Explore the different options available to streamline your data management even further.
Remember that you can always undo any changes made by using the Ctrl+Z (Windows) or Command+Z (Mac) keyboard shortcut. This allows you to experiment with adding columns and easily revert any modifications if needed.
Now that you know how to add columns using the right-click menu, let’s move on to another method that involves a keyboard shortcut.
Method 3: Using the Keyboard Shortcut
Adding columns in Google Sheets can be done quickly and efficiently using a keyboard shortcut. This method is ideal for users who prefer navigating through their spreadsheets without relying on menus or right-click options. Follow these steps to add columns using a keyboard shortcut:
- Open your Google Sheets document and navigate to the column where you want to insert a new column.
- Select the entire column by clicking on the column header letter.
- Once the column is selected, press the Ctrl key (Windows) or Command key (Mac) together with the + (plus) key.
- A new column will be inserted to the left of the selected column, shifting the existing columns to the right.
Using the keyboard shortcut to add columns provides a seamless and efficient workflow, especially for advanced users who prefer to perform actions quickly without relying on menus or mouse clicks. This method allows you to add columns with precision and speed, making it a valuable technique for improving your productivity in Google Sheets.
It’s important to note that the keyboard shortcut mentioned above adds a column to the left of the selected column. If you wish to insert a column to the right of the selected column, you can use the Ctrl + Shift + + (plus) shortcut on Windows or Command + Shift + + (plus) on Mac.
Remember, you can always undo any changes made by using the Ctrl+Z (Windows) or Command+Z (Mac) keyboard shortcut. This helps you to experiment and make adjustments without the fear of making irreversible modifications.
Now that you know how to add columns using a keyboard shortcut, let’s explore another method that allows for more advanced formatting options.
Method 4: Using the Format Menu
If you’re looking for additional formatting options while adding columns in Google Sheets, the Format menu is your go-to option. This method allows you to not only insert columns but also customize their appearance and properties. Follow these steps to add columns using the Format menu:
- Open your Google Sheets document and navigate to the column where you want to insert a new column.
- Select the entire column by clicking on the column header letter.
- From the top menu, click on “Format” to open the Format menu.
- Navigate to “Column” in the Format menu and click on it to display the sub-menu.
- From the sub-menu, click on “Insert 1 left” or “Insert 1 right” based on where you want to insert the column.
- A new column will be added to your spreadsheet, shifting the existing columns accordingly.
Using the Format menu to add columns provides you with additional control over the appearance and formatting of the inserted column. This method is particularly useful when you need to align the column width, apply custom formatting, or adjust specific column properties.
In the Format menu, you will find various options to customize the appearance of your columns, such as changing the font, text color, or cell background. You can also format numbers and dates, apply conditional formatting, and much more. Exploring the Formatting options in Google Sheets can greatly enhance the visual appeal and readability of your spreadsheet.
As always, it’s good practice to experiment with different formatting options and customize your spreadsheet to suit your specific needs. And if you ever need to undo any changes, simply use the Ctrl+Z (Windows) or Command+Z (Mac) keyboard shortcut.
Now that you know how to add columns using the Format menu, let’s move on to our final method, which offers even more options for inserting and managing columns.
Method 5: Using the More Options Button
For users who need advanced options and greater flexibility when adding columns in Google Sheets, the More Options button is the perfect solution. This method offers a comprehensive set of features for inserting and managing columns efficiently. Follow these steps to add columns using the More Options button:
- Open your Google Sheets document and navigate to the column where you want to insert a new column.
- Select the entire column by clicking on the column header letter.
- In the toolbar at the top, look for the “More Options” button, which is represented by three vertical dots. Click on this button to open the More Options menu.
- In the More Options menu, choose the “Insert 1 above” or “Insert 1 below” option based on your desired column placement.
- A new column will be inserted, and the existing columns will be adjusted accordingly.
The More Options button provides a wealth of additional capabilities beyond just inserting columns. From this menu, you can access advanced options such as sorting and filtering, hiding or unhiding columns, freezing or unfreezing columns, and much more. You can even customize the visible numeric format, apply validation rules, or protect your columns from being edited.
Using the More Options button allows for greater control and customization when working with columns in Google Sheets. It is particularly useful when you need to perform complex data manipulations or manage large datasets. Take the time to explore the various options available in the More Options menu to optimize your workflow and improve your overall productivity.
As always, you have the flexibility to undo any changes using the Ctrl+Z (Windows) or Command+Z (Mac) keyboard shortcut if needed. This ensures that you can experiment and make adjustments without the fear of making irreversible modifications.
Now that you’re familiar with the various methods for adding columns in Google Sheets, you can choose the approach that best suits your needs and preferences. Whether you prefer the simplicity of menu options, the convenience of right-clicking, the speed of keyboard shortcuts, or the versatility of advanced options, you’ll be able to effortlessly organize and manage your spreadsheet data.
Conclusion
Adding columns in Google Sheets is a fundamental skill that allows you to effectively organize and manage your data. Throughout this article, we have explored five different methods for adding columns in Google Sheets: using the Insert menu, the right-click menu, keyboard shortcuts, the Format menu, and the More Options button. Each method offers its own advantages and is suitable for different user preferences and needs.
Using the Insert menu provides a straightforward and easy way to add columns, while the right-click menu offers a convenient option for quick insertion. Keyboard shortcuts enable advanced users to swiftly navigate through their spreadsheets without relying on menus or mouse clicks. The Format menu allows for customization and formatting options, while the More Options button provides advanced features for managing columns effectively.
Whether you’re a beginner or an experienced user, these methods allow you to insert columns effortlessly and enhance your data management capabilities in Google Sheets. By taking advantage of these techniques, you can organize your data, improve readability, and optimize your workflow.
Remember, you can always experiment with adding columns and adjust their placement or formatting as needed. Google Sheets gives you the flexibility to undo any changes you make, so don’t hesitate to explore and tailor your spreadsheet to fit your specific requirements.
Now that you’re equipped with the knowledge of different methods for adding columns in Google Sheets, take control of your data and enjoy the improved organization and efficiency that these techniques bring to your spreadsheets. Whether you’re working on personal projects, collaborating with a team, or conducting data analysis, adding columns will undoubtedly make your Google Sheets experience richer and more productive.
So, try out these methods and find the one that best fits your needs. Start creating well-organized and visually appealing spreadsheets by adding columns in Google Sheets today!