Introduction
Welcome to our comprehensive guide on understanding the importance of RAM in video editing, specifically for Adobe Premiere Pro. As a creative professional or enthusiast, you’re likely well aware of the power and efficiency that Premiere Pro offers for editing and producing high-quality videos. However, one crucial aspect that directly influences the performance of this software is the amount of RAM in your system.
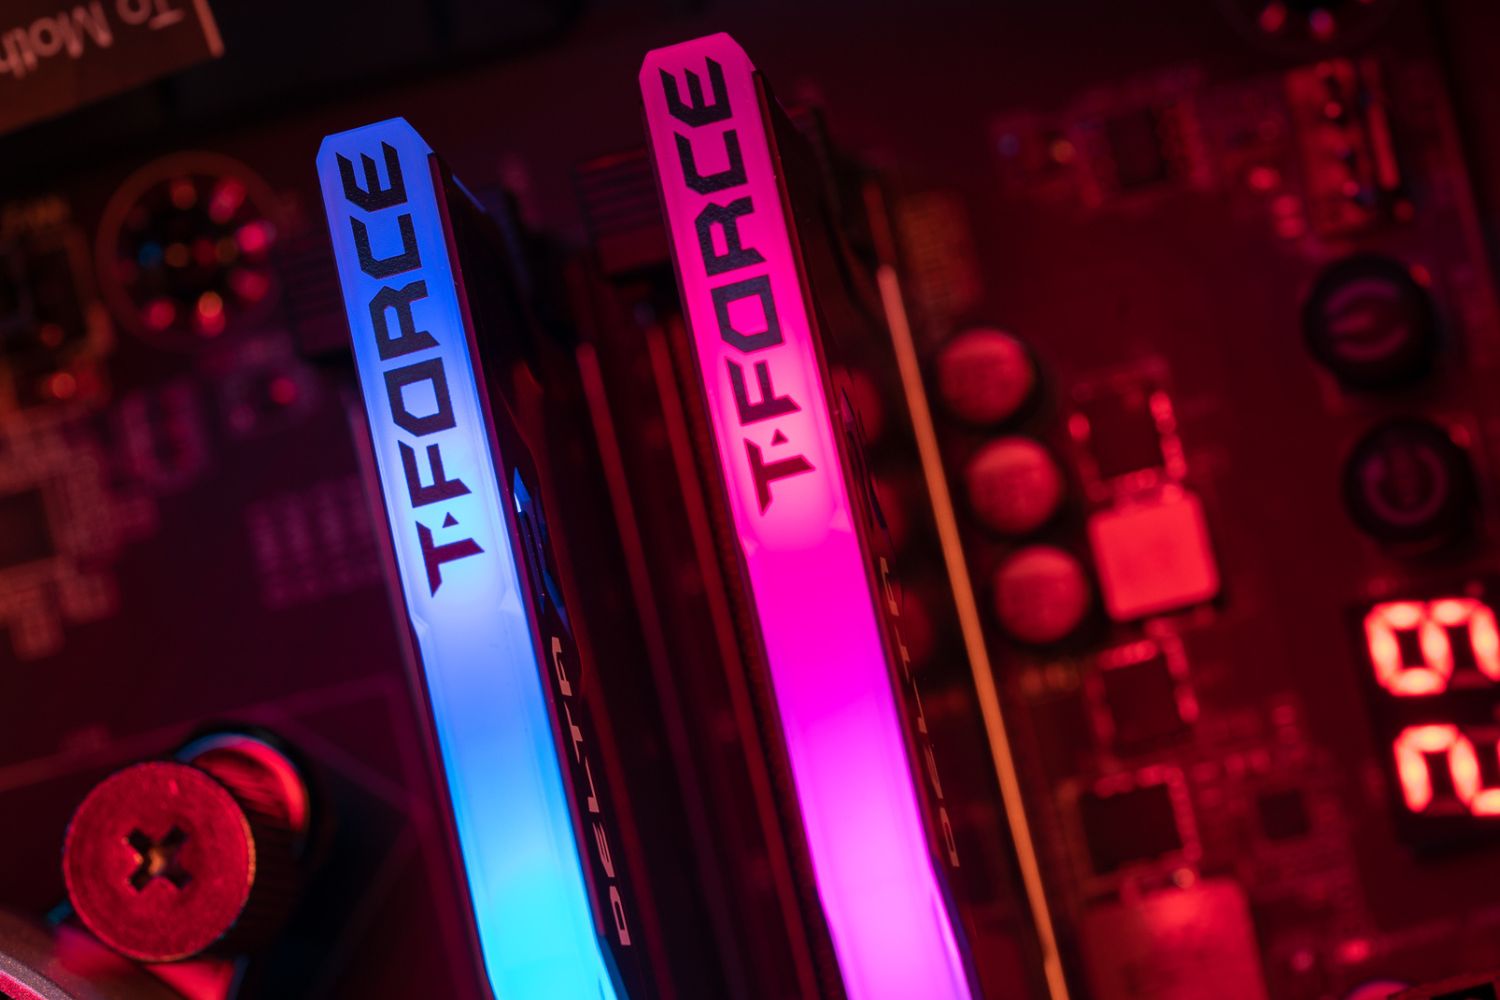
RAM, or Random Access Memory, plays a vital role in video editing software like Premiere Pro. It serves as the temporary storage space where your computer temporarily stores data that your processor needs to access quickly. The more RAM you have, the more data can be stored and accessed at any given time, leading to faster rendering, smoother playback, and improved overall performance.
Understanding the minimum and recommended RAM requirements for Premiere Pro is crucial for maintaining a stable and efficient editing environment. In this guide, we’ll explore the different RAM requirements for Premiere Pro, factors that influence RAM usage, how to determine the ideal amount of RAM for your editing needs, and the benefits of having sufficient RAM.
Whether you’re a professional video editor regularly working on complex projects or a beginner exploring the world of video editing, having the right amount of RAM can make all the difference in your editing workflow. Join us as we delve into the world of RAM and Premiere Pro to unlock the true potential of your editing capabilities.
Understanding RAM and its Importance in Video Editing
RAM, or Random Access Memory, is a crucial component of any computer system, especially when it comes to video editing. It serves as the bridge between the processor and the storage, allowing for quick and efficient data access. In video editing software like Adobe Premiere Pro, RAM plays a vital role in providing a smooth editing experience and improving overall performance.
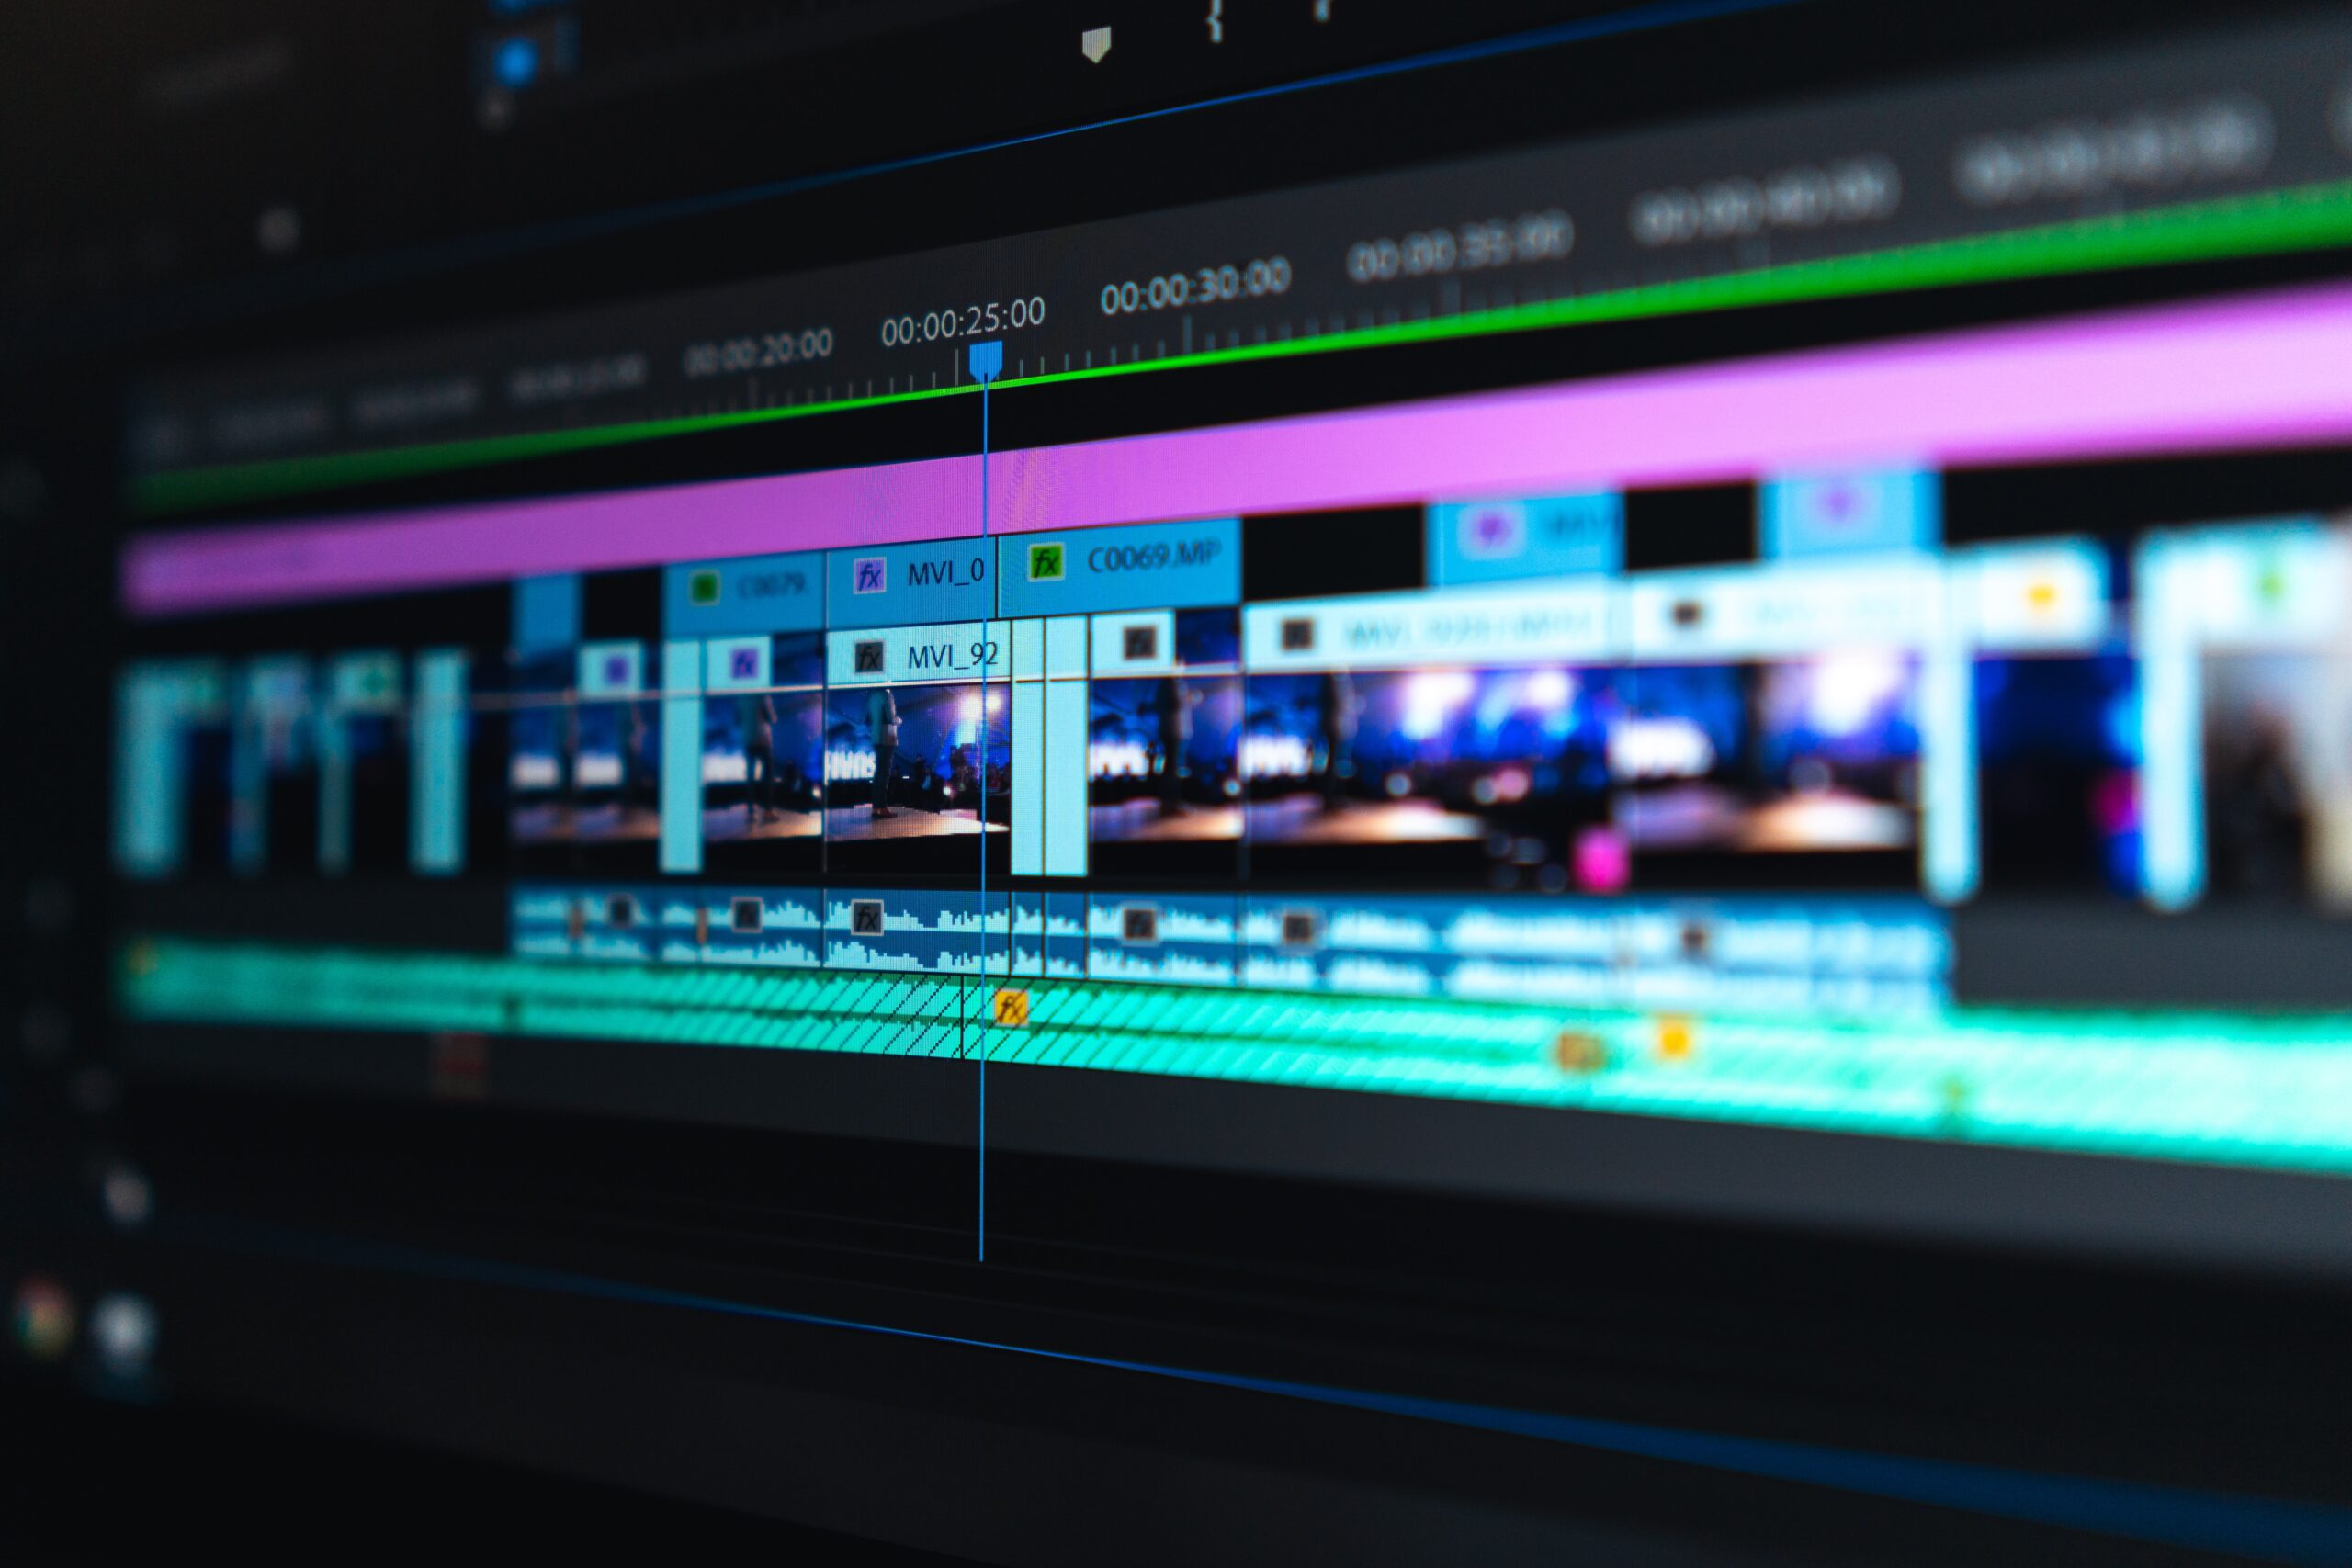
When you work with video editing software, such as Premiere Pro, you’re dealing with large files that require real-time processing. These files include high-definition video footage, audio tracks, effects, transitions, and more. To manipulate and edit these files in real-time, your computer needs to quickly access and process the data, which is where RAM comes into play.
RAM acts as a workspace for Premiere Pro, storing the project files and other data needed for editing. The more RAM you have, the more data can be stored in this temporary space, enabling faster access and processing. This means you can navigate through the timeline, apply effects, preview changes, and render the final output more efficiently.
Insufficient RAM can significantly impact the performance of Premiere Pro. When your system runs out of available RAM, it starts using the hard drive as virtual memory, which is considerably slower. This leads to lagging, freezing, and overall sluggishness in the editing process. To avoid these issues and ensure a seamless editing experience, it’s vital to have an adequate amount of RAM installed on your computer.
Additionally, having sufficient RAM allows for multitasking while editing. Video editing often involves running multiple applications simultaneously, such as Premiere Pro, After Effects, Photoshop, and more. With more RAM, your computer can handle these tasks without slowing down, keeping your workflow smooth and uninterrupted.
Ultimately, RAM directly impacts your efficiency, productivity, and creativity as a video editor. It can have a profound effect on the time it takes to complete a project and the quality of the end result. By investing in ample RAM, you can optimize your editing experience, unleash the full power of Premiere Pro, and bring your creative vision to life.
Minimum RAM Requirements for Premiere Pro
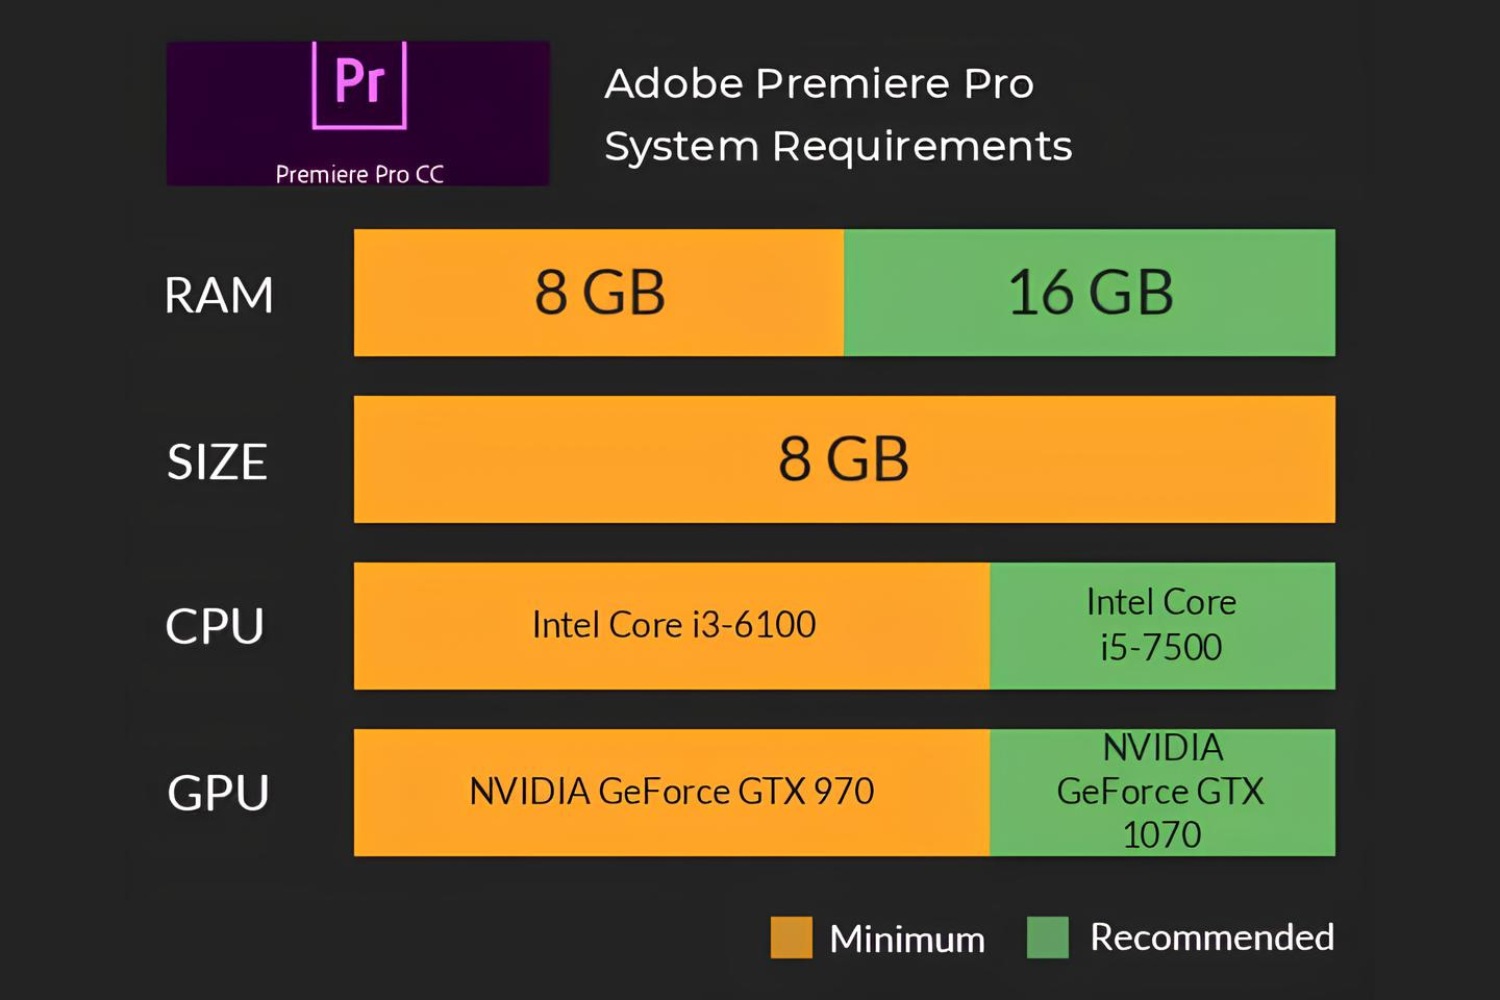
Adobe provides minimum system requirements for running Premiere Pro, including specific recommendations for RAM. These requirements serve as a baseline to ensure smooth functionality and usability. However, it’s important to note that meeting only the minimum requirements may result in limited performance, especially when working with complex projects or high-resolution footage.
As of the latest version, Adobe recommends a minimum of 8GB of RAM for Premiere Pro. This amount of RAM allows the software to run adequately for basic video editing tasks and for projects with small file sizes. It should be sufficient for simple edits, such as trimming, basic effects, and basic color grading.
While 8GB of RAM can get you started, it may not be enough if you’re working with more demanding projects. As footage resolution, effects, and project complexity increase, so does the need for more RAM. High-definition and 4K video footage, multiple video tracks, complex effects, and large project files all require a significant amount of memory to work with smoothly.
For optimal performance and to handle more complex projects, it’s advisable to have 16GB or even 32GB of RAM. This increased amount of RAM ensures that there’s ample space for caching and processing larger amounts of data simultaneously. It allows for faster rendering times, smoother playback, and a more efficient editing workflow.
Remember that the minimum RAM requirements are just a starting point. It’s recommended to aim for the higher end of the spectrum to future-proof your system and accommodate any potential increase in project complexity. Investing in more RAM can improve your productivity and provide a smoother editing experience, especially when working with resource-intensive tasks.
In summary, while the minimum RAM requirement for Premiere Pro is 8GB, it’s advisable to have at least 16GB or 32GB for optimal performance. This will ensure that you can comfortably work with a variety of video footage, handle complex effects, and maintain a fast and efficient editing process.
Recommended RAM for Optimal Performance
While the minimum RAM requirements for Adobe Premiere Pro provide a baseline for functionality, they may not deliver the level of performance required for more demanding video editing tasks. To achieve optimal performance and unlock the full potential of Premiere Pro, it’s highly recommended to have a higher amount of RAM installed in your system.
For most video editing projects, especially those involving high-resolution footage, complex effects, and multiple tracks, a recommended minimum of 16GB of RAM is advised. This amount of RAM ensures that there is enough room for caching and processing the significant amount of data associated with such projects. It allows for smoother playback, faster rendering, and better overall performance.
However, if you frequently work with resource-intensive tasks, such as working with raw footage or handling multiple high-resolution video files simultaneously, it is recommended to consider upgrading to 32GB or even 64GB of RAM. This increased amount of RAM provides enhanced multitasking capabilities and allows Premiere Pro to efficiently process large amounts of data without slowdowns or performance bottlenecks.
Having ample RAM not only improves the performance of Premiere Pro but also provides benefits such as a more responsive timeline, faster export times, and better stability. It prevents your system from running out of available memory, which can cause crashes, freezing, and loss of unsaved work.
Additionally, if you frequently work with other resource-intensive software alongside Premiere Pro, such as After Effects or 3D modeling applications, consider upgrading your RAM even further. These applications also require a significant amount of memory to function optimally, and having sufficient RAM ensures smooth multitasking and efficient workflow.
It’s important to keep in mind that the recommended RAM specifications may vary depending on the specific requirements of your projects and the complexity of your workflows. Always consider the type and resolution of your video footage, the number of video and audio tracks, the complexity of effects and transitions, and any other factors that may impact the performance of Premiere Pro.
To summarize, for optimal performance in Adobe Premiere Pro, it is recommended to have a minimum of 16GB of RAM. However, if you frequently work with demanding projects or multitask with other resource-intensive applications, upgrading to 32GB or more can significantly improve your editing experience and efficiency.
Factors That Influence RAM Usage in Premiere Pro
Several factors influence the amount of RAM that Adobe Premiere Pro utilizes during the editing process. Understanding these factors can help you optimize your RAM allocation and ensure efficient performance in your editing workflows. Let’s take a look at the key factors that impact RAM usage in Premiere Pro.
1. Project Complexity: The complexity of your project plays a significant role in RAM usage. Projects that involve multiple layers, high-resolution footage, complex effects, and intricate timelines require more RAM to store and process the data. As the complexity of your project increases, so does the demand for system resources, including RAM.
2. Footage Resolution: The resolution of your video footage directly affects RAM usage. Higher-resolution footage, such as 4K or raw video files, requires more memory to store and manipulate. The larger the file size and the resolution, the more RAM Premiere Pro needs to allocate for smooth playback and editing.
3. Effects and Transitions: Applying effects and transitions to your video clips can also impact RAM usage. Complex effects, such as motion tracking or intensive color grading, require more memory to process and preview in real-time. The number and complexity of effects and transitions in your project contribute to the overall RAM usage.
4. Number of Tracks: The number of video and audio tracks in your timeline affects RAM usage. Each track requires memory to store the media files, apply effects, and maintain synchronization. As you add more tracks to your project, the RAM allocation increases to accommodate these additional layers of data.
5. Concurrent Applications: Running multiple applications simultaneously alongside Premiere Pro can increase RAM usage. If you have other resource-intensive software open, such as Photoshop or After Effects, they compete for system resources, including RAM. It’s important to close any unnecessary applications to ensure that Premiere Pro has sufficient RAM allocated for optimum performance.
6. System Specifications: The overall hardware configuration of your computer, including your processor and graphics card, can influence RAM usage in Premiere Pro. A faster processor and a dedicated graphics card can help alleviate the strain on RAM, allowing for smoother editing and playback. However, even with powerful hardware, having a sufficient amount of RAM remains crucial for optimal performance.
By considering these factors and their impact on RAM usage, you can make informed decisions about your editing workflow. Allocating an adequate amount of RAM based on project complexity, footage resolution, effects, tracks, and concurrent applications will help ensure a seamless editing experience with Adobe Premiere Pro.
How to Determine the Ideal Amount of RAM for Your Editing Needs
Determining the ideal amount of RAM for your editing needs requires careful consideration of various factors. By evaluating your editing workflow, project requirements, and hardware capabilities, you can determine the optimal amount of RAM to maximize your editing efficiency. Here’s a step-by-step guide:
1. Assess your editing projects: Consider the nature of your typical editing projects. Are you working on simple, short videos, or do you frequently handle larger, more complex projects? Analyze the project complexity, such as the number of tracks, effects, and footage resolution, as these factors directly impact RAM usage.
2. Evaluate resource-intensive tasks: Identify any specific resource-intensive tasks you regularly perform, such as working with 4K footage or applying complex effects. These tasks typically require more RAM to maintain smooth playback and real-time editing. Take note of these tasks as they will impact your overall RAM requirements.
3. Review system requirements: Check the recommended RAM specifications provided by Adobe for the version of Premiere Pro you are using. These requirements provide a general guideline for optimum performance. However, remember that meeting only the minimum requirements may limit your editing capabilities.
4. Analyze available RAM: Determine how much RAM your current system has installed and how much is readily available. On a Windows computer, you can check this by pressing Ctrl+Shift+Esc to open the Task Manager, and on a Mac, you can go to the Activity Monitor. Note the available RAM and compare it to the recommended specifications.
5. Consider future needs: Anticipate any future growth in your editing projects or potential upgrades to your software. If you plan to work with more complex projects or higher-resolution footage, it’s wise to factor in additional RAM to accommodate these future needs.
6. Upgrade options and budget: Assess your hardware capabilities and determine if upgrading your RAM is feasible. Research the maximum RAM capacity that your system can support and consider the costs associated with the upgrade. Allocate a budget for the RAM upgrade if necessary.
7. Seek expert advice: If you’re uncertain about the ideal amount of RAM for your specific editing needs, consult with industry professionals or experts. They can offer insights based on their experience with similar projects and guide you towards the appropriate RAM configuration.
By considering these steps, you can make an informed decision about the optimal amount of RAM for your editing needs. Remember that having more RAM than the minimum requirements is beneficial for handling complex projects and future growth. Investing in adequate RAM will enhance your editing efficiency, improve performance, and allow you to fully utilize the capabilities of Adobe Premiere Pro.
Upgrading Your RAM for Premiere Pro
If you find that your current RAM configuration is insufficient to meet the demands of Adobe Premiere Pro, upgrading your RAM is a viable solution to enhance your editing experience. Here are some key considerations and steps to guide you through the RAM upgrade process:
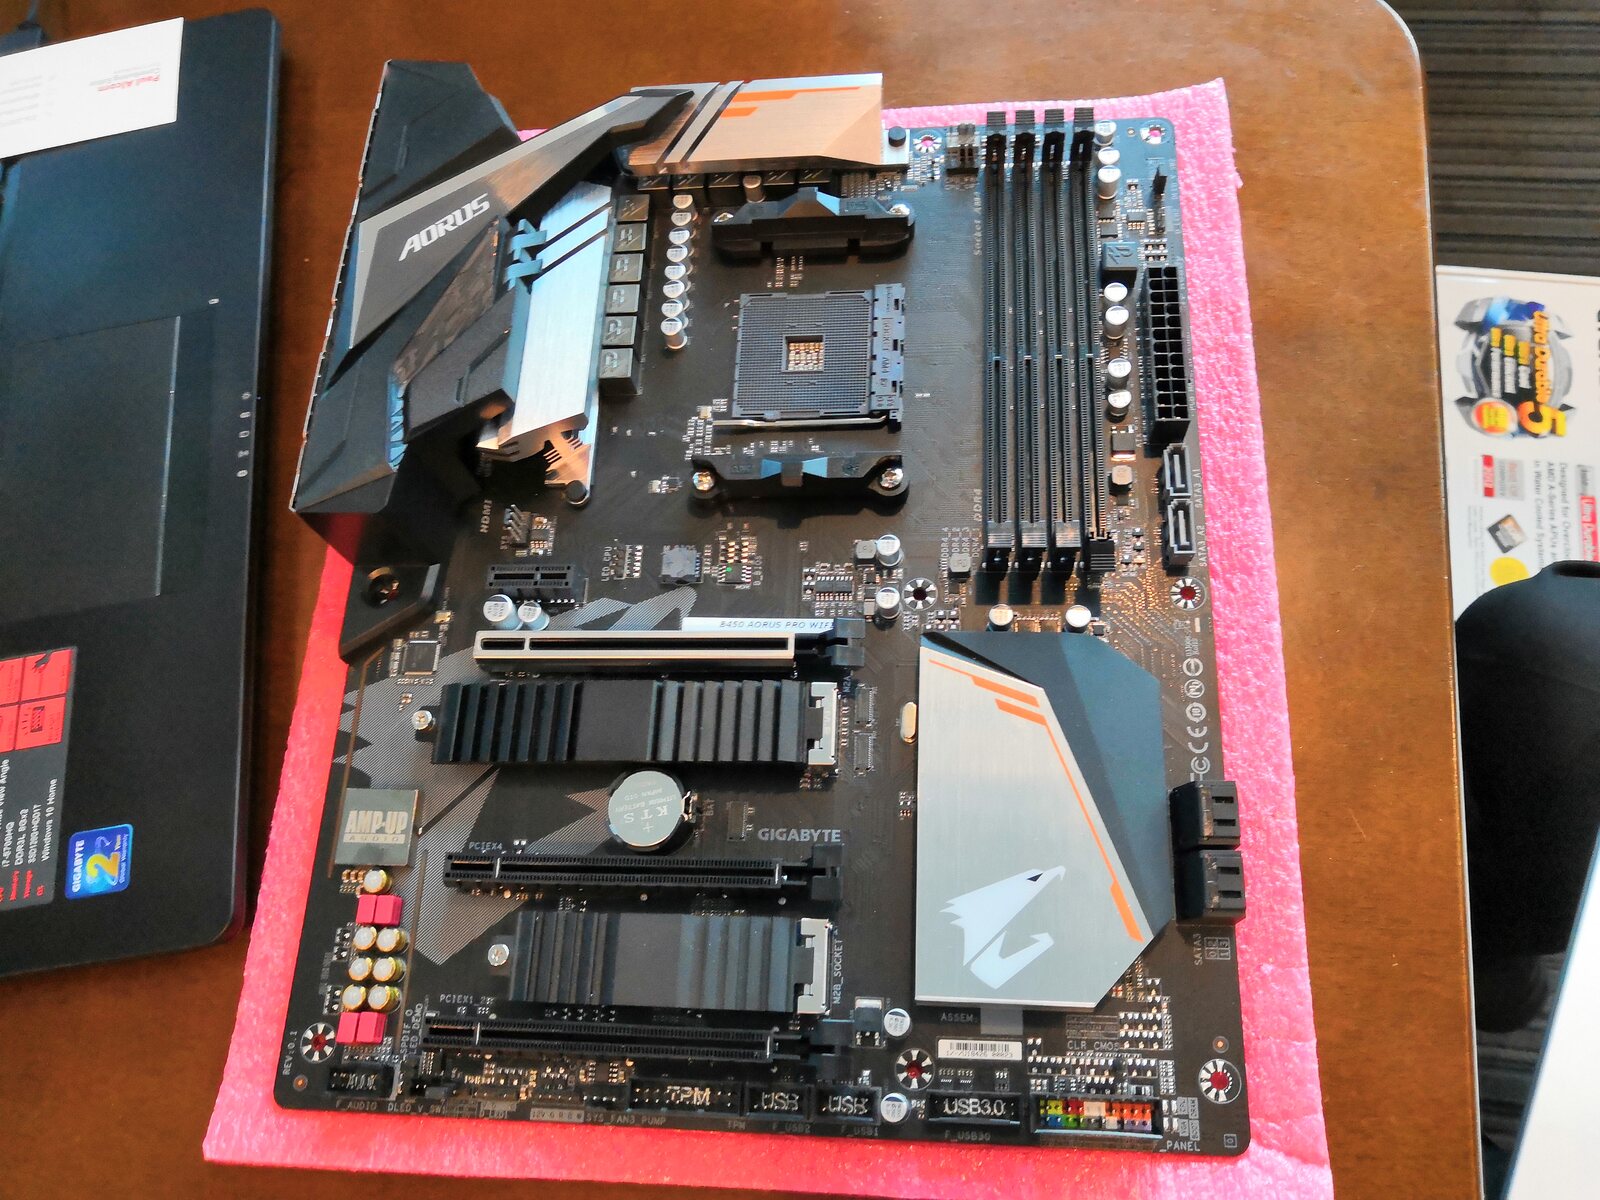
1. Check compatibility: Before purchasing new RAM modules, verify the compatibility with your computer’s motherboard and existing RAM. Check the maximum RAM capacity and the type (DDR3, DDR4) supported by your system.
2. Determine the required capacity: Consider your editing needs, project complexity, and budget to determine the ideal RAM capacity. Taking into account Adobe’s recommended specifications, choose a suitable upgrade capacity that provides an ample amount of RAM for consistent performance.
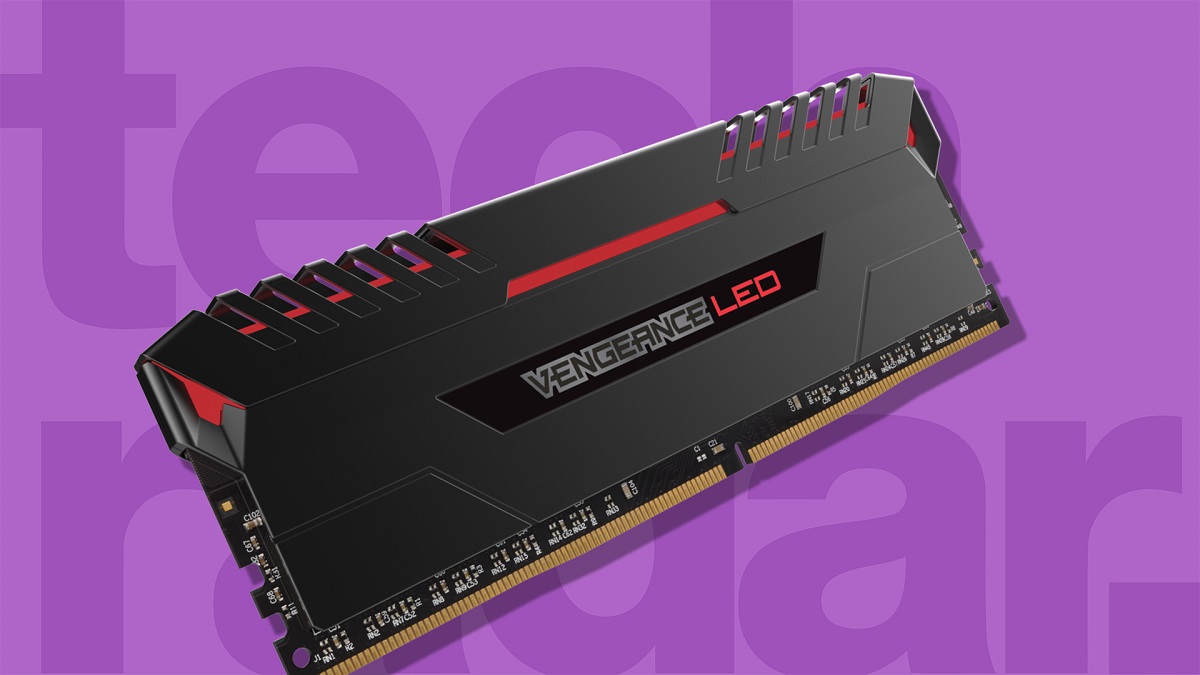
3. Choose reputable brands: Opt for reliable and reputable brands when purchasing RAM modules. Reputable manufacturers often offer better compatibility, performance, and warranty support for their products.
4. Verify RAM speed: RAM speed, measured in megahertz (MHz), affects data transfer rates. Ensure the speed of the new RAM matches or exceeds the existing RAM speed to maintain optimum performance.
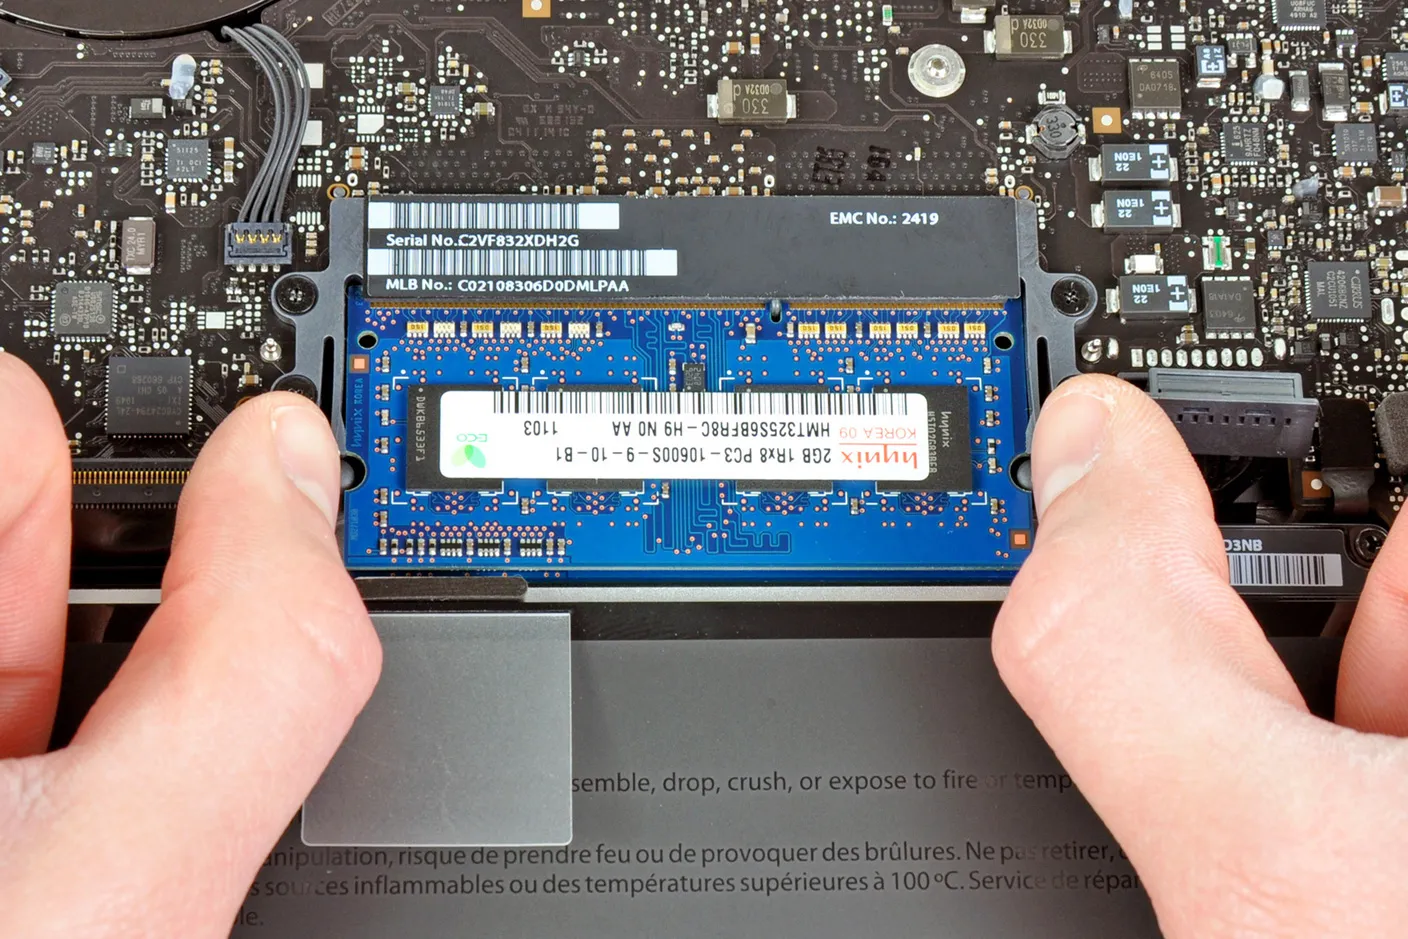
5. Install RAM correctly: Power off your computer and follow the manufacturer’s instructions for installing the new RAM modules. Ensure they are properly seated in the RAM slots and securely fastened.
6. Enable XMP/DOCP: If your motherboard supports it, consider enabling XMP (on Intel platforms) or DOCP (on AMD platforms) in the BIOS settings. This can automatically optimize the RAM speed and timings for better performance.
7. Test and troubleshoot: After upgrading the RAM, power on your computer and check the system’s recognition of the new RAM capacity. Run tests to ensure stability and performance improvements. If any issues arise, troubleshoot by reseating the RAM or consulting technical support.
8. Update drivers and software: After the RAM upgrade, it’s essential to update your computer’s drivers and ensure you have the latest version of Adobe Premiere Pro installed. Updating software can optimize compatibility and ensure proper utilization of the new RAM.
9. Monitor performance: Once the RAM upgrade is complete, closely monitor the performance of Adobe Premiere Pro. Observe improvements in rendering times, smoother playback, and overall stability. Adjust the RAM allocation within Premiere Pro if necessary, depending on the project requirements.
Remember that upgrading your RAM is just one aspect of enhancing your editing workflow. Other hardware components, such as your processor and graphics card, also contribute to overall performance. Consider a balanced approach when upgrading your system to optimize the editing experience with Adobe Premiere Pro.
Benefits of Having Sufficient RAM in Premiere Pro
Having sufficient RAM in your system when using Adobe Premiere Pro can bring a multitude of benefits that enhance your editing workflow and overall experience. Let’s explore the advantages of having ample RAM for editing with Premiere Pro:
1. Improved Performance: Sufficient RAM allows Premiere Pro to store and access the necessary data quickly, resulting in smoother playback, faster rendering times, and overall improved performance. It enables seamless real-time editing and ensures that multiple tracks, effects, and transitions can be applied without slowdowns or lag.
2. Efficient Multitasking: With ample RAM, you can run multiple applications simultaneously alongside Premiere Pro without compromising performance. This allows for efficient multitasking, enabling you to navigate between different editing tools, work with additional software, and streamline your workflow.
3. Smooth Playback and Preview: Insufficient RAM leads to choppy playback and preview, making it challenging to review your edits accurately. With more RAM, timeline scrubbing, previewing effects, and checking transitions become seamless, allowing you to make precise adjustments and maintain a precise editing workflow.
4. Faster Rendering and Exporting: Rendering and exporting projects can be time-consuming, especially when dealing with high-resolution footage or complex effects. Sufficient RAM accelerates the rendering process, reducing the time required to generate a final output. This enables you to deliver projects faster and meet tight deadlines without compromising quality.
5. Enhanced Stability: Running out of RAM can lead to crashes, freezes, and unpredictable software behavior. Adequate RAM ensures stability by providing sufficient resources for Premiere Pro to operate smoothly. It minimizes the risk of crashes and allows you to work on projects without the fear of losing unsaved progress.
6. Seamless Collaboration: Collaborating with other editors or sharing projects with clients becomes smoother with sufficient RAM. Having enough memory to handle the larger project files and multiple editors working simultaneously ensures a seamless collaboration experience, allowing for faster communication and efficient sharing of changes.
7. Future-Proofing: Investing in ample RAM not only enhances your editing experience in the present but also future-proofs your system. As video technologies continue to advance and demand for higher-resolution content increases, having more RAM ensures that your system is ready to handle these future challenges and project requirements.
In summary, having sufficient RAM in Premiere Pro results in improved performance, smooth playback, efficient multitasking, faster rendering times, enhanced stability, seamless collaboration, and future-proofing your editing capabilities. Upgrading your RAM to meet or exceed Adobe’s recommended specifications can unlock the full potential of Premiere Pro, enabling you to work with ease and achieve professional-level results.
Tips for Optimized RAM Usage in Premiere Pro
Optimizing your RAM usage in Adobe Premiere Pro can help improve performance, increase efficiency, and ensure a smooth editing experience. Here are some useful tips to make the most out of your RAM resources:
1. Allocate RAM in Preferences: Adobe Premiere Pro allows you to allocate the amount of RAM it can use in the Preferences settings. Adjust the RAM allocation based on your system’s capabilities and the complexity of your projects. Consider dedicating a significant portion of your available RAM to Premiere Pro for optimal performance.
2. Close Unnecessary Applications: Running additional applications alongside Premiere Pro can eat up valuable system resources, including RAM. Close any unnecessary programs and background processes to free up more RAM for Premiere Pro. This will ensure that the software has maximum available memory for smooth editing.
3. Optimize Project Files: Efficiently managing your project files can help minimize RAM usage. Delete unused media, effects, and unnecessary tracks from your timeline. Additionally, consider converting high-resolution footage to proxy files, which require less RAM for processing and editing.
4. Use Efficient Codecs: Choose codecs that are optimized for editing and require less RAM for playback and rendering. In particular, codecs like ProRes or DNxHD are known for their efficiency and low resource requirements. By using these codecs, you can reduce the strain on your RAM while maintaining high-quality video files.
5. Render and Preview in Proxies: When working with large and resource-intensive files, use Premiere Pro’s proxy workflow. By creating lower-resolution proxies of your video files, you can conserve RAM usage during the editing process. Previewing and making adjustments with proxies can be significantly faster and smoother, even on systems with limited RAM.
6. Optimize Effects and Transitions: Complex effects and transitions can heavily impact RAM usage. Whenever possible, use effects that are less resource-intensive or consider reducing their intensity. Limit the number of simultaneous effects and transitions, and avoid stacking multiple heavy effects on the same clip. This will help reduce RAM demands and improve performance.
7. Manage Cache Settings: Premiere Pro utilizes disk cache to store temporary data. Adjust the cache settings in the Preferences to optimize the utilization of disk space and minimize the need for excessive RAM storage. Consider allocating a separate dedicated drive for the cache to improve performance further.
8. Regularly Update Premiere Pro: Adobe periodically releases updates for Premiere Pro that include performance enhancements and bug fixes. Keeping your software up to date ensures you have access to the latest optimizations that can improve RAM usage and overall efficiency.
By implementing these tips, you can optimize RAM usage in Adobe Premiere Pro and enjoy a smoother editing experience. Efficiently managing your resources, reducing unnecessary processes, and utilizing Premiere Pro’s features can help maximize the effectiveness of your RAM while maintaining optimal performance.
Conclusion
RAM plays a vital role in maximizing your editing capabilities with Adobe Premiere Pro. Understanding the importance of RAM and ensuring that you have a sufficient amount can significantly enhance your editing experience. From improved performance and smooth playback to faster rendering and enhanced stability, having ample RAM allows you to work efficiently and achieve professional-level results.
While the minimum RAM requirements serve as a baseline, it’s advisable to aim for higher capacities to accommodate complex projects, high-resolution footage, and resource-intensive tasks. Investing in more RAM not only boosts your current editing capabilities but also future-proofs your system for upcoming advancements in video technologies.
By considering factors such as project complexity, footage resolution, effects, and tracks, as well as evaluating your current hardware capabilities, you can determine the ideal amount of RAM for your editing needs. Upgrading your RAM requires careful research, understanding compatibility, and following the proper installation procedures to ensure optimal performance.
To optimize RAM usage in Premiere Pro, allocate RAM in the preferences, close unnecessary applications, optimize project files, use efficient codecs, render and preview in proxies, optimize effects and transitions, manage cache settings, and keep your software updated. These practices will help streamline your editing workflow, minimize RAM allocation, and maximize the resources available for smoother editing sessions.
Remember, RAM is just one piece of the puzzle. It works in conjunction with other hardware components, such as the processor and graphics card, to deliver optimum performance. Therefore, consider a holistic approach when upgrading your system to create an ideal editing environment.
By following the tips outlined in this guide and ensuring sufficient RAM for your editing needs, you’ll be able to unlock the full potential of Adobe Premiere Pro, heighten your productivity, and produce high-quality videos that captivate your audience.


