Introduction
Choosing and setting up a projector for your home theater or office space can be an exciting process. However, one key factor that often gets overlooked is the distance between the projector and the screen. The distance at which a projector should be placed from the screen can have a significant impact on the overall viewing experience. If you place the projector too close, you risk distorting the image, while placing it too far away can result in a dim and blurry projection.
Understanding the ideal distance for your projector is crucial to ensure optimal image quality and viewing comfort. The appropriate projector distance depends on several factors, including the type of projector, the size of the screen, and the specific needs of the room.
In this article, we will delve into the various aspects of projector placement and provide insights on how far a projector needs to be from the screen. We will explore the differences between ceiling-mounted and wall-mounted projectors, discuss the benefits and limitations of short throw and long throw projectors, and offer guidance on calculating the recommended distance for your specific setup.
Whether you’re setting up a home theater to enjoy movies and gaming or installing a projector in a corporate boardroom or classroom, understanding the proper projector distance will help you achieve the best possible visual experience. So, let’s dive in and explore the intricacies of projector placement!
Distance vs. Projector Type
The distance between a projector and the screen can vary depending on the type of projector being used. Different projector types have different throw ratios, which determine the ideal distance for optimal image projection. Understanding the characteristics of each projector type will help you determine the appropriate distance for your setup.
There are two main types of projectors: short throw and long throw. Let’s take a closer look at each:
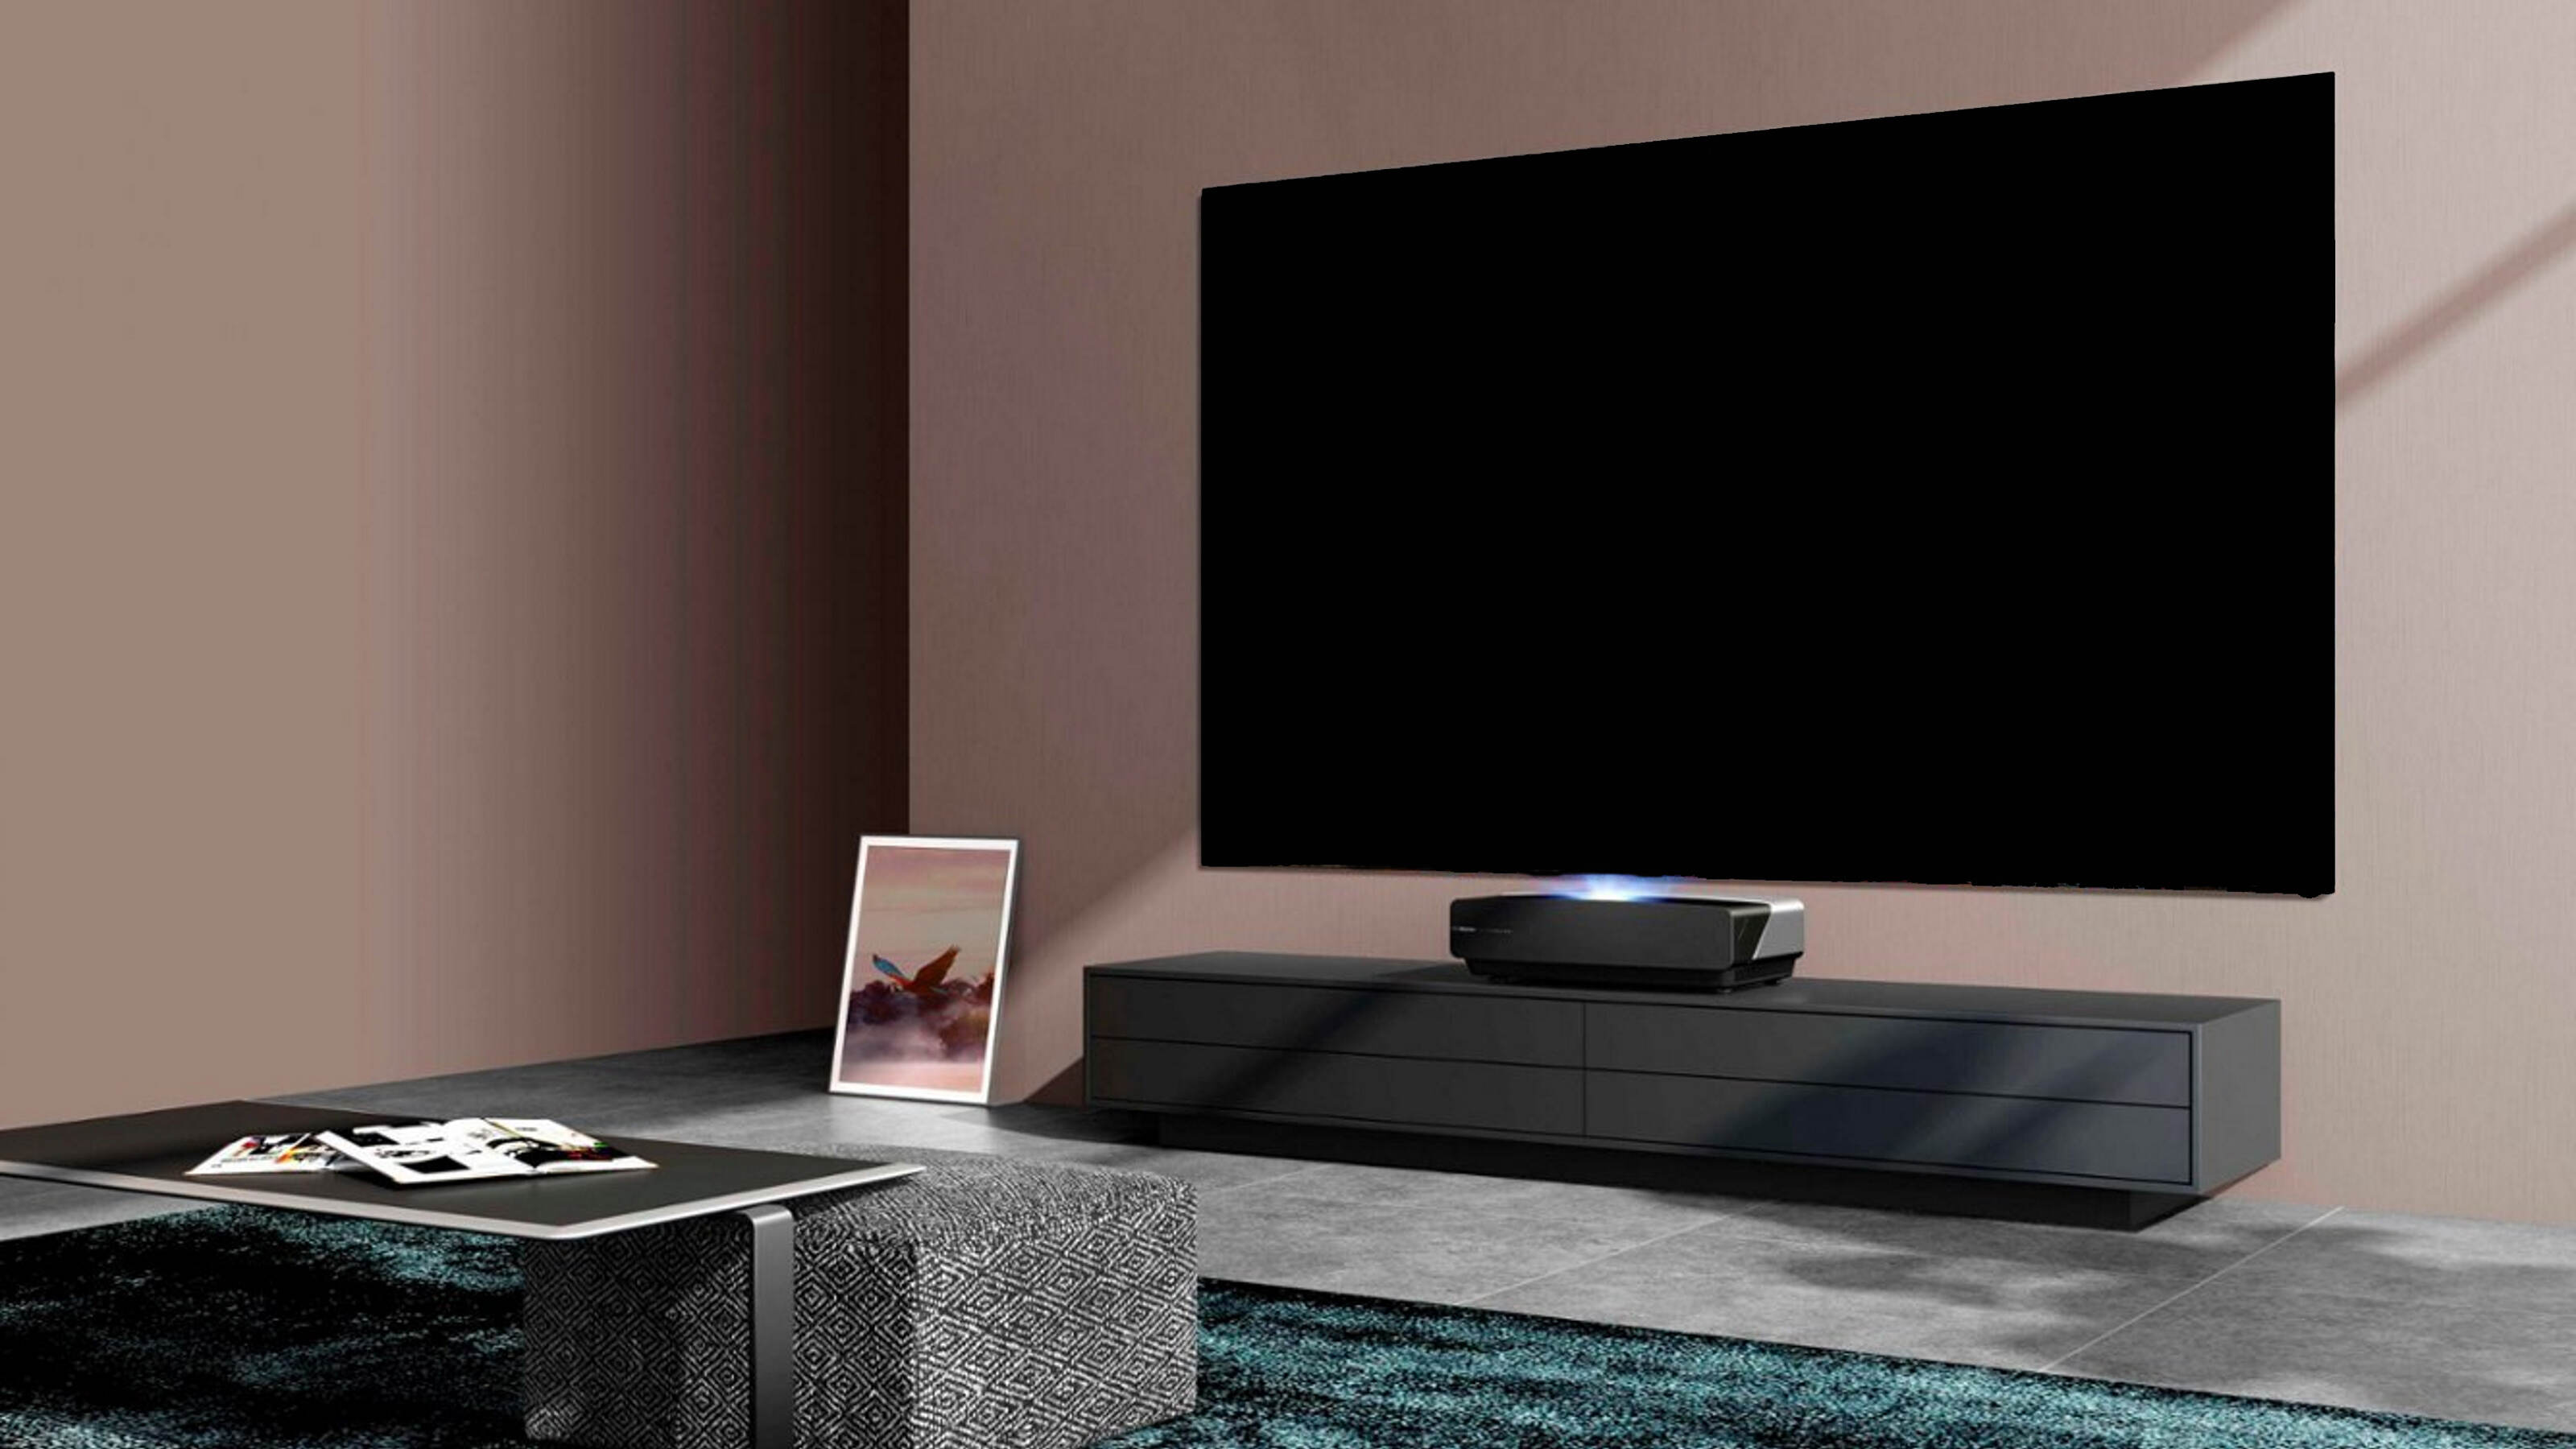
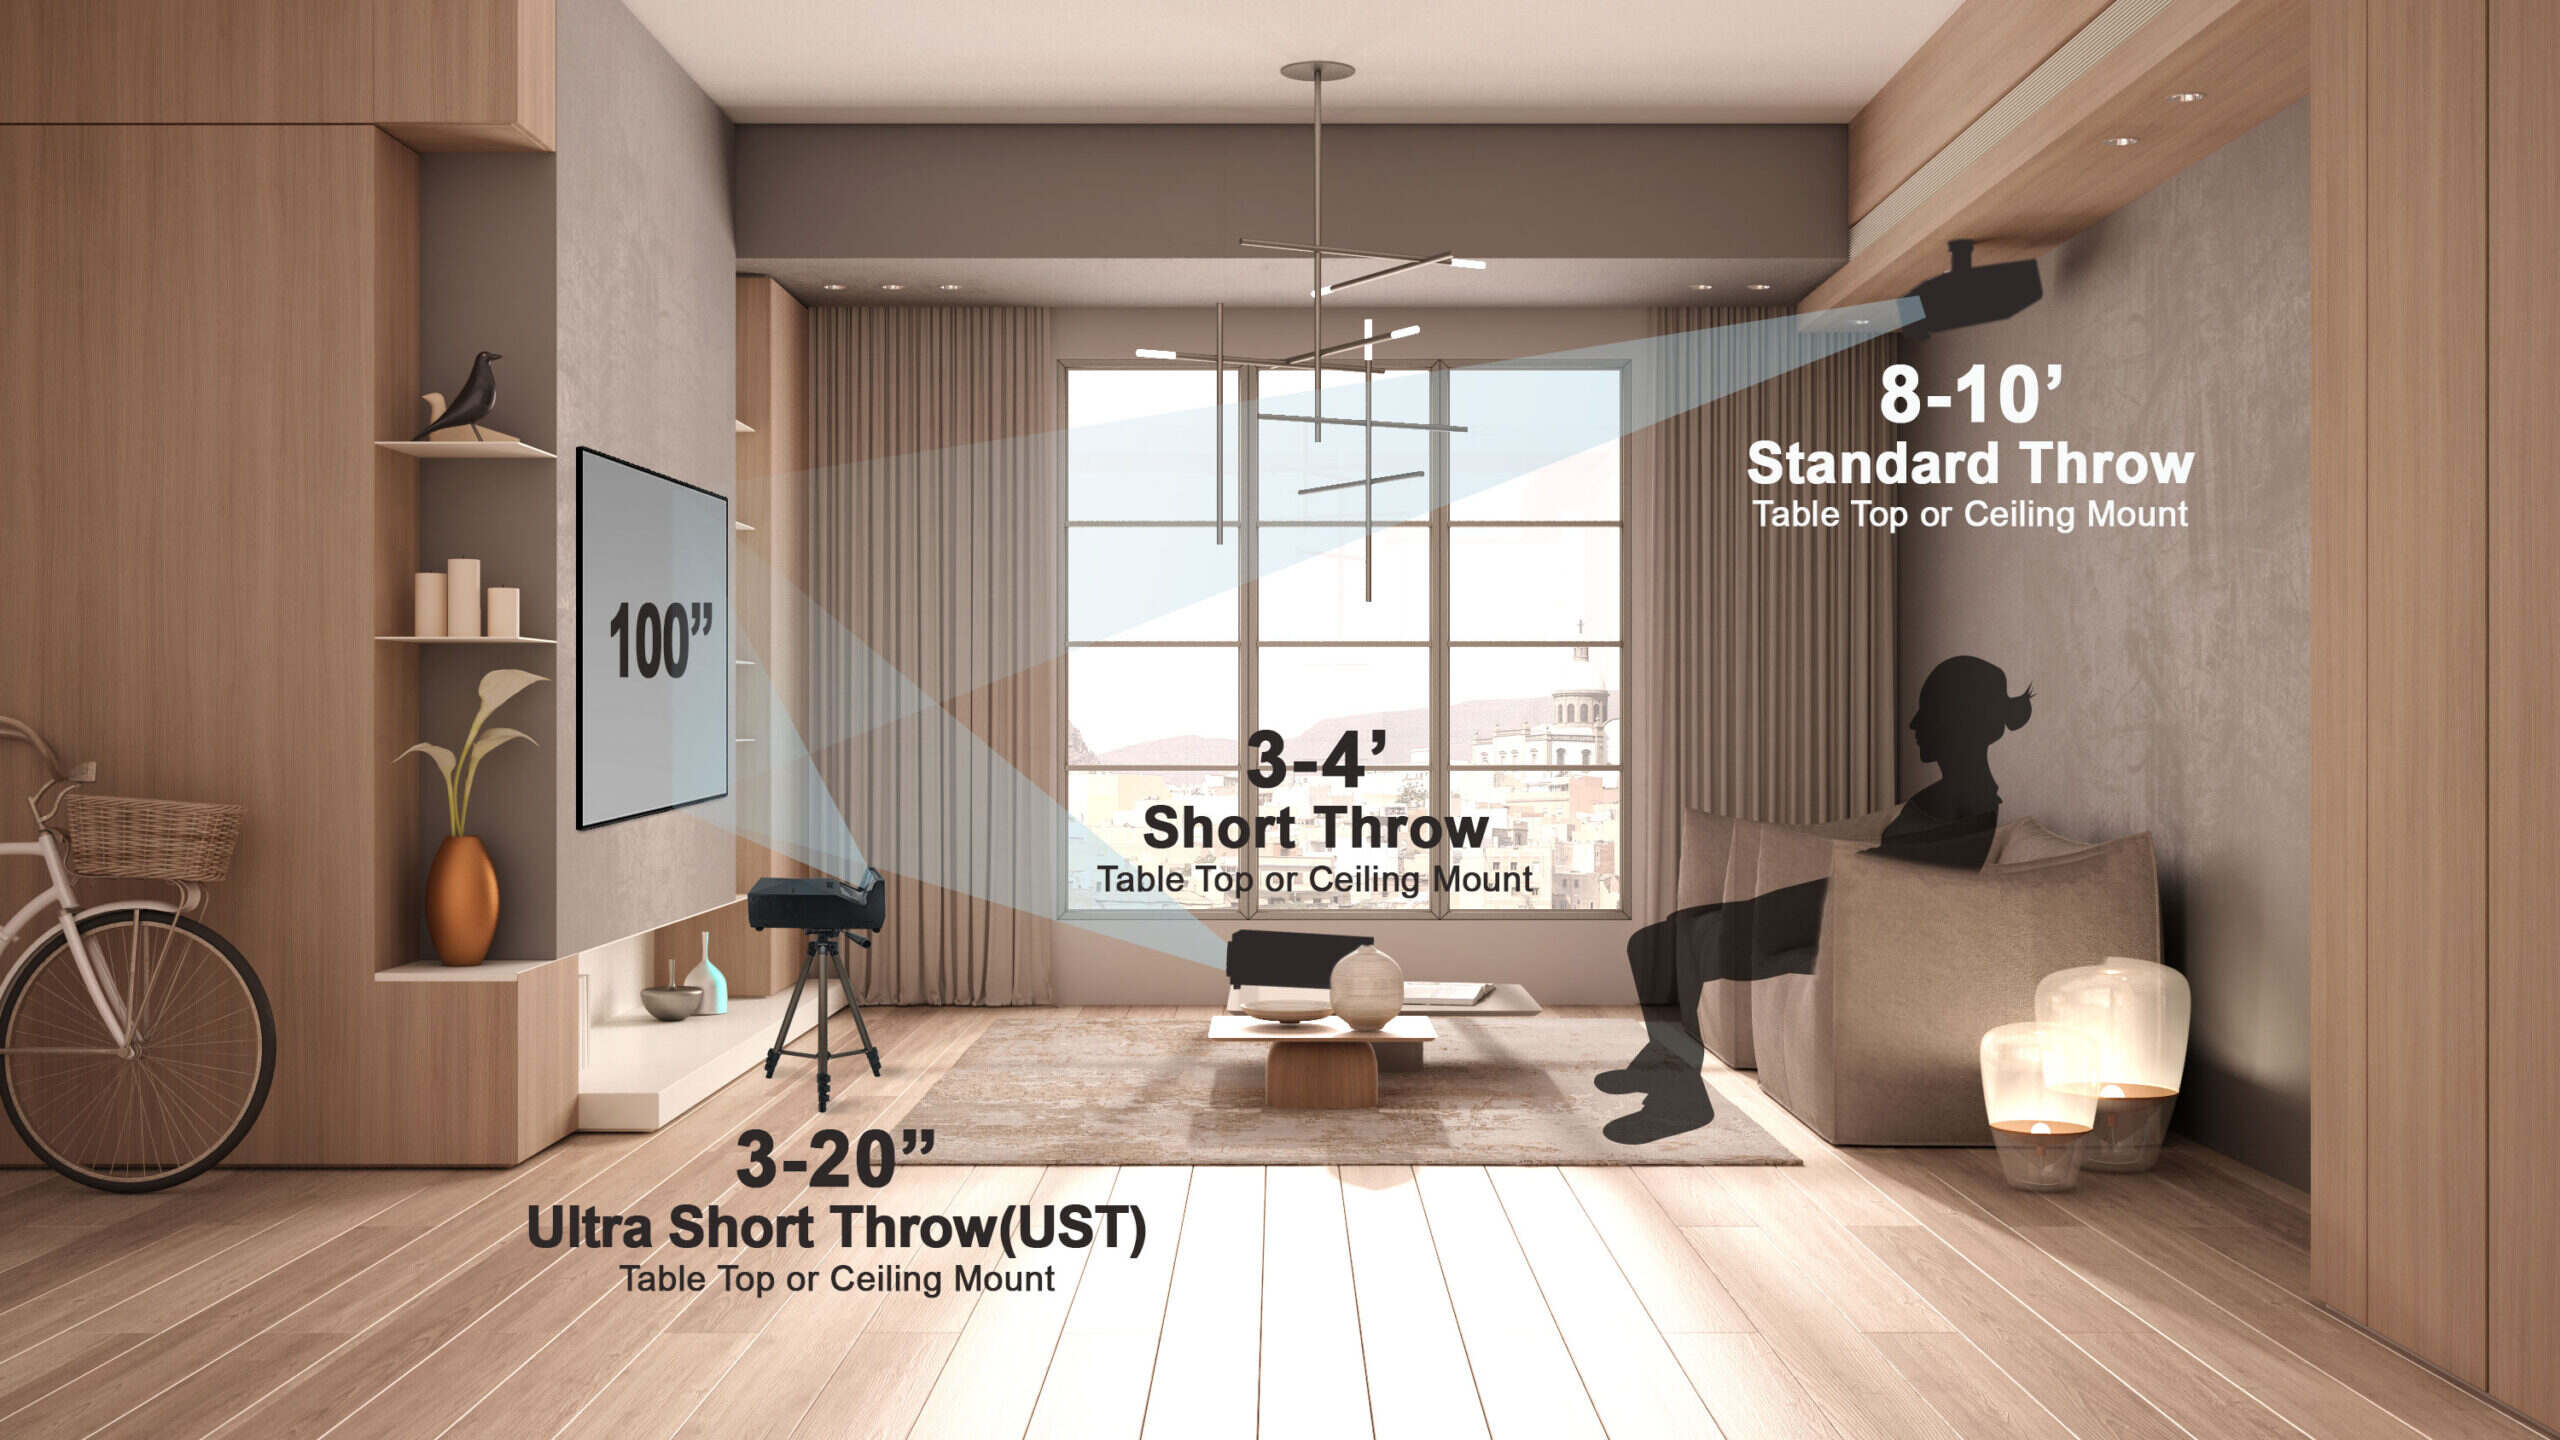
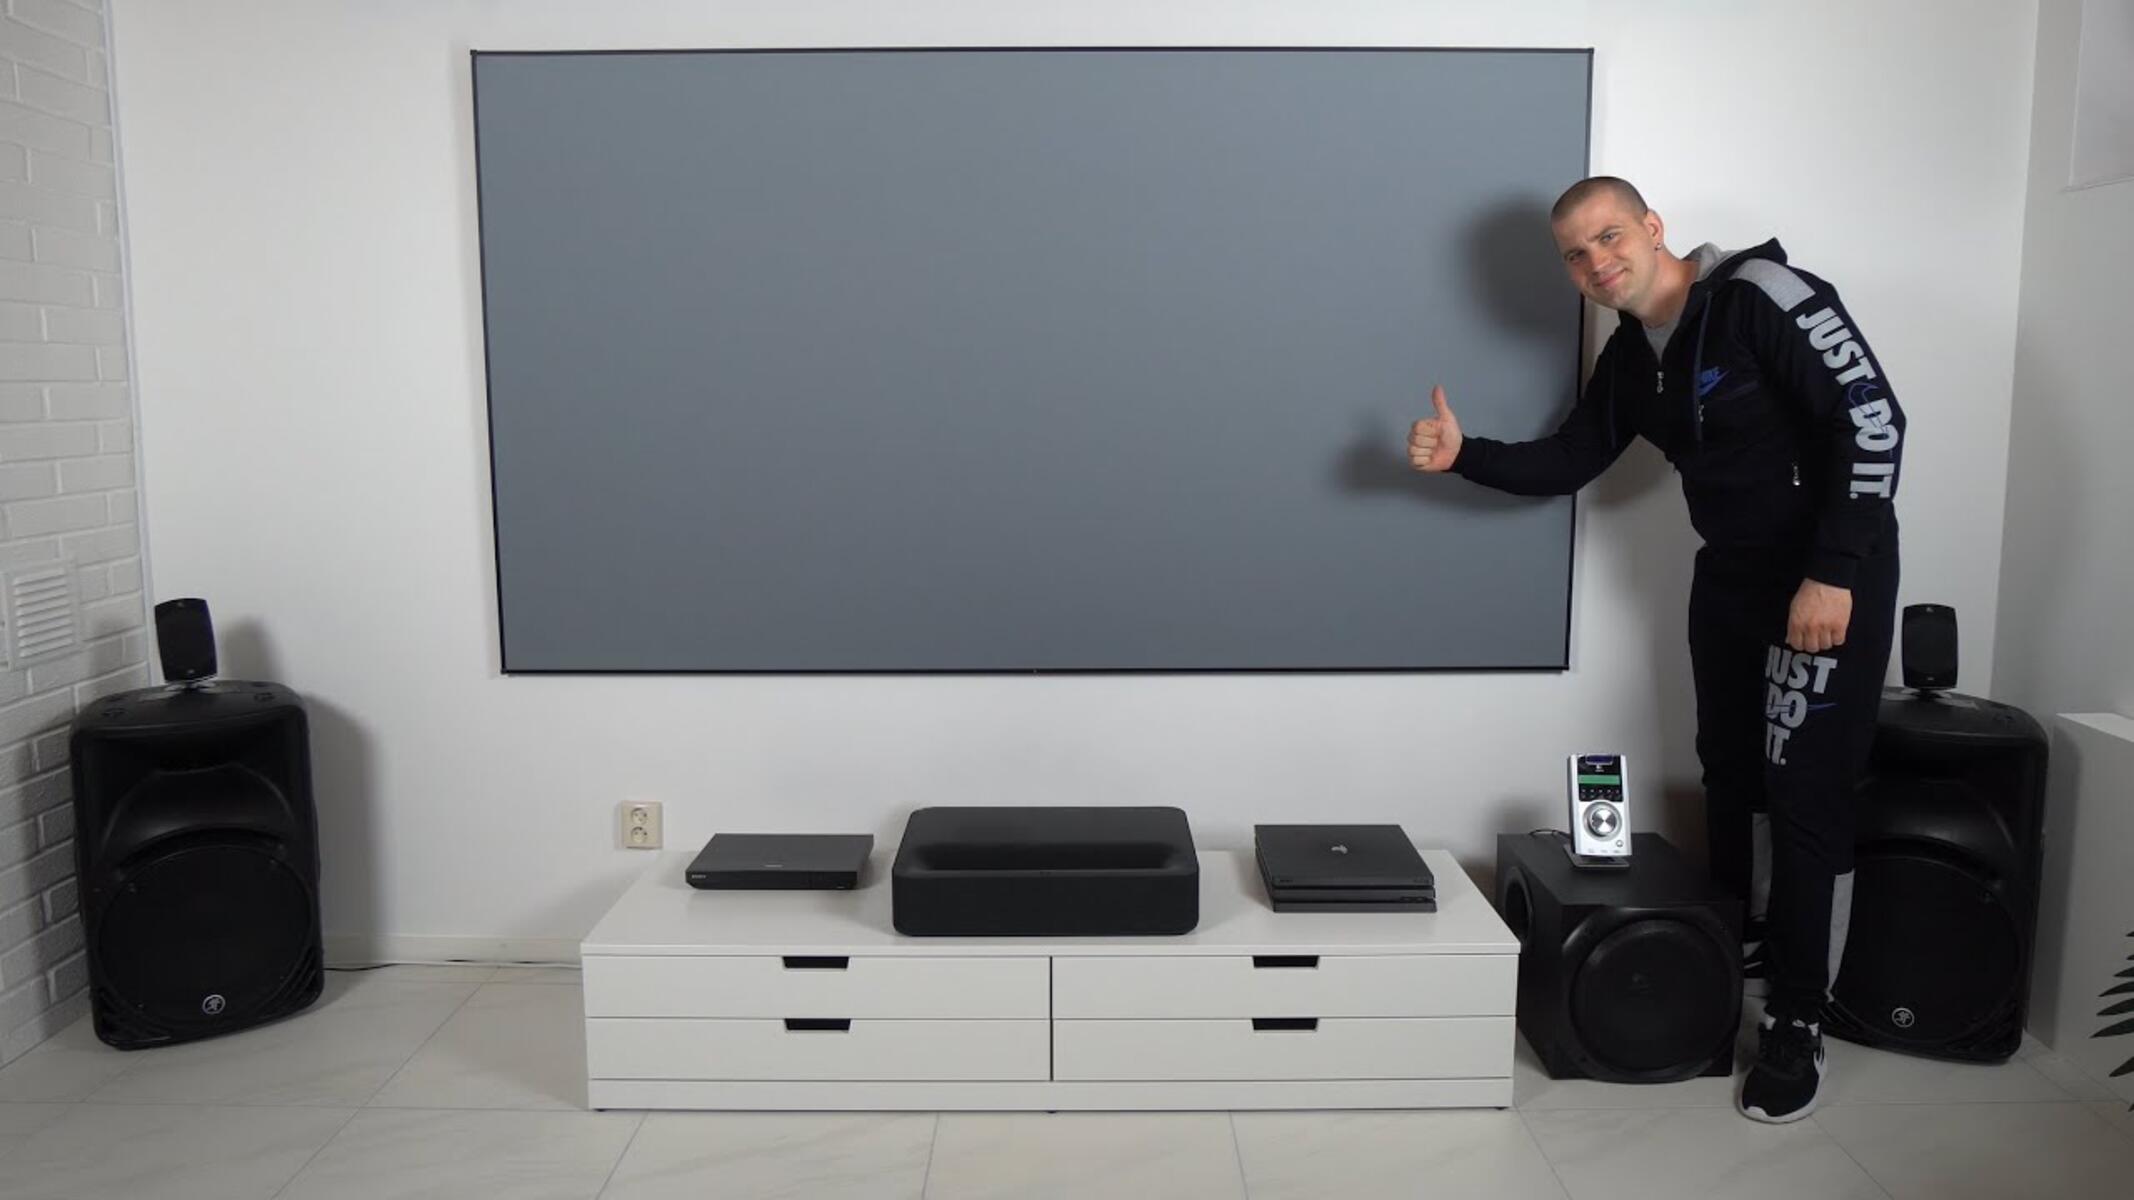
Short Throw Projectors: Short throw projectors have a smaller throw ratio, allowing them to project a large image even when placed close to the screen. These projectors are ideal for smaller rooms or spaces where you have limited placement options. Short throw projectors typically have a throw ratio of 0.4:1 to 1.0:1. This means that for every foot of distance, the image will span 0.4 to 1.0 feet horizontally. For example, if you have a short throw projector with a 0.5:1 ratio, you would need to place it 5 feet away from the screen to project a 10-foot-wide image.
Long Throw Projectors: Long throw projectors have a larger throw ratio, requiring a greater distance between the projector and the screen to achieve a large, clear image. These projectors are suitable for larger rooms or spaces where you have ample distance between the projector and the screen. Long throw projectors typically have a throw ratio of 1.2:1 to 2.0:1 or even higher. This means that for every foot of distance, the image will span 1.2 to 2.0 feet horizontally. For instance, if you have a long throw projector with a 1.5:1 ratio, you would need to place it 15 feet away from the screen to project a 10-foot-wide image.
It’s important to note that the specific throw ratio can vary between different projector models. Therefore, always consult the manufacturer’s specifications or user manual for precise information on the throw ratio and recommended placement distance for your projector.
Now that we understand the differences between short throw and long throw projectors, let’s move on to the next section, where we will discuss considerations for projector placement.
Considerations for Placement
When determining the placement for your projector, there are several important factors to consider. These considerations will help ensure that the projector is positioned correctly for optimal image quality and viewing comfort.
Room Size: The size of the room is a crucial factor in projector placement. A larger room may require a long throw projector to achieve a large image size, while a smaller room may be better suited for a short throw projector placed closer to the screen.
Screen Size: The size of the projected image will also impact the placement of the projector. Larger screens typically require a greater distance between the projector and the screen, while smaller screens may be suitable for shorter distances.
Room Layout: Consider the layout of the room and any potential obstacles that may affect the projector’s placement. Ensure that there is enough space for the projector to be positioned at the appropriate distance from the screen without being obstructed by furniture or other objects.
Ambient Light: The amount of ambient light in the room can affect the image quality. If the room is brightly lit, you may need a more powerful projector or consider using blackout curtains or blinds to minimize light interference.
Screen Material: The type of screen material you are using can also impact the projector placement. Some screen materials reflect more light, enhancing image brightness, while others absorb light, resulting in a dimmer projection. Consult the screen manufacturer’s recommendations for optimal projector distance based on the screen material.
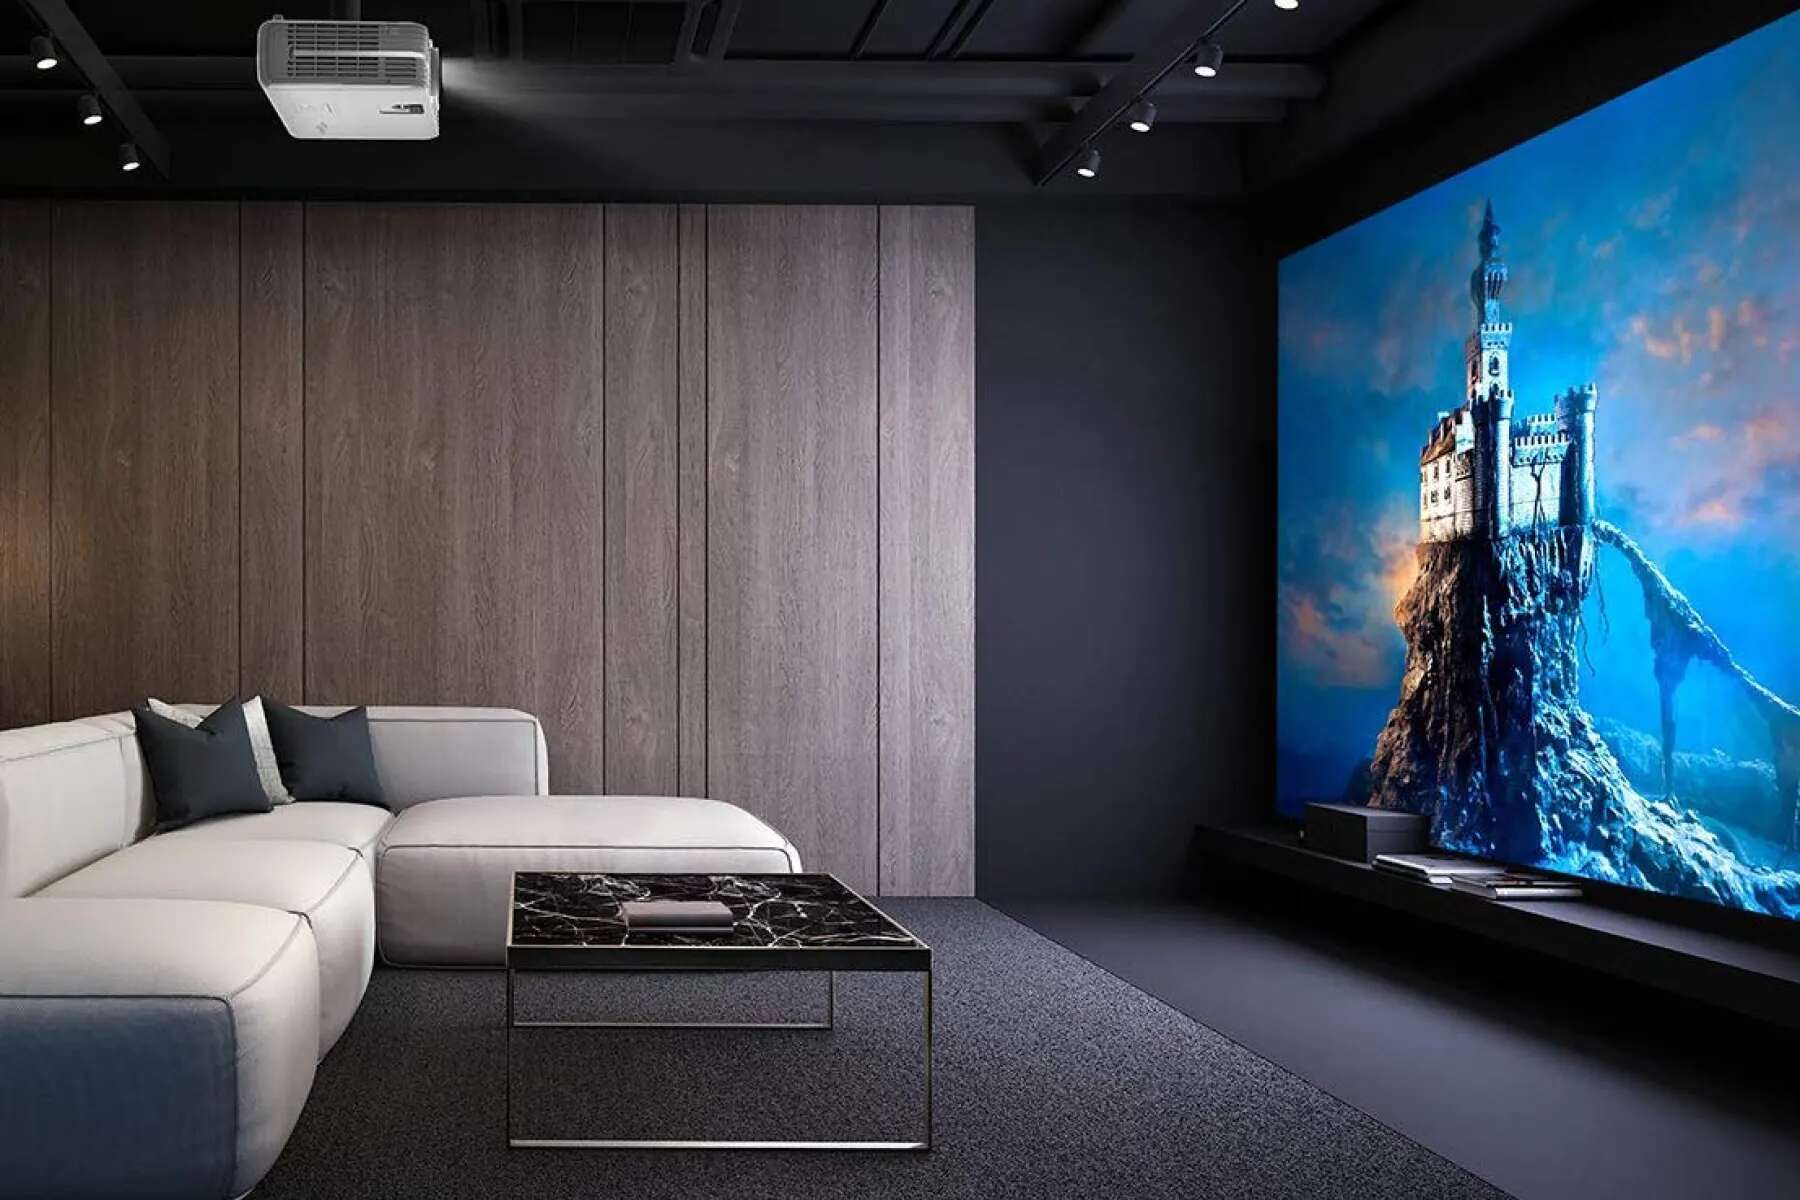
Mounting Options: Depending on the layout and design of the room, you may have different mounting options for your projector. Ceiling-mounted projectors are commonly used in home theaters and corporate settings, while wall-mounted projectors are ideal for classrooms and smaller spaces.
By taking these considerations into account, you can make informed decisions about the placement of your projector. In the next sections, we will explore the specifics of ceiling-mounted and wall-mounted projectors, as well as other placement options such as using projector stands.
Ceiling Mounted Projectors
Ceiling mounting is a popular choice for projectors in home theaters, conference rooms, and other spaces. Mounting the projector on the ceiling offers several benefits, including saving valuable floor space and providing an unobstructed projection path. Here are some key points to consider when using a ceiling-mounted projector:
Installation: Ceiling-mounted projectors require proper installation to ensure stability and safety. It is essential to follow the manufacturer’s instructions and consult with a professional if needed. The projector should be securely attached to the ceiling using a compatible mount.
Image Alignment: Ceiling-mounted projectors often allow for various adjustments, such as tilt, swivel, and vertical lens shift, to align the image correctly on the screen. These adjustments ensure that the projected image is level and perfectly positioned. Refer to the projector’s manual for guidance on adjusting these settings.
Distance Calculation: When ceiling mounting a projector, the distance between the projector and the screen is crucial for achieving the desired image size and clarity. Measure the distance from the projector lens to the screen and consult the manufacturer’s specifications or use online projection calculators to determine the optimal placement distance for your projector.
Cable Management: Proper cable management is important for a clean and organized setup. Concealing wires and cables in the ceiling or using cable management solutions can help maintain a clutter-free appearance.
Accessories: Depending on the specific needs of your installation, you may need additional accessories such as HDMI extenders, ceiling mounts with adjustable arms, or projector screens with tab-tensioning for a smooth and flat surface. Consider these accessories to enhance the functionality and usability of your ceiling-mounted projector.
When installing a ceiling-mounted projector, it is essential to ensure that the projector is compatible with the ceiling structure and that the mounting is done correctly. If you are unsure about the installation process, it is advisable to consult with a professional installer to avoid any safety or compatibility issues.
Now that we have explored ceiling-mounted projectors, let’s move on to the next section where we will discuss wall-mounted projectors and the considerations that come with them.
Wall Mounted Projectors
Wall mounting is another popular option for projector installations, especially in classrooms, small meeting rooms, and home environments where ceiling mounting may not be feasible. Wall-mounted projectors offer convenience and flexibility in placement. Here are some key considerations when using a wall-mounted projector:
Placement: When wall mounting a projector, it is important to choose a suitable location that allows for proper alignment with the projection screen. The projector should be positioned at a height and distance that provides an optimal viewing experience for the audience.
Mounting Surface: The wall surface where the projector will be mounted should be sturdy and capable of supporting the weight of the projector. It is advisable to use a wall mount specifically designed for projectors and ensure that it is installed securely and level.
Image Alignment: Like ceiling-mounted projectors, wall-mounted projectors may offer various adjustments for image alignment, including keystone correction and lens shift. These adjustments help ensure that the projected image is horizontal, rectangular, and properly positioned on the screen.
Cable Management: Proper cable management is essential for a neat and organized setup. Consider using cable management solutions to hide wires and keep them out of sight. Additionally, plan for easy access to power outlets and any necessary A/V connections.
Projection Angle: When wall mounting a projector, the projection angle becomes more critical. Ensure that the projector is tilted or adjusted to project the image straight onto the screen without any distortions. Some wall-mounted projectors may have built-in features for easy angle adjustment.
Screen Position: Consider the placement of the projection screen in relation to the wall-mounted projector. Ensure that the screen is positioned at an appropriate height and distance to maximize visibility and maintain a comfortable viewing experience.
Wall-mounted projectors offer flexibility in terms of placement and can be a practical solution in environments where ceiling mounting is not an option. With proper installation, alignment, and cable management, a wall-mounted projector can provide an immersive viewing experience.
Next, we will explore the option of using projector stands, which can be a versatile alternative to ceiling or wall mounting.
Projector Stands
Projector stands offer a flexible and portable solution for setting up a projector in various environments. Whether you are using a projector in different rooms or need the flexibility to adjust the height and placement, projector stands can be a convenient option. Here are some key points to consider with projector stands:
Portability: Projector stands are designed to be lightweight and portable, making them easy to transport and set up in different locations. This flexibility allows you to use the projector in multiple rooms or take it with you for presentations and events.
Height Adjustment: Projector stands typically have adjustable height settings, allowing you to customize the position of the projector to achieve the desired projection size and angle. This feature is particularly useful when setting up in rooms with different seating arrangements or screen sizes.
Stability: It is important to choose a sturdy and stable projector stand to ensure the projector remains steady during operation. Look for stands with a wide base or additional support features, such as adjustable legs or locking mechanisms, to prevent wobbling or tipping over.
Cable Management: Some projector stands come with built-in cable management systems to keep the cords organized and prevent them from tangling or becoming a tripping hazard. This feature allows for a clean and professional-looking setup.
Versatility: Projector stands are compatible with various projector models and can accommodate different weights and sizes. They can also be used with different types of projection surfaces, such as walls, screens, or even table-mounted screens.
Flexibility: With a projector stand, you have the flexibility to position the projector at different distances from the screen or even adjust the angle for optimal image alignment. This adaptability ensures that you can cater to different room layouts and screen sizes.
Projector stands provide a practical and versatile option for those who require a portable and adjustable setup. Whether you are using the projector for presentations, events, or in multiple rooms, a projector stand offers convenience and flexibility.
In the following section, we will discuss the differences between short throw and long throw projectors and their impact on determining the recommended distance.
Short Throw vs. Long Throw
When choosing a projector, one important consideration is whether you need a short throw or long throw projector. Understanding the differences between these two types can help you determine the appropriate projector for your needs and the impact on the recommended distance from the screen.
Short Throw Projectors: Short throw projectors are designed to project a large image from a short distance. They have a shorter throw ratio, typically ranging from 0.4:1 to 1.0:1. This means that for every foot of distance, the image will span 0.4 to 1.0 feet horizontally. Short throw projectors are ideal for small spaces or rooms with limited placement options. They allow you to place the projector close to the screen without sacrificing image size or clarity.
Long Throw Projectors: Long throw projectors, on the other hand, are designed to project a large image from a longer distance. They have a larger throw ratio, typically ranging from 1.2:1 to 2.0:1 or higher. This means that for every foot of distance, the image will span 1.2 to 2.0 feet horizontally. Long throw projectors are suitable for larger rooms or spaces where you have ample distance between the projector and the screen. They require a greater throw distance to achieve the desired image size and clarity.
The choice between short throw and long throw projectors depends on the specific requirements of your setup. Short throw projectors are beneficial when you have limited space, such as in a small classroom or a living room setup at home. They allow you to position the projector closer to the screen, reducing the risk of shadows or obstructions caused by people walking in front of the projector.
Long throw projectors, on the other hand, are suitable for environments where you have the space to place the projector further back, such as in large conference rooms or auditoriums. They provide the ability to project large images onto a screen without compromising quality.
It’s important to note that the throw ratio can vary between different projector models and manufacturers. Always refer to the specifications provided by the manufacturer to determine the specific recommended distance for your chosen projector.
In the next section, we will explore how to calculate the recommended distance for your projector based on the throw ratio and other factors.
Calculating the Recommended Distance
Calculating the recommended distance between your projector and the screen is essential to ensure optimal image quality and projection size. The calculation is primarily based on the throw ratio of the projector, which determines the amount of distance needed to project a specific image size.
Here’s a step-by-step guide on how to calculate the recommended distance:
Step 1: Determine the Throw Ratio: Refer to the manufacturer’s specifications or user manual to find the throw ratio of your projector. The throw ratio is typically expressed as a ratio, such as 1.5:1 or 0.7:1.
Step 2: Measure the Desired Image Width: Determine the desired image width on the screen. Measure the width in feet or meters for consistency.
Step 3: Calculate the Recommended Distance: To calculate the recommended distance, multiply the throw ratio by the desired image width. For example, if the throw ratio is 1.5:1 and you want a 10-foot-wide image, the recommended distance would be 15 feet (1.5 x 10 = 15).
Step 4: Consider Your Setup Constraints: Take into account any constraints in your setup, such as room size or available space. Ensure that the calculated recommended distance fits within the room and allows for comfortable viewing angles.
Step 5: Fine-Tune the Placement: Once you have the recommended distance, adjust the projector placement as needed to align the image properly on the screen. Utilize any manual adjustments (e.g., lens shift, keystone correction) available on the projector to fine-tune the positioning and ensure a square, undistorted image.
It’s important to note that the throw ratio can vary between different projectors. Always refer to the specific throw ratio provided by the manufacturer for accurate distance calculations. Additionally, consider other factors such as the screen size, room layout, and projector capabilities to further refine the placement for the best possible viewing experience.
Calculating the recommended distance is a crucial step in setting up your projector. By following these steps, you can determine the optimal placement for your projector and ensure a clear, well-aligned image on the screen.
In the next section, we will discuss some additional factors that can affect the distance calculation and projector placement.
Factors Affecting Distance Calculation
While calculating the recommended distance for your projector, it’s important to consider various factors that can affect the actual placement and distance needed to achieve the desired image size and quality. These factors can impact the accuracy of your distance calculation and should be taken into account during the setup process. Here are some key factors to consider:
Aspect Ratio: The aspect ratio of the projected image can affect the distance calculation. Different aspect ratios (such as 16:9 or 4:3) may require slight adjustments to the placement to ensure the entire image fits properly within the screen boundaries.
Zoom Capability: Some projectors offer zoom capabilities, allowing you to adjust the image size without moving the projector. If your projector has zoom functionality, it may affect the distance calculation. Make sure to account for any zoom adjustments when determining the recommended distance.
Screen Gain: The gain or reflectivity level of the projector screen can impact the brightness and viewing angle. It can also affect the distance calculation. Screens with higher gain may require adjustments to the placement for optimal image brightness and clarity.
Ambient Light: The amount of ambient light in the room can impact the perceived brightness of the projected image. Brighter environments may require a more powerful projector or adjustments to the placement distance to compensate for the additional light interference.
Throw Angle: The angle at which the projector throws the image can affect the distance calculation. It’s important to consider the throw angle and adjust the placement accordingly to ensure a properly aligned and rectangular image on the screen.
Projection Surface: The type and quality of the projection surface can also influence the distance calculation. Different surfaces may reflect or absorb light differently, impacting image brightness and clarity. Consult the projector manufacturer’s guidelines and recommendations for optimal distance based on the projection surface you are using.
Room Acoustics: While not directly related to distance calculation, room acoustics can affect the overall audiovisual experience. Consider the room’s sound characteristics and make any necessary adjustments to speaker placement or soundproofing materials to enhance the overall viewing experience.
By factoring in these considerations, you can fine-tune the placement of your projector for optimal image quality, clarity, and comfort. Always refer to the manufacturer’s specifications and guidelines for accurate distance calculations and consult professional installers if needed.
In the final section, we will summarize the key points discussed and wrap up the article on determining the ideal distance for your projector.
Conclusion
Determining the ideal distance for your projector is crucial to achieving the best image quality and viewing experience. Whether you are setting up a home theater, boardroom, classroom, or any other space, understanding the factors involved in projector placement is essential.
Consider the type of projector you have, whether it’s short throw or long throw, and choose the appropriate projector mount or stand based on your specific needs. Take into account factors such as room size, screen size, ambient light, and the type of projection surface you are using. These considerations will help you determine the optimal placement distance for your projector.
Calculate the recommended distance based on the throw ratio and desired image size, ensuring that you leave enough room for adjustments and comfortable viewing angles. Remember to account for any adjustments available on your projector, such as zoom, keystone correction, and lens shift.
Throughout the setup process, prioritize cable management to maintain a neat and organized appearance. Take advantage of the features offered by your projector, such as adjustable legs or arms on mounts, to achieve the desired placement and alignment.
By following these guidelines and considering the unique factors of your setup, you can create an immersive viewing experience with your projector. Remember to always refer to the manufacturer’s specifications and guidelines for accurate information and consult professionals if needed.
So, whether you’re enjoying movies, giving presentations, or immersing yourself in gaming, take the time to set up your projector correctly. By ensuring the ideal distance between your projector and the screen, you can maximize image quality, clarity, and overall enjoyment for yourself and your audience.


