Introduction
Setting up a projector for your home theater or presentation space can be an exciting endeavor. However, to ensure optimal picture quality and viewing experience, it is crucial to determine the correct distance between the projector and the screen. This distance, known as the throw distance, plays a crucial role in projecting a clear and focused image.
Choosing the right throw distance involves calculating the screen size, understanding the projector’s throw ratio, and considering the room’s dimensions. By taking these factors into account, you can ensure that your projector is positioned at an ideal distance from the screen, resulting in a visually stunning and immersive projection.
In this guide, we will walk you through the key considerations and steps involved in determining the distance at which your projector should be placed from the screen. Whether you’re a home theater enthusiast or a business professional, understanding throw distance is essential for optimal projector setup.
Next, we will delve into the concept of throw ratio and how it affects the projection setup.
Understanding Throw Ratio
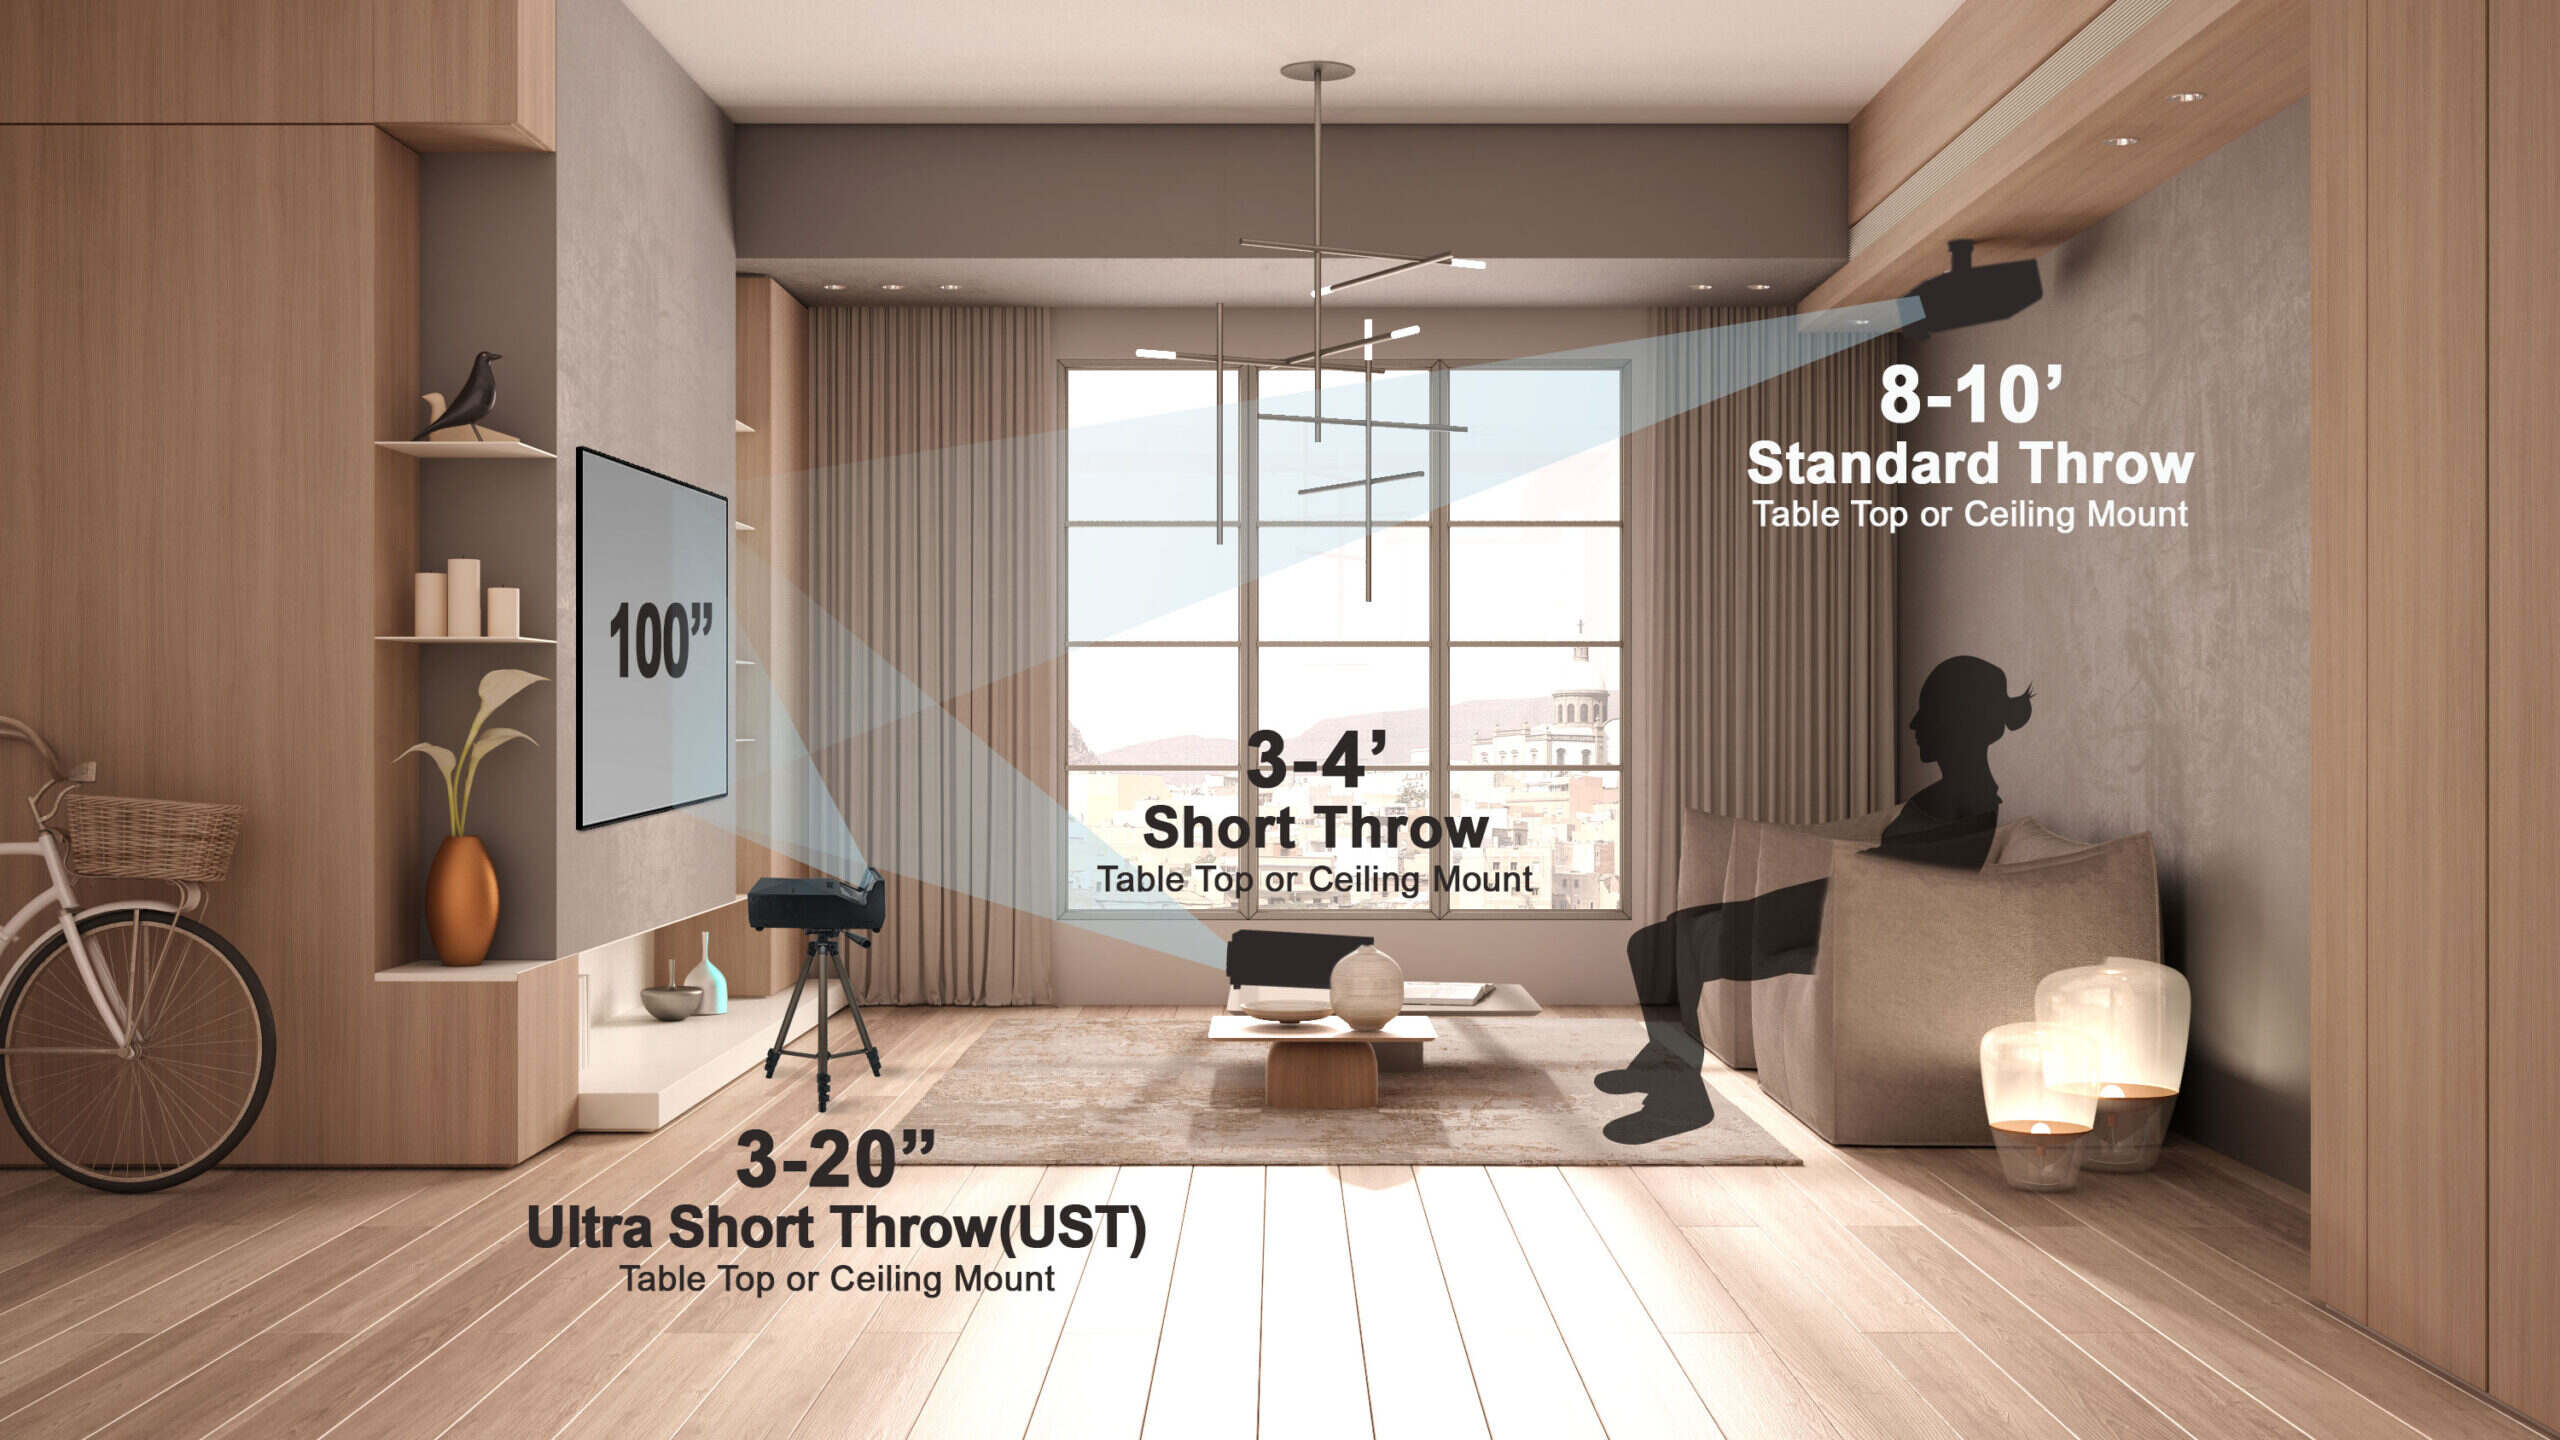
Throw ratio is a vital specification when it comes to selecting and positioning a projector. It refers to the relationship between the distance from the projector to the screen and the width of the projected image. The throw ratio is represented as a ratio, such as 1.5:1, 2:1, or 0.6:1.
A lower throw ratio means that the projector can display a larger image at a shorter distance from the screen. For example, a projector with a throw ratio of 1.5:1 will need to be placed 1.5 feet away from the screen for every 1 foot of image width. On the other hand, a projector with a higher throw ratio will need to be positioned farther from the screen to achieve the same image width.
Knowing the throw ratio of your projector is essential for determining the appropriate placement distance. It allows you to calculate the ideal throw distance based on the desired screen size. For instance, if you have a projection screen with a width of 8 feet and a projector with a throw ratio of 1.5:1, you can calculate that the projector should be placed approximately 12 feet away from the screen to achieve the optimal image size.
It is important to note that different projectors have different throw ratios, so be sure to check the projector’s specifications to determine its throw ratio.
Now that we have covered the basics of throw ratio, let’s move on to understanding how to determine the appropriate size for your projection screen.
Determining the Screen Size
Choosing the right screen size is crucial for a satisfying viewing experience. The screen size depends on various factors such as the viewing distance, available space, and the desired level of immersion. To determine the optimal screen size, consider the following guidelines:
- Viewing Distance: Decide how far you will be sitting from the screen. A general rule of thumb is that the ideal viewing distance is about 1.5 to 2 times the screen width. For example, if you want a screen width of 100 inches, the recommended viewing distance would be between 150 to 200 inches.
- Available Space: Consider the dimensions of the room where the projector will be installed. Measure the distance between the wall where the screen will be mounted and the farthest seating position. Make sure there is enough space to accommodate the desired screen size without hindering the viewing experience.
- Immersion Level: Determine whether you prefer a more immersive experience with a larger screen or a more compact setup. Consider the purpose of your projection, whether it’s for home theater, gaming, or professional presentations, and choose a screen size that suits your needs.
- Aspect Ratio: Take into account the aspect ratio of the content you will be projecting. Common aspect ratios include 16:9 for widescreen content, 4:3 for older video formats, and 2.35:1 for cinematic presentations. Ensure that the screen size you choose can accommodate the desired aspect ratio without cropping or distorting the image.
Once you have determined the ideal screen size, you can move on to calculating the throw distance needed to achieve the desired image size. We will explore this calculation in the next section.
Calculating the Throw Distance
Calculating the throw distance is essential to ensure that your projector is positioned at the optimal distance from the screen. By following a few simple steps, you can determine the precise throw distance required for your setup:
- Know the Throw Ratio: Refer to the projector’s specifications to find the throw ratio. This value is usually listed as a range, such as 1.5:1 – 2.0:1.
- Measure the Desired Screen Width: Determine the width of the screen that you have chosen or already installed.
- Calculate the Minimum and Maximum Throw Distance: Multiply the screen width by the minimum and maximum throw ratio values. For example, if the screen width is 100 inches and the throw ratio range is 1.5:1 – 2.0:1, the minimum throw distance would be 150 inches and the maximum throw distance would be 200 inches.
- Consider Room Constraints: Take into account the layout of your room. Measure and assess the available space for projector placement. Ensure that the calculated throw distance falls within the available room depth.
By following these steps, you will be able to determine the ideal throw distance for your projector in order to achieve the desired screen size and ensure optimal image quality. Remember that it’s always a good idea to leave some extra space for adjustments and room for ventilation to prevent overheating.
With the throw distance calculated, you can proceed to determine the ideal placement of the projector in your space. This will be discussed in the next section.
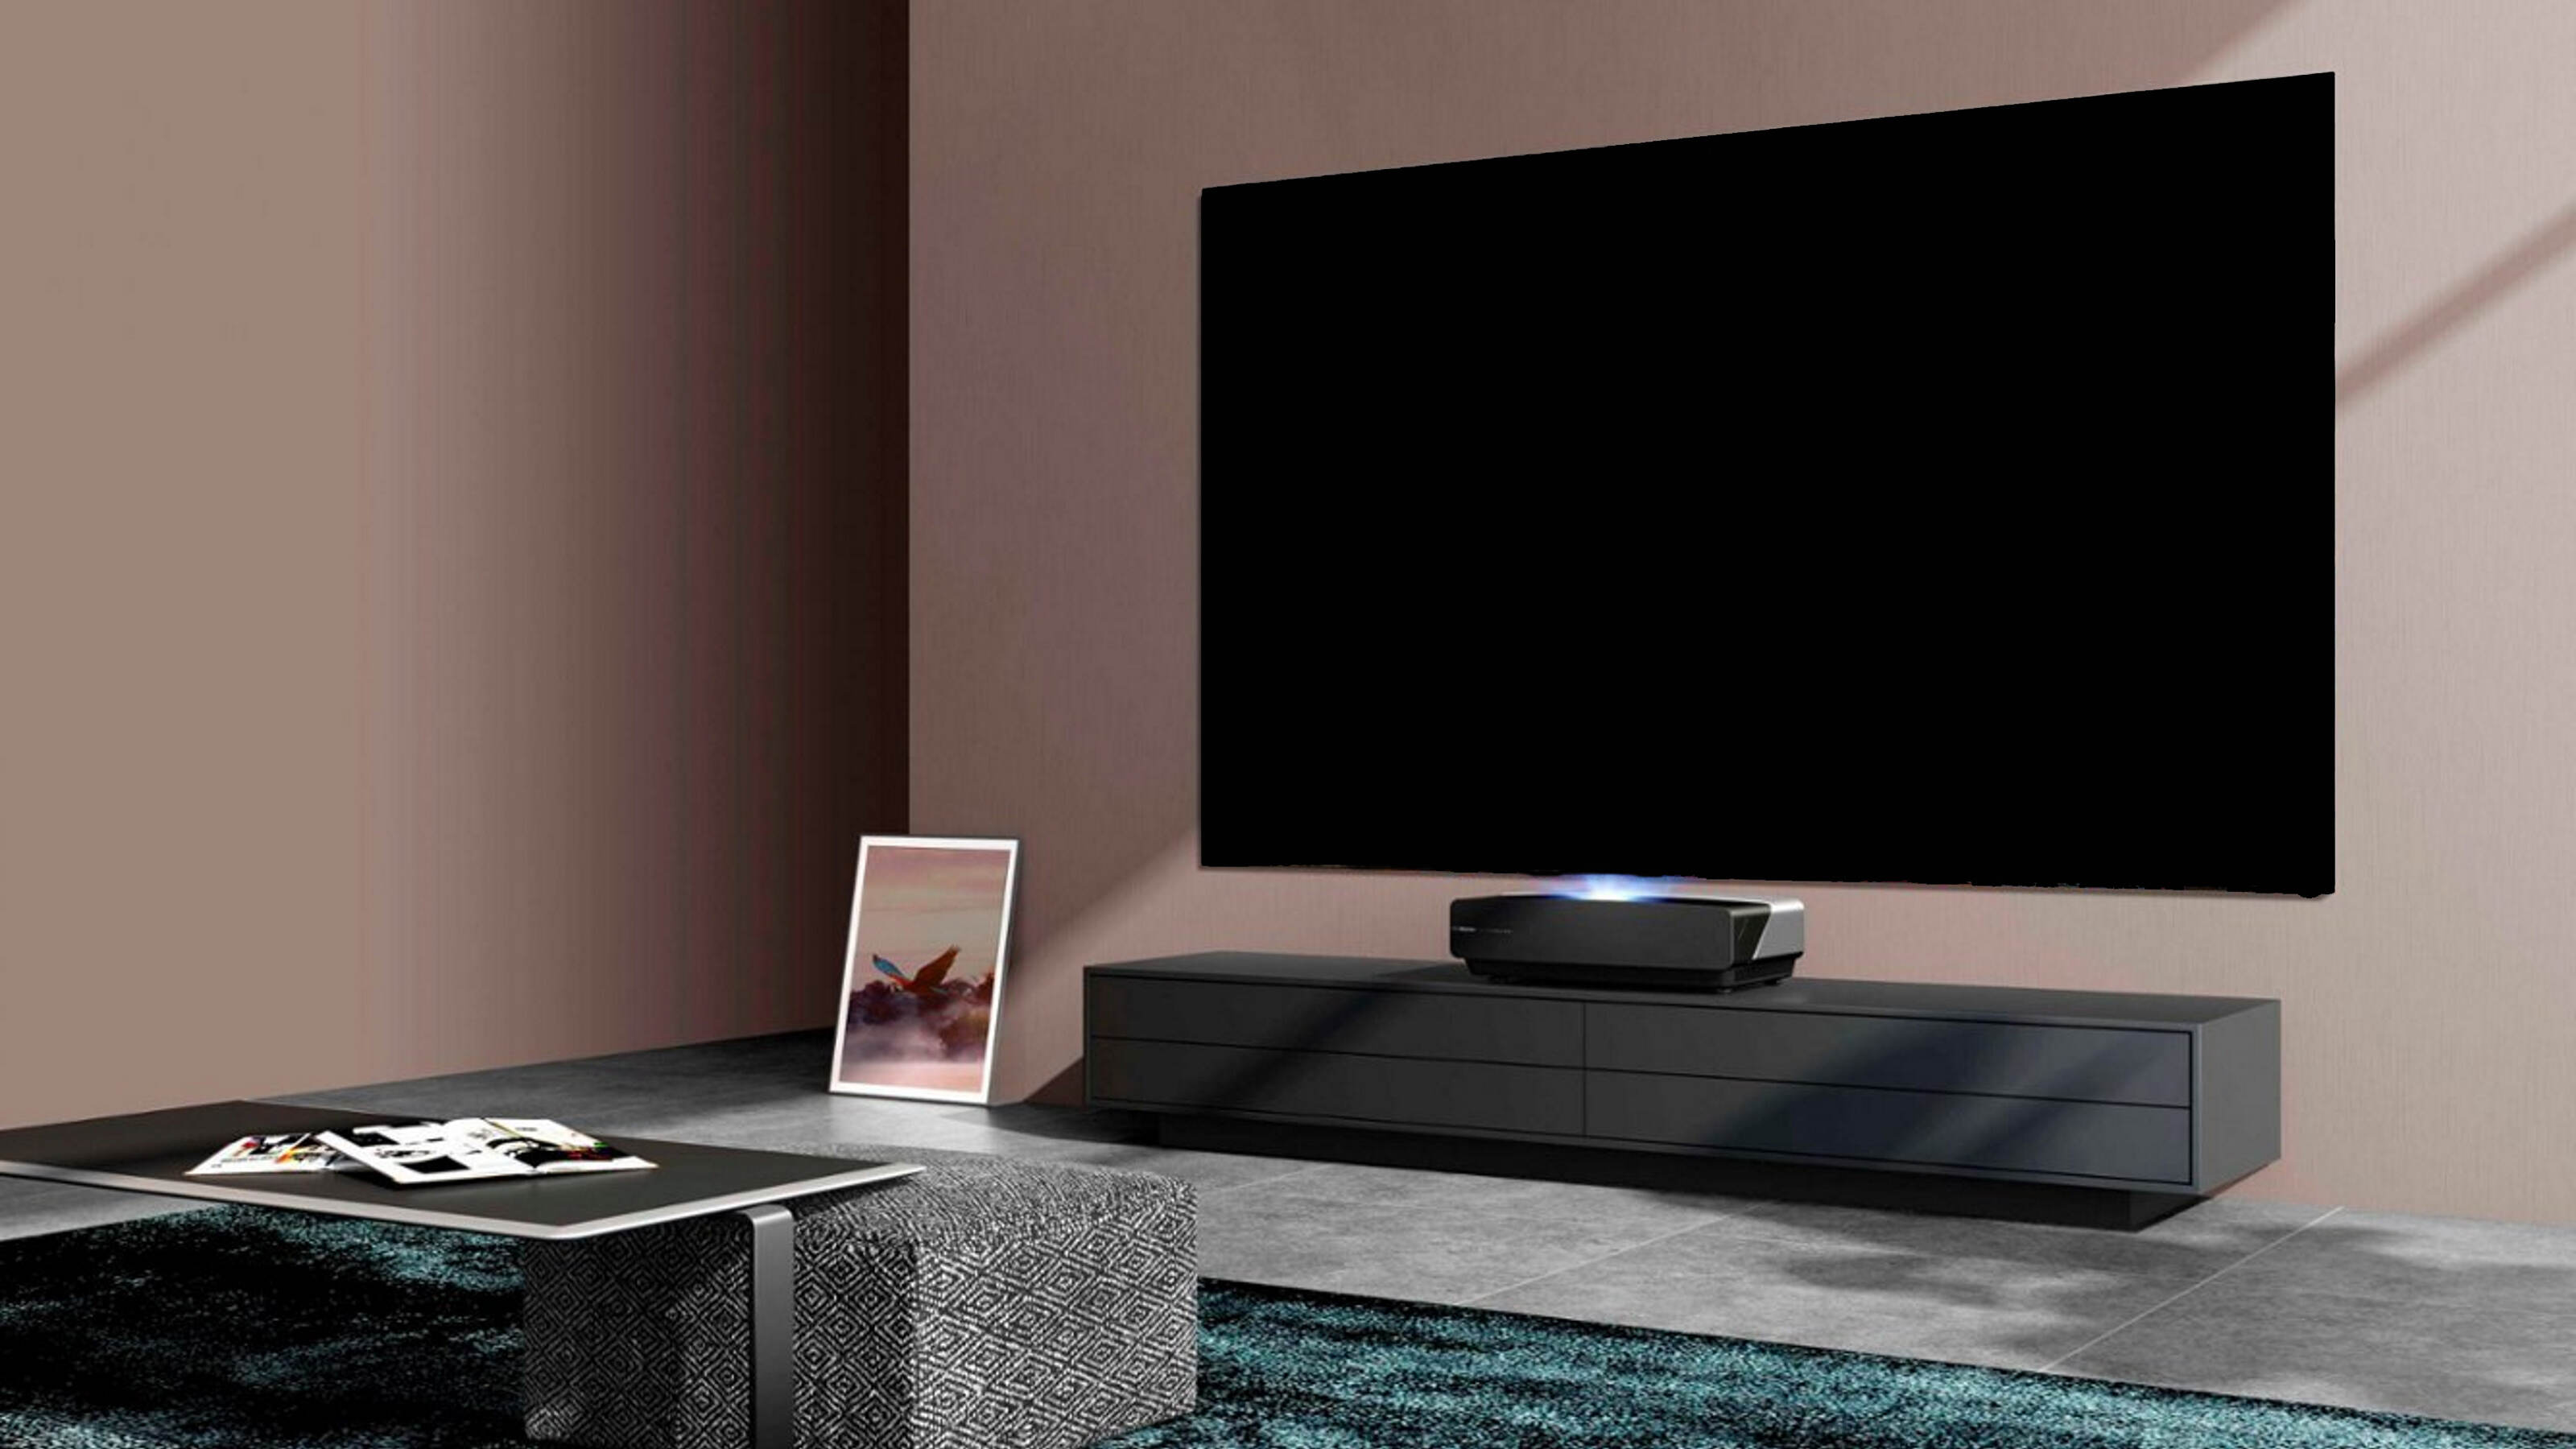
Considering Projector Placement
When it comes to projector placement, there are a few key factors to take into consideration to optimize the viewing experience:
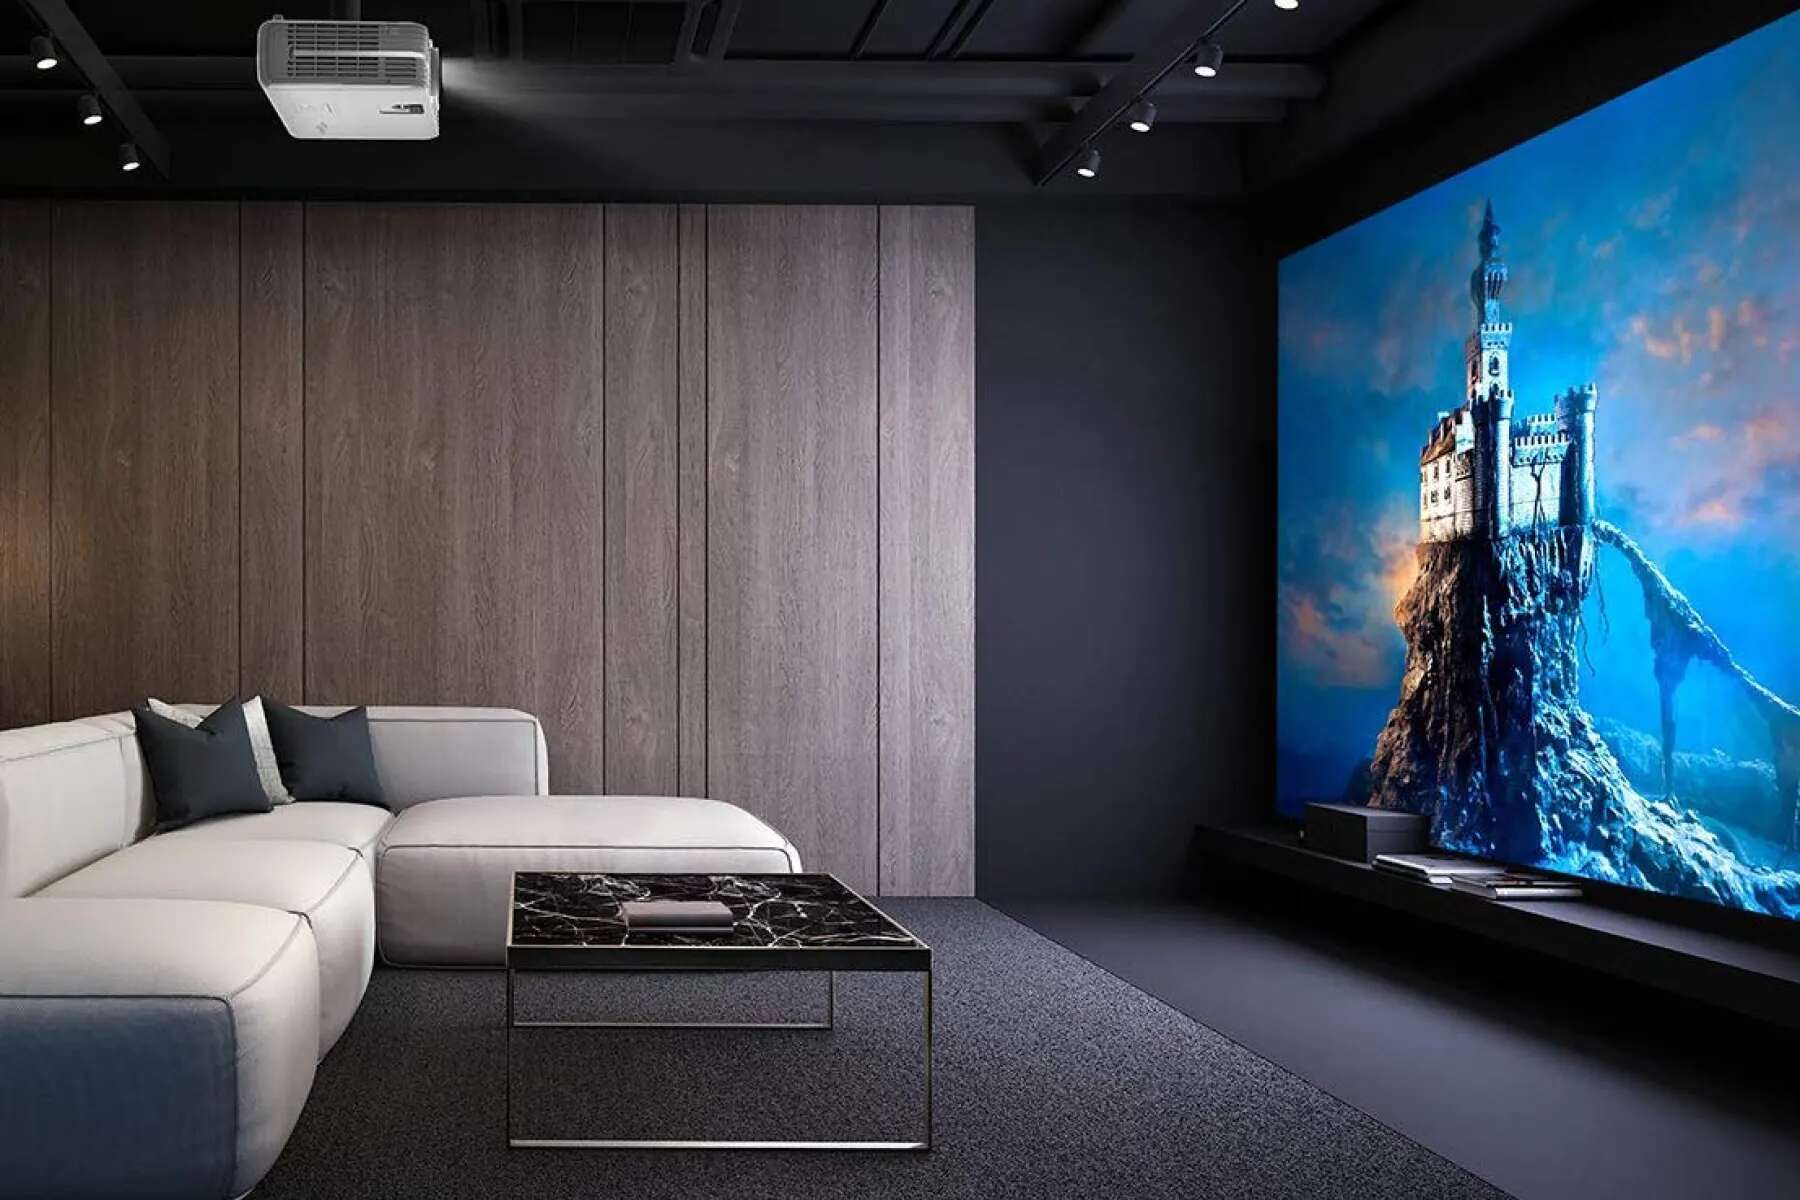
- Mounting Options: Decide whether you want to ceiling mount the projector or use a portable stand. Ceiling mounting provides a clean and permanent installation, while a portable stand offers flexibility and easy relocation.
- Projection Angle: Ensure that the projector is positioned at the correct angle to avoid image distortion. Use a tilt-adjustable ceiling mount or adjust the stand height to align the projector lens with the center of the screen.
- Avoid Obstructions: Make sure that there are no obstructions between the projector and the screen that could block or cast shadows on the projected image. This includes light fixtures, furniture, or other objects that could interfere with the projection path.
- Ventilation: Ensure that the projector has proper ventilation and airflow to prevent overheating. Leave enough space around the projector for airflow and consider using a ceiling mount with a vented enclosure if necessary.
- Keystone Correction: If the projector is not perfectly aligned with the screen, use the keystone correction feature to adjust the image shape and maintain proportional dimensions.
- Wire Management: Organize and secure the cables to prevent tangling and keep the setup clean and professional. Use cable management solutions or adhesive clips to keep the cables out of sight.
By considering these placement factors, you can ensure that the projector is positioned correctly for optimal image quality and a seamless viewing experience. Remember to refer to the projector’s manual for specific instructions and recommendations tailored to your model.
Now that we have covered the essential aspects of projector placement, let’s explore a few other factors that might affect your overall setup.
Other Factors to Consider
In addition to the throw distance and projector placement, there are a few other factors worth considering to optimize your projector setup:
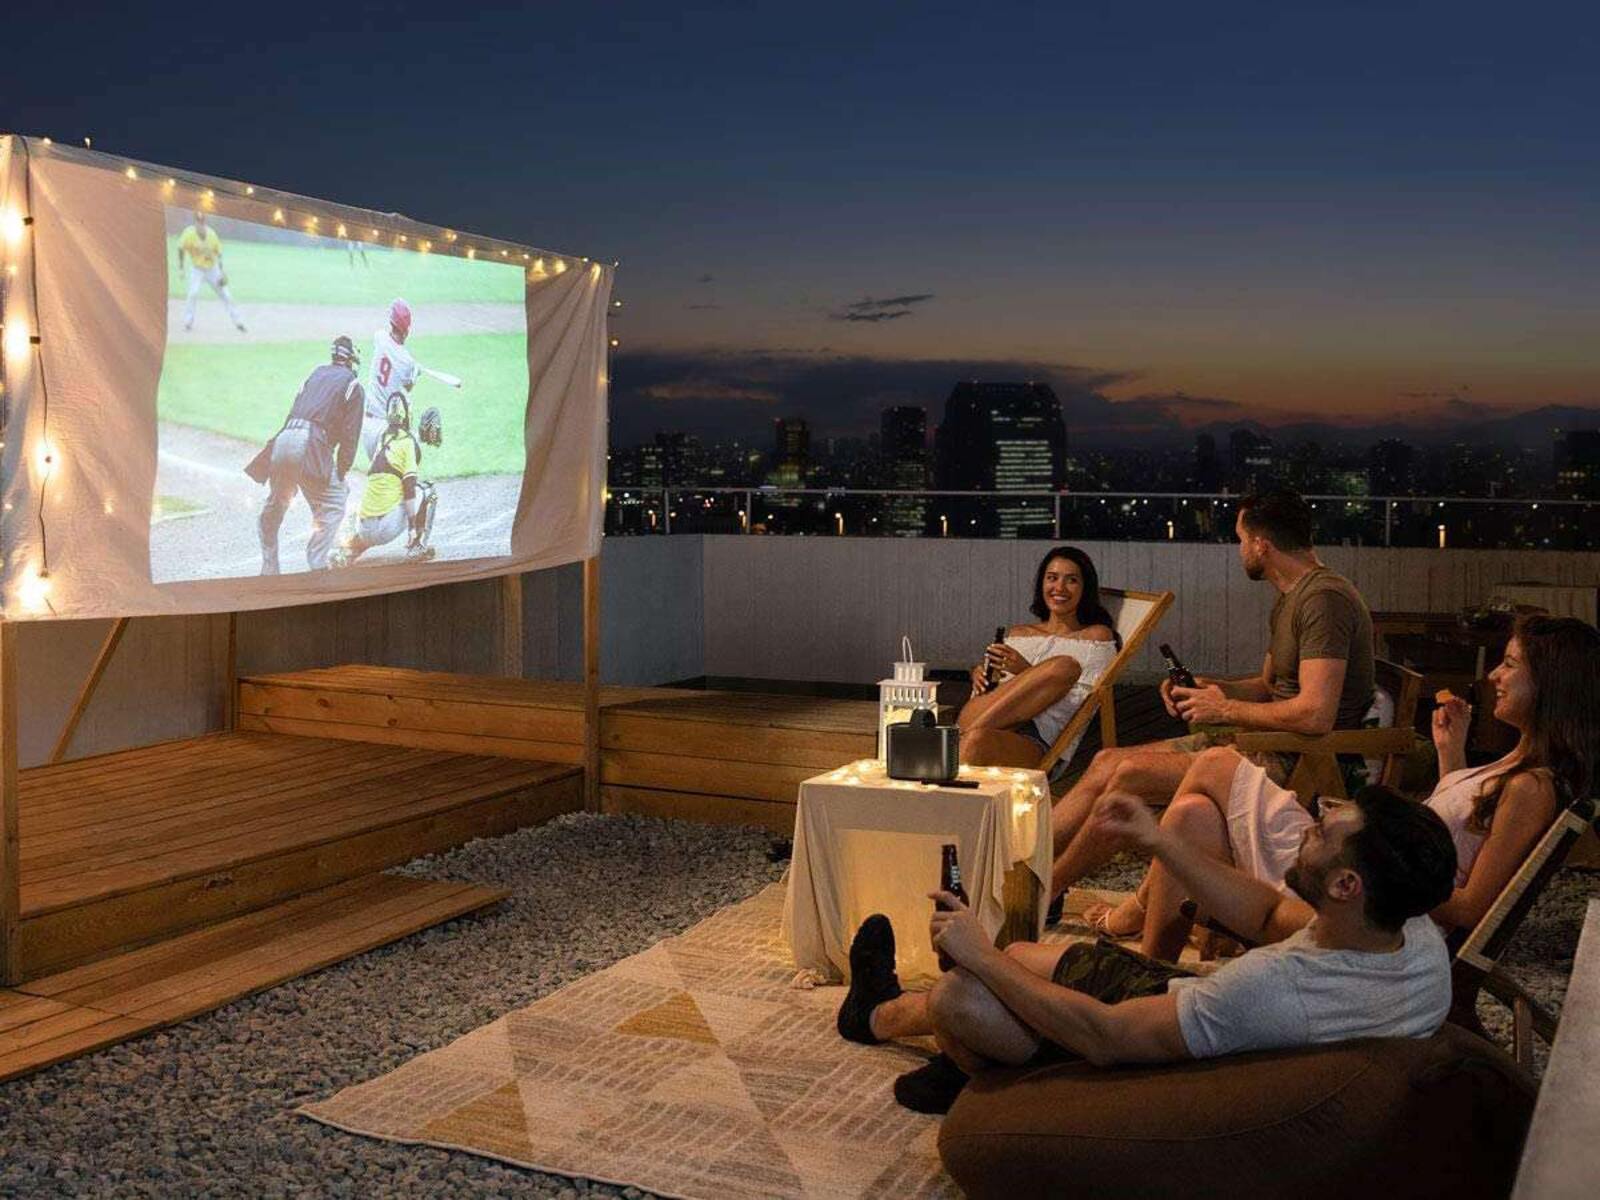
- Ambient Light: Take into account the amount of ambient light in your viewing space. If you have a dedicated home theater room, you can control the lighting conditions more effectively. However, if you’re using the projector in a multipurpose room, consider using blackout curtains or blinds to minimize external light interference.
- Screen Gain: Consider the screen gain, which refers to the amount of light reflected back to the viewer. Higher gain screens can enhance the brightness of the image, making them suitable for environments with more ambient light. However, higher gain screens may also result in narrower viewing angles.
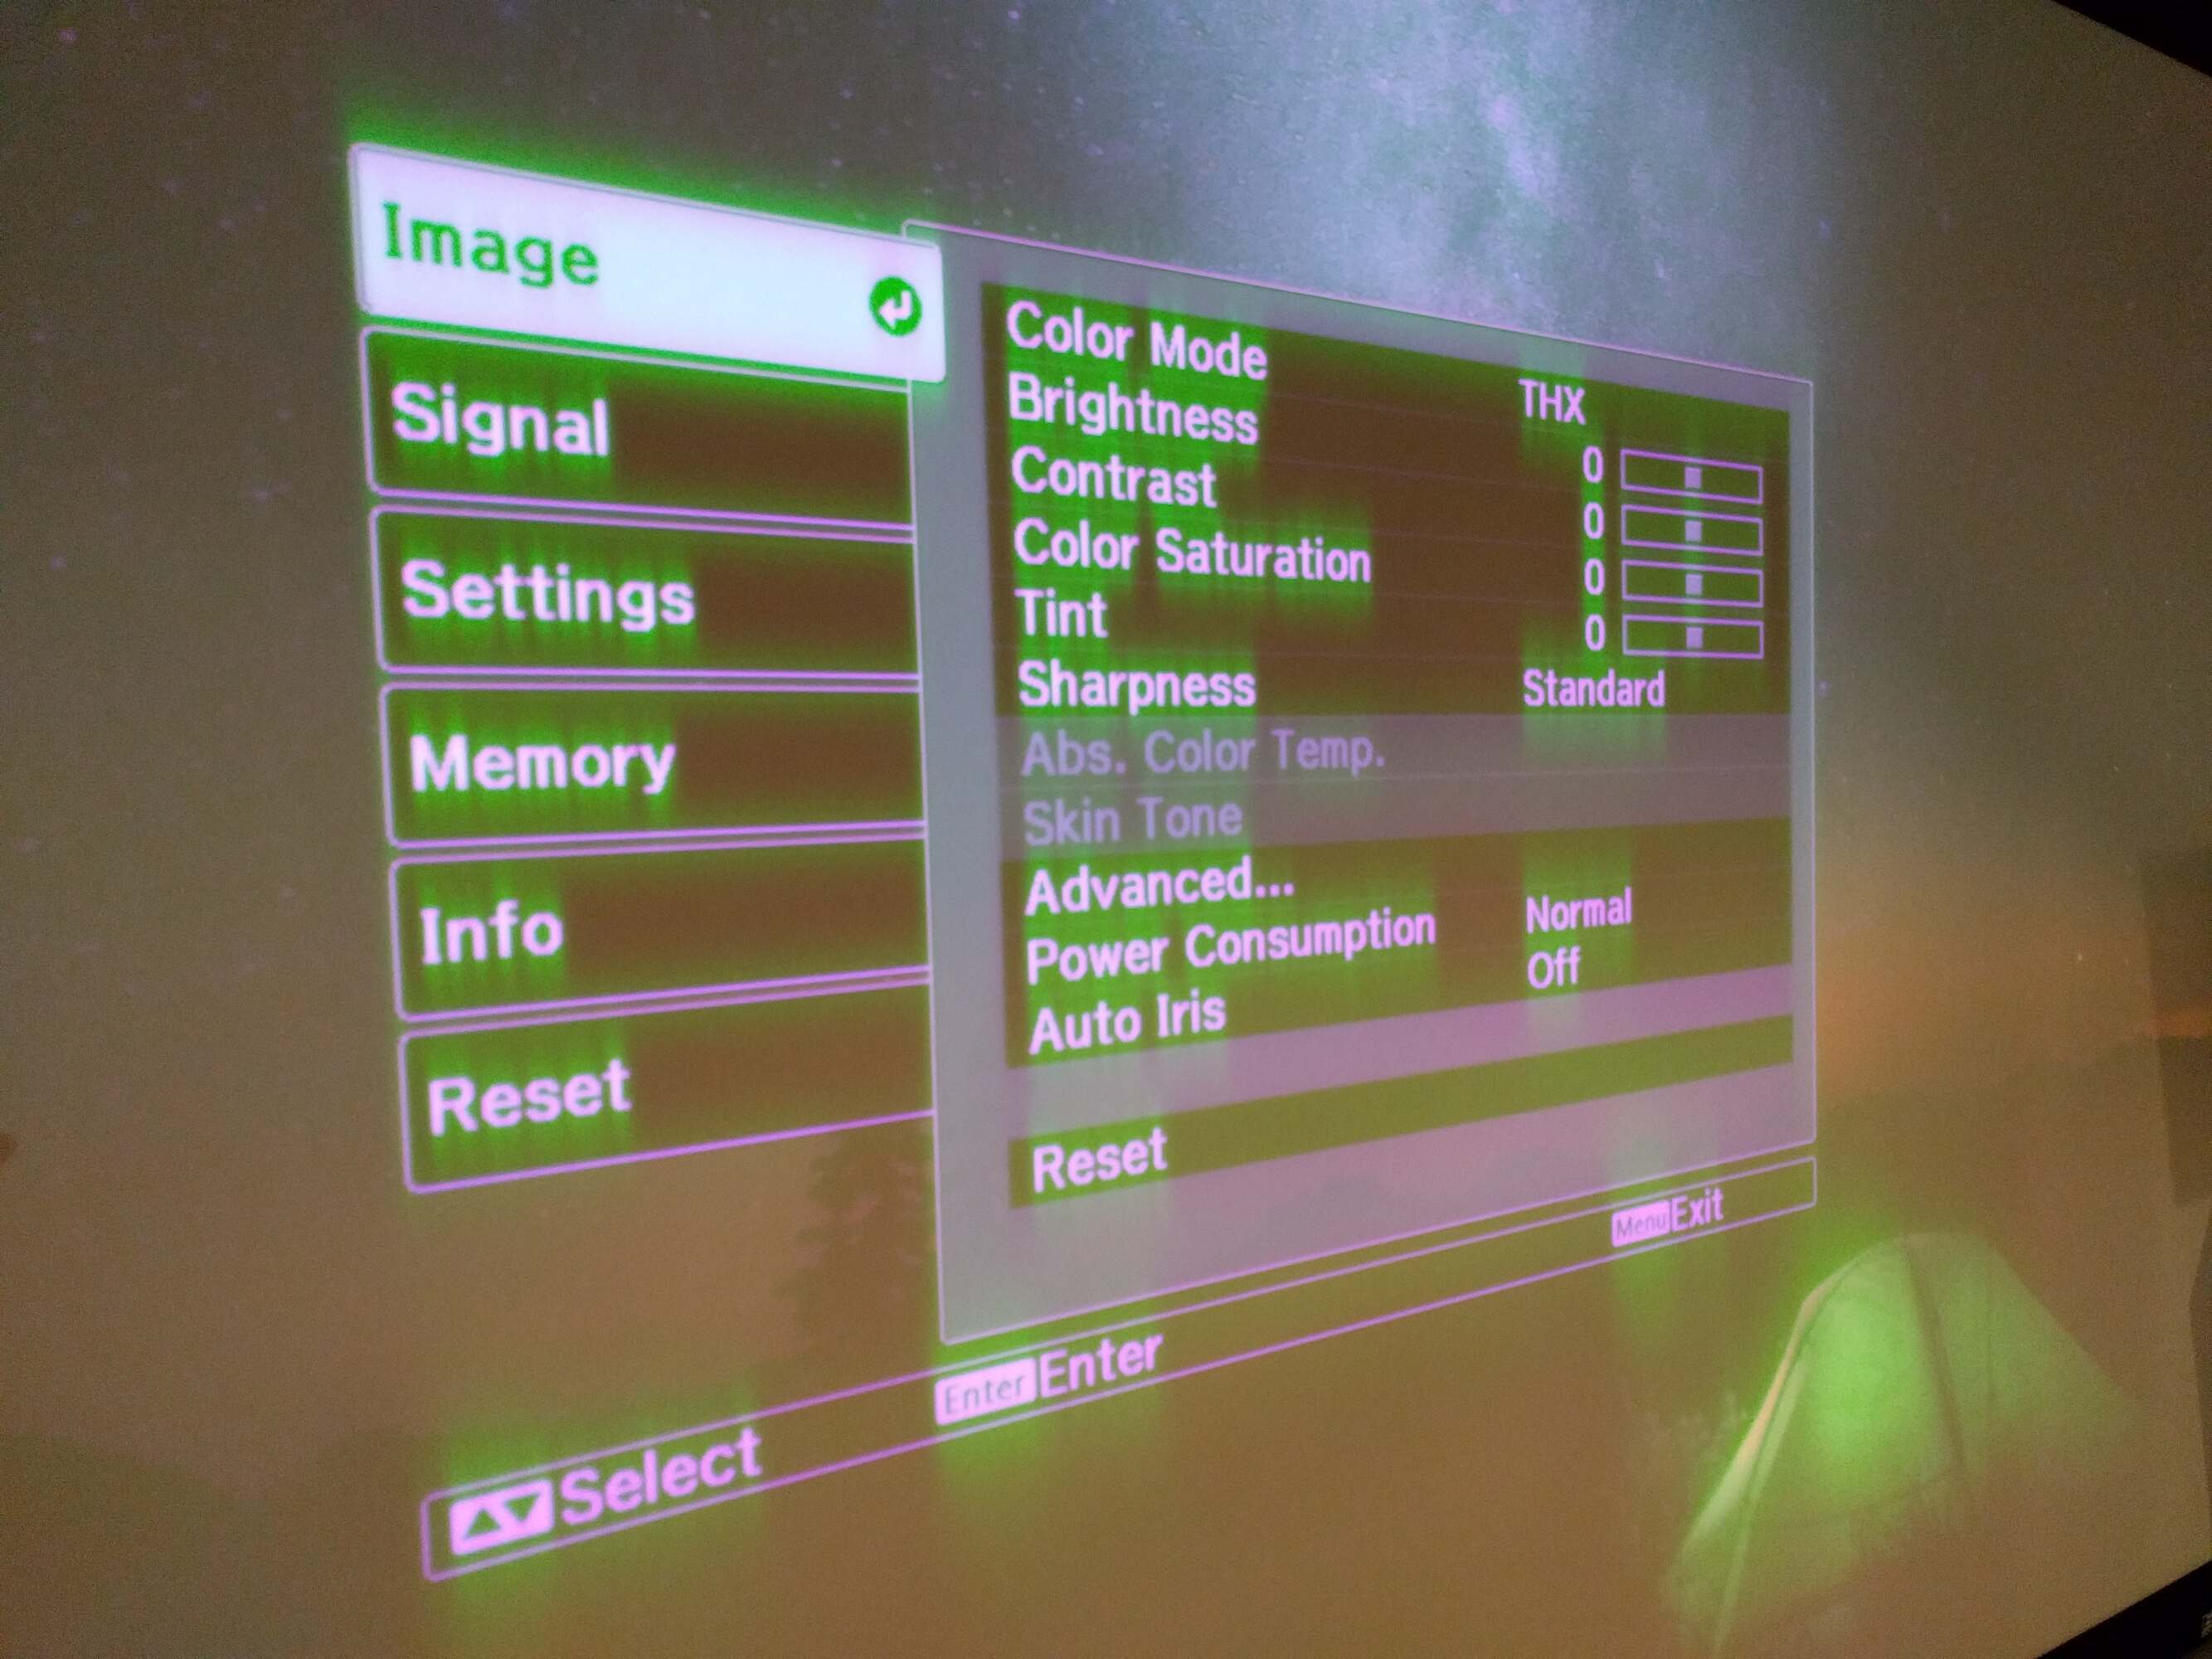
- Image Quality Settings: Familiarize yourself with the various image quality settings available on your projector. Adjust the brightness, contrast, color temperature, and other settings to suit your personal preferences and the content being projected.
- Sound System: Ensure that you have a quality sound system in place to complement the visual experience. Consider connecting your projector to a surround sound system or external speakers for immersive audio during movies or presentations.
- Maintenance and Cleaning: Regularly clean the projector lens and filters to maintain optimal image quality. Follow the manufacturer’s guidelines for maintenance, and be cautious when handling the delicate components of the projector.
By taking these factors into consideration, you can enhance the overall performance of your projector setup and create a truly immersive viewing experience.
Now that we have explored all the essential factors to consider, let’s conclude this guide with a summary of the key points discussed.
Conclusion
Setting up a projector may seem overwhelming, but with proper planning and consideration of key factors, you can achieve an optimal viewing experience. Understanding throw ratio, calculating the throw distance, selecting the appropriate screen size, and considering projector placement are crucial steps in maximizing the performance of your projector.
By knowing the throw ratio of your projector, you can determine how far the projector should be placed from the screen to achieve the desired image size. Considering the available space, viewing distance, and desired immersion level, you can then determine the ideal screen size for your setup.
Calculating the throw distance ensures precise projector placement, taking into account the projector’s throw ratio and the screen width. By following simple steps and considering room constraints, you can achieve the optimal distance for a clear and focused projection.
Considering projector placement involves factors such as mounting options, projection angle, ventilation, and wire management. Paying attention to these aspects ensures a clean and functional setup, avoiding obstructions and maintaining proper airflow for the projector.
Other factors to consider include ambient light levels, screen gain, image quality settings, sound system integration, and regular maintenance. Optimizing these factors enhances the overall viewing experience and ensures the longevity and performance of your projector.
In conclusion, taking the time to understand and consider the throw ratio, screen size, throw distance, projector placement, and additional factors will help you create an immersive and visually stunning projection setup. By carefully planning and optimizing these elements, you can enjoy high-quality visuals and an exceptional viewing experience in your home theater or presentation space.