Introduction
Tablets have become an integral part of our daily lives, whether for work or entertainment. With their sleek and portable design, tablets allow us to access information, communicate, and enjoy multimedia content on the go. But what if you come across something interesting on your tablet screen that you want to capture and save? That’s where screenshots come in.
A screenshot is a digital image of your tablet’s screen that can be captured and saved for various purposes. It allows you to preserve and share information, moments, or errors that you encounter on your device. Whether you need to capture an inspirational quote, save a memorable conversation, troubleshoot an issue, or demonstrate a feature to a friend, taking a screenshot on your tablet comes in handy.
In this article, we will explore the different methods available for taking a screenshot on a tablet. Whether you own an Android tablet, an iPad, or any other tablet device, you’ll find suitable options to capture what’s on your screen. We will discuss how to take a screenshot using the device’s physical buttons, the built-in software, and even explore third-party apps that can provide additional features and customization options.
So, let’s dive in and discover the various ways to capture screenshots on your tablet. Whether you’re a tech-savvy individual or a novice tablet user, this guide is here to assist you in capturing and preserving those special moments or important information with ease.
What is a screenshot?
A screenshot is a snapshot or image of what is currently displayed on your tablet’s screen. It captures the exact visual representation of the content, including images, text, and even the user interface. Think of it as a digital photograph taken of your tablet’s screen at a specific moment in time.
This digital image can be saved, shared, or edited as per your requirements. Screenshots have multiple applications and can be used for various purposes. They are particularly useful in situations where you want to capture and share information, preserve a specific moment, or troubleshoot an issue with your tablet.
For instance, if you come across an interesting article or a social media post, you can quickly screenshot it to save for later reading or to share it with your friends or colleagues. Screenshots also come in handy when you encounter an error or want to report a bug to customer support. Instead of trying to explain the issue in words, a screenshot provides visual evidence, making it easier for the support team to understand and assist you.
In the realm of creative work or design, screenshots are frequently used for inspiration and reference. Designers and artists often capture screenshots of other people’s work for reference, sketching ideas, or identifying design elements they find interesting.
Overall, screenshots serve as a powerful tool in capturing, preserving, and sharing visual information from your tablet’s screen. With just a few simple steps, you can immortalize moments, save important information, troubleshoot problems, and share interesting discoveries with others.
Why would you want to take a screenshot on a tablet?
There are numerous reasons why you may find yourself needing to take a screenshot on your tablet. Let’s explore some of the common situations where a screenshot can be helpful:
- Capturing important information: Sometimes you come across valuable information such as an address, recipe, or note on your tablet that you want to save for future reference. Taking a screenshot allows you to capture and store this information conveniently.
- Sharing interesting content: We often encounter captivating articles, funny memes, or inspiring quotes while browsing the web or scrolling through social media. By taking a screenshot, you can easily share this content with your friends, family, or colleagues.
- Troubleshooting and technical support: When experiencing an issue or error on your tablet, a screenshot can be immensely helpful for troubleshooting and seeking technical support. The visual evidence provided by a screenshot allows customer support to better understand the problem and provide appropriate solutions.
- Collaboration and communication: Screenshots can play a crucial role in collaborative work and communication. Whether you’re working on a group project, sharing feedback, or discussing ideas, a screenshot can help convey your thoughts visually and ensure clarity.
- Recording memorable moments: Tablets are often used to capture special moments such as birthdays, vacations, or achievements. However, there may be instances when you want to save a particular screen or app layout that holds sentimental value. Taking a screenshot helps preserve these cherished memories.
- Taking notes: Screenshots can be an effective way to capture information from various sources quickly. Instead of copying and pasting, you can simply screenshot the relevant content and refer back to it later.
These are just a few examples of why taking a screenshot on your tablet can be beneficial. It provides a visual record of important information, facilitates sharing and collaboration, helps with troubleshooting, and allows you to capture and cherish special moments.
Different methods for taking a screenshot on a tablet
Depending on the make and model of your tablet, there are several methods available for capturing a screenshot. Let’s explore the three primary methods commonly used:
- Method 1: Using the device’s physical buttons: Many tablets, particularly those running on Android, have dedicated physical buttons that can be used to take a screenshot. Typically, you need to press and hold a combination of buttons simultaneously, such as the power button + volume down button, until you see a confirmation or hear a camera shutter sound. This method works regardless of the app or screen you are on.
- Method 2: Using the device’s software: Some tablets allow you to take a screenshot using their built-in software. This method often involves accessing the device’s quick settings panel or notification center, where you can find a “screenshot” option. Tapping on this option captures the current screen, and in some cases, you may see a preview of the captured screenshot for immediate evaluation or editing.
- Method 3: Using third-party apps: If the built-in options are limited or unavailable on your tablet, you can always explore third-party apps that offer advanced screenshot features. These apps provide additional functionality like capturing scrolling screenshots, annotating, and sharing options. You can easily find these apps by searching in your device’s app store, reading reviews, and choosing one that suits your specific requirements.
It’s important to note that the specific steps for taking a screenshot may vary depending on your tablet’s make, model, and operating system. Therefore, it’s advisable to refer to the user manual or consult the manufacturer’s support webpage for accurate instructions tailored to your device.
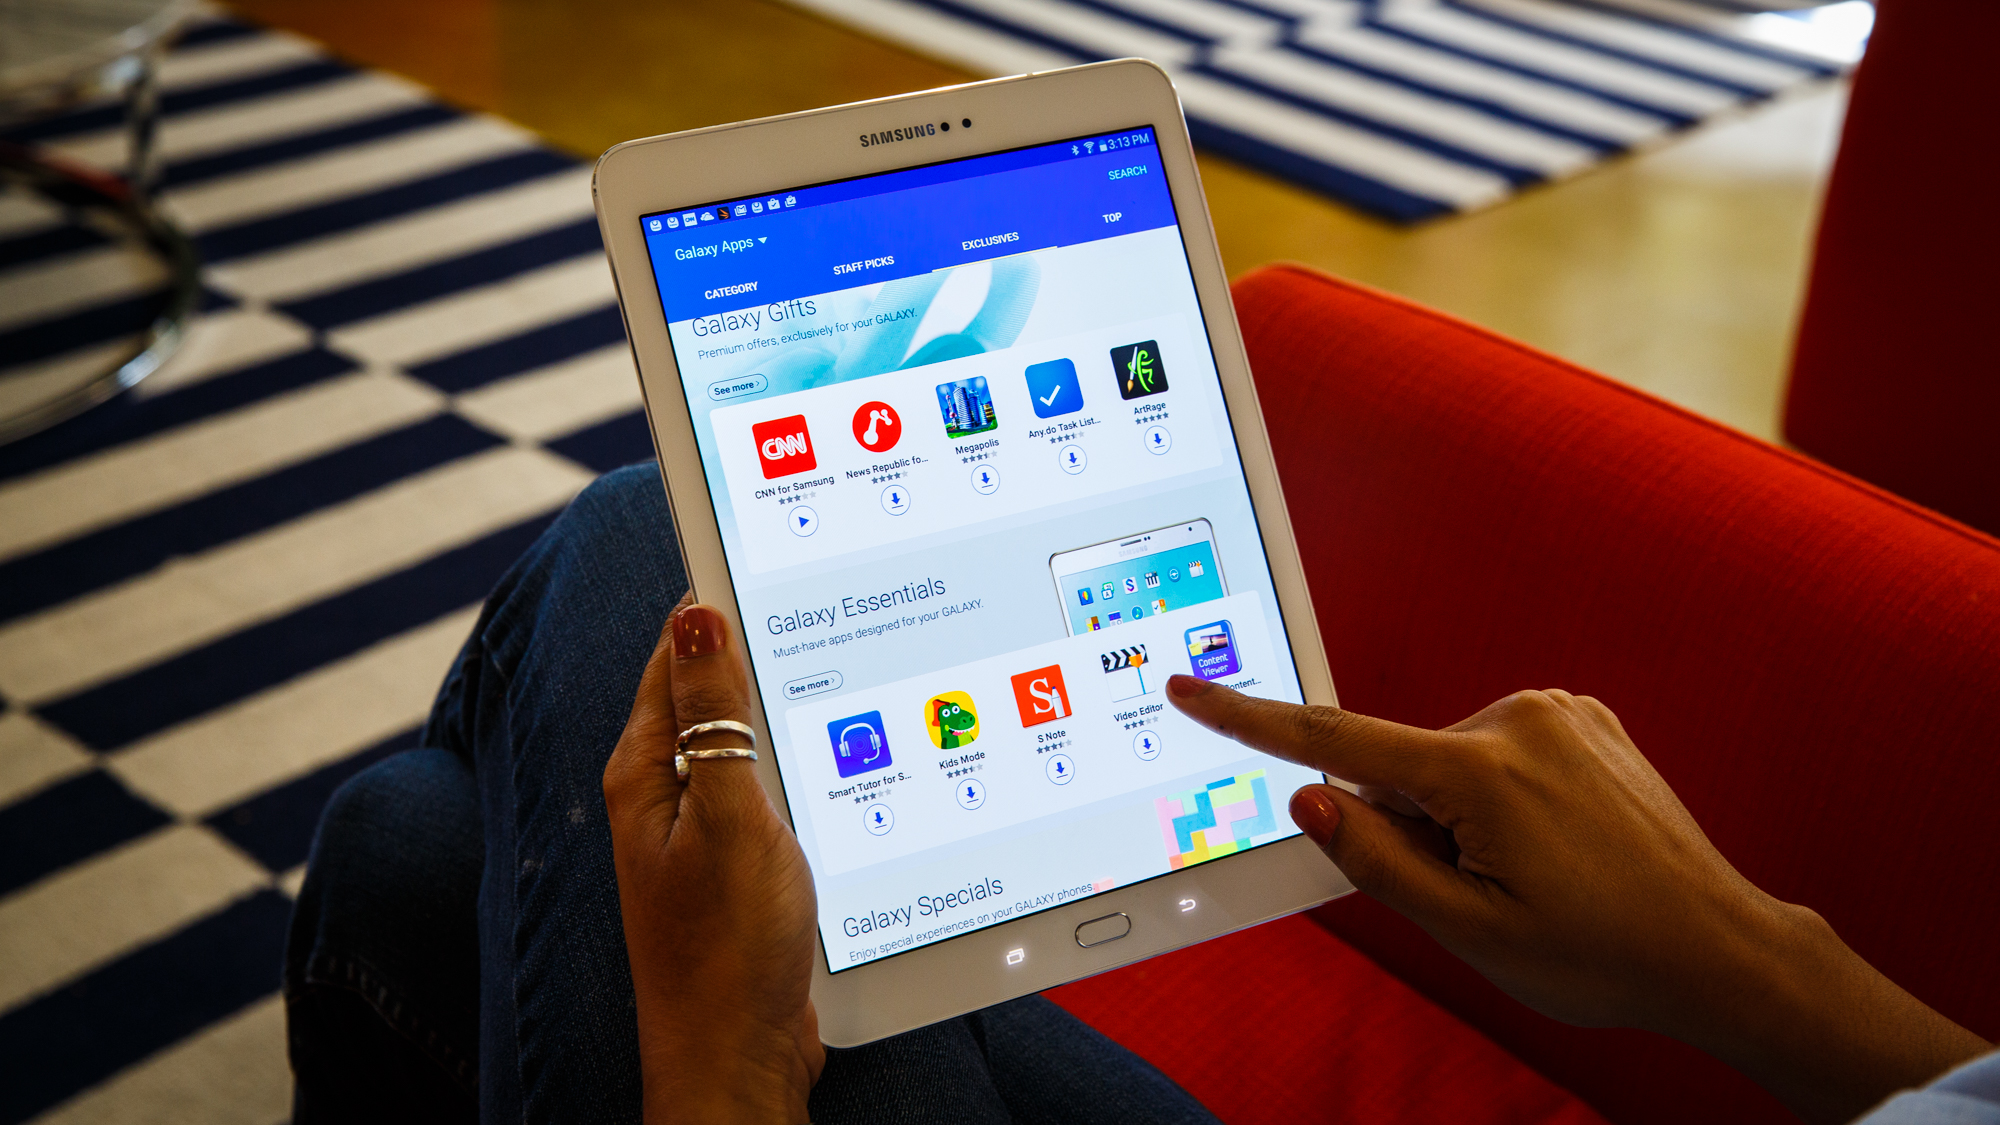
Additionally, keep in mind that some tablets may have additional features or shortcuts for taking screenshots. For instance, some Samsung tablets include a feature called “Palm swipe to capture,” where you can swipe the edge of your hand across the screen to take a screenshot. Exploring your tablet’s settings and features can lead to other convenient methods that are unique to your device.
Now that you’re familiar with the various methods available for taking a screenshot, you can choose the one that suits your tablet and preferences. Whether you prefer the simplicity of physical buttons, the convenience of built-in software, or the added functionality of third-party apps, capturing screenshots on your tablet is a breeze.
Method 1: Using the device’s physical buttons
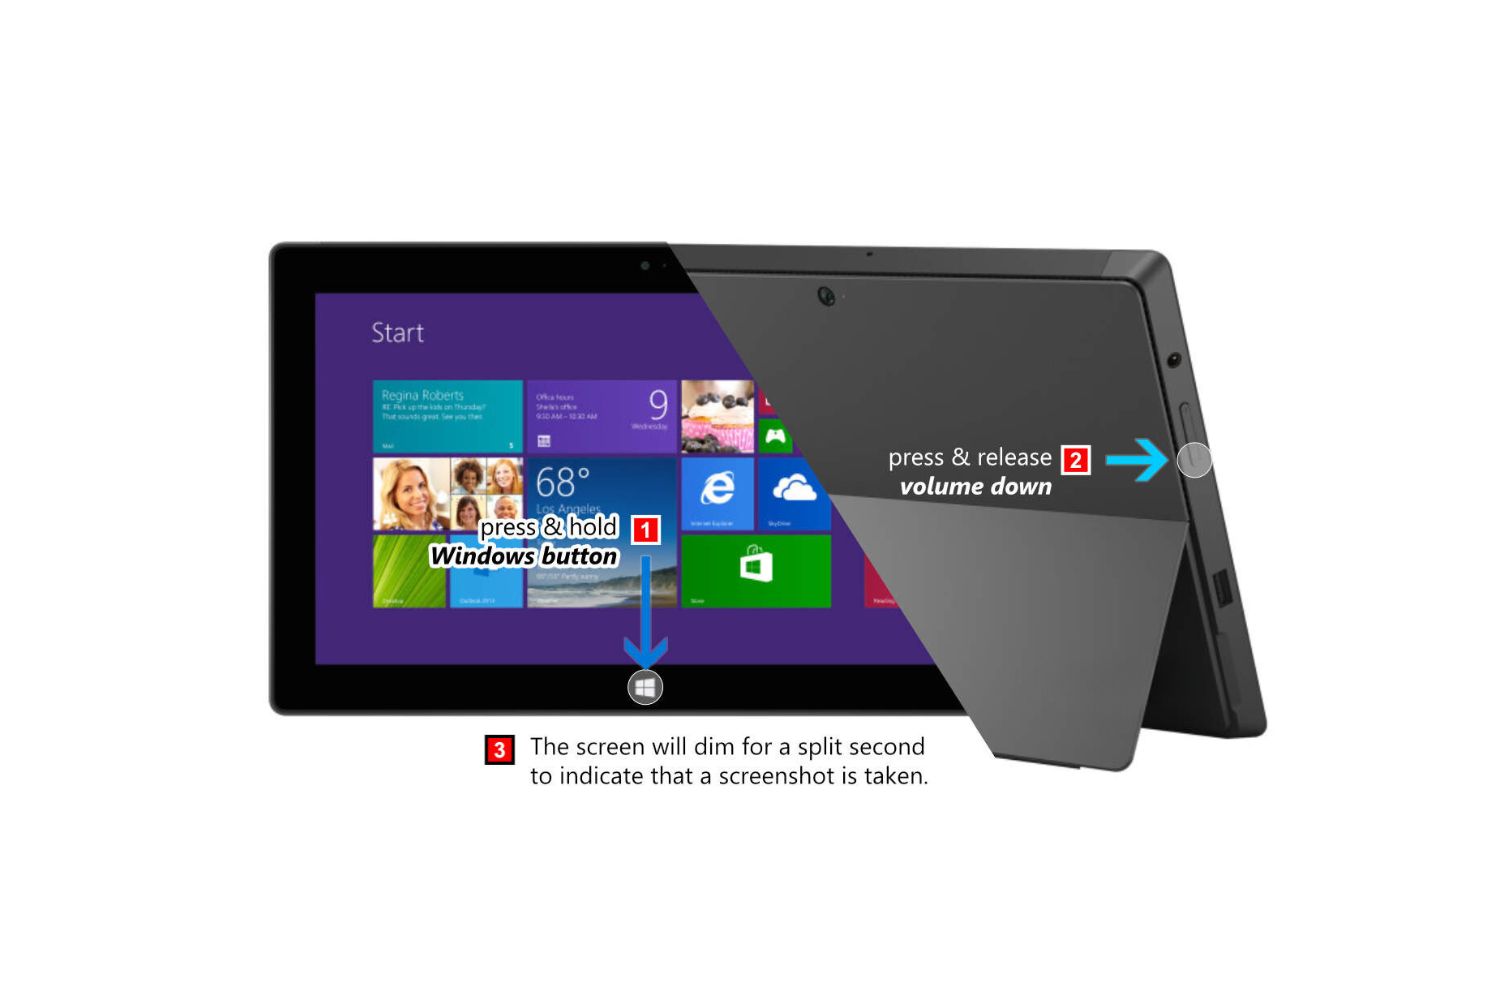
One of the most common methods for taking a screenshot on a tablet is by utilizing the device’s physical buttons. This method is widely used because it works on various tablet models running on different operating systems, including Android and iOS. Here’s a step-by-step guide on how to take a screenshot using the device’s physical buttons:
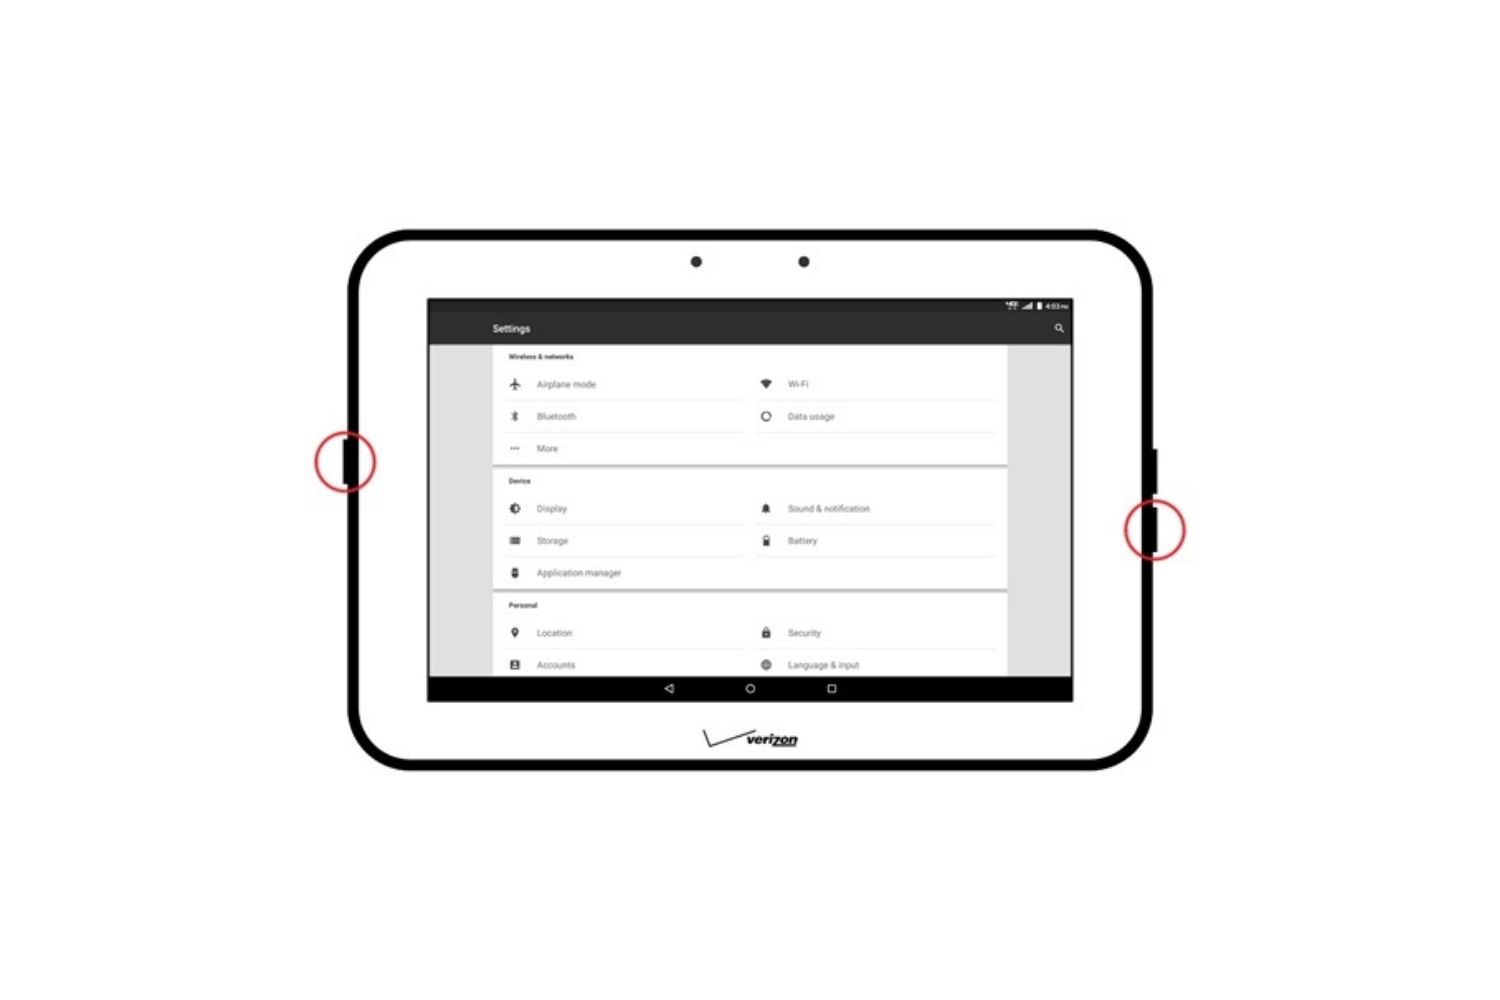
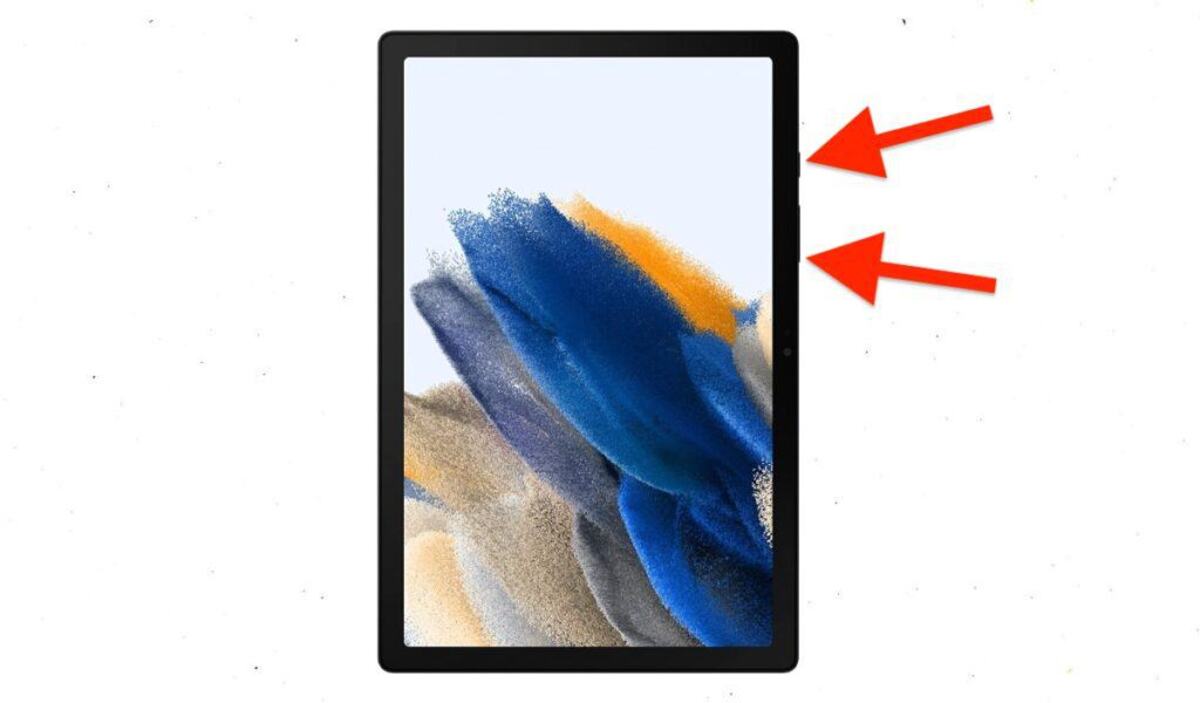
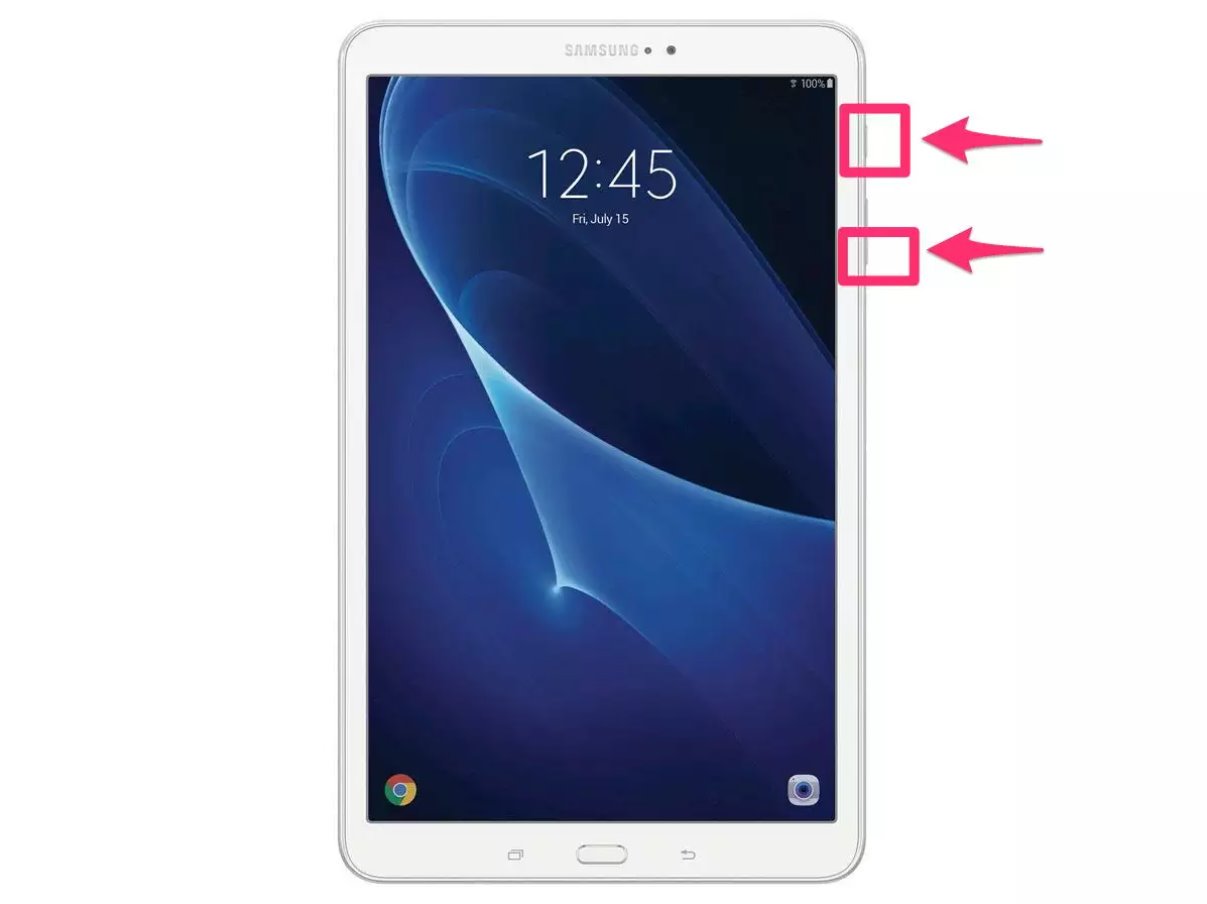
- Locate the necessary buttons: Start by identifying the physical buttons on your tablet. The most common combination is the power button and the volume down button. On some tablets, you may need to use the home button or the power button and volume up button combination instead. Familiarize yourself with these buttons before proceeding.
- Prepare the content to be captured: Make sure the screen you want to capture is displayed on your tablet. It can be anything from a webpage, app interface, or even a specific section of the screen.
- Press and hold the buttons: Simultaneously press and hold the designated buttons until you see a response from your tablet. This response can vary across different devices. Some tablets may display a notification or flash the screen, while others may emit a camera shutter sound. If your tablet has a physical home button, be careful not to press it too early in the process, as it might exit the app rather than capturing the screenshot.
- Check the captured screenshot: Once you’ve taken the screenshot, you can usually find it in the device’s gallery or photos app. From there, you can view, edit, or share the captured screenshot as needed. Some tablets also provide a preview of the screenshot for immediate evaluation.
It’s important to note that the exact button combination and the way your tablet responds may differ based on the manufacturer and model. Therefore, refer to the user manual or check the manufacturer’s support page for precise instructions tailored to your tablet.
This method for capturing screenshots using the device’s physical buttons is generally straightforward and works reliably across different applications and screens. It’s a convenient option when you need to capture something quickly without navigating through the tablet’s software menus.
Now that you’re familiar with using the device’s physical buttons to take a screenshot on your tablet, you can confidently capture anything noteworthy or important that appears on your screen with just a simple button press.
Method 2: Using the device’s software
Another popular method for taking a screenshot on a tablet involves utilizing the built-in software provided by the device’s operating system. This method is often preferred for its simplicity and accessibility. Although the exact steps may vary depending on the tablet’s make and model, the following general instructions guide you on how to take a screenshot using the device’s software:
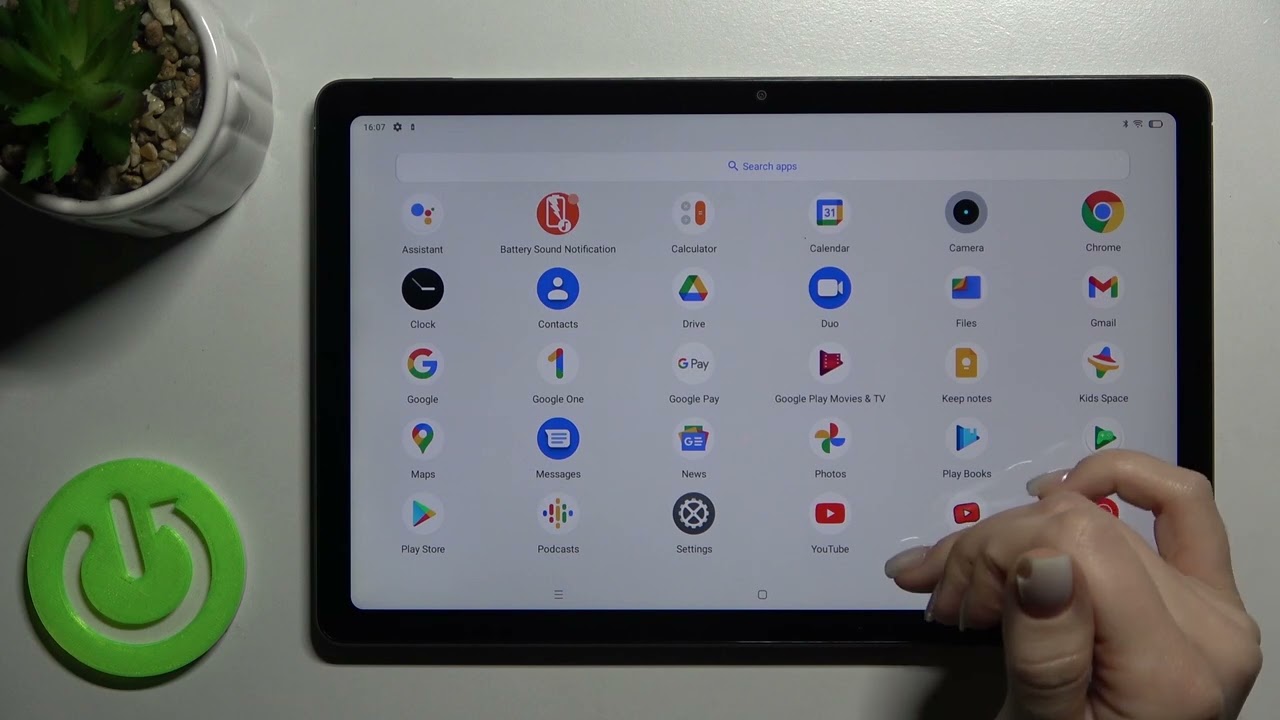
- Open the screen or app you want to capture: Navigate to the specific screen or app that you wish to capture. Make sure the content you want to screenshot is fully displayed on your tablet.
- Access the quick settings panel or notification center: Depending on your tablet’s operating system, swipe down from the top of the screen (on iOS) or swipe up from the bottom of the screen (on Android) to reveal the quick settings panel or notification center.
- Look for the screenshot option: In the quick settings panel or notification center, look for an icon or button labeled “screenshot” or “screen capture.” It may have a camera or a rectangular screen symbol, indicating its function.
- Tap the screenshot option: Once you’ve located the screenshot option, tap on it to initiate the screenshot process. Your tablet may provide a visual indication such as a flash or a brief animation to confirm that the screenshot has been taken.
- Review and access the captured screenshot: After capturing the screenshot, you can usually find it in the gallery or photos app on your tablet. From there, you can view, edit, or share the screenshot as desired. Some tablets may provide a preview of the screenshot immediately after capture for quick evaluation.
Although these steps provide a general outline for using the built-in software to capture a screenshot, it’s important to note that the exact procedure may vary depending on your tablet’s operating system and manufacturer. Therefore, consult the user manual or check the manufacturer’s support website for precise instructions tailored to your specific tablet model.
Utilizing the tablet’s software to capture a screenshot offers a convenient and easily accessible method. It allows you to capture specific screens or apps without the need to use physical buttons or memorize button combinations, which can be especially useful when the tablet doesn’t have dedicated screenshot buttons.
Now that you’re familiar with using the tablet’s built-in software to take a screenshot, you can confidently capture and preserve important information, memorable moments, or interesting content directly from your tablet’s screen.
Method 3: Using third-party apps
In addition to the built-in options provided by your tablet’s operating system, you can also explore the use of third-party apps to capture screenshots on your tablet. These apps offer additional features and customization options that may enhance your screenshot-taking experience. Here’s an overview of how you can take a screenshot using third-party apps:
- Research and choose a reputable app: Start by searching for screenshot apps in your tablet’s app store. Look for apps with positive ratings, good reviews, and features that align with your needs. Popular screenshot apps include “Screen Master,” “Screenshot Easy,” and “Screener.”
- Install and open the app: Once you’ve selected the app, download and install it on your tablet. After installation, open the app to familiarize yourself with its interface and features.
- Follow the app’s instructions: Each screenshot app may have a different interface and set of instructions. Generally, you’ll find a dedicated capture button within the app’s interface. Tap on the capture button, and the app will guide you through the process of capturing the screenshot.
- Explore additional features: Third-party screenshot apps often offer additional features beyond basic screen capture. These can include options for editing screenshots, adding annotations, cropping, or blurring sensitive information. Take time to explore the app’s functionalities and customize your screenshots as desired.
- Access and manage your screenshots: Once you’ve captured a screenshot using the app, it will usually be saved within the app’s gallery or a designated folder on your tablet. You can access and manage your screenshots within the app or locate them in your tablet’s gallery or photos app.
It’s worth noting that the specific instructions and features of third-party screenshot apps can vary greatly. Some apps may require certain permissions or offer unique functionalities such as capturing scrolling screenshots, recording screen videos, or directly sharing screenshots to social media platforms. Make sure to read the app’s documentation or follow the on-screen instructions for a better understanding of its capabilities.
Using third-party apps to capture screenshots can provide a more tailored and feature-rich experience. Whether you need advanced editing options, extra flexibility in capturing specific screen elements, or seamless integration with other apps, you can find an app that suits your needs and preferences.
Now that you’re aware of the advantages of using third-party apps for capturing screenshots, you can explore the wide range of available options and choose one that best fits your requirements. Enjoy the added features and flexibility these apps bring to your tablet’s screenshot capabilities.
Conclusion
Taking screenshots on a tablet is a valuable feature that allows you to capture and preserve important information, share interesting content, troubleshoot issues, and even create visual memories. In this article, we explored the different methods available for taking screenshots on a tablet.
We began by discussing what a screenshot is and why you might want to take one on your tablet. From capturing valuable information to sharing content, troubleshooting, collaborating, and preserving memories, the applications of screenshots are diverse and beneficial.
We then delved into the three primary methods for taking screenshots on a tablet. Using the device’s physical buttons provides a quick and reliable option, while utilizing the device’s software offers a convenient alternative. Additionally, exploring third-party apps can provide advanced features and customization options for an enhanced screenshot-taking experience.
It’s important to remember that the exact steps for capturing a screenshot may vary depending on your tablet’s make, model, and operating system. Consult your tablet’s user manual, check the manufacturer’s support page, or explore the app store for precise instructions tailored to your specific device.
By mastering the art of taking screenshots on your tablet, you can efficiently capture and preserve important moments, information, and content. Whether you’re an avid tablet user or a novice, these screenshot methods will empower you to capture and share the captivating, informative, and memorable aspects of your tablet experience.
So, start exploring the methods discussed in this article and elevate your tablet usage by capturing and sharing screenshots effortlessly.