Introduction
Microsoft tablets have become popular devices, offering a range of features and functionalities for work, entertainment, and productivity. One useful feature that many users may need to know is how to take screenshots on their Microsoft tablets. Screenshots can be handy for capturing important information, troubleshooting issues, or simply sharing something interesting with others.
In this article, we will explore three different methods for taking screenshots on a Microsoft tablet. Whether you have a Surface Pro, Surface Go, or any other Microsoft tablet model, these methods will work seamlessly.
Taking screenshots on a Microsoft tablet can be accomplished by using the Windows button and Volume down button, using the Snipping Tool, or using the Print Screen button. Each method has its advantages and can be used in various scenarios, depending on your specific needs. We will cover each method in detail to ensure you can capture exactly what you need.
Once you have captured a screenshot, it’s essential to know how to save and edit it. We will also provide guidance on saving screenshots and suggest popular editing tools that can help you make the most out of your captured images.
So, whether you’re a student needing to capture notes, a professional seeking to troubleshoot an issue, or simply want to share a memorable moment from your tablet, this article will guide you through the different methods of taking screenshots on your Microsoft tablet.
Using the Windows button and Volume down button
One of the simplest and quickest ways to take a screenshot on a Microsoft tablet is by using the Windows button and Volume down button combination. This method is especially useful when you need to capture the entire screen.
To take a screenshot using this method, follow these steps:
- Locate the Windows button, which is located on the front of the tablet.
- Simultaneously press and hold the Windows button and the Volume down button. The Volume down button is usually located on the side of the tablet.
- You will see a brief animation and hear a sound indicating that the screenshot has been taken.
- The screenshot will be saved in the Screenshots folder within the Pictures folder on your device.
This method is particularly useful when you want to capture the entire screen, including open windows, the taskbar, and any active applications. It’s a simple and efficient way to document what is currently displayed on your Microsoft tablet.
Keep in mind that when using this method, the screenshot will capture the entire screen, including any sensitive or personal information that may be visible. Prior to taking a screenshot, ensure that there is no confidential or private data on the screen that you do not wish to share.
Now that you know how to use the Windows button and Volume down button combination to take a screenshot on your Microsoft tablet, you can easily capture and save important information or share interesting content with others.
Using the Snipping Tool
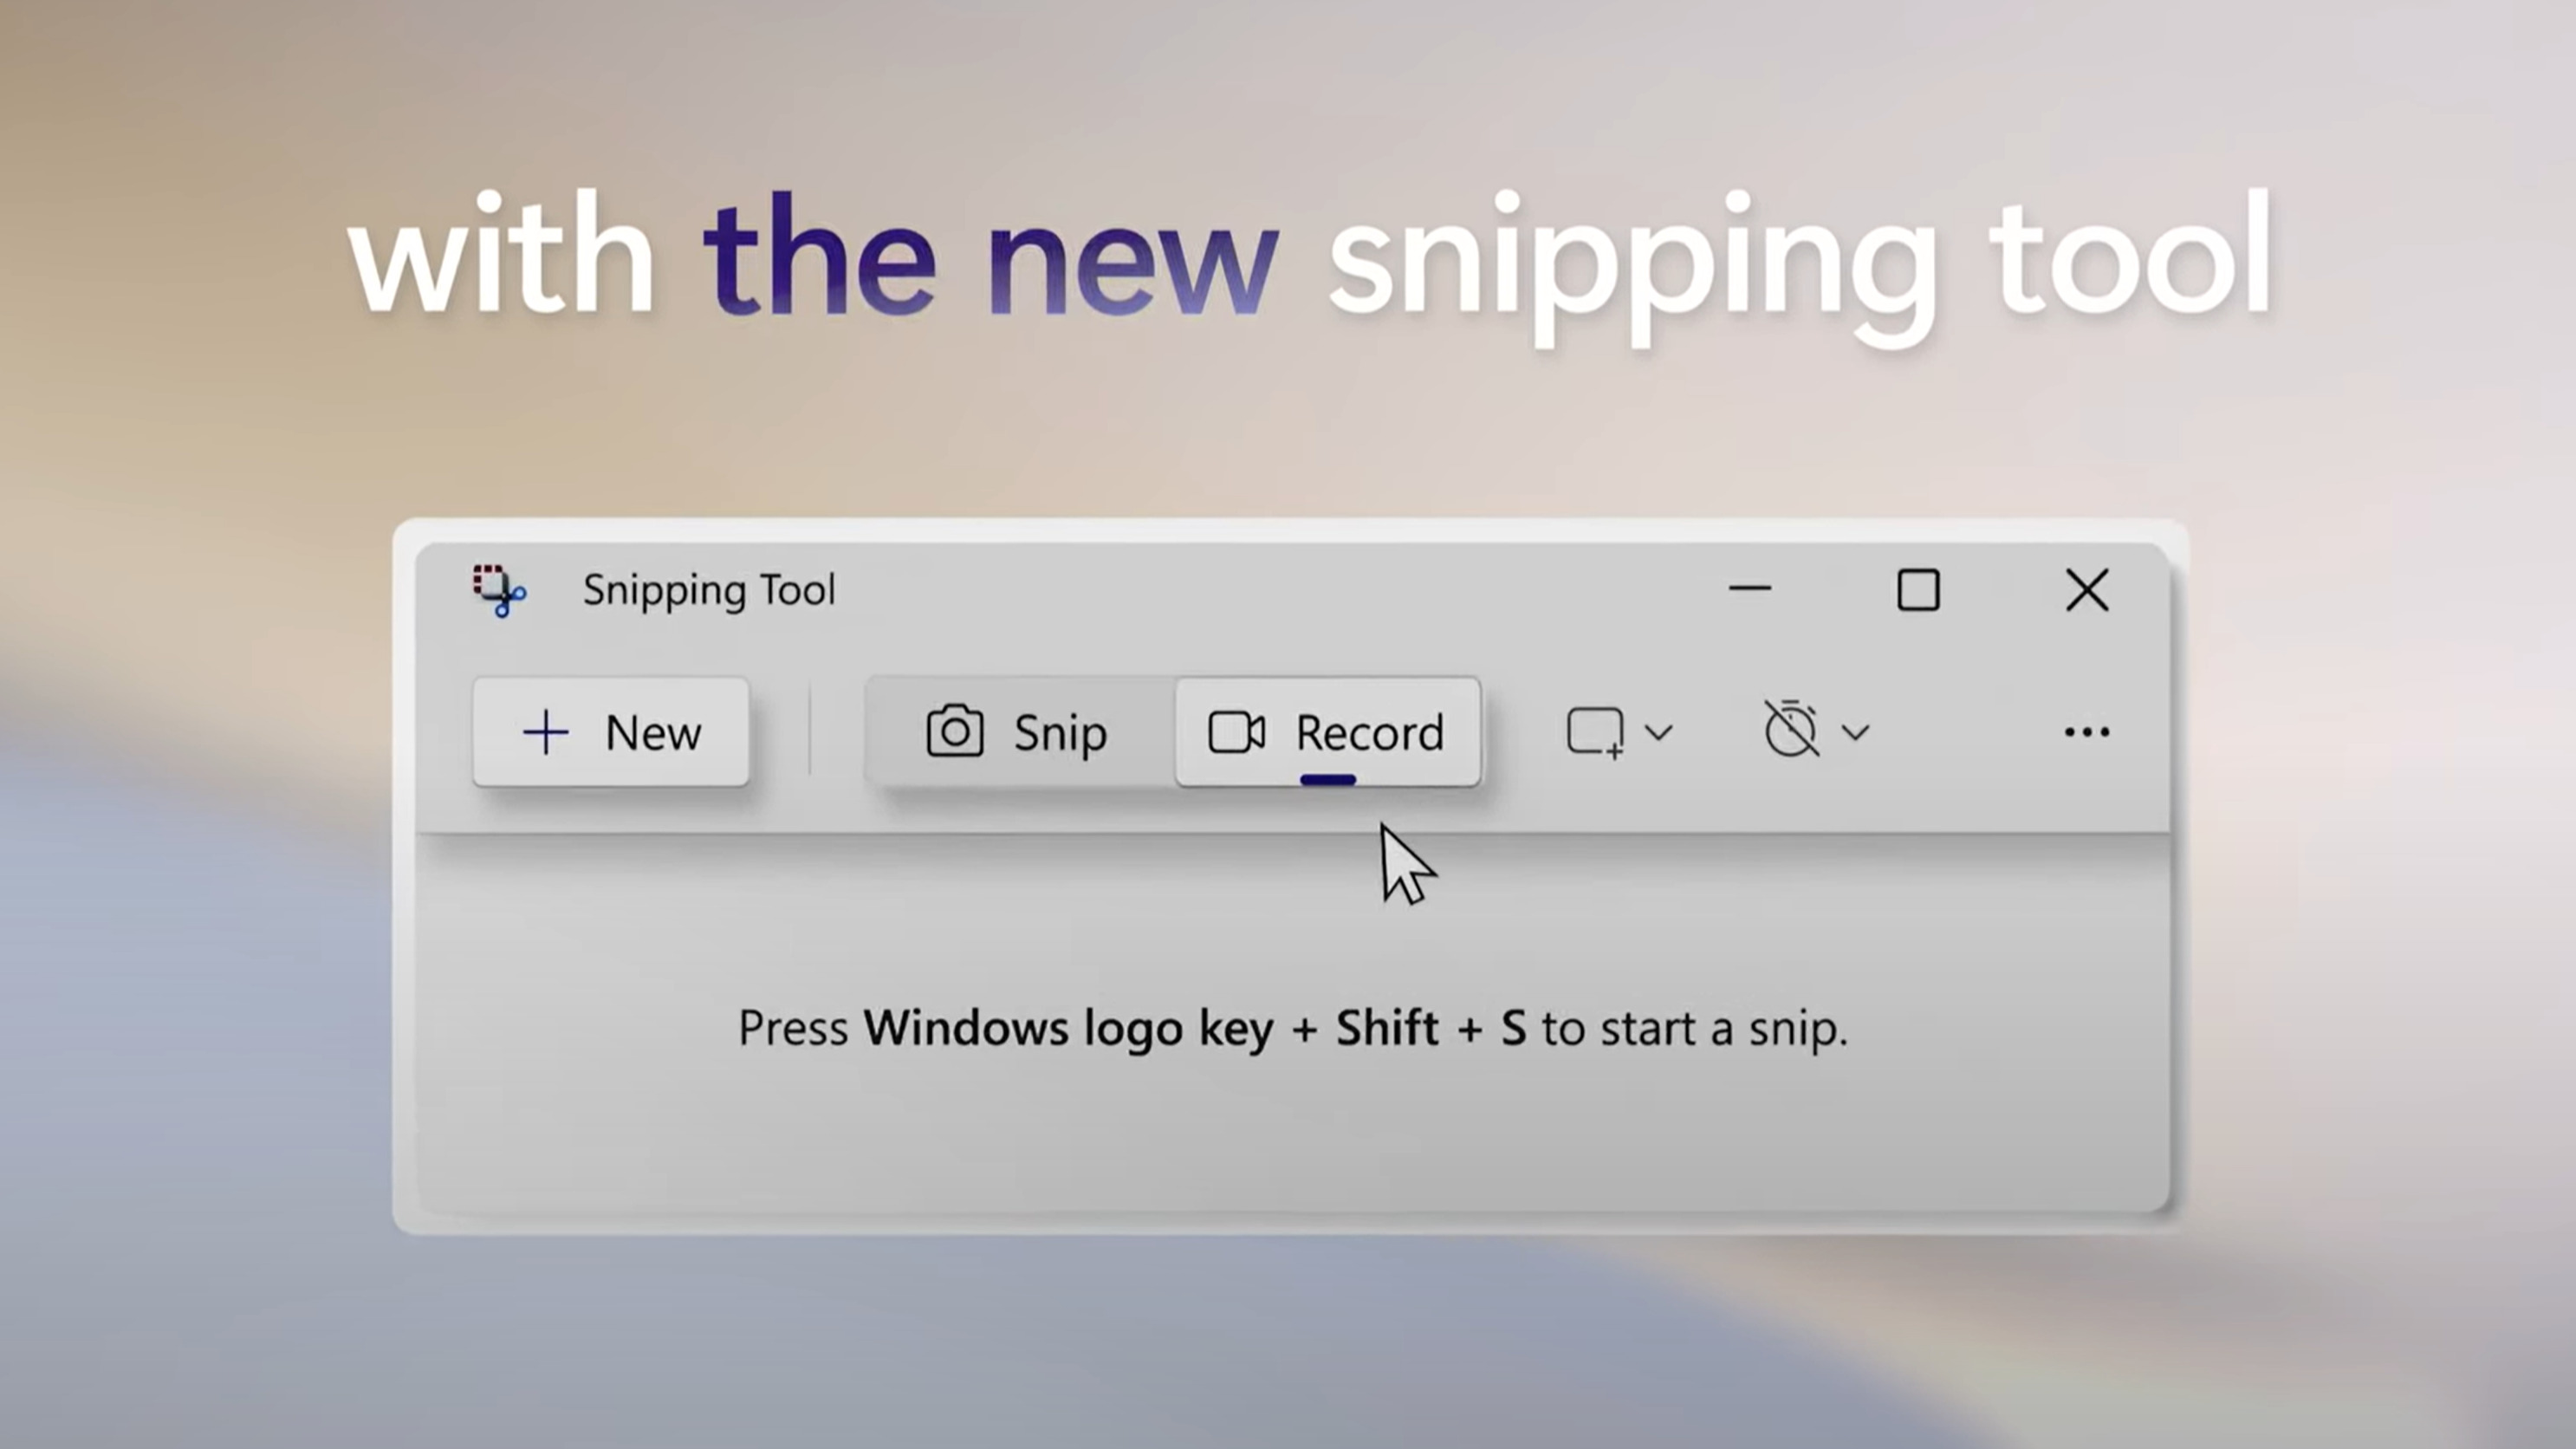
If you need more control over the area you want to capture or if you want to annotate the screenshot, you can use the Snipping Tool on your Microsoft tablet. The Snipping Tool allows you to select a specific portion of the screen and save it as an image.
Here’s how you can use the Snipping Tool on your Microsoft tablet:
- Open the Start menu and search for the Snipping Tool.
- Click on the Snipping Tool app to launch it.
- Once the Snipping Tool is open, click on the “New” button.
- Your screen will fade, and you’ll be able to click and drag to select the desired area.
- Release the mouse button to capture the selected area.
- The captured screenshot will open in a new window within the Snipping Tool.
- In the Snipping Tool window, you can use various tools to annotate, highlight, or save the screenshot.
- To save the screenshot, click on the “Save” button and choose a location on your tablet to store the image.
The Snipping Tool provides flexibility and customization options, making it a valuable tool for capturing specific portions of your Microsoft tablet’s screen. Whether you want to capture a specific section of a webpage, highlight important details in an image, or add annotations to a screenshot, the Snipping Tool has you covered.
Additionally, the Snipping Tool allows you to capture screenshots in different modes such as full-screen, window, or free-form snip. You can choose the mode that best suits your needs by selecting it from the “Mode” dropdown menu within the Snipping Tool.
With the Snipping Tool at your disposal, you can easily capture and edit screenshots on your Microsoft tablet, enhancing your ability to communicate and share information effectively.
Using the Print Screen Button
Another method for taking screenshots on your Microsoft tablet is by using the Print Screen button. This method captures your entire screen and allows you to save the screenshot for later use or share it with others.
To take a screenshot using the Print Screen button, follow these steps:
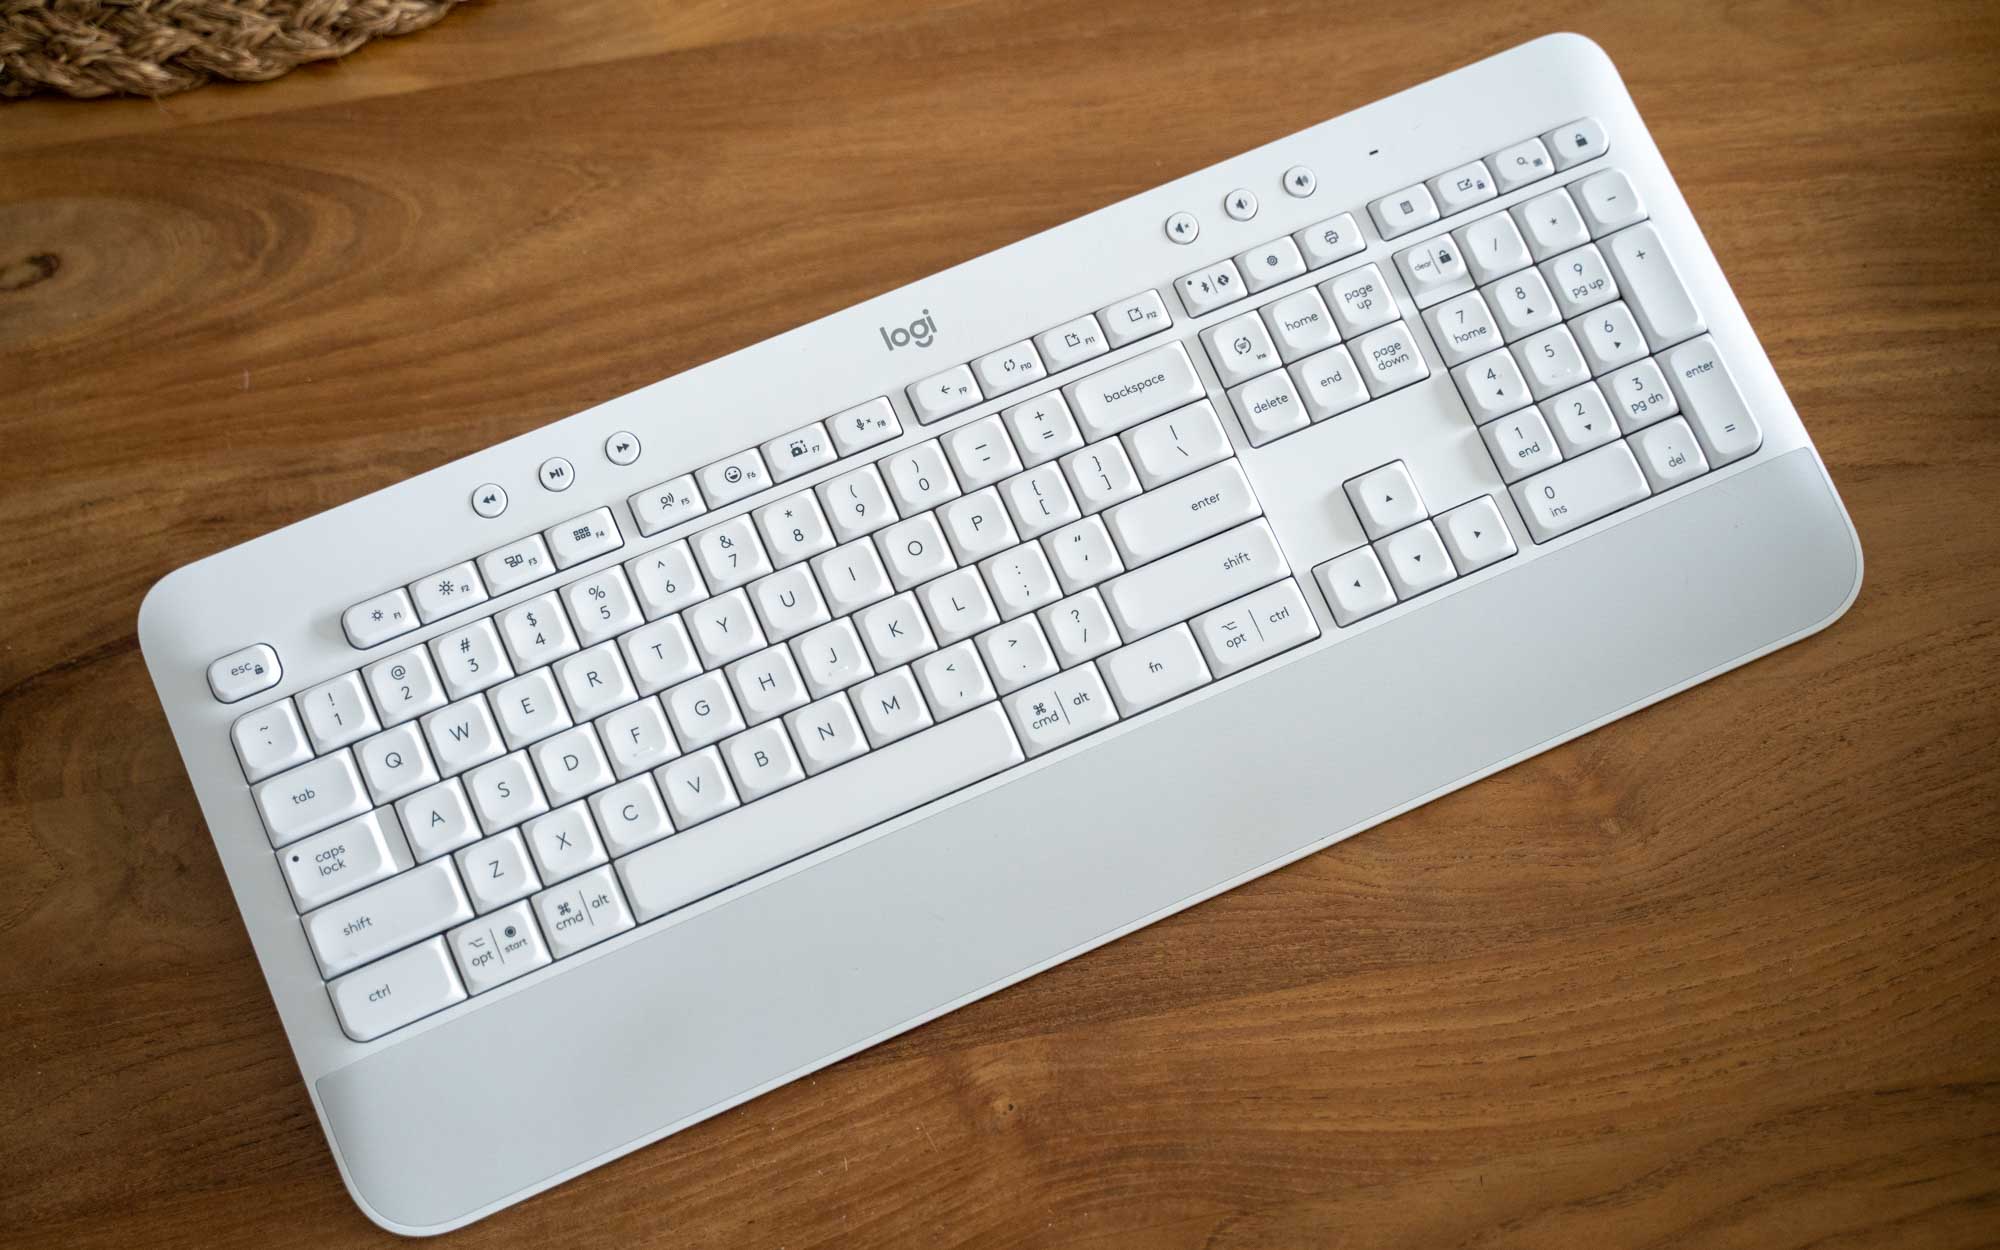
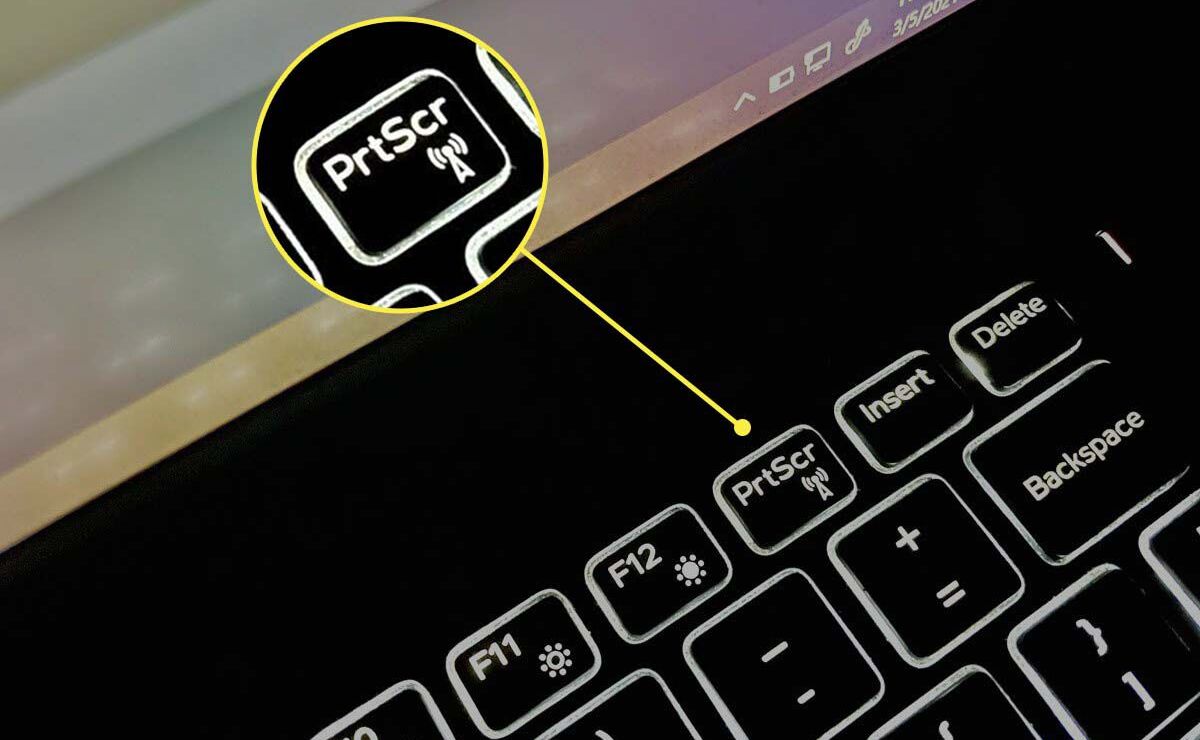
- Locate the Print Screen (PrtScn) button on your keyboard. On some tablets, you may need to use a combination of keys, such as the Windows logo key + PrtScn.
- Press the Print Screen button. This will capture a screenshot of your entire screen.
- The screenshot is now stored in your clipboard.
- Open an image editing application, such as Paint or Photoshop.
- Press Ctrl + V or go to Edit and select Paste to paste the screenshot into the image editing application.
- Once the screenshot is present in the image editing application, you can save it to your desired location on your Microsoft tablet.
Using the Print Screen button is a quick and straightforward way to capture the entire contents displayed on your Microsoft tablet’s screen. It’s especially useful when you want to share a snapshot of the entire screen without any specific annotations or modifications.
Keep in mind that when using the Print Screen button, the screenshot is saved to the clipboard, which means it is temporary storage. It is important to paste the screenshot into an image editing application or document to save it permanently.
Now that you know how to use the Print Screen button to take a screenshot on your Microsoft tablet, you can easily capture and store important information or share interesting content with others.
Saving and Editing the Screenshot
Once you have captured a screenshot on your Microsoft tablet, it’s important to know how to save and edit it to enhance its usefulness or customize it to your needs. There are various methods and tools available for saving and editing screenshots on your tablet.
Here are some common steps to save and edit a screenshot on your Microsoft tablet:
- After capturing a screenshot using any of the previously mentioned methods, locate the image preview or open the saved screenshot if it was automatically saved.
- Click on the “Save” or “Save As” button, typically represented by a floppy disk icon, or use the keyboard shortcut Ctrl + S to save the screenshot.
- Choose a location on your tablet to save the screenshot. You can select a specific folder or create a new one to keep your screenshots organized.
- Give the screenshot a meaningful name that allows you to easily identify its content.
- Once the screenshot is saved, you can navigate to the saved location and open it with an image editing application, such as Paint, Adobe Photoshop, or any other preferred image editing tool.
- Use the editing tools provided by the application to enhance the screenshot. You can crop the image, add text or annotations, draw shapes, adjust brightness and contrast, apply filters, and perform other modifications as needed.
- When you are satisfied with the edits, save the edited screenshot as a new file or overwrite the original file, depending on your preference.
By saving and editing the screenshot, you can customize it to meet your specific requirements or make it more visually appealing before sharing it with others or using it for personal reference.
It’s worth mentioning that Microsoft also offers a built-in image editing tool called Paint, which you can use to make basic edits to your screenshots. Paint provides options to crop, resize, add text, draw shapes, and perform other simple edits.
Alternatively, you can explore more advanced image editing applications or online tools that offer a wider range of features and functionalities, depending on your editing needs.
With the ability to save and edit your screenshots, you can optimize the captured images for different purposes, whether it’s for documentation, presentation, or simply adding a personal touch to your digital content.
Conclusion
Taking screenshots on your Microsoft tablet can be a valuable and convenient tool for capturing and sharing information. Whether you want to capture the whole screen, a specific portion, or annotate and edit the screenshot, there are different methods and tools available to suit your needs.
We have covered three popular methods for taking screenshots on a Microsoft tablet: using the Windows button and Volume down button, utilizing the Snipping Tool, and utilizing the Print Screen button. Each method offers its own advantages and flexibility, allowing you to capture the desired content effortlessly.
Remember to familiarize yourself with the process of saving and editing the screenshots you capture. By doing so, you can enhance the screenshots by cropping, adding annotations, adjusting settings, and customizing them to suit your preferences or requirements.
Whether you’re a student, professional, or casual user, knowing how to take screenshots on your Microsoft tablet will undoubtedly prove useful in various situations. You can easily share important information, troubleshoot issues, document content, or simply capture and share moments with others.
So, unleash the power of your Microsoft tablet and explore the different methods of taking screenshots to enhance your productivity, communication, and creativity.
Happy screenshotting!