Introduction
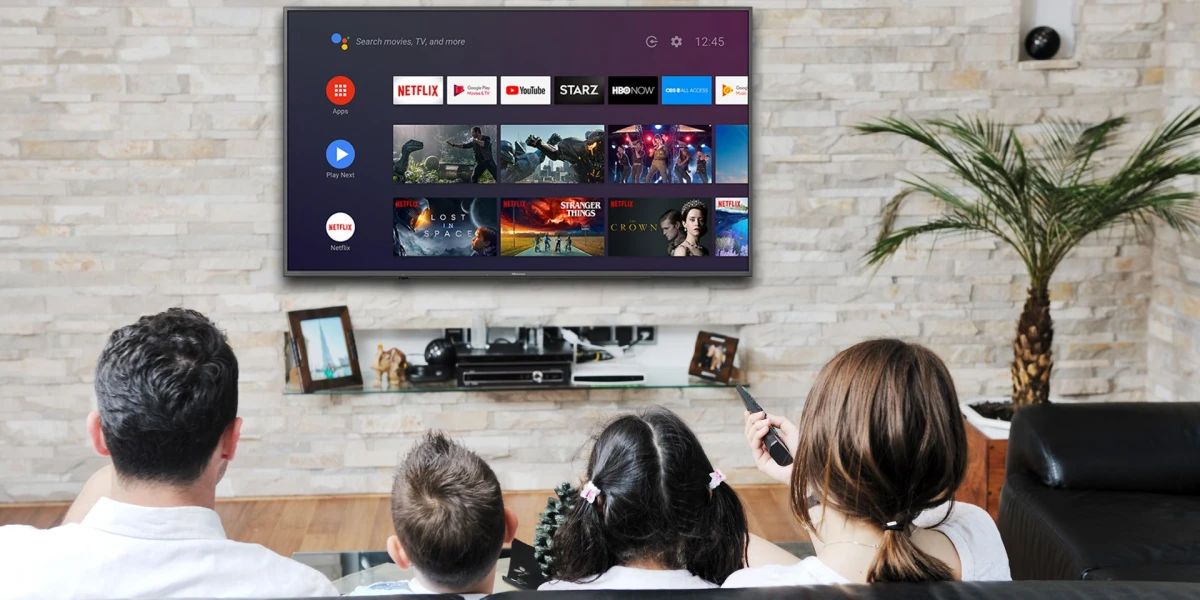
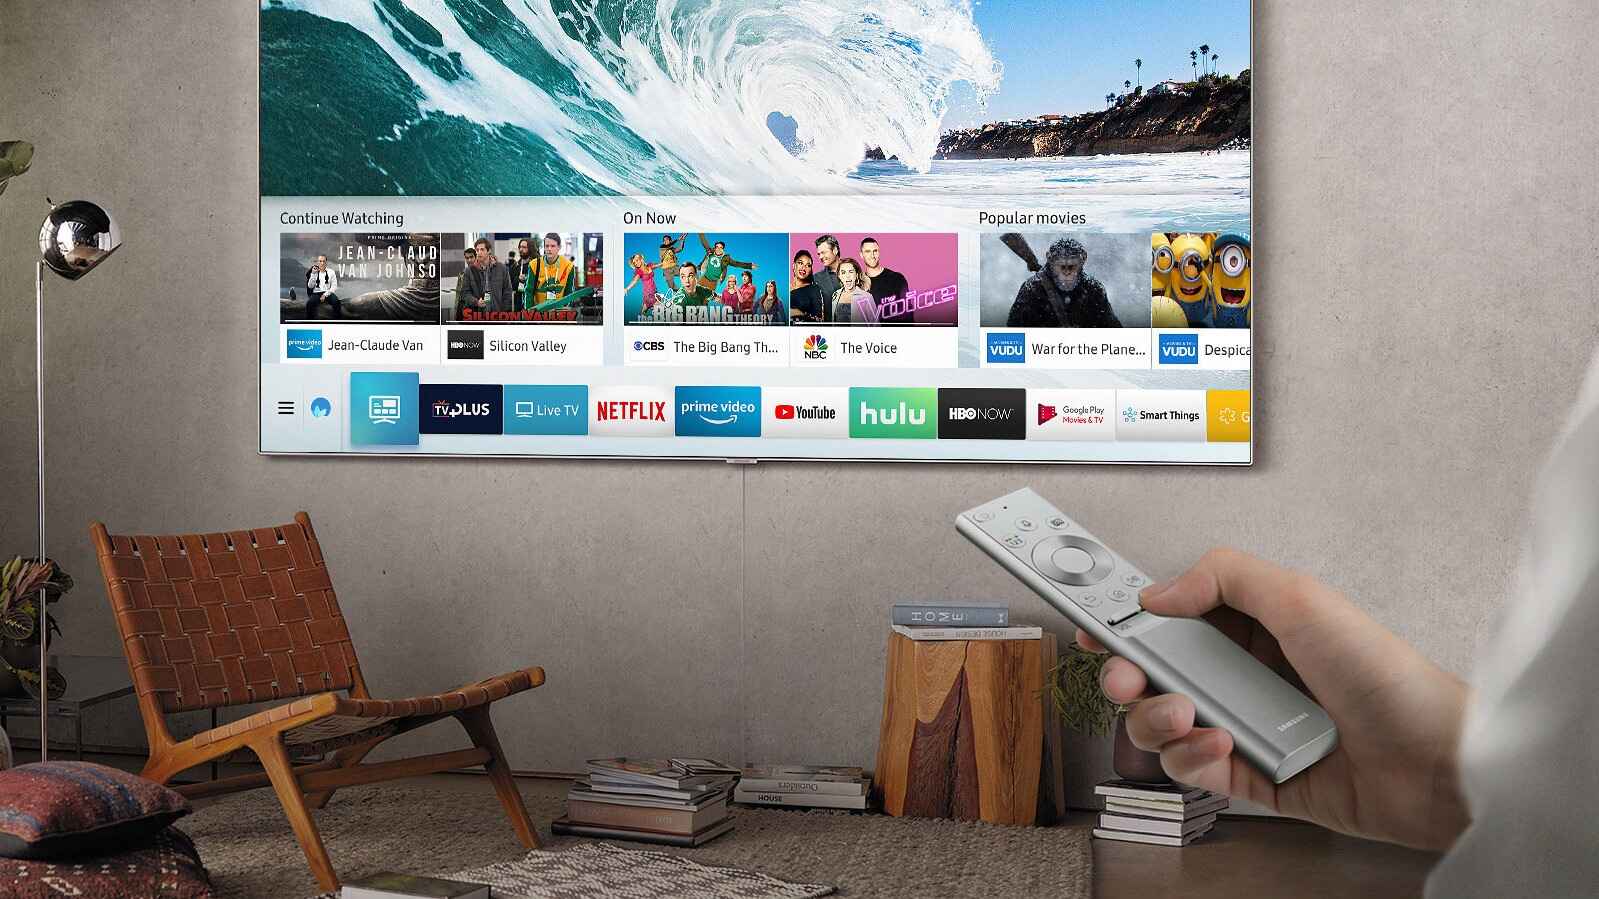
Welcome to the world of smart TVs! Gone are the days when a television was just a device to watch your favorite shows and movies. With the evolution of technology, smart TVs have emerged as the ultimate entertainment hub in our homes. These intelligent devices not only allow you to stream content from popular platforms like Netflix, Hulu, and Amazon Prime, but they also offer a wide range of features and functionalities that enhance your viewing experience.
Setting up a smart TV may seem like a daunting task, especially if you’re not technically inclined. However, fear not! This article will guide you through the process, step by step, to ensure that your smart TV is up and running in no time.
Before we dive into the nitty-gritty of setting up your smart TV, it’s crucial to choose the right one for your needs. With a plethora of options available on the market, consider factors such as screen size, display resolution (HD, 4K, or 8K), and additional features like voice control and built-in streaming applications.
Once you’ve chosen your perfect smart TV, the unboxing process is the next exciting step. Carefully remove the TV from its packaging, ensuring that you keep all the accessories and manuals handy.
After unboxing, the first thing you need to do is connect your smart TV to a power source. Locate the power cord and plug it into an electrical outlet. It’s essential to ensure that the power source is stable and grounded to avoid any electrical issues.
Choosing the Right Smart TV
With the wide variety of smart TVs available in the market, finding the perfect one for your needs can be a daunting task. However, by considering a few key factors, you can make an informed decision and choose the right smart TV for your home.
First and foremost, consider the screen size that suits your viewing preferences and the space available in your living room or bedroom. Smart TVs come in various sizes, ranging from compact 32-inch models to massive 75-inch screens. Take measurements of the area where you plan to place the TV and ensure that it fits comfortably.
Next, think about the display resolution. HD (High Definition) TVs offer a resolution of 1280×720 pixels, whereas Full HD TVs have a resolution of 1920×1080 pixels. For a more immersive viewing experience, you can opt for a 4K Ultra HD TV, which has a resolution of 3840×2160 pixels. If budget permits, you can even explore the premium 8K TVs with a whopping resolution of 7680×4320 pixels.
Consider the additional features that come with the smart TV. One popular feature is voice control, which allows you to operate the TV using voice commands. Some smart TVs also come with built-in streaming applications, eliminating the need for additional devices like a streaming stick or set-top box. Check for features like HDR (High Dynamic Range) for enhanced color and contrast, local dimming for deeper blacks, and a high refresh rate for smooth motion.
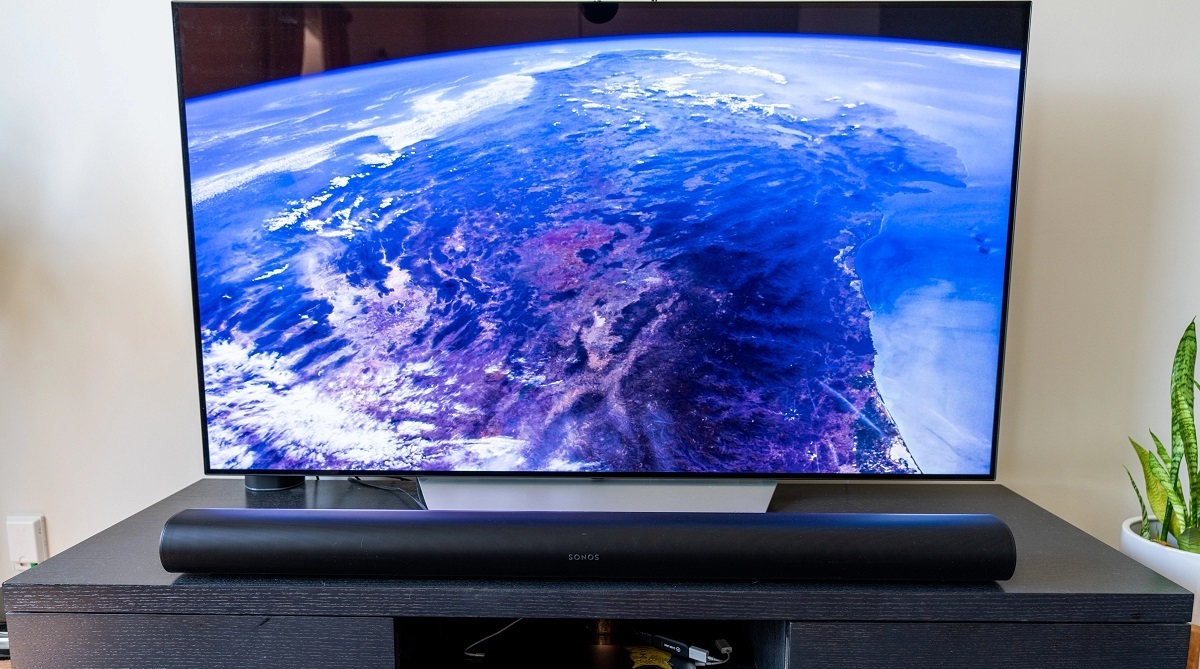
Lastly, don’t forget to check the availability of ports and connectivity options. HDMI ports are essential for connecting external devices like gaming consoles, Blu-ray players, and soundbars. Look for multiple HDMI ports to accommodate all your devices. Additionally, built-in Wi-Fi and Ethernet connectivity options ensure seamless streaming and internet browsing.
By considering factors like screen size, display resolution, additional features, and connectivity options, you can narrow down your choices and find the perfect smart TV that meets your entertainment needs and fits your budget.
Unboxing Your Smart TV
Excitement fills the air as you unbox your new smart TV, ready to embark on a journey of immersive entertainment. Unboxing a smart TV is a straightforward process, but it’s essential to handle the delicate device with care to avoid any damage.
Start by finding a clear and spacious area where you can lay out all the components of the smart TV. Carefully open the packaging, taking note of any tape or protective foam that may be securing the TV and accessories in place.
Remove the TV from the box by lifting it gently from the bottom, ensuring that you provide support to the screen and the bottom of the TV. Avoid using excessive force or shaking the TV, as it can damage the delicate internal components.
As you remove the TV, you will come across other essential components and accessories. These may include the TV stand or wall mount, remote control, power cord, batteries, and any user manuals or documentation. Keep all these items together in a safe place to avoid misplacing them.
Take a moment to inspect the TV for any visible damage or defects. Look for cracks on the screen, dents on the frame, or any loose parts. It’s crucial to identify any issues at this stage to ensure a hassle-free return or replacement process, if necessary.
Once you have inspected the TV and ensured everything is intact, you can proceed with setting up your smart TV. Before connecting it to the power source, you may want to clean the screen and remove any protective films or stickers. Use a soft, lint-free cloth and gentle cleaning solution to wipe the screen, taking care not to apply excessive pressure.
Now that you have successfully unboxed your smart TV and prepared it for setup, the next step is to connect it to a power source and begin the configuration process. Refer to the user manual or follow the on-screen instructions for the specific model of your smart TV to ensure a seamless setup experience.
With your newly unboxed smart TV ready to be powered on, get ready to unlock a world of entertainment right in the comfort of your own home.
Connecting Your Smart TV to the Power Source
Before you can start enjoying all the exciting features of your smart TV, it’s crucial to connect it to a reliable power source. Properly connecting your smart TV to the power supply ensures its smooth operation and prevents any electrical issues.
Begin by locating the power cord that came with your smart TV. It is usually a thick cable with a plug on one end and a connector for the TV on the other. Make sure the power cord is undamaged and in good condition.
Once you have the power cord in hand, find a suitable electrical outlet near where you plan to place your smart TV. Ensure that the outlet is easily accessible and there is enough space for the TV’s power cable to reach it without being stretched or bent excessively.
Next, carefully insert the plug into the electrical outlet, applying gentle pressure until it is fully seated. Make sure the plug fits securely and does not feel loose or wobbly in the socket.
After connecting the power cord to the electrical outlet, locate the corresponding power input on your smart TV. It is usually located on the back or side panel, clearly marked with a power symbol.
Gently insert the other end of the power cord into the power input of the TV, aligning the connector properly. Again, apply gentle pressure until the connector is fully inserted and feels secure.
Double-check all the connections, ensuring that the power cord is securely plugged into the electrical outlet and the power input of the TV. Avoid using excessive force or twisting the cord, as it can damage the connectors or the TV itself.
Now that your smart TV is connected to a power source, you can proceed with turning it on and starting the setup process. Refer to the user manual or on-screen instructions for your specific smart TV model to navigate through the initial setup steps.
By properly connecting your smart TV to the power source, you are one step closer to enjoying a world of entertainment and experiencing the full capabilities of your smart TV.
Setting Up the Wi-Fi Connection
A crucial step in getting your smart TV up and running is establishing a stable Wi-Fi connection. Connecting your smart TV to your home network allows you to access online streaming services, browse the internet, and enjoy a range of online functionalities on your TV.
To begin the process, ensure that your Wi-Fi router is powered on and broadcasting a network signal. You can verify this by checking the lights on the router, typically labeled “Wi-Fi” or “Wireless.”
Using your TV’s remote control, navigate to the settings menu. The exact steps may vary depending on the brand and model of your smart TV, but you can typically find the settings options by pressing the “Menu” or “Settings” button on the remote.
Within the settings menu, locate the network or Wi-Fi settings. Again, the terminology may differ slightly, but look for options related to network connection, wireless setup, or Wi-Fi configuration.
Choose the option to scan for available Wi-Fi networks. Your TV should display a list of networks within range.
Select your Wi-Fi network from the list. If your network is password-protected, you will be prompted to enter the Wi-Fi password. Use the remote control and on-screen keyboard to enter the password accurately.
Once you have entered the password, confirm the connection. Your smart TV will attempt to connect to the selected Wi-Fi network.
Wait for your smart TV to establish a successful connection to the Wi-Fi network. This may take a few moments, as the TV negotiates with the router and obtains an IP address.
Upon successful connection, your smart TV should display a confirmation message or an indication that it is connected to the Wi-Fi network. Some TVs may also display the signal strength of the connection.
With the Wi-Fi connection established, your smart TV is ready for online streaming and internet browsing. You can now enjoy a plethora of streaming services, download apps, and explore various online features on your TV.
If you encounter any issues during the Wi-Fi setup process, ensure that your Wi-Fi router is functioning correctly, and verify the Wi-Fi password you entered. You may also consider moving closer to the Wi-Fi router or using an Ethernet cable for a wired connection if Wi-Fi signal strength is weak.
By setting up a stable and secure Wi-Fi connection, you unlock the full potential of your smart TV and elevate your entertainment experience.
Pairing the Remote Control
Now that your smart TV is connected to the Wi-Fi network, it’s time to pair the remote control for seamless navigation and control of your TV’s functions and features. Pairing the remote control ensures that it is synchronized with your smart TV, allowing you to easily operate it without any hassle.
First, make sure that you have inserted the batteries into the remote control correctly. Check the user manual or the back of the remote for guidance on the correct battery placement.
With the batteries in place, aim the remote control towards the TV. Depending on the model of your smart TV, you may need to be in close proximity or within a certain range for the pairing process to initiate.
Press and hold the appropriate button(s) on the remote control to put it into pairing mode. This button is usually labeled as “Pair,” “Connect,” or may be a combination of buttons like “Hold and Volume Up.”
While holding down the pairing button, wait for the TV to detect the remote control. You may see an on-screen message or a light indicator on the TV or remote control to indicate that pairing is in progress.
Release the pairing button once the TV and remote control have successfully paired. The TV should confirm the pairing through an on-screen notification or by responding to the remote control’s commands.
To check if the remote control is working correctly, press a few buttons on the remote to navigate through the TV’s menus or adjust the volume. If the TV responds accordingly, it means that the remote control pairing was successful.
If the remote control does not work as expected, double-check that the batteries are inserted correctly, and try repeating the pairing process. You may also need to consult the user manual or contact customer support for further assistance.
Once the remote control is paired and functioning properly, you can confidently explore all the features and functions of your smart TV with ease. Enjoy effortless navigation, quick access to apps, and convenient control of your entertainment experience.
Remember to keep the remote control in a safe and easily accessible location, as it will be your key to unlocking the full potential of your smart TV.
Configuring the Basic Settings
After pairing the remote control, it’s time to configure the basic settings of your smart TV. These settings allow you to personalize your TV’s display, audio, and other essential features according to your preferences.
Start by navigating to the settings menu using your remote control. Look for the settings or setup options, usually accessible by pressing the “Menu” or “Settings” button.
Within the settings menu, you will find a range of options related to picture and audio settings, language preferences, accessibility features, and more. Let’s explore some of the crucial settings.
Picture Settings: Adjust the picture settings to optimize the display quality. You can set the brightness, contrast, color saturation, and sharpness according to your liking. Many smart TVs also offer pre-configured picture modes like “Standard,” “Cinema,” or “Sports” for different viewing experiences.
Audio Settings: Customize the audio settings based on your preferences. You can adjust the volume levels, select the audio output (TV speakers or external audio system), and even enable features like surround sound or virtual audio enhancements.
Language Settings: Choose your preferred language for menus and on-screen displays. Many smart TVs offer a wide range of language options to cater to different users.
Time and Date: Set the correct time and date for accurate information display and synchronization with online services like streaming platforms and electronic program guides.
Network Settings: Access the network settings menu to view or modify the Wi-Fi network you connected to earlier. You can also check the IP address, DNS settings, or configure any advanced network options if necessary.
Parental Controls: Enable parental control features to restrict access to certain content based on age ratings or specific programming categories. This ensures a safe viewing experience for children.
Accessibility Settings: Explore the accessibility settings to make your smart TV more inclusive. Features like closed captions, audio descriptions, and text-to-speech can enhance the viewing experience for individuals with hearing or visual impairments.
Once you have adjusted the basic settings to your liking, take a moment to navigate through the various options and double-check your selections. Save your changes before exiting the settings menu.
Keep in mind that the specific settings and options may vary depending on the brand and model of your smart TV. Refer to the user manual or on-screen instructions for detailed guidance on configuring the settings for your particular TV.
By configuring the basic settings, you can personalize your smart TV experience and optimize the display, audio, and other essential features according to your preferences.
Installing Apps on Your Smart TV
One of the major advantages of a smart TV is the ability to install and access a wide range of apps directly on your TV screen. Whether you want to stream movies, play games, or access social media, installing apps on your smart TV provides endless entertainment possibilities.
To begin installing apps, navigate to the app store on your smart TV. The app store may have a dedicated button on the remote control or can be accessed through the smart TV’s main menu.
Once you have accessed the app store, you will be presented with a variety of categories and featured apps. Browse through the available options or use the search function to find specific apps.
Select the app you want to install by highlighting it and pressing the designated button on your remote control. This button is typically labeled “Enter” or has an icon resembling a mouse click.
On the app’s information screen, you will find details about the app, including a description, ratings, and user reviews. Take a moment to read through the information to ensure the app meets your needs.
To install the app, click on the “Install” or “Download” button. This will initiate the installation process, and you may see a progress indicator or a downloading icon on the screen.
Once the installation is complete, navigate back to the main menu or home screen of your smart TV. You should now see the newly installed app among your available options.
Launch the app by selecting it and pressing the designated button. The app will open, and you can start exploring its features and content.
Repeat the process to install additional apps as desired. Explore different categories in the app store to discover new and exciting applications that cater to your interests.
Keep in mind that some apps may require a subscription or account setup to access their content. Follow the on-screen instructions or prompts to create an account or enter your existing login credentials.
Additionally, it’s a good idea to periodically check for app updates. App developers often release updates to improve performance, fix bugs, and introduce new features. Look for an “Updates” or “My Apps” section in the app store to check if any of your installed apps have available updates.
By installing apps on your smart TV, you can unleash the full potential of your smart TV and enjoy a vast library of entertainment options right from the comfort of your living room.
Setting Up Streaming Services
One of the primary reasons why people invest in a smart TV is to access streaming services and enjoy a wide range of movies, TV shows, and other on-demand content. Setting up streaming services on your smart TV allows you to unlock a world of entertainment options.
To get started, ensure that your smart TV is connected to the internet. Refer to the earlier section on how to set up the Wi-Fi connection if you haven’t done so already.
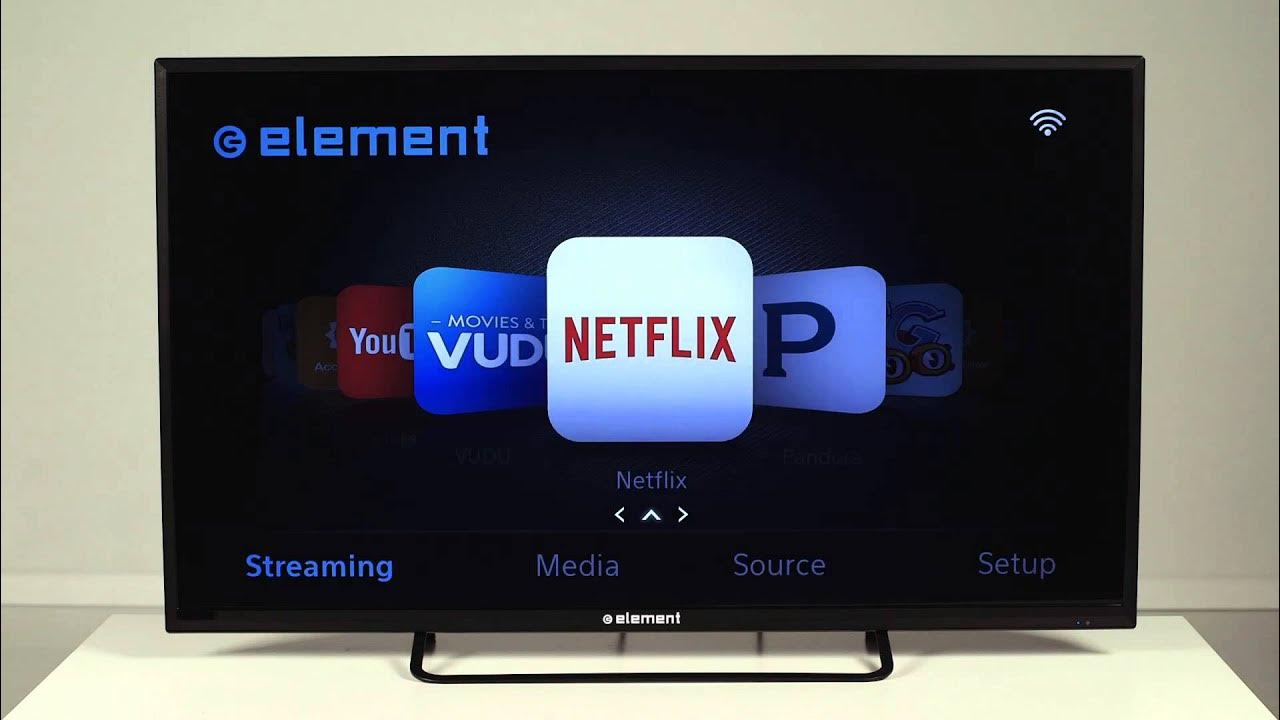
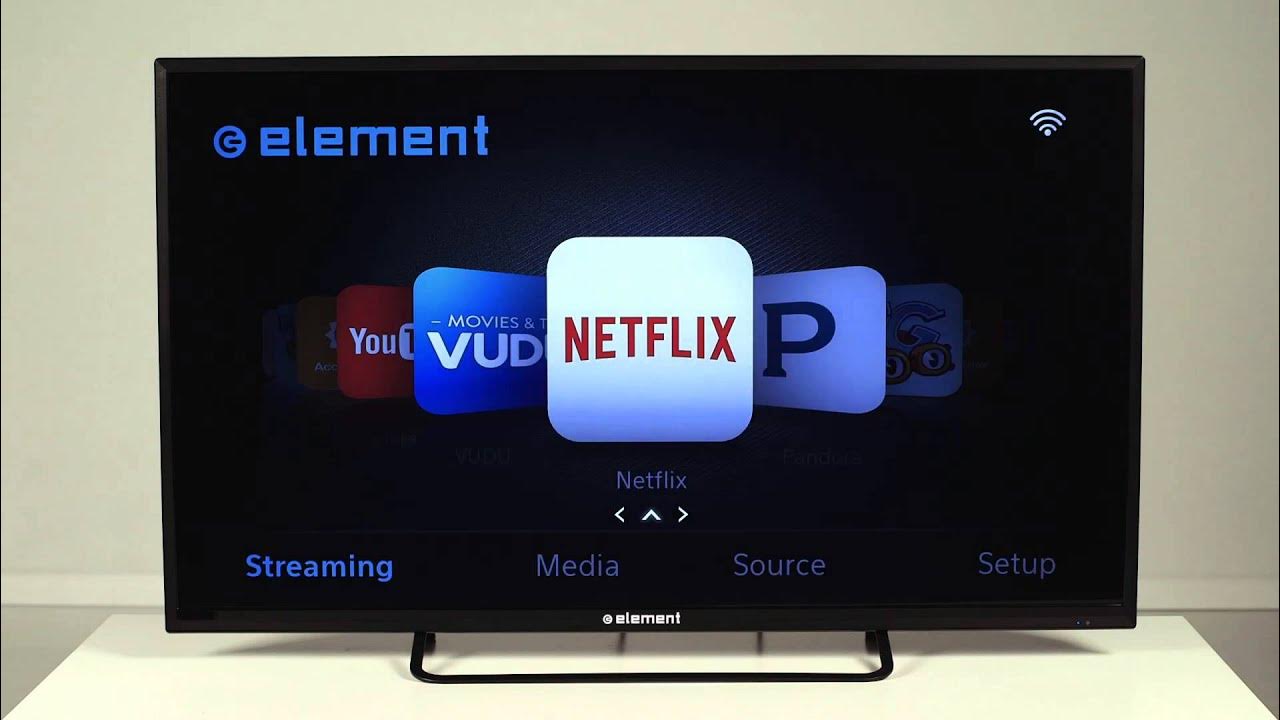
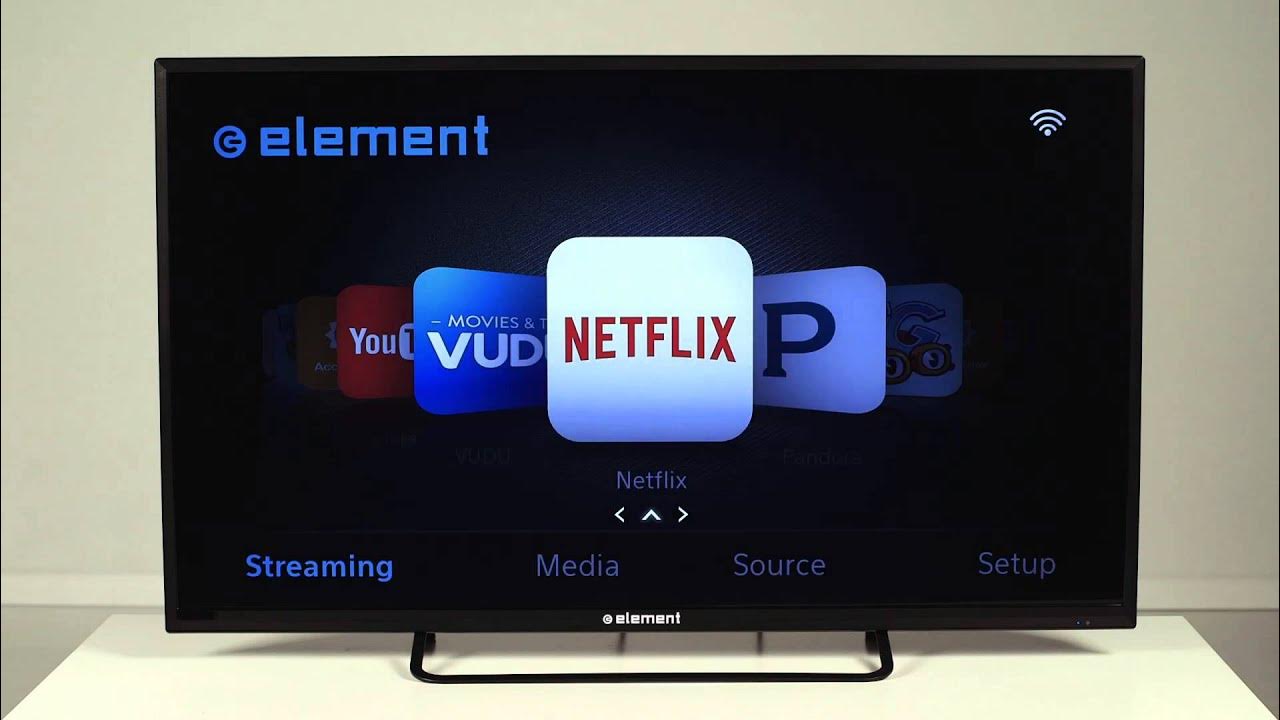
Next, navigate to the app store or the pre-installed app section on your smart TV. Look for popular streaming service apps like Netflix, Hulu, Amazon Prime Video, Disney+, or any other service you want to access.
Select the desired streaming service app and follow the prompts to download and install it onto your smart TV. If the app is already installed, simply open it.
Once the app is launched, you will likely be prompted to sign in or create an account. Follow the on-screen instructions to enter your login credentials or create a new account if you do not have one already.
After signing in, you will have access to the streaming service’s content library. Explore the various categories, search for specific movies or TV shows, and start enjoying your favorite content.
Keep in mind that some streaming services require a subscription to access their content. If you haven’t subscribed to a service yet, you may be prompted to sign up and provide payment information during the account creation process.
Many smart TVs also offer the ability to add and manage multiple streaming service accounts. This allows you to switch between different services easily and customize your entertainment experience to suit your preferences.
Take advantage of features like personalized recommendations, creating watchlists, and exploring curated content to discover new shows and movies that align with your interests.
If you have a smart TV with voice control capabilities, you may be able to use voice commands to search for specific content or control playback. Refer to the user manual or on-screen instructions to learn how to use voice control with your smart TV.
Remember to occasionally check for app updates for your streaming services. Developers frequently release updates to improve performance, enhance features, and provide a better user experience. You can typically check for updates within the app store or in the settings section of the app itself.
By setting up streaming services on your smart TV, you can access a wide variety of entertainment options and enjoy the flexibility of watching your favorite content on-demand, right from the comfort of your living room.
Connecting External Devices to Your Smart TV
While a smart TV offers a plethora of built-in features and streaming capabilities, you may still want to connect external devices to enhance your viewing experience. Whether it’s a gaming console, Blu-ray player, soundbar, or other multimedia devices, connecting them to your smart TV allows you to enjoy a wider range of entertainment options.
Start by identifying the ports available on your smart TV. Common ports include HDMI, USB, optical audio, and component/composite inputs. Refer to your TV’s user manual or check the back or side panels of the TV to locate these ports.
Choose the appropriate cable for connecting your external device. For most scenarios, HDMI cables provide the best audio and video quality. Ensure that you have the right type of HDMI cable for your specific setup, such as HDMI 2.0 for 4K content.
Connect one end of the HDMI cable to the HDMI output port on your external device and the other end to an available HDMI input on your smart TV. Make sure to firmly insert the cable into each port, ensuring a secure connection.
If you’re connecting older devices that don’t have HDMI output, you may need to use component, composite, or VGA cables, depending on the available ports on both the device and your TV.
If you want to connect audio devices, such as a soundbar or home theater system, check if your smart TV has optical audio output or a headphone jack. Connect the audio device using the appropriate cables, such as an optical audio cable or a 3.5mm audio cable.
Once all the cables are connected, power on your external device and select the corresponding HDMI input or audio output on your smart TV. Use the TV’s input/source button to scroll through the available inputs until you find the one connected to your external device.
Your smart TV should automatically detect the connected device and display the content. If the display or audio isn’t coming through, ensure that the external device is powered on and properly connected. You may also need to adjust the TV’s input settings to match the connected device.
Remember to follow the external device’s instructions for any additional setup or configuration, such as enabling HDR on a gaming console or adjusting audio settings on a soundbar.
By connecting external devices to your smart TV, you can expand your entertainment possibilities and enjoy a seamless integration of various multimedia sources, enriching your overall viewing experience.
Troubleshooting Common Issues
While setting up and using your smart TV, you may encounter common issues that can hinder your viewing experience. Fortunately, many of these issues can be easily resolved with some troubleshooting steps. Here are some common issues and their possible solutions:
1. No Internet Connection: If your smart TV is displaying an error indicating no internet connection, first check that your Wi-Fi router is working correctly and that other devices can connect. Try restarting your router and then reconnecting your smart TV to the Wi-Fi network. If the issue persists, you may need to contact your internet service provider for assistance.
2. Slow or Buffering Streaming: If you experience slow or buffering streaming while using apps or streaming services on your smart TV, check your internet speed. Ensure that you have a stable and fast internet connection. Position your router closer to the TV or consider using a wired ethernet connection for improved streaming performance.
3. Remote Control Not Working: If your remote control is unresponsive or not working properly, check the batteries and ensure they are inserted correctly. If the problem persists, try replacing the batteries. If that doesn’t help, make sure there are no obstructions between the remote and the TV. If needed, re-pair the remote control with the TV by following the pairing instructions in the user manual.
4. Display or Sound Issues: If you’re experiencing display issues such as a blank screen, flickering, or poor picture quality, check the HDMI or other cables for a secure connection. Make sure the input on your smart TV is set correctly. If you have audio issues, check the audio settings on your TV and ensure that the external devices are connected properly and turned on.
5. App Freezing or Crashing: If the apps on your smart TV freeze or crash frequently, try clearing the cache or reinstalling the problematic apps. You can also check for software updates for your smart TV, as these updates often include bug fixes and improvements.
6. Software Updates: It’s important to keep your smart TV’s software up to date. Regular software updates can fix bugs, improve performance, and introduce new features. Check for software updates in the settings menu or refer to the user manual for instructions on updating the software.
If you have tried these troubleshooting steps and the issues persist, it may be necessary to contact customer support for further assistance. They can provide more specific guidance tailored to your smart TV model and help resolve any persistent issues you may be experiencing.
Remember, when troubleshooting, it’s always a good idea to consult the user manual or search for online resources specific to your smart TV brand and model for detailed instructions and troubleshooting guides.
By troubleshooting common issues, you can overcome any obstacles and enjoy a seamless and trouble-free experience with your smart TV.
Conclusion
Setting up a smart TV may initially seem intimidating, but with the right guidance, it can be a smooth and rewarding process. By carefully unboxing the TV, connecting it to the power source, configuring the Wi-Fi connection, pairing the remote control, and adjusting the basic settings, you can ensure that your smart TV is ready to deliver an immersive entertainment experience.
Installing apps and setting up streaming services allows you to access a vast array of content, catering to your unique preferences. Connecting external devices enhances the versatility of your smart TV, enabling you to enjoy gaming, Blu-ray playback, and enhanced audio options.
While troubleshooting common issues may be necessary at times, being aware of the solutions to common problems ensures that your smart TV consistently delivers optimal performance.
Remember to consult the user manual specific to your smart TV model for detailed instructions and seek customer support if needed. Keeping your smart TV’s software up to date ensures that you have access to the latest features and enjoy a seamless viewing experience.
With each step, your smart TV becomes an integral part of your home entertainment setup, providing unlimited access to online streaming, gaming, and a wide range of multimedia options.
So, dive into the world of smart TVs, unleash the full potential of your entertainment system, and let your smart TV transform the way you watch and enjoy your favorite content.


