Introduction
Welcome to the world of Smart TVs! With advancements in technology, televisions have evolved from being a simple box that displays programs to becoming a hub of entertainment and connectivity. A Smart TV combines the features of a traditional television with internet connectivity and smart capabilities, offering a wide range of streaming services, apps, and interactive features.
In this guide, we will walk you through the process of setting up your Smart TV to ensure that you can fully enjoy its features and functions. Whether you are a tech-savvy individual or just getting started with smart devices, this step-by-step guide will provide you with all the information you need to get your Smart TV up and running.
We’ll cover everything from unboxing and assembling your TV to connecting it to Wi-Fi, configuring display settings, adding streaming apps, and pairing it with other devices. Additionally, we’ll provide troubleshooting tips for common setup issues, helping you overcome any hurdles you may encounter along the way. By the end of this guide, you’ll have a fully operational Smart TV that will enhance your entertainment experience.
Setting up your Smart TV might seem like a daunting task at first, but fear not! With the right guidance and a little bit of patience, you’ll have your TV ready to go in no time. So, without further ado, let’s dive into the exciting world of Smart TVs and get started on setting up your very own Smart TV!
What is a Smart TV?
A Smart TV, also known as a connected TV, is a television that is equipped with internet connectivity and advanced features beyond traditional television broadcasting. It combines the functions of a television and a computer, allowing users to stream content, browse the internet, access social media platforms, play games, and much more.
One of the main advantages of a Smart TV is its ability to access a wide range of online entertainment services. With built-in Wi-Fi or Ethernet connectivity, Smart TVs provide seamless access to popular streaming platforms like Netflix, Hulu, Amazon Prime Video, and YouTube. This allows users to enjoy their favorite movies, TV shows, and online videos on a larger screen without the need for additional devices.
Smart TVs also offer interactive features that enhance the viewing experience. Many models come with voice recognition technology, allowing users to control their TV using voice commands. This makes it easier to search for content, adjust settings, and navigate through menus. Some Smart TVs even have gesture control capabilities, enabling users to interact with the TV through hand movements.
Additionally, Smart TVs often have app stores where users can download and install various applications. These apps can range from video streaming services to news apps, weather updates, games, and even fitness programs. This versatility allows users to tailor their Smart TV experience to their specific preferences and interests.
In terms of connectivity, Smart TVs can be integrated with other smart home devices. This means you can control your lights, thermostat, and other compatible devices through your TV, creating a centralized hub for managing your smart home ecosystem.
In summary, a Smart TV offers a whole new level of entertainment and connectivity. It brings the world of online content, apps, and interactive features right to your living room. Whether you want to binge-watch your favorite shows, explore new content, or stay connected with the latest updates, a Smart TV provides a versatile and immersive entertainment experience.
Step 1: Unboxing and assembling your Smart TV
Congratulations on your new Smart TV! The first step in setting up your Smart TV is to unbox and assemble it. Follow these steps to ensure a smooth and hassle-free process:
- Unpack the TV: Carefully remove the TV from its packaging, making sure to keep all the accessories and manuals in a safe place. Avoid using sharp objects that could damage the screen or other components.
- Find the stand or wall mount: Depending on the model, your Smart TV may come with a stand or a wall mount. If it includes a stand, locate it and ensure all the necessary components are present.
- Attach the stand: If your Smart TV has a stand, follow the instructions provided in the user manual to attach it securely. Be sure to use the included screws or attachments and tighten them properly. Take care not to overtighten, as this could damage the TV.
- Prepare the wall mount (if applicable): If you prefer to mount your Smart TV on the wall, ensure that you have the necessary tools and equipment for the installation. Follow the instructions provided by the manufacturer to properly mount the TV on the wall.
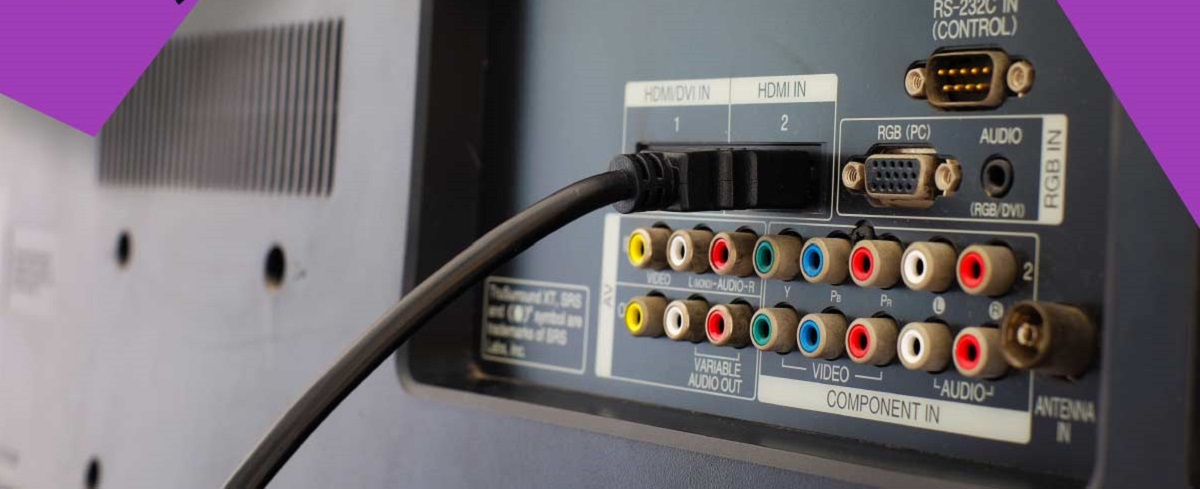
- Connect the cables: Before placing the TV in its desired location, connect the necessary cables. This typically includes the power cord, HDMI cables, and any other audio or video cables required for your specific setup. Refer to the user manual for guidance on cable connections.
- Place the TV: Once the cables are connected, carefully place the TV in its intended location. Ensure that it is positioned on a stable and level surface. If you have mounted the TV on the wall, double-check that it is securely attached.
- Power on the TV: Plug the power cord into a wall outlet and press the power button on the TV or the remote control to turn it on. Follow any on-screen prompts to complete the initial setup process.
By carefully following these steps, you can confidently unbox and assemble your Smart TV. Now that your TV is set up, you can move on to the next step: connecting it to Wi-Fi.
Step 2: Connecting to Wi-Fi
Now that you have successfully unboxed and assembled your Smart TV, the next step is to connect it to your Wi-Fi network. Follow these simple steps to establish a wireless internet connection:
- Access the settings menu: Using your TV remote, navigate to the Settings or Setup menu. This can usually be found by pressing the “Menu” button or the gear icon on the remote control.
- Select the Network settings: Within the settings menu, locate the Network or Wi-Fi settings. This may vary depending on your TV’s manufacturer and model.
- Scan for available networks: Select the option to scan for available Wi-Fi networks. Your TV will then search for nearby networks and display them on the screen.
- Select your Wi-Fi network: From the list of available networks, choose your Wi-Fi network. If your network is password-protected, you will be prompted to enter the password using the on-screen keyboard.
- Enter the network password: Using the remote control, input the password for your Wi-Fi network. Be careful to enter it correctly, ensuring that uppercase and lowercase letters are entered as required.
- Establish the connection: After entering the correct password, select the Connect or Join button. Your Smart TV will then attempt to establish a connection to the Wi-Fi network.
- Wait for the connection confirmation: Once the connection is established, your TV will display a message indicating a successful connection to the Wi-Fi network. You may also see the Wi-Fi symbol or network name appear on the screen.
Once your Smart TV is connected to your Wi-Fi network, you can enjoy a wide range of online content, streaming services, and interactive features. It’s important to note that the steps outlined above may vary slightly depending on your TV’s make and model. For detailed instructions specific to your Smart TV, refer to the user manual provided by the manufacturer.
Now that your Smart TV is connected to Wi-Fi, you are ready to move on to the next step: setting up your Smart TV’s remote control.
Step 3: Setting up your Smart TV’s remote control
Now that your Smart TV is connected to Wi-Fi, it’s time to set up the remote control. The remote control is what you’ll use to navigate through menus, control the TV’s functions, and interact with various apps and features. Follow these steps to effectively set up your Smart TV’s remote control:
- Familiarize yourself with the remote: Take a moment to familiarize yourself with the buttons and layout of your TV’s remote control. Different TV models may have slightly different remote designs, but most will have standard buttons like power, volume, and navigation controls.
- Insert batteries: Open the battery compartment on the back of the remote control and insert the provided batteries. Make sure to align the batteries correctly according to the polarity markings.
- Pair the remote: In some cases, the remote control may need to be paired with the TV for it to work properly. Refer to your TV’s user manual for the specific pairing instructions. This typically involves pressing and holding certain buttons on the remote or going through a pairing process in the TV’s settings menu.
- Test the remote: Once the remote control is paired, test its functions to ensure it is working properly. Check if the buttons respond, the navigation controls work smoothly, and the infrared signals are being transmitted and received by the TV.
- Explore additional features: Many Smart TV remotes come with additional features and shortcuts for enhanced functionality. These may include dedicated buttons for popular streaming services, voice control capabilities, or even a touchpad for easier navigation. Take some time to explore these features and see how they can enhance your Smart TV experience.
- Optimize remote settings: Depending on personal preference, you may want to customize certain remote control settings. This could include adjusting the sensitivity of the buttons or changing the button assignments to suit your needs. Refer to your TV’s user manual or settings menu for options related to remote control customization.
By following these steps, you can ensure that your Smart TV’s remote control is set up and ready for use. It’s worth noting that remote control features and setup process may vary depending on your TV model and manufacturer. For detailed instructions specific to your TV’s remote control, consult the user manual provided by the manufacturer.
With your remote control set up, you can now proceed to the next step: updating your Smart TV’s software.
Step 4: Updating your Smart TV’s software
Software updates are crucial for ensuring that your Smart TV operates efficiently, receives the latest features, and remains secure. Manufacturers regularly release software updates to enhance performance, fix bugs, and address any vulnerabilities. Follow these steps to update your Smart TV’s software:
- Access the settings menu: Using your remote control, navigate to the Settings or Setup menu on your Smart TV.
- Locate the software update option: Look for the option related to software or system updates. The location and labeling may vary depending on your TV’s make and model.
- Check for updates: Select the option to check for updates. Your Smart TV will then connect to the internet and search for any available software updates.
- Start the update process: If an update is available, you will be prompted to start the update process. Follow the on-screen instructions to initiate the update. It’s important to note that the update process may take some time to complete, so be patient and avoid turning off your TV during this time.
- Wait for the update to finish: Your Smart TV will automatically download and install the update. This process may take anywhere from a few minutes to an hour or more, depending on the size of the update and the speed of your internet connection. Ensure that your TV remains connected to the power source during the update process.
- Restart your Smart TV: Once the update is complete, your Smart TV may automatically restart. If not, manually restart the TV to ensure that the updates are applied and fully integrated into the system.
It’s recommended to keep your Smart TV’s software up to date to access the latest features, performance improvements, and security patches. Depending on your TV’s settings, you may also have the option to enable automatic software updates, which will download and install updates in the background without requiring manual intervention.
Keep in mind that the software update process may vary slightly depending on your TV’s manufacturer and model. For detailed instructions specific to your Smart TV, refer to the user manual provided by the manufacturer. With your Smart TV’s software updated, you can proceed to the next step: configuring your Smart TV’s display settings.
Step 5: Configuring your Smart TV’s display settings
Configuring your Smart TV’s display settings is essential to ensure optimal picture quality and viewing experience. Most Smart TVs come with a variety of display settings that can be customized according to your preferences. Follow these steps to configure your display settings:
- Access the settings menu: Using your TV remote, navigate to the Settings or Setup menu on your Smart TV.
- Open the display settings: Look for the option related to display or picture settings. The exact location and labeling may vary depending on your TV’s make and model.
- Adjust the picture mode: Select the Picture Mode option and choose the mode that suits your viewing preference. Most Smart TVs offer preset picture modes such as Standard, Cinema, Vivid, or Custom. Experiment with different modes to find the one that best suits your needs.
- Tweak the picture settings: Within the display settings menu, you’ll find options to customize various picture settings. These may include brightness, contrast, color saturation, sharpness, and backlight intensity. Adjust these settings according to your preference and the ambient lighting conditions in your viewing environment.
- Enable motion smoothing (optional): Some Smart TVs offer a motion smoothing or motion interpolation feature that enhances the smoothness of on-screen motion. This can be useful for watching fast-action sports or movies. However, some people find it unnatural, so it’s a personal preference. Enable or disable this feature based on your preference.
- Calibrate color settings (optional): For advanced users, some Smart TVs provide options to fine-tune color settings. You can adjust settings such as color temperature, color space, and gamma to achieve accurate and vibrant colors. Alternatively, you can use calibration tools or professional calibration services to optimize color accuracy.
- Save and exit: Once you have configured the display settings to your liking, save the changes and exit the settings menu. Take some time to view different types of content and adjust settings further if needed.
Adjusting your Smart TV’s display settings can significantly improve your viewing experience. By customizing picture modes, adjusting picture settings, and enabling optional features, you can fine-tune the display to suit your preferences and the environment in which you are watching.
Keep in mind that the display settings and available options may vary depending on your Smart TV’s manufacturer and model. For detailed instructions specific to your TV, refer to the user manual provided by the manufacturer. With your display settings configured, you can now move on to the next step: adding your favorite streaming apps.
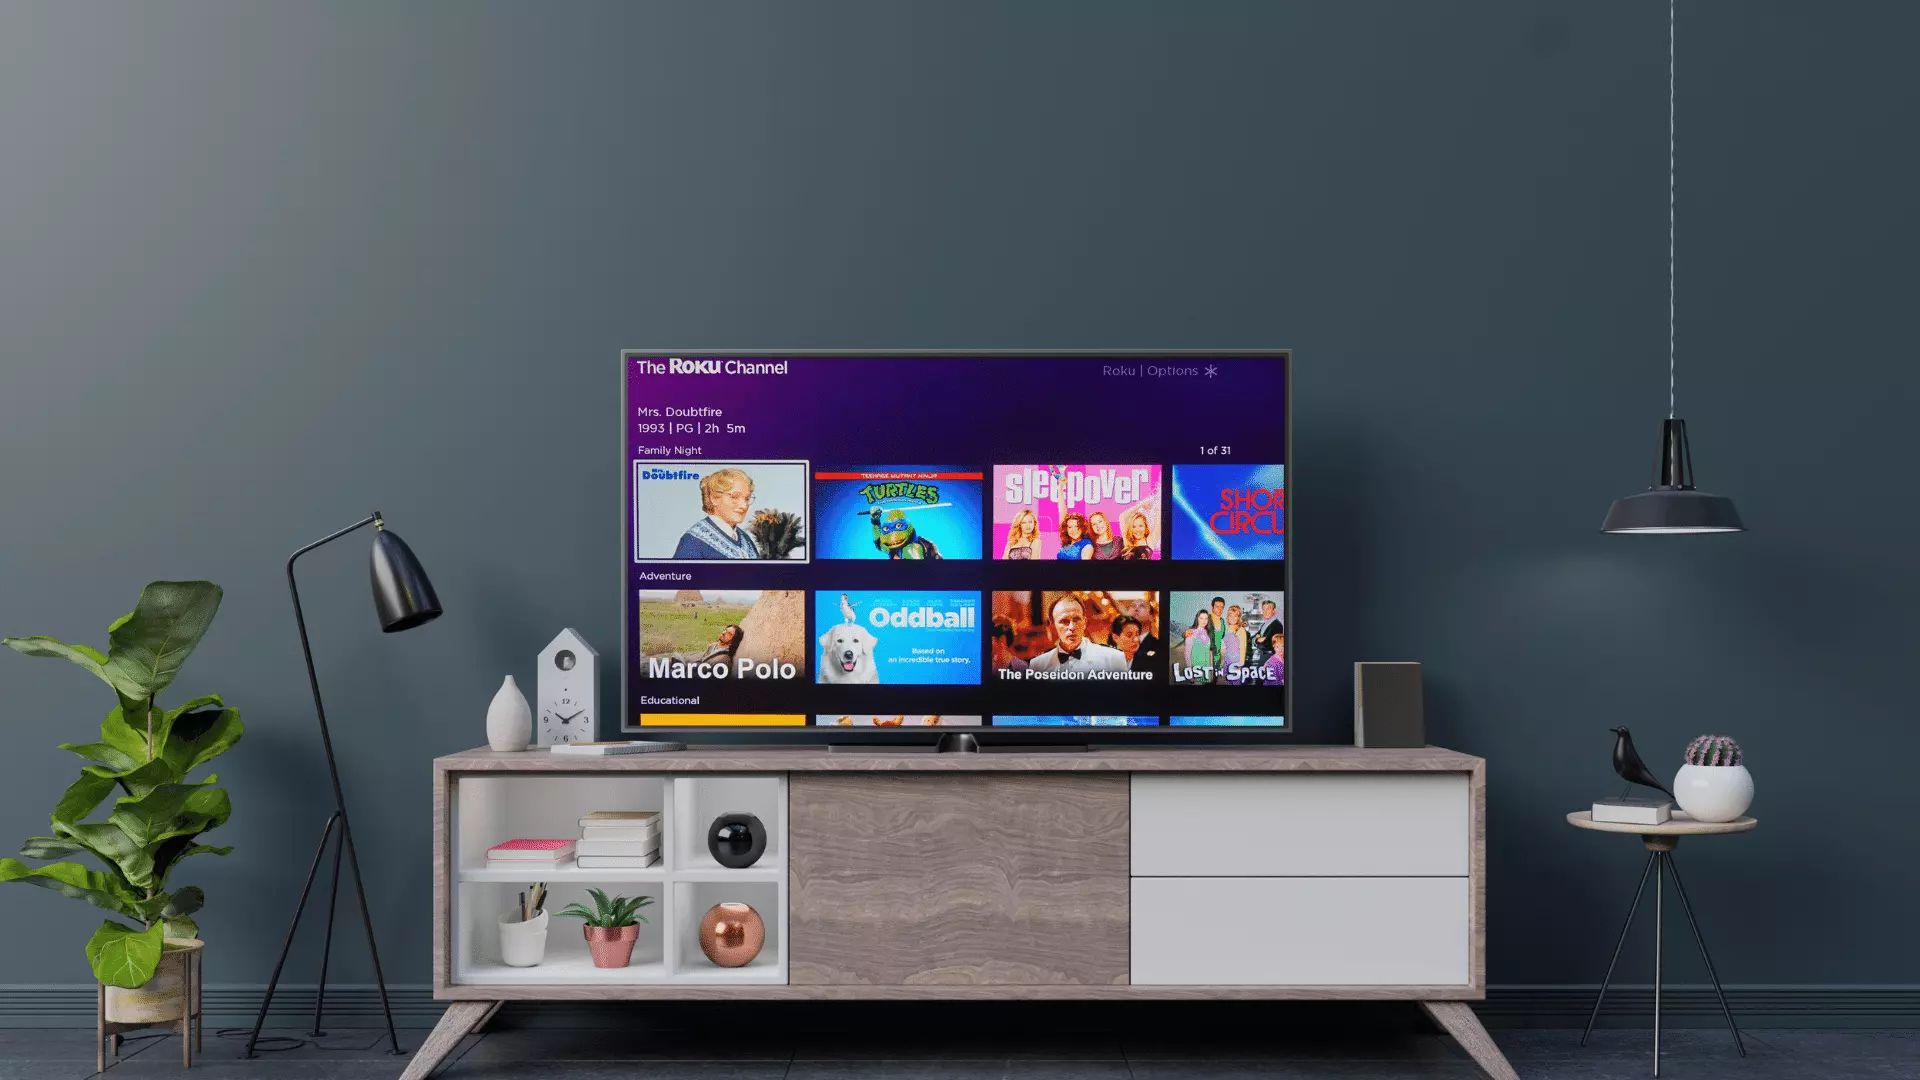
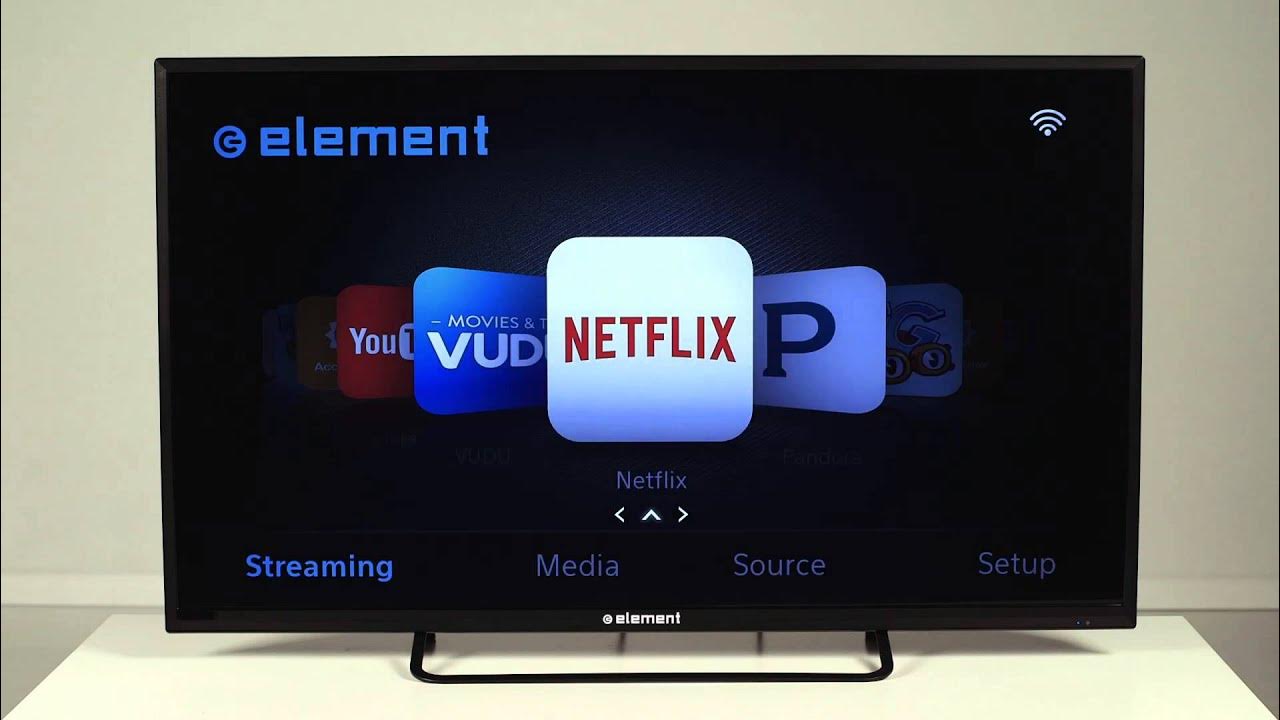
Step 6: Adding your favorite streaming apps
One of the major advantages of a Smart TV is the ability to access a wide range of streaming services and apps. Adding your favorite streaming apps allows you to enjoy your preferred movies, TV shows, and online content directly on your Smart TV. Follow these steps to add your favorite streaming apps:
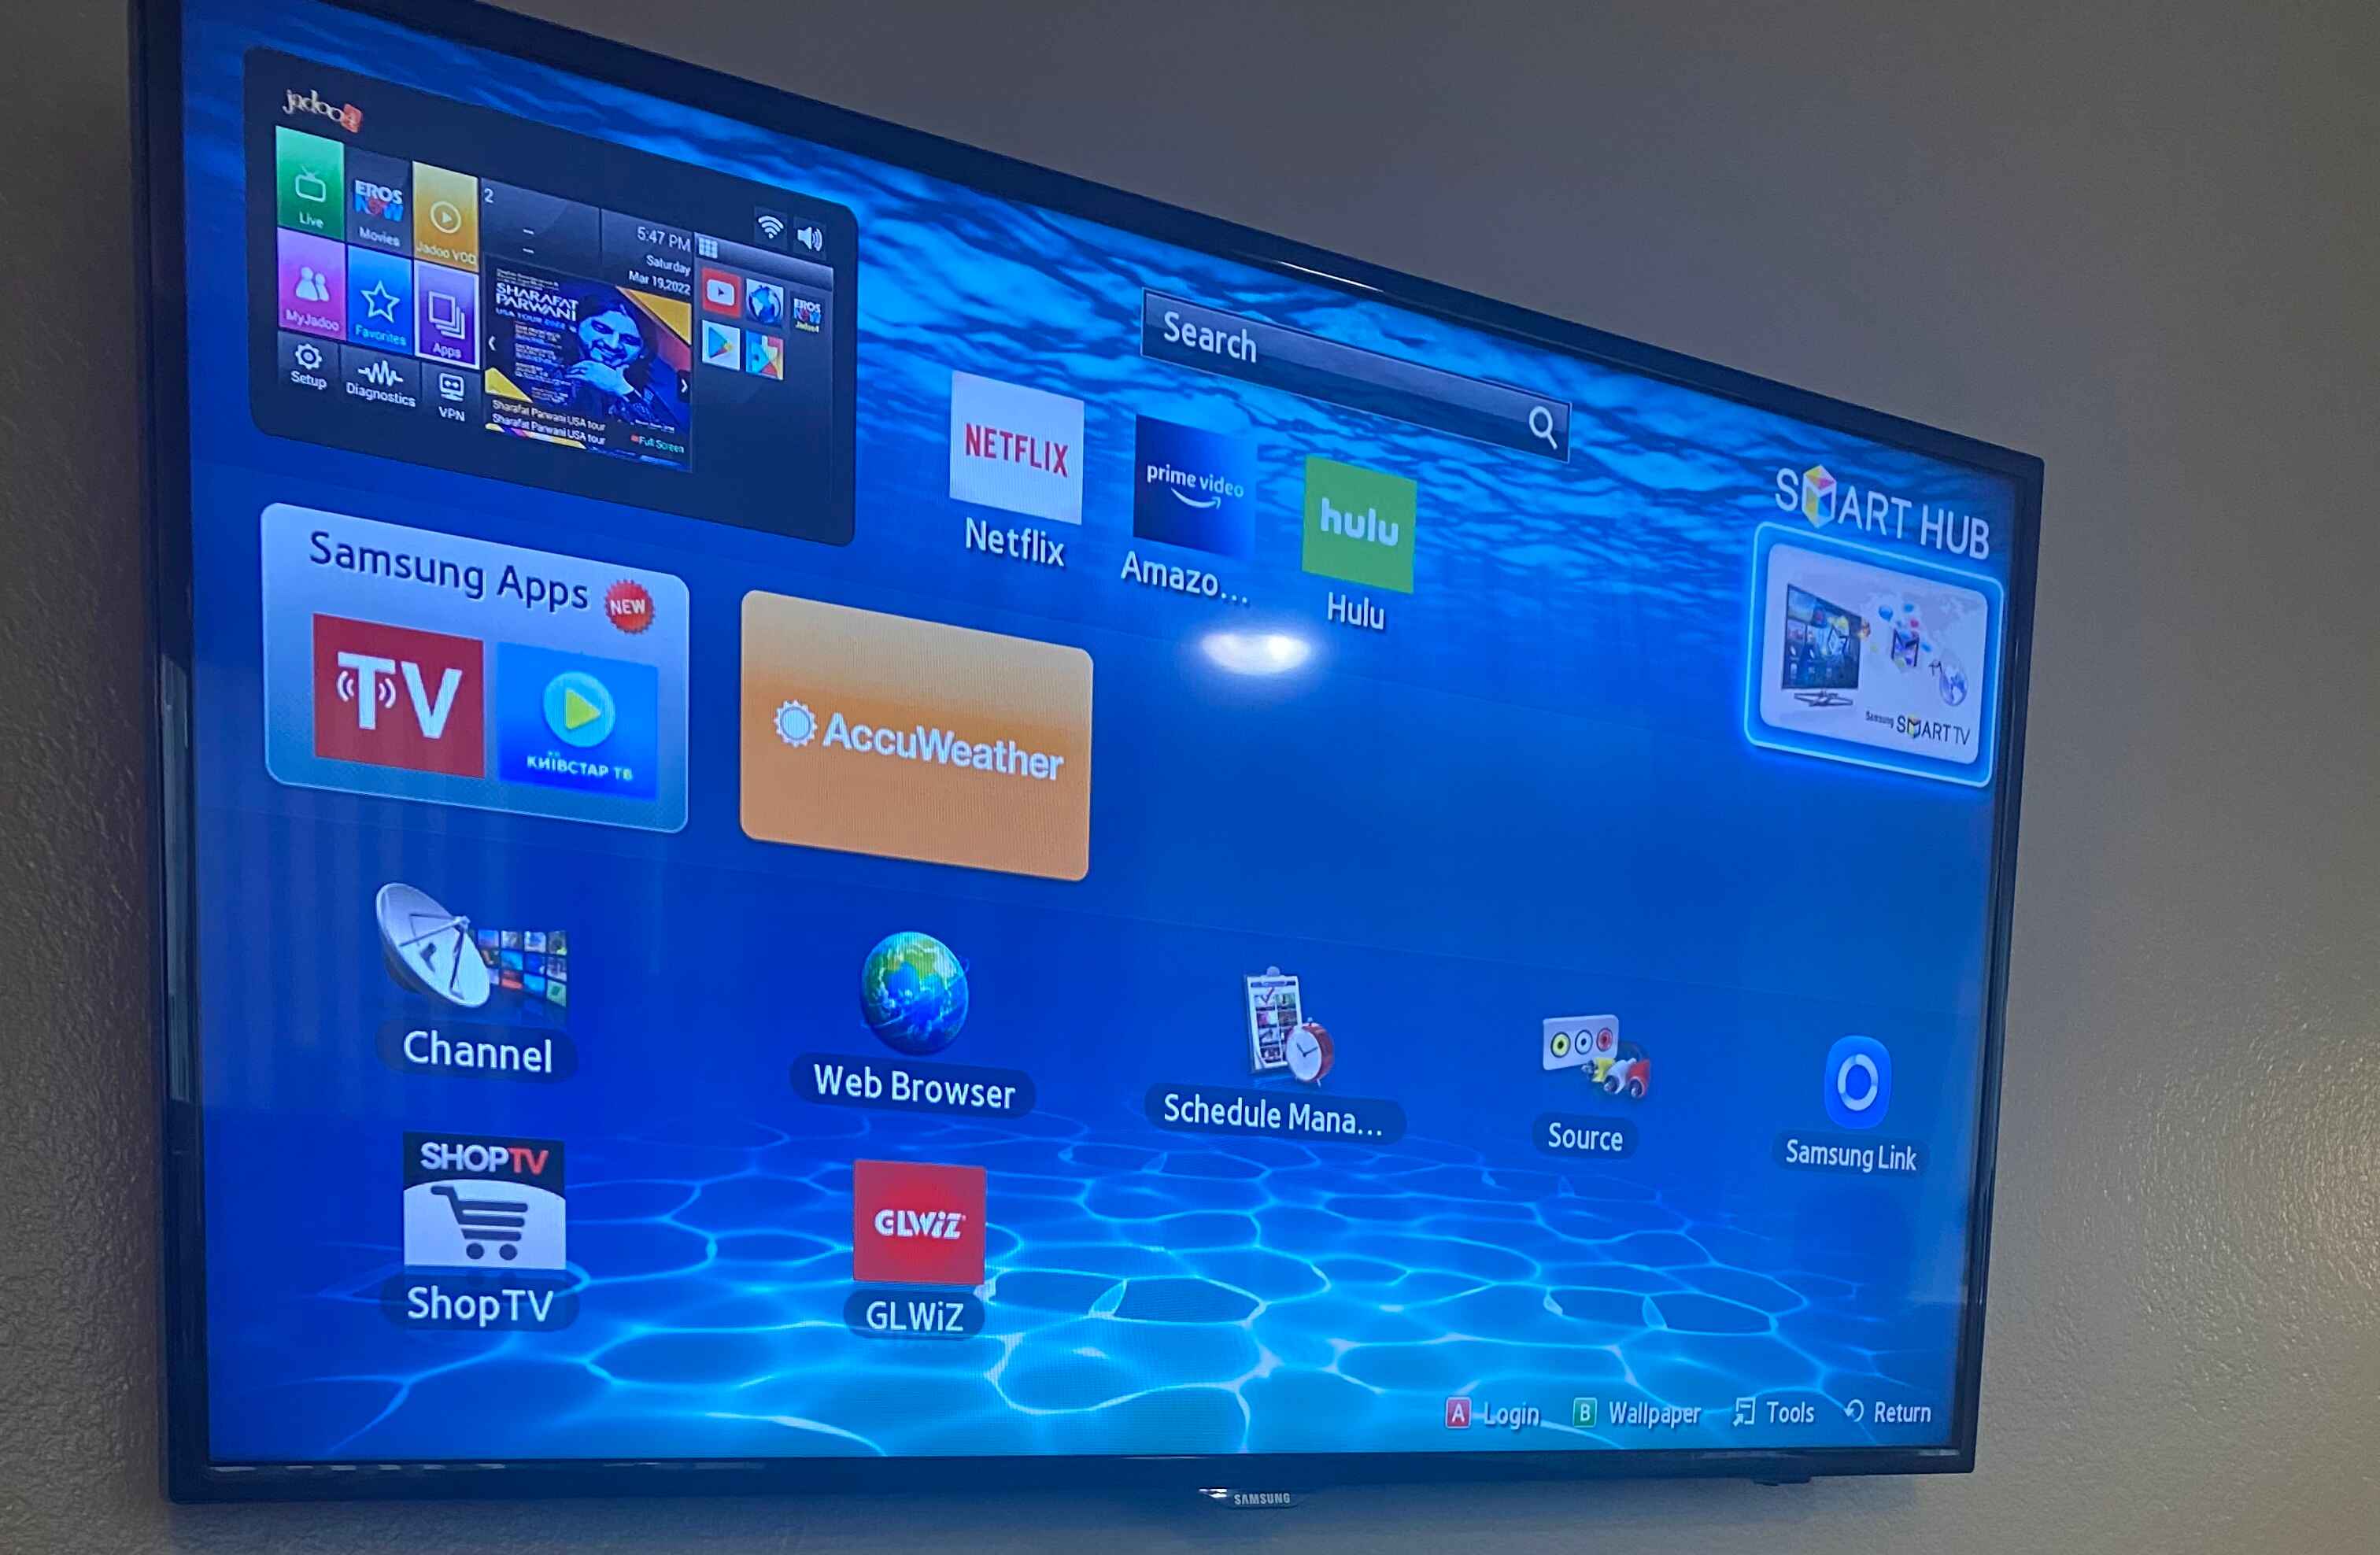
- Access the app store: Using your TV remote, navigate to the app store on your Smart TV. The app store may have a dedicated button on the remote control or can be accessed through the TV’s home screen menu.
- Browse or search for apps: Explore the app store’s catalog of available apps. You can search for specific streaming services such as Netflix, Hulu, Disney+, Amazon Prime Video, or browse through categories like entertainment, sports, news, or lifestyle.
- Select and download an app: When you find an app you want to install, select it, and choose the download or install option. The app will then begin downloading and installing directly on your Smart TV.
- Sign in or create an account: Once the app is installed, open it, and follow the on-screen prompts to sign in or create a new account. Most apps require you to enter your credentials or set up an account to access their content.
- Customize app placement (optional): After installing the app, you can usually customize its placement on the TV’s home screen. Some Smart TVs allow you to rearrange the order of apps, create app shortcuts, or add them to a favorites section for easy access.
- Repeat for additional apps: Repeat the process to add more streaming apps that you enjoy. Discover and install apps that cater to your interests, such as music streaming services, news apps, or even specialized content for hobbies like cooking or fitness.
- Stay updated: Periodically check the app store for updates to your installed apps. App updates often bring new features, better performance, and bug fixes, ensuring you have the best experience with each app.
By adding your favorite streaming apps to your Smart TV, you can easily access a world of entertainment and tailor your content consumption to suit your preferences. Take advantage of the vast selection of apps available to discover new shows, movies, and experiences right from the comfort of your living room.
Note that the availability of apps may vary depending on your TV’s manufacturer and region. Additionally, some apps may require a subscription or have limitations based on your location. Always ensure you have a stable internet connection while downloading and using streaming apps on your Smart TV.
Now that you have added your favorite streaming apps, you can move on to the next step: pairing your Smart TV with other devices.
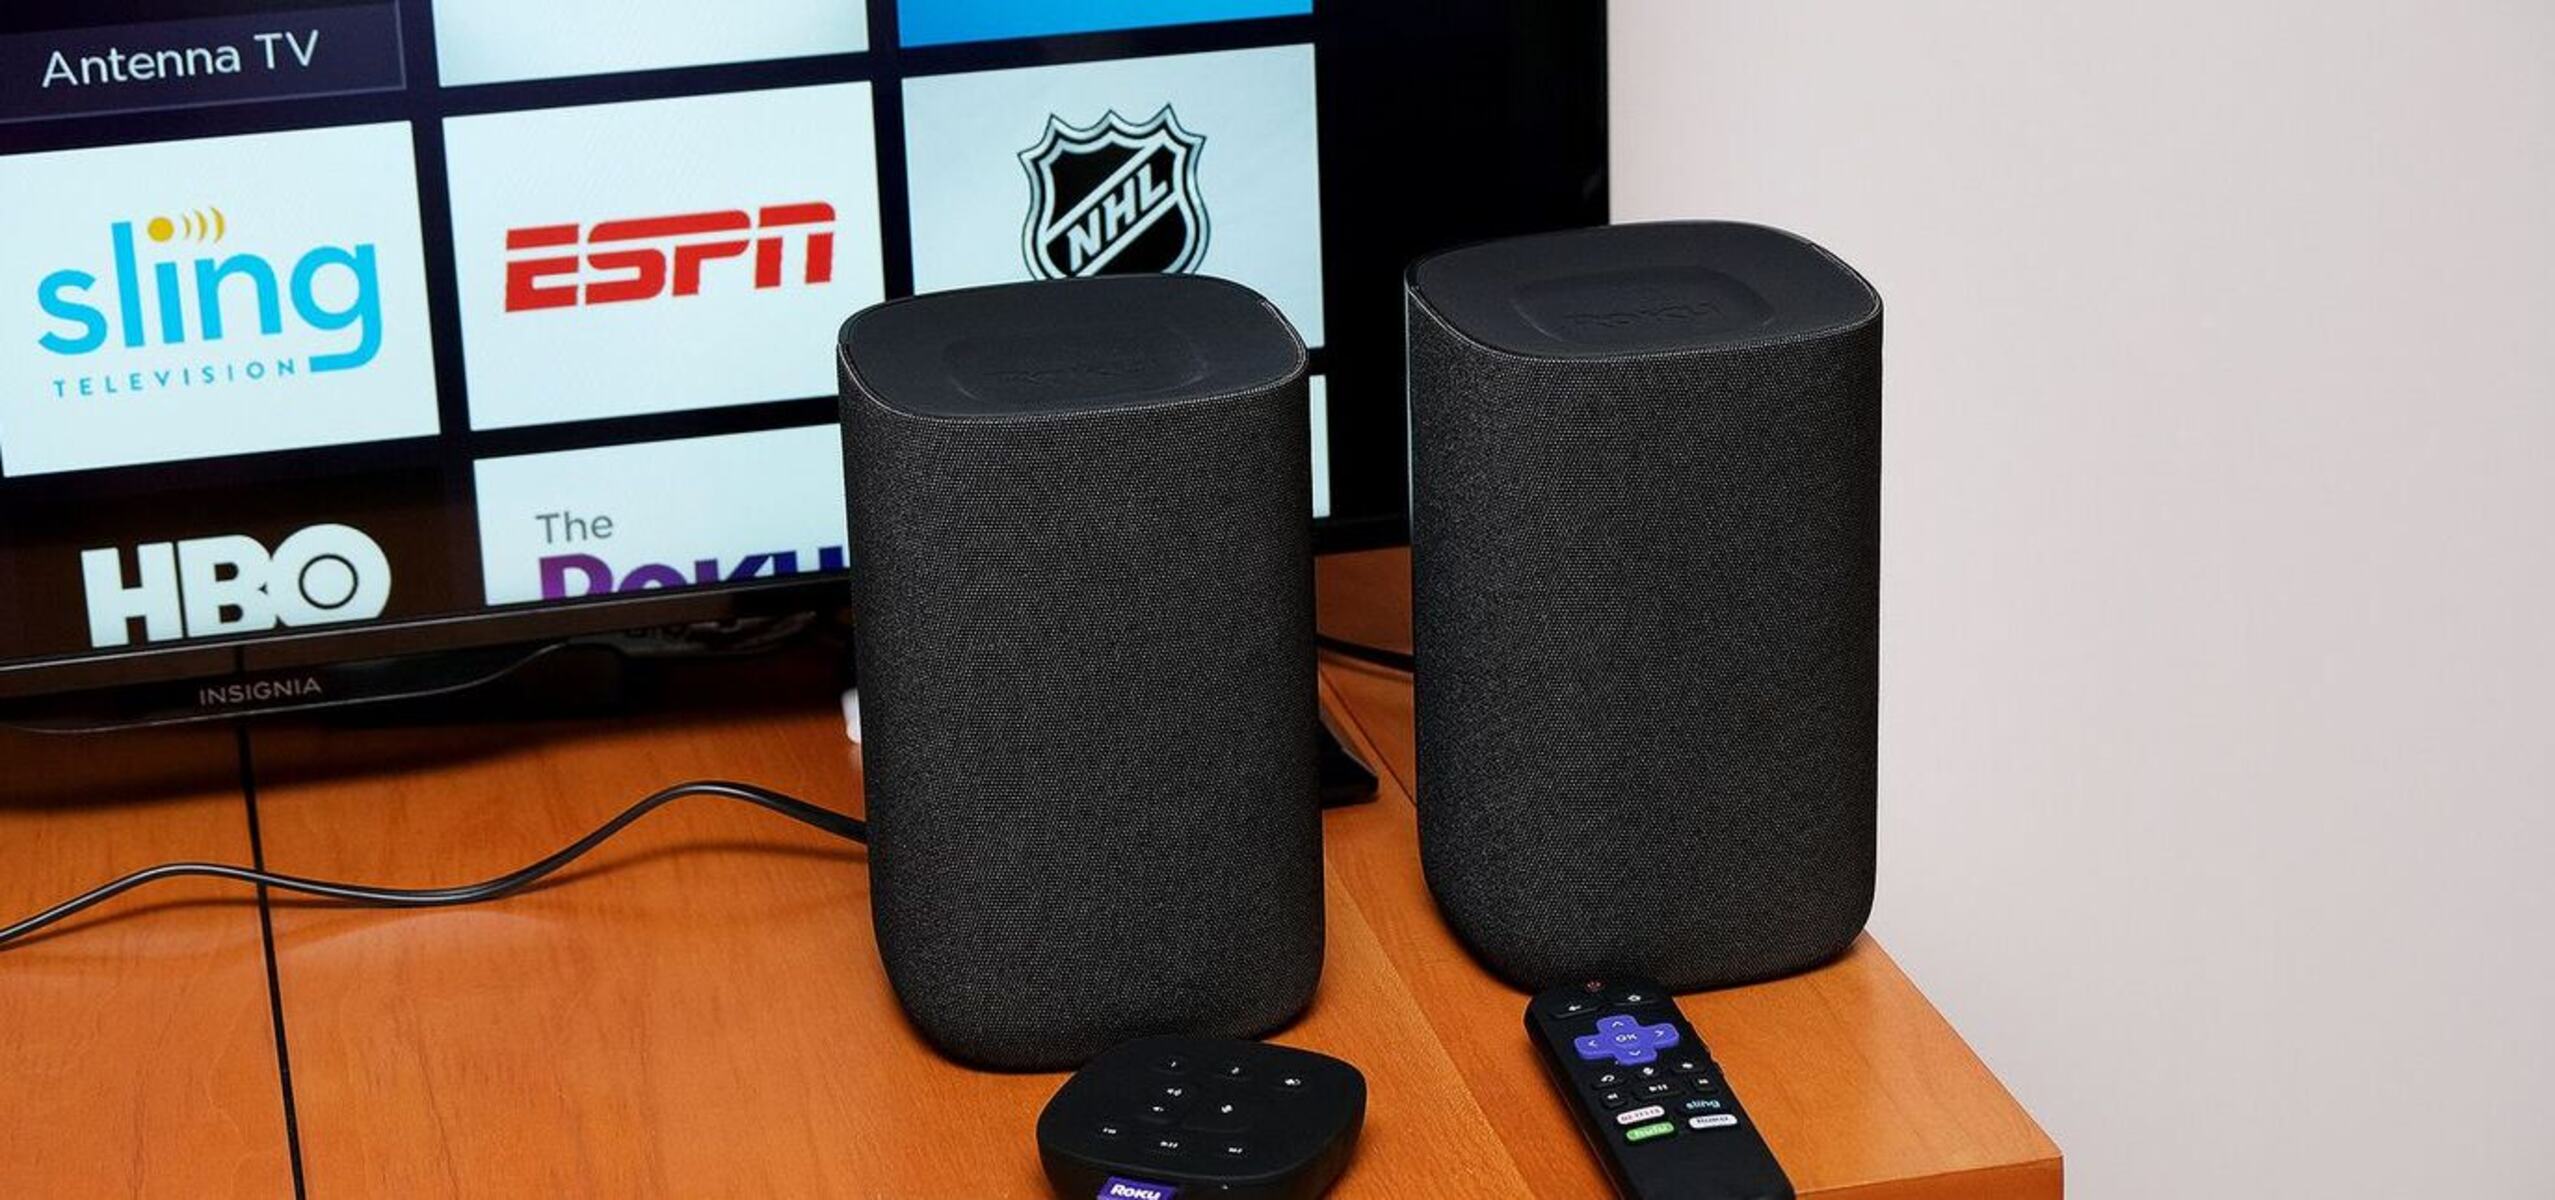
Step 7: Pairing your Smart TV with other devices
Pairing your Smart TV with other devices allows you to extend its functionality and enjoy a seamless integrated experience. Whether it’s connecting your smartphone, gaming console, soundbar, or other compatible devices, here are the steps to follow:
- Enable device pairing: Access the settings menu on your Smart TV and look for the option related to device connectivity or pairing. Enable the device pairing mode on your TV to allow it to discover and connect with other devices.
- Activate pairing mode on the device: On the device you wish to pair with your Smart TV (e.g., smartphone, tablet), activate the pairing mode. This can usually be done through the device’s settings menu or by pressing a specific button combination.
- Scan for devices: On your Smart TV, initiate the process of scanning for nearby devices. This option may be labeled as “Search for devices” or “Scan for Bluetooth devices”, depending on your TV’s manufacturer and model.
- Select the device: When your Smart TV detects the nearby device, it will display a list of available devices on the screen. Select the device you want to pair from the list.
- Follow the pairing instructions: Depending on the device, you may need to enter a passcode or confirm the pairing request on both the TV and the device. Follow the on-screen instructions to complete the pairing process.
- Configure settings (if required): Some devices may require additional configuration or settings adjustment to optimize the connection. Refer to the device’s manual or settings menu for instructions on configuring the settings for optimal performance.
- Test the connection: Once the pairing is complete, test the connection between your Smart TV and the paired device. Verify that the devices can communicate and function together as intended.
Pairing your Smart TV with other devices opens up a world of possibilities and allows you to enjoy a more immersive and versatile entertainment experience. Whether it’s streaming content from your smartphone, gaming on a console, or enhancing audio with a soundbar, pairing devices adds convenience and enhances functionality.
Keep in mind that the pairing process may differ depending on the devices you are connecting and their respective capabilities. For detailed instructions specific to your Smart TV and the paired device, refer to the user manuals provided by the manufacturers.
Now that you have successfully paired your Smart TV with other devices, you can proceed to the final step: troubleshooting common Smart TV setup issues.
Step 8: Troubleshooting common Smart TV setup issues
While setting up your Smart TV, you may encounter some common issues that can hinder the process. Here are a few troubleshooting tips to help you address and resolve these issues:
- Check your internet connection: Ensure that your Wi-Fi network is working properly and that your Smart TV is connected to the correct network. Restart your router if necessary and check for any network connection issues.
- Verify input/output connections: Double-check that all cables are securely connected to the appropriate ports on your TV and external devices. Ensure that the HDMI or other audio/video cables are connected properly and that the TV is set to the correct input source.
- Restart your Smart TV: Sometimes, a simple restart can resolve various issues. Power off your Smart TV, unplug it from the power source for a few minutes, and then plug it back in and power it on again.
- Update firmware or software: If you are experiencing issues, ensure that your Smart TV has the latest firmware or software updates installed. Go to the settings menu and check for any available updates. Install the updates if necessary.
- Reset to factory settings: In case of persistent issues, performing a factory reset can often solve problems. Be aware that a factory reset erases all settings, user preferences, and downloaded apps, so make sure to backup any important data before proceeding.
- Consult the user manual or support: If you are still facing difficulties, refer to the user manual provided with your Smart TV or visit the manufacturer’s support website for troubleshooting guides or contact customer support for further assistance.
It’s important to note that specific troubleshooting steps may vary depending on your Smart TV’s make and model. Refer to the user manual or support resources for detailed guidance related to your specific TV.
By following these troubleshooting tips, you can overcome common Smart TV setup issues and ensure a smooth and enjoyable experience with your newly configured Smart TV.
Congratulations! You have successfully set up your Smart TV and resolved any issues along the way. Now sit back, relax, and start enjoying the endless entertainment possibilities that your Smart TV offers.
Conclusion
Setting up a Smart TV may seem like a complex task at first, but with the right guidance, it becomes a straightforward process. By following the step-by-step instructions outlined in this guide, you can successfully unbox and assemble your Smart TV, connect it to Wi-Fi, configure the display settings, add your favorite streaming apps, pair it with other devices, and troubleshoot common issues that may arise along the way.
A Smart TV offers a world of entertainment and convenience, allowing you to stream your favorite shows, movies, and online content, access a variety of apps, and connect with other devices for a seamless multimedia experience. With access to popular streaming services like Netflix, Hulu, and Amazon Prime Video, you can enjoy a wide range of content right from your living room.
Remember to keep your Smart TV’s software up to date by regularly checking for updates. This ensures that you have access to the latest features, performance enhancements, and security patches.
Don’t forget to explore the various features and settings available on your Smart TV. Customize your display settings to optimize picture quality, experiment with different picture modes, and adjust settings to suit your preferences and viewing environment. Additionally, take advantage of the option to connect and pair your Smart TV with compatible devices like smartphones, gaming consoles, or soundbars to expand its capabilities and enhance your entertainment experience.
If you encounter any issues during the setup process, refer to the troubleshooting tips provided in this guide or consult the user manual and support resources provided by the manufacturer. Don’t hesitate to reach out to customer support if you require further assistance.
Now that you’ve completed the setup process, it’s time to relax and enjoy the amazing features and content that your Smart TV has to offer. Grab some popcorn, sit back, and immerse yourself in the world of entertainment at your fingertips.