Introduction
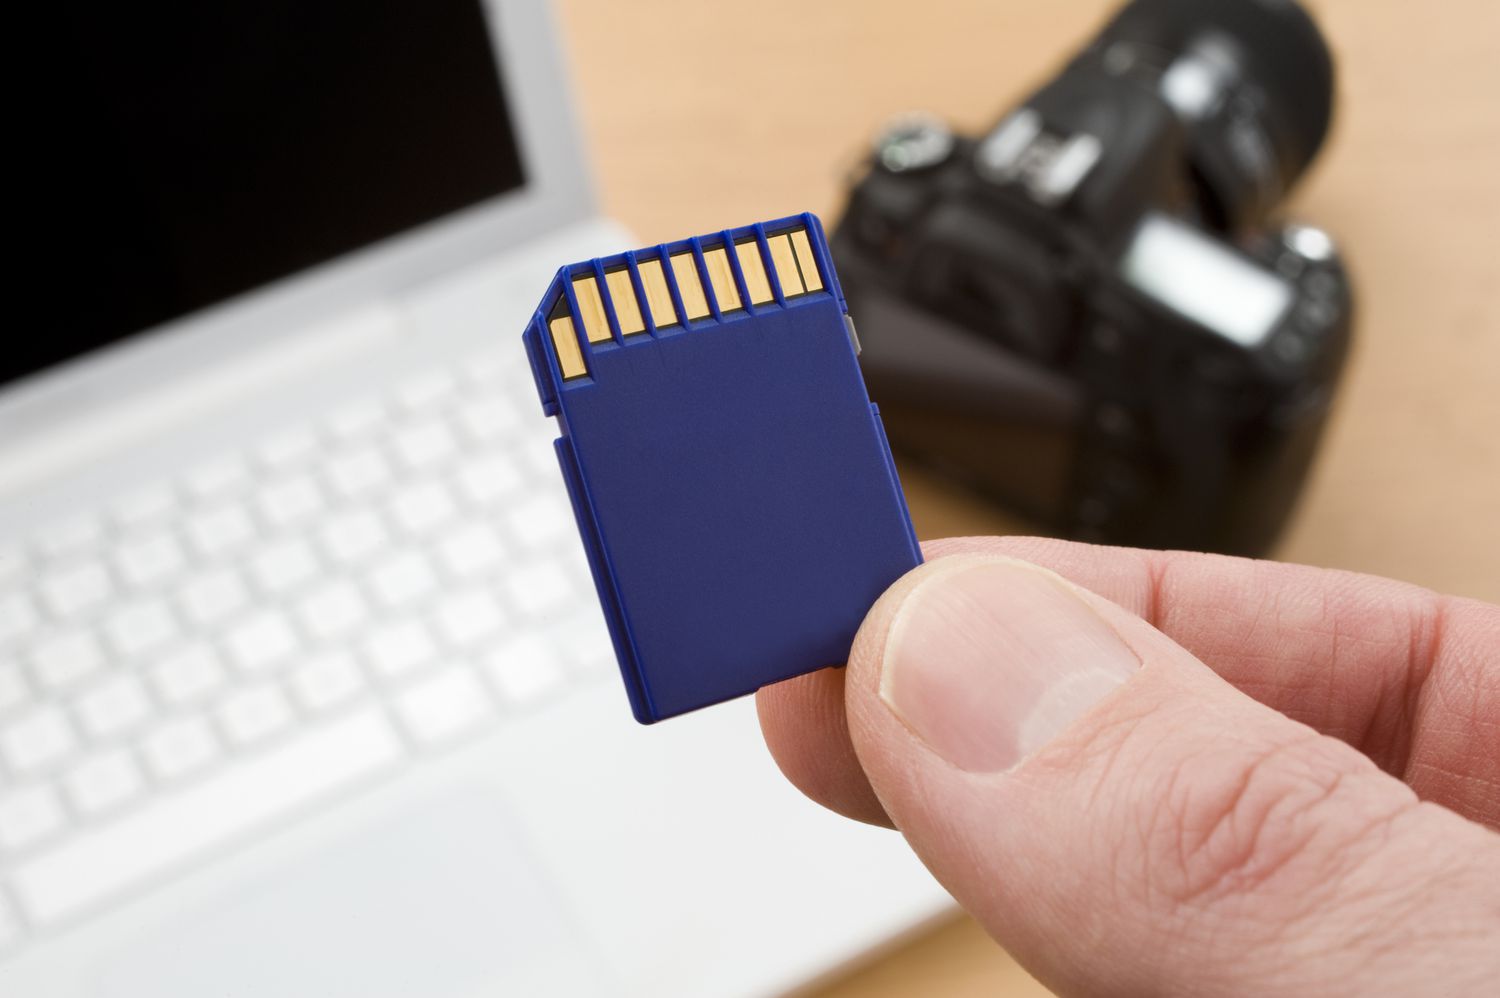
An SD card is a small portable storage device widely used in cameras, smartphones, tablets, and other electronic devices. It allows users to expand their device’s storage capacity by storing photos, videos, music, and other files. While SD cards are designed to be durable and reliable, there may be instances where you need to format them.
Formatting an SD card erases all data on the card and prepares it for future use. This process can be useful if you want to remove all files from the card, resolve compatibility issues, or fix errors that may be preventing the card from functioning properly. In this article, we will guide you on how to format an SD card on various operating systems, including Windows, Mac, Android, and iOS.
Please note that formatting an SD card will permanently delete all data stored on the card. Therefore, it is important to back up any important files before proceeding with the formatting process.
In the following sections, we will provide step-by-step instructions on how to format an SD card on different devices and platforms. Whether you’re using a Windows PC, a Macbook, an Android device, or an iPhone, we’ve got you covered. Let’s dive in and explore the formatting methods for each of these platforms.
Understanding SD Cards
SD cards, short for Secure Digital cards, are a popular type of removable flash memory storage used in a wide range of electronic devices. They come in different sizes and capacities, ranging from a few gigabytes to several terabytes. Understanding the basics of SD cards can help you make informed decisions regarding their usage and maintenance.
SD cards are commonly used in devices such as digital cameras, smartphones, tablets, gaming consoles, and navigation systems. They provide a convenient and portable way to store and transfer data, including photos, videos, music, documents, and applications.
There are different types of SD cards available, including SD, SDHC (Secure Digital High Capacity), and SDXC (Secure Digital eXtended Capacity). The main difference between these types lies in their storage capacity. SD cards can store up to 2GB of data, SDHC cards can store between 2GB and 32GB, while SDXC cards can store between 32GB and up to 2TB.
SD cards use a file system to organize and manage data on the card. The most common file system used is FAT32 (File Allocation Table 32), which is compatible with a wide range of devices and operating systems. However, some newer SDXC cards may use the exFAT file system, which supports larger file sizes.
In addition to the storage capacity and file system, SD cards also have a speed class rating. This rating indicates the minimum speed at which the card can read and write data. The higher the class number, the faster the card’s performance. This is particularly important when using SD cards for tasks that require fast data transfer, such as recording high-definition videos or capturing burst-mode photographs.
It’s important to note that SD cards can be prone to data corruption and errors. This can happen due to improper handling, device compatibility issues, or logical errors within the file system. In such cases, formatting the SD card can often help resolve these issues and restore optimal performance.
In the next sections, we will explore the step-by-step process of how to format an SD card on various platforms. Whether you need to format your SD card on a Windows PC, a Macbook, an Android device, or an iPhone, we have provided detailed instructions to guide you through the process.
Before Formatting
Before proceeding with the formatting process, there are a few important considerations to keep in mind:
- Backup your data: Formatting an SD card will erase all data on the card. Therefore, it is crucial to make a backup of any important files stored on the card. You can transfer the files to another storage device, such as your computer’s hard drive or cloud storage, to ensure their safety.
- Check for compatibility: Ensure that the SD card is compatible with the device you intend to use it with. While most devices support SD cards, there may be certain restrictions or requirements based on the device’s specifications. Refer to the device’s user manual or manufacturer’s website for details on compatible SD card types and capacities.
- Switch off the device: Before removing or inserting an SD card, it is recommended to power off the device. This minimizes the risk of data corruption or damage to the card or device.
- Inspect the card: Examine the SD card for any visible physical damage, such as cracks or scratches. If you notice any damage, it is advisable to replace the card to avoid potential issues during formatting or usage.
- Charge your device: If you’re formatting an SD card on a portable device like a smartphone or tablet, ensure that the device is sufficiently charged or connected to a power source. This is important to prevent any interruptions or data loss during the formatting process.
- Remove write protection: Some SD cards have a write protection switch or feature that prevents data from being modified or deleted. Make sure the write protection switch on the side of the SD card is in the unlocked position before attempting to format it.
Taking these precautions will help ensure a smooth and successful formatting process for your SD card. Now that you’re equipped with the necessary information, let’s move on to the specific steps for formatting an SD card on different platforms.
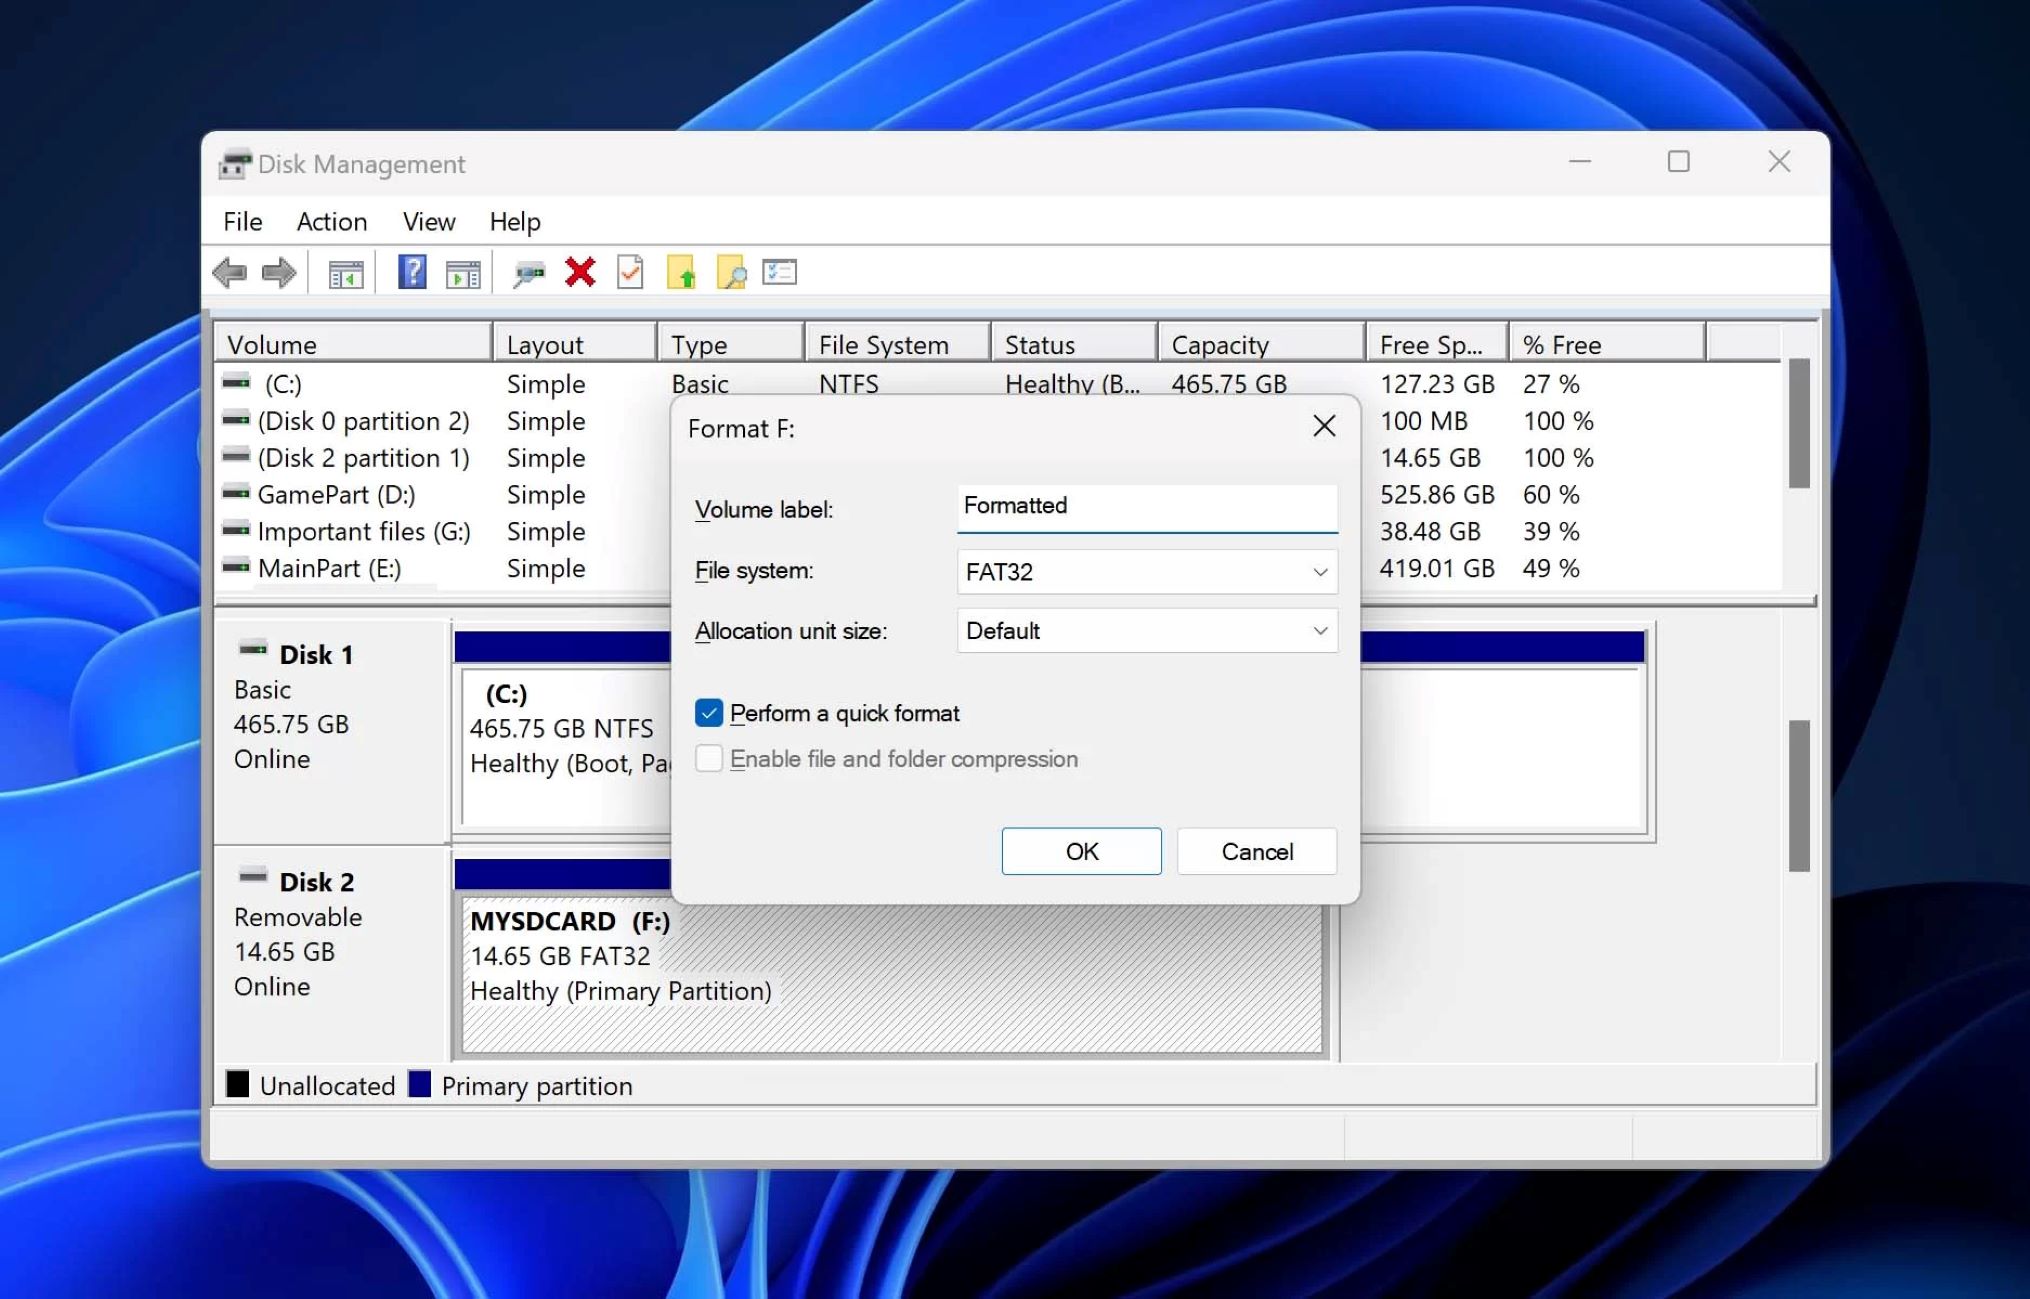
Formatting an SD Card on Windows
Formatting an SD card on a Windows computer is a straightforward process:
- Insert the SD card: Insert the SD card into the SD card slot on your Windows computer or use an SD card reader connected via USB.
- Open File Explorer: Open File Explorer by clicking the folder icon in the taskbar or pressing the Windows key + E on your keyboard.
- Locate the SD card: In the left-hand pane of File Explorer, you’ll find a list of available drives and devices. Look for the one that represents your SD card. It will typically be labeled as “SD Card” or display the card’s storage capacity.
- Right-click on the SD card: Once you’ve located the SD card, right-click on it to open a context menu.
- Select Format: From the context menu, select the “Format” option.
- Choose formatting settings: In the Format window, you can choose the File System, Allocation Unit Size, and Volume Label for the SD card. For most SD cards, it is recommended to select the default settings. However, if you plan to use the SD card in a device that requires a specific file system, such as exFAT, FAT32, or NTFS, select the appropriate option from the File System dropdown menu.
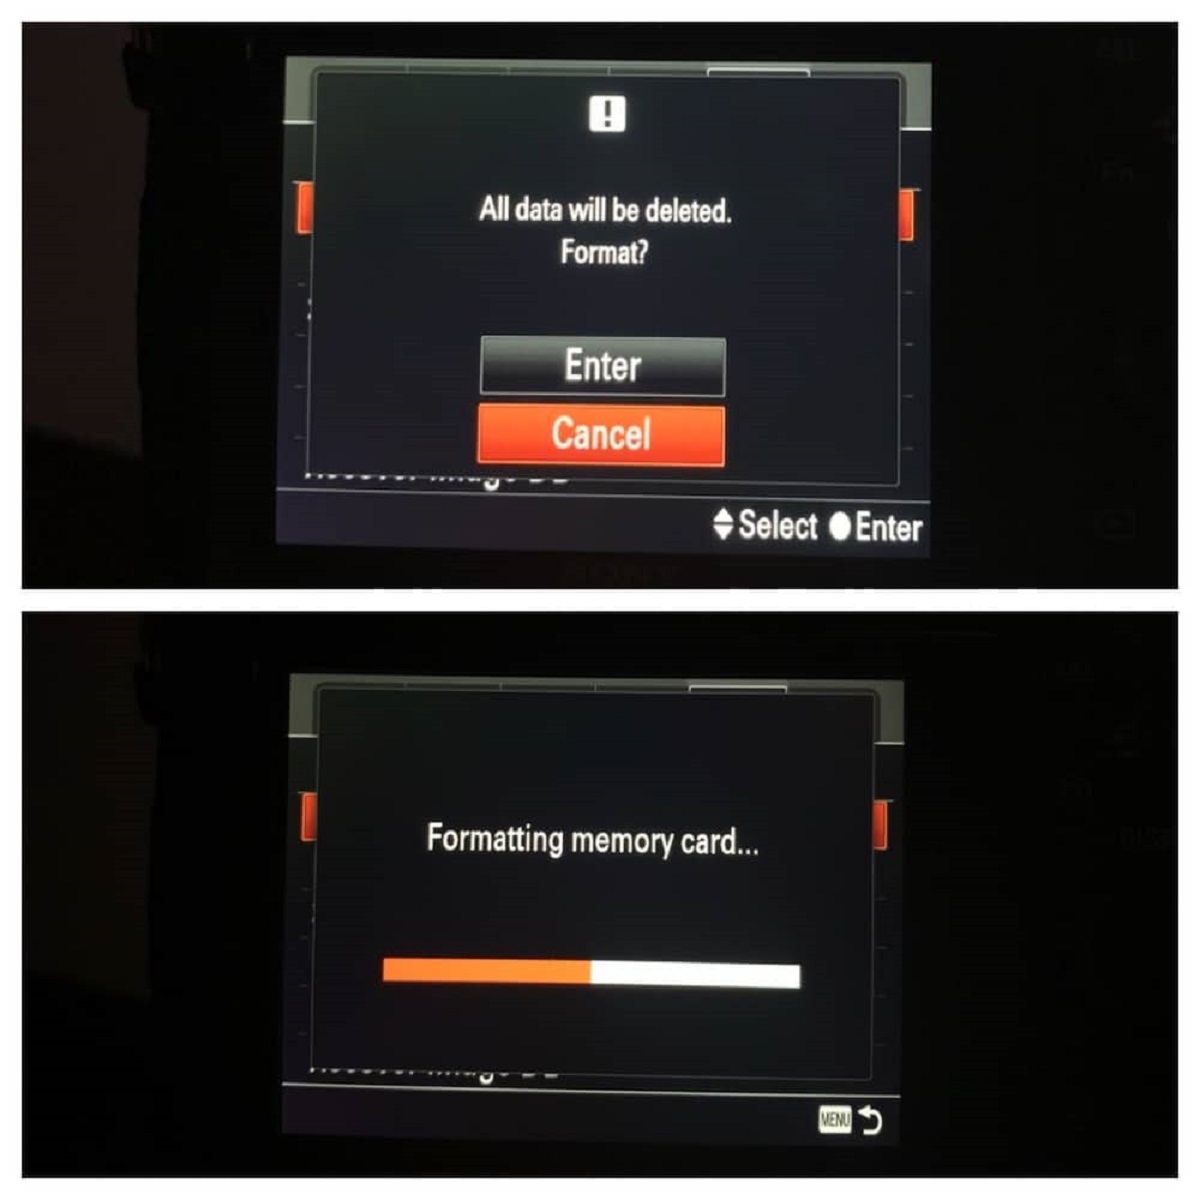
- Start the formatting process: Once you’ve selected the desired formatting settings, click on the “Start” button to initiate the formatting process. A warning message will appear, notifying you that all data on the SD card will be permanently deleted. If you have backed up your data and are ready to proceed, click “OK.”
- Wait for formatting to complete: The formatting process may take a few moments to complete, depending on the size and speed of the SD card. Once finished, you will see a success message indicating that the SD card has been formatted.
- Eject the SD card: After formatting, it is important to properly eject the SD card from your computer. Right-click on the SD card in File Explorer and select “Eject.” Wait for the system to notify you that it is safe to remove the card before physically removing it.
That’s it! Your SD card is now formatted and ready to be used. Remember to check the compatibility of the formatted SD card with your devices to ensure optimal performance.
Formatting an SD Card on Mac
If you’re using a Mac and need to format an SD card, follow these steps:
- Insert the SD card: Insert the SD card into the SD card slot on your Mac, or connect an SD card reader via USB.
- Open Disk Utility: Open the Disk Utility application on your Mac. You can find it by going to “Applications” > “Utilities” > “Disk Utility.”
- Select the SD card: In the left-hand pane of Disk Utility, you’ll see a list of available drives and devices. Locate and select your SD card.
- Choose the Erase tab: Once the SD card is selected, click on the “Erase” tab at the top of the Disk Utility window.
- Specify the format and name: In the Erase tab, choose the desired format for the SD card from the “Format” dropdown menu. For compatibility with most devices, select “MS-DOS (FAT)” or “ExFAT.” Enter a name for the SD card in the “Name” field.
- Start the formatting process: After selecting the format and specifying the name, click on the “Erase” button to begin the formatting process. A warning message will appear, informing you that all data on the SD card will be permanently deleted. If you have backed up your data and are ready to proceed, click “Erase.”
- Wait for formatting to complete: Disk Utility will start formatting the SD card, which may take a few moments depending on the size of the card. Once the process is complete, you will see a confirmation message.
- Eject the SD card: After formatting, it is important to eject the SD card properly. Right-click on the SD card in Disk Utility or click the “Eject” button next to the SD card’s name to safely remove it from your Mac.
Now you have successfully formatted your SD card on your Mac. Remember to verify the compatibility of the formatted SD card with your devices to avoid any potential issues.
Formatting an SD Card on Android
If you have an Android device and need to format an SD card, you can follow these steps:
- Open Settings: Open the “Settings” app on your Android device. You can usually find it in the app drawer or by swiping down from the top of the screen and tapping on the gear icon.
- Select Storage: In the Settings menu, scroll down and select the “Storage” or “Storage & USB” option.
- Choose the SD card: If you have multiple storage options available, select the one that represents your SD card.
- Open the SD card settings: Once you’ve selected the SD card, look for an option that allows you to access the settings for the card. This might be labeled as “SD card settings,” “SD card settings,” or “Format SD card.”
- Confirm the formatting: Before proceeding with the formatting process, you will usually be presented with a warning message stating that all data on the SD card will be erased. Make sure you have backed up any important data, then tap on “Format” or “Erase” to confirm.
- Wait for formatting to complete: The Android device will begin formatting the SD card, which may take a few minutes depending on the size of the card. Once the process is complete, you will receive a confirmation message.
- Reboot the device: After formatting the SD card, it is recommended to reboot your Android device. This helps ensure that all settings and file associations are updated properly.
After following these steps, your SD card should be successfully formatted on your Android device. Remember to check the compatibility of the formatted SD card with your devices to ensure smooth usage.
Formatting an SD Card on iOS
iOS devices such as iPhones and iPads do not have built-in support for external storage devices like SD cards. However, there are third-party apps available that allow you to manage and format an SD card on an iOS device.
Here is a general overview of the process:
- Install a third-party app: Search the App Store for third-party storage management apps that support SD card formatting. Some popular options include “FileExplorer” and “iDiskk.”
- Connect the SD card reader: Use an SD card reader that is compatible with iOS devices, such as the Lightning to SD Card Camera Reader.
- Launch the storage management app: Open the storage management app you downloaded and installed on your iOS device.
- Connect the SD card: Connect the SD card reader with the SD card inserted into it to the iOS device using the appropriate connector.
- Access the SD card: The storage management app should detect the SD card and provide options to access and manage the card.
- Format the SD card: Within the storage management app, look for an option to format the SD card. Tap on it and follow any on-screen prompts to proceed with the formatting process.
- Wait for formatting to complete: The app will begin the formatting process, which may take some time depending on the size of the SD card. Once the process is complete, you will receive a confirmation message.
It’s important to note that the availability and functionality of third-party storage management apps may vary. Make sure to choose a reputable app with positive user reviews to ensure a reliable formatting process.
Please refer to the specific instructions provided by the app you choose for more detailed steps on how to format an SD card on iOS.
Remember to check the compatibility of the formatted SD card with your devices to ensure proper functionality.
Troubleshooting Formatting Issues
Formatting an SD card should be a straightforward process, but occasionally, you may encounter issues. Here are some common troubleshooting steps to help you overcome formatting problems:
- Check for write protection: Ensure that the SD card’s write protection switch or setting is in the unlocked position. If it is locked, you will not be able to format the card. Toggle the switch or setting to unlock it before attempting to format again.
- Try a different device or card reader: If you’re having trouble formatting the SD card on a specific device or card reader, try using a different device or card reader. Incompatibility between the SD card and the device or reader can sometimes cause formatting issues.
- Update the device’s software: Make sure that your device’s operating system is up to date. Outdated software can potentially cause compatibility issues with the SD card. Check for any available updates and install them before attempting to format again.
- Use a different file system: If you’re encountering errors during the formatting process, try selecting a different file system. Formatting the SD card with a different file system, such as FAT32 instead of exFAT, or vice versa, may resolve the formatting issue.
- Perform a low-level format: If the above steps do not resolve the formatting issue, you can try performing a low-level format. This is a more thorough formatting process that erases the entire contents of the SD card, including the file system. Keep in mind that a low-level format will permanently erase all data on the card, so it’s crucial to back up any important files before proceeding.
- Try a different SD card: If none of the above steps work, it’s possible that the SD card itself is faulty or damaged. Try formatting a different SD card to determine if the issue lies with the card or the device you’re using.
If you’re still unable to format the SD card despite troubleshooting, it may be a sign of a more serious problem. In such cases, considering contacting the manufacturer for further assistance or replacing the SD card if it’s under warranty.
Remember to exercise caution when troubleshooting and formatting an SD card to avoid potential data loss or further damage to the card.
Conclusion
Formatting an SD card can be a necessary task to resolve various issues, ensure compatibility, or clear the card for future use. Whether you’re using a Windows PC, a Macbook, an Android device, or an iOS device, we’ve provided step-by-step instructions on how to format an SD card on each platform.
Before formatting, it’s crucial to back up any important data and ensure compatibility with your devices. Taking care to handle the SD card properly and following the recommended formatting procedures can help maintain optimal performance and avoid potential data loss.
In case you encounter any issues during the formatting process, we’ve also provided troubleshooting steps to help you overcome common problems.
Remember to always double-check the compatibility of the formatted SD card with your devices, especially if you plan to use it with multiple platforms.
By following the instructions outlined in this guide, you’ll have the knowledge and tools to successfully format an SD card on various operating systems and devices, allowing you to fully utilize its storage capacity and ensure smooth functionality.