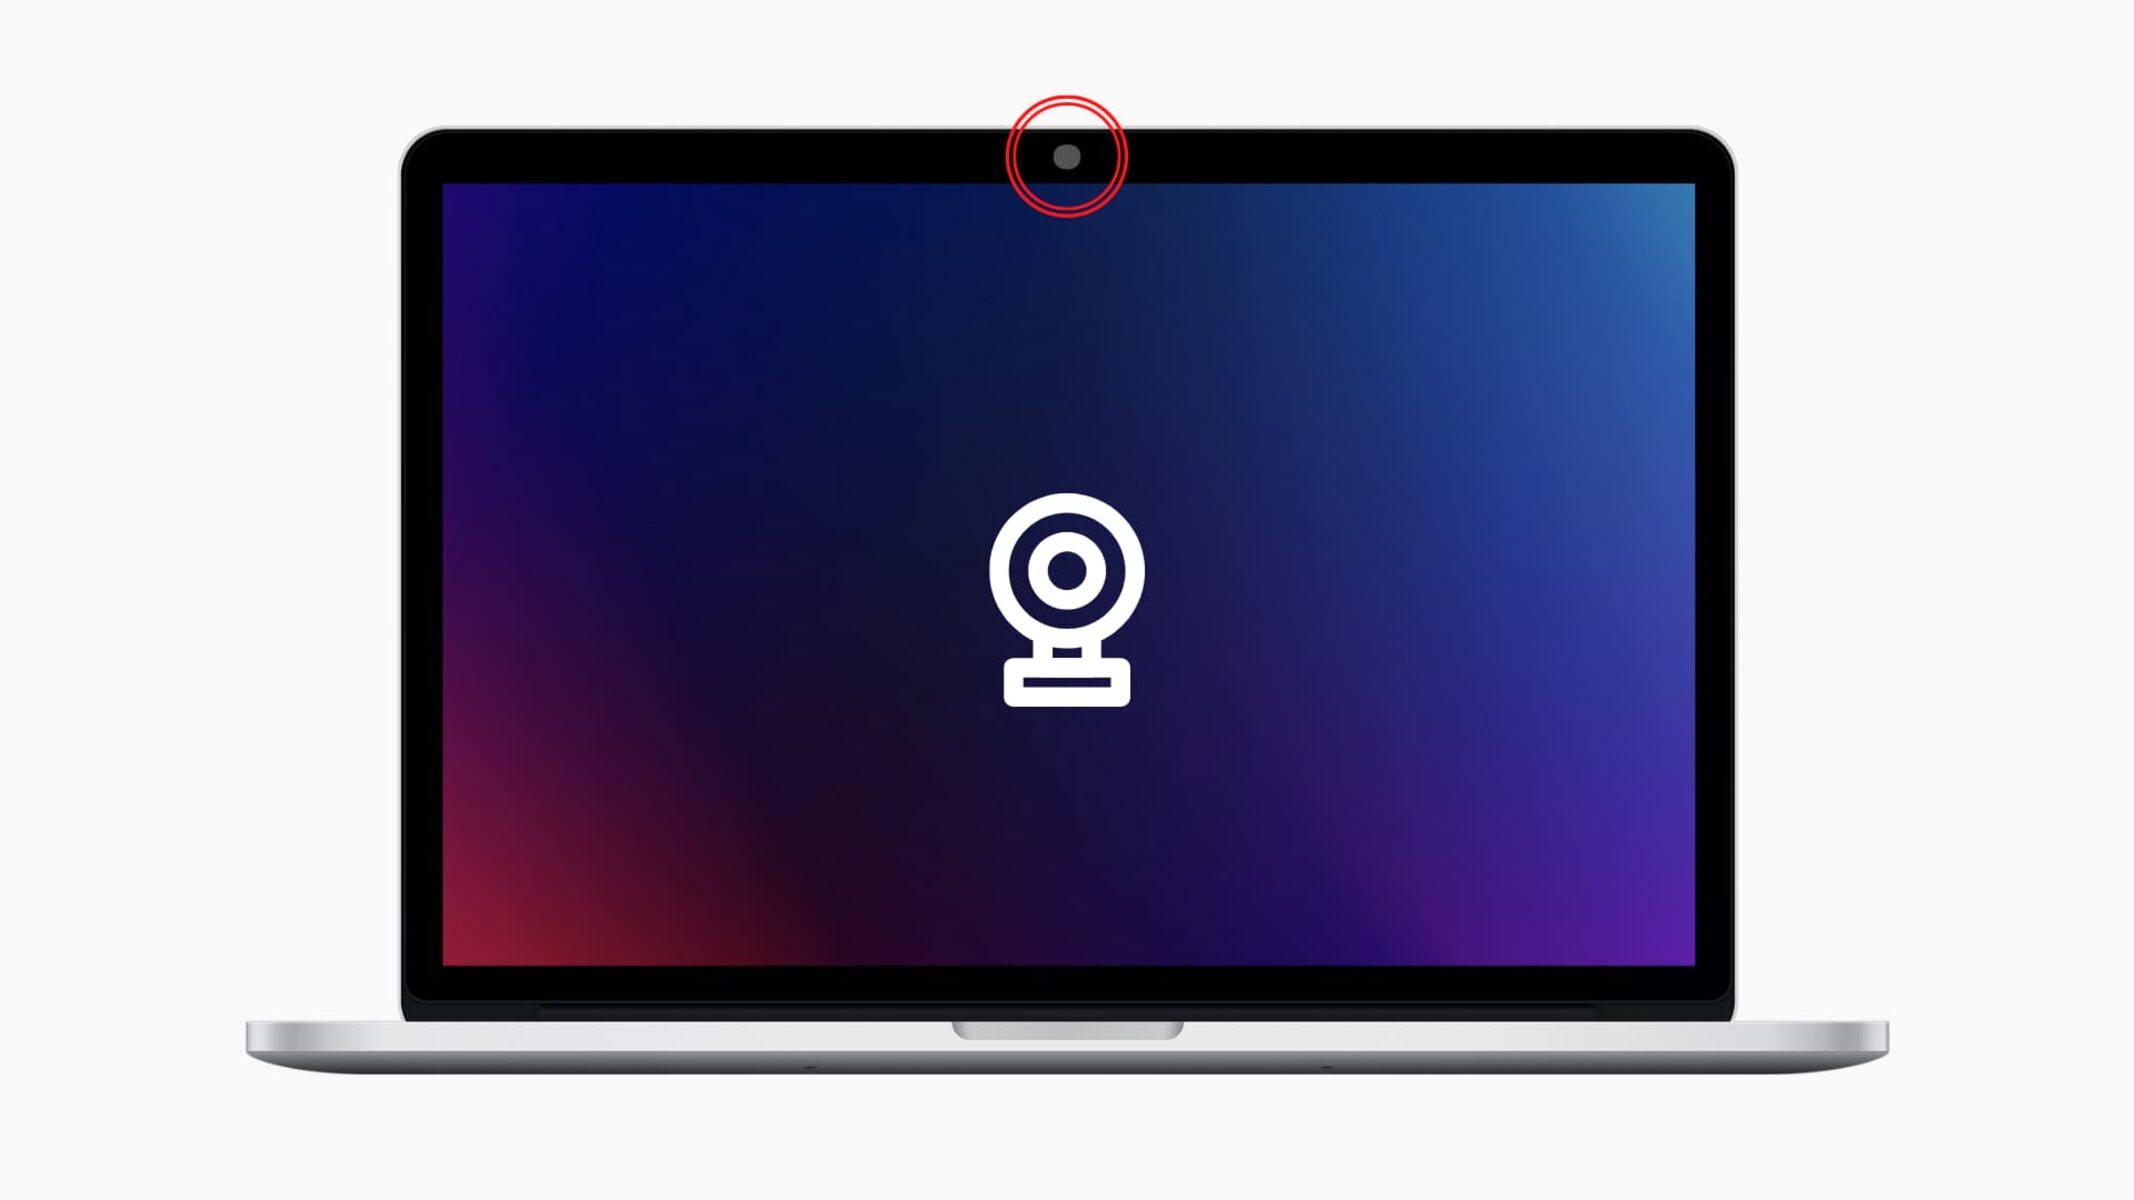
Introduction
Welcome to our guide on how to turn on camera permissions for your browser! With the growing popularity of video conferencing, online meetings, and live streaming, it has become essential to have a functioning camera on your device. Whether you’re using Chrome, Firefox, Safari, Edge, or Opera, enabling camera permissions is crucial for ensuring that your camera works seamlessly across different websites and applications.
In this article, we will provide step-by-step instructions for enabling camera permissions on the most popular browsers. We’ll also discuss why camera permissions are necessary and how to troubleshoot common issues that may arise.
Whether you’re a student attending virtual classes, a professional joining video conferences, or simply someone who enjoys connecting with friends and family through video calls, understanding how to enable camera permissions will enhance your online experience.
So, if you’re ready to learn how to turn on camera permissions for your browser, let’s dive in!
Overview of Camera Permissions
Camera permissions are settings that allow a website or application to access your device’s camera. When you grant camera permissions, you give the website or application the ability to use your camera for various purposes, such as video conferences, taking photos, or recording videos.
In most cases, when you visit a website or use an app that requires access to your camera, you will receive a prompt asking for permission to use it. This prompt typically appears as a pop-up or notification that you need to interact with to grant or deny permission.
Camera permissions are an integral part of ensuring the privacy and security of your device. By granting camera permissions, you have control over which websites and applications can access your camera and when they can use it. It is always recommended to review and manage camera permissions regularly to prevent unauthorized access to your camera.
It is important to note that enabling camera permissions does not mean that your camera is constantly active or being monitored. Your camera only activates when you choose to use it within a specific website or application. Additionally, modern browsers have built-in security measures to protect your privacy, allowing you to customize camera permissions and revoke access if necessary.
Now that we have a basic understanding of camera permissions, let’s explore why it is essential to turn them on and how to do it for different browsers.
Why Do I Need to Turn On Camera Permissions?
Turning on camera permissions is necessary to fully utilize the features and functionalities of websites and applications that require camera access. Here are a few reasons why enabling camera permissions is important:
- Video Conferencing: Many video conferencing platforms, such as Zoom, Microsoft Teams, and Google Meet, rely on camera access to enable participants to see and interact with each other in real-time. By granting camera permissions, you can participate in virtual meetings, collaborate with colleagues, and connect with friends and family face-to-face, regardless of your physical location.
- Live Streaming: If you’re interested in live streaming content on platforms like Twitch or YouTube, enabling camera permissions is crucial. It allows you to broadcast your video feed in real-time, engaging with your audience and providing an interactive experience.
- Online Learning: With the rise of e-learning and remote education, many educational platforms and virtual classrooms require camera access. By enabling camera permissions, students can actively participate in virtual lessons, interact with teachers and classmates, and enhance the overall learning experience.
- Video Calls: Whether it’s for personal or professional purposes, video calling has become an integral part of communication. Apps like Skype, WhatsApp, and FaceTime rely on camera access to facilitate video calls, enabling you to connect and communicate effectively with others.
By turning on camera permissions, you ensure that these applications and websites can access your camera when necessary, allowing you to take full advantage of the features and functionalities they provide. It enhances your overall online experience, allowing you to participate in various activities that require camera access.
Now that we understand the importance of turning on camera permissions, let’s explore how to enable them for different browsers.
How to Turn On Camera Permissions for Chrome
If you’re using Google Chrome as your browser, follow these steps to enable camera permissions:
- Open Google Chrome on your computer.
- Click on the three-dot menu icon located at the top right corner of the browser window.
- From the dropdown menu, select “Settings.”
- Scroll down and click on “Privacy and security.”
- Under the “Privacy and security” section, click on “Site Settings.”
- Scroll down and click on “Camera.”
- In the “Camera” settings, toggle the switch to enable camera access.
- You can also customize camera permissions by using the “Add” or “Remove” buttons to manage specific websites that can access your camera.
Once you’ve completed these steps, Chrome will allow websites and applications to use your camera according to your specified permissions. You can always revisit the settings and make changes as needed.
It’s important to note that the steps may vary slightly depending on the version of Google Chrome you are using. However, the general process of accessing the settings and enabling camera permissions should remain the same.
Now that you know how to turn on camera permissions in Chrome, let’s move on to Firefox and see how you can enable camera access in this browser.
How to Turn On Camera Permissions for Firefox
If you prefer using Mozilla Firefox as your browser, here’s how you can enable camera permissions:
- Launch Firefox on your computer.
- Click on the three-line menu icon located at the top right corner of the browser window.
- From the dropdown menu, click on “Options.”
- In the left sidebar, select “Privacy & Security.”
- Scroll down to the “Permissions” section and click on “Settings” next to “Permissions.”
- In the list of permissions, locate and click on “Camera.”
- Toggle the switch to enable camera permissions.
- You may also manage individual websites’ camera permissions by using the dropdown menu next to each site.
Once you’ve completed these steps, Firefox will allow websites and applications to access your camera according to your specified permissions.
Note that the steps might vary slightly depending on the version of Firefox you are using. However, the general process of accessing settings and enabling camera permissions remains consistent.
Now that you know how to enable camera permissions in Firefox, let’s move on to Safari and discover how to turn on camera access in this browser.
How to Turn On Camera Permissions for Safari
If you’re using Safari as your browser on macOS, here’s how you can enable camera permissions:
- Launch Safari on your computer.
- Click on “Safari” in the menu bar at the top of your screen.
- From the dropdown menu, select “Preferences.”
- In the Preferences window, click on the “Websites” tab.
- On the left sidebar, click on “Camera” to view camera-related settings.
- On the right side, you’ll see a list of websites that have requested camera access.
- Next to each website, you can choose between “Deny,” “Ask,” or “Allow.”
- To enable camera permissions for a specific website, select “Allow.”
Once you’ve completed these steps, Safari will grant camera access to the websites you’ve allowed. You can revisit these settings at any time to make changes or manage camera permissions for different websites.
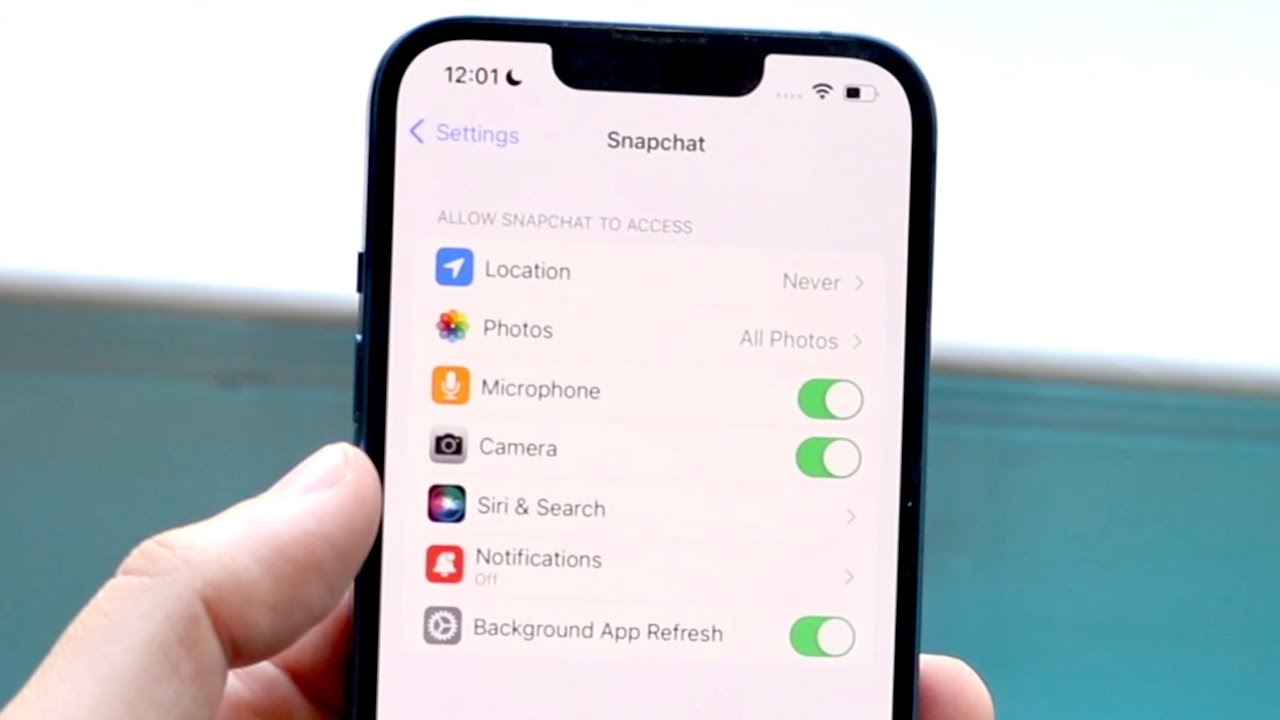
Please note that the process may differ slightly for Safari on iOS devices. On iOS, you can manage camera permissions by going to “Settings” on your device, selecting “Safari,” and then adjusting the camera permissions as needed.
Now that you know how to enable camera permissions in Safari, let’s explore how you can do it in Microsoft Edge.
How to Turn On Camera Permissions for Edge
If you’re using Microsoft Edge as your browser, follow these steps to enable camera permissions:
- Open Microsoft Edge on your computer.
- Click on the three-dot menu icon located at the top right corner of the browser window.
- From the dropdown menu, select “Settings.”
- In the left sidebar, click on “Cookies and site permissions.”
- Scroll down and click on “Camera.”
- Toggle the switch to enable camera permissions for all websites.
- If you want to customize camera permissions for specific websites, click on “Manage permissions” to add or remove sites.
Once you’ve completed these steps, Microsoft Edge will allow websites and applications to access your camera based on your specified permissions. You can always revisit the settings to make any necessary changes.
Keep in mind that the steps may vary slightly depending on the version of Microsoft Edge you’re using. However, the general process of accessing settings and enabling camera permissions remains consistent.
Now that you know how to enable camera permissions in Microsoft Edge, let’s move on to Opera and see how you can turn on camera access in this browser.
How to Turn On Camera Permissions for Opera
If you’re using Opera as your browser, here’s how you can enable camera permissions:
- Launch Opera on your computer.
- Click on the Opera logo located at the top left corner of the browser window.
- From the dropdown menu, click on “Preferences.”
- In the Preferences tab, click on “Advanced” in the left sidebar.
- Scroll down to the “Privacy & Security” section.
- Under “Privacy & Security,” click on “Site Settings.”
- Scroll down and click on “Camera.”
- Toggle the switch to enable camera permissions.
- If you want to manage camera permissions for specific websites, click on “Manage exceptions” and add or remove sites accordingly.
After following these steps, Opera will grant camera access to websites and applications based on your specified permissions. You can always revisit the settings to make any necessary changes.
It’s important to note that the steps may vary slightly depending on the version of Opera you’re using. However, the general process of accessing settings and enabling camera permissions should remain similar.
Now that you know how to enable camera permissions in Opera, you’re well-equipped to allow websites and applications to access your camera as needed.
Troubleshooting Camera Permission Issues
While enabling camera permissions is straightforward, you may encounter occasional issues or errors. Here are some troubleshooting tips to resolve common camera permission problems:
- Check Browser Settings: Ensure that camera permissions are enabled in your browser settings. Follow the steps outlined earlier for your specific browser to verify if camera access is allowed.
- Restart Your Browser: Sometimes, a simple browser restart can resolve camera permission issues. Close and reopen your browser to refresh the settings.
- Clear Browser Cache and Data: Clearing your browser’s cache and data can help resolve conflicts and refresh settings. Go to your browser’s settings and clear the cache and site data. Remember to restart your browser after clearing the cache.
- Update Browser and Drivers: Ensure that both your browser and device drivers are up to date. Outdated software can sometimes cause compatibility issues. Check for updates and install them if available.
- Disable Browser Extensions: Some browser extensions or add-ons may interfere with camera permissions. Temporarily disable any extensions and try enabling camera access again.
- Check Device Camera Settings: Verify that your device’s camera is properly connected and functioning. Check the device settings, update drivers, and test the camera using other applications to rule out any hardware issues.
- Review Firewall and Antivirus Settings: Your firewall or antivirus software may be blocking camera access. Temporarily disable these security measures or add the browser to the allowed list to resolve permission issues.
If these troubleshooting steps do not resolve the camera permission problems, consider reaching out to the browser’s support team or consulting relevant online forums for further assistance.
By troubleshooting camera permission issues, you can ensure a smooth and uninterrupted experience when using your camera with different websites and applications.
Conclusion
Enabling camera permissions for your browser is essential to fully utilize the features of websites and applications that require camera access. In this guide, we have explored how to turn on camera permissions for the most popular browsers including Chrome, Firefox, Safari, Edge, and Opera.
By following the step-by-step instructions provided for each browser, you can easily enable camera permissions and grant access to websites and applications that rely on camera functionality.
We have also highlighted the importance of camera permissions for various activities such as video conferencing, live streaming, online learning, and video calls. Enabling camera permissions allows you to actively participate in these activities, enhancing your communication and collaboration experiences.
Furthermore, we have discussed troubleshooting tips to address common camera permission issues. From checking browser settings to updating software and drivers, these troubleshooting steps can help resolve any problems you may encounter.
Remember, regular review and management of camera permissions are crucial to maintain control over your camera and ensure your privacy and security.
With this comprehensive guide, you now have the knowledge and confidence to enable camera permissions for your preferred browser. Embrace the benefits of camera access and enjoy seamless video experiences across the web!


