Introduction
Welcome to the world of Roku! If you’re looking to enhance your TV viewing experience by streaming online content, Roku is an excellent choice. With its user-friendly interface and a wide range of channels and streaming services, Roku allows you to access your favorite movies, shows, and more, all in one place. Whether you’re a tech-savvy individual or just starting with streaming devices, setting up Roku on your TV is a breeze.
In this guide, we will walk you through the step-by-step process of setting up Roku on your TV. You’ll learn how to connect the device, configure settings, connect to your network, and activate your Roku device. We’ll also cover how to set up channels and streaming services so you can start enjoying endless entertainment options right from the comfort of your living room.
Before we dive into the setup process, let’s quickly go over the basic requirements. Firstly, you’ll need a Roku device, which can be a Roku streaming stick, Roku Express, Roku Premiere, or Roku Ultra. Additionally, you’ll need an HDMI-compatible TV with an available HDMI input port. Lastly, make sure you have reliable internet connectivity to stream your favorite content smoothly.
Now that we’ve covered the essentials, let’s get started with setting up your Roku device and transforming your TV into an ultimate entertainment hub!
Checking the Requirements
Before diving into the Roku setup process, it’s essential to ensure you have all the necessary requirements in place. This will ensure a smooth and hassle-free setup experience. Here’s a checklist of what you’ll need:
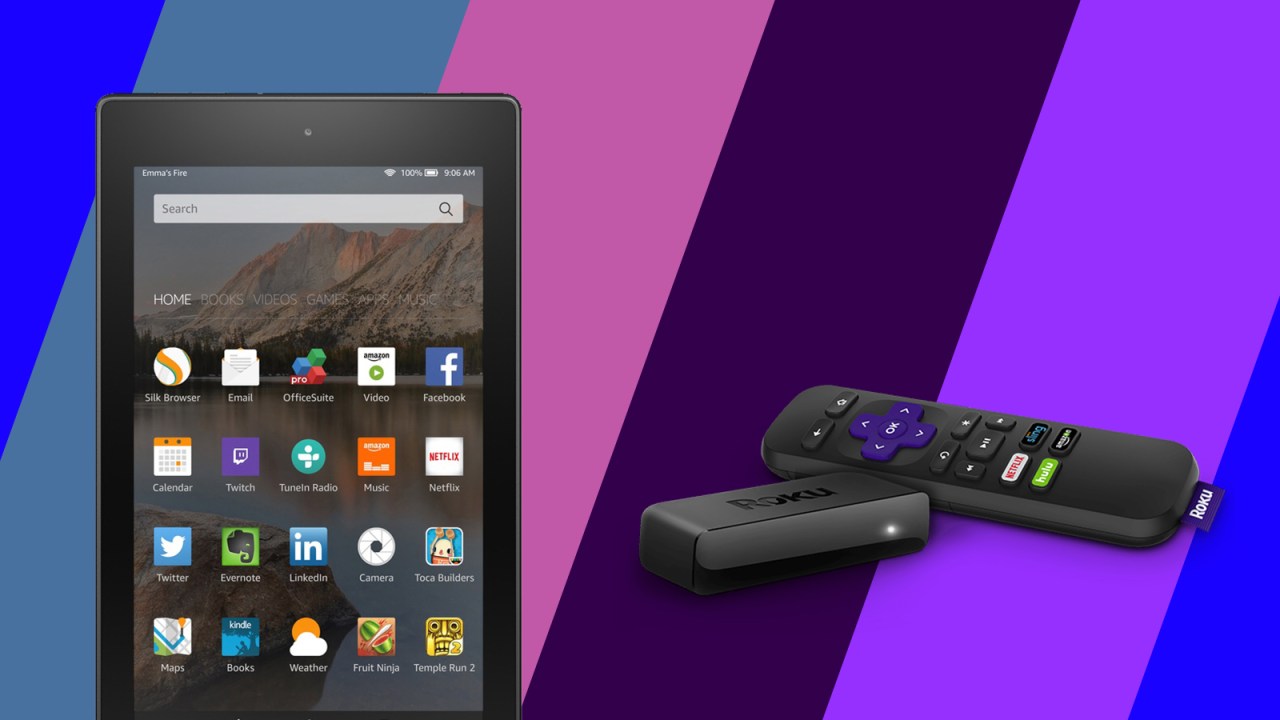
- Roku device: Choose the Roku device that best suits your needs, whether it’s a streaming stick, Roku Express, Roku Premiere, or Roku Ultra. Each device offers various features and capabilities, so choose one that aligns with your streaming preferences.
- TV with an HDMI input: Roku requires an HDMI input on your TV to provide high-definition streaming. Check your TV to ensure it has an available HDMI input port.
- HDMI cable: To connect your Roku device to your TV, you’ll need an HDMI cable. Most Roku devices include an HDMI cable in the box, but if not, you can easily purchase one from any electronics store.
- Internet connection: A reliable internet connection is essential for streaming content on Roku. Make sure your internet connection is stable and offers sufficient bandwidth to stream videos without buffering issues.
- Roku account: To activate and set up your Roku device, you’ll need a Roku account. If you don’t have one already, you can set it up during the activation process or create one on the Roku website beforehand.
- Power source: Ensure you have a power source nearby to plug in your Roku device. Most Roku devices can be powered through a wall outlet or by connecting to a USB port on your TV.
Double-checking these requirements will save you time and frustrations during the setup process. Once you have all the necessary components and a stable internet connection, you’re ready to move on to the next step of connecting your Roku device to your TV.
Connecting the Roku Device to Your TV
Now that you have all the requirements in place, it’s time to connect your Roku device to your TV. Follow these simple steps:
- Locate the HDMI port on your TV: Look for the HDMI input port on the back or side panel of your TV. It’s usually labeled as “HDMI” and numbered.
- Connect the Roku device: Take your HDMI cable and connect one end to the HDMI port on your Roku device. Then, insert the other end into the HDMI input port on your TV.
- Power up the Roku device: Depending on the Roku device you have, connect it to a power source. You can either use a wall outlet and the provided power adapter or connect it to a USB port on your TV.
- Select the correct input source: Using your TV remote, switch to the correct input source that matches the HDMI port you connected your Roku device to. You may need to press the “Input” or “Source” button on your remote to cycle through the available options.
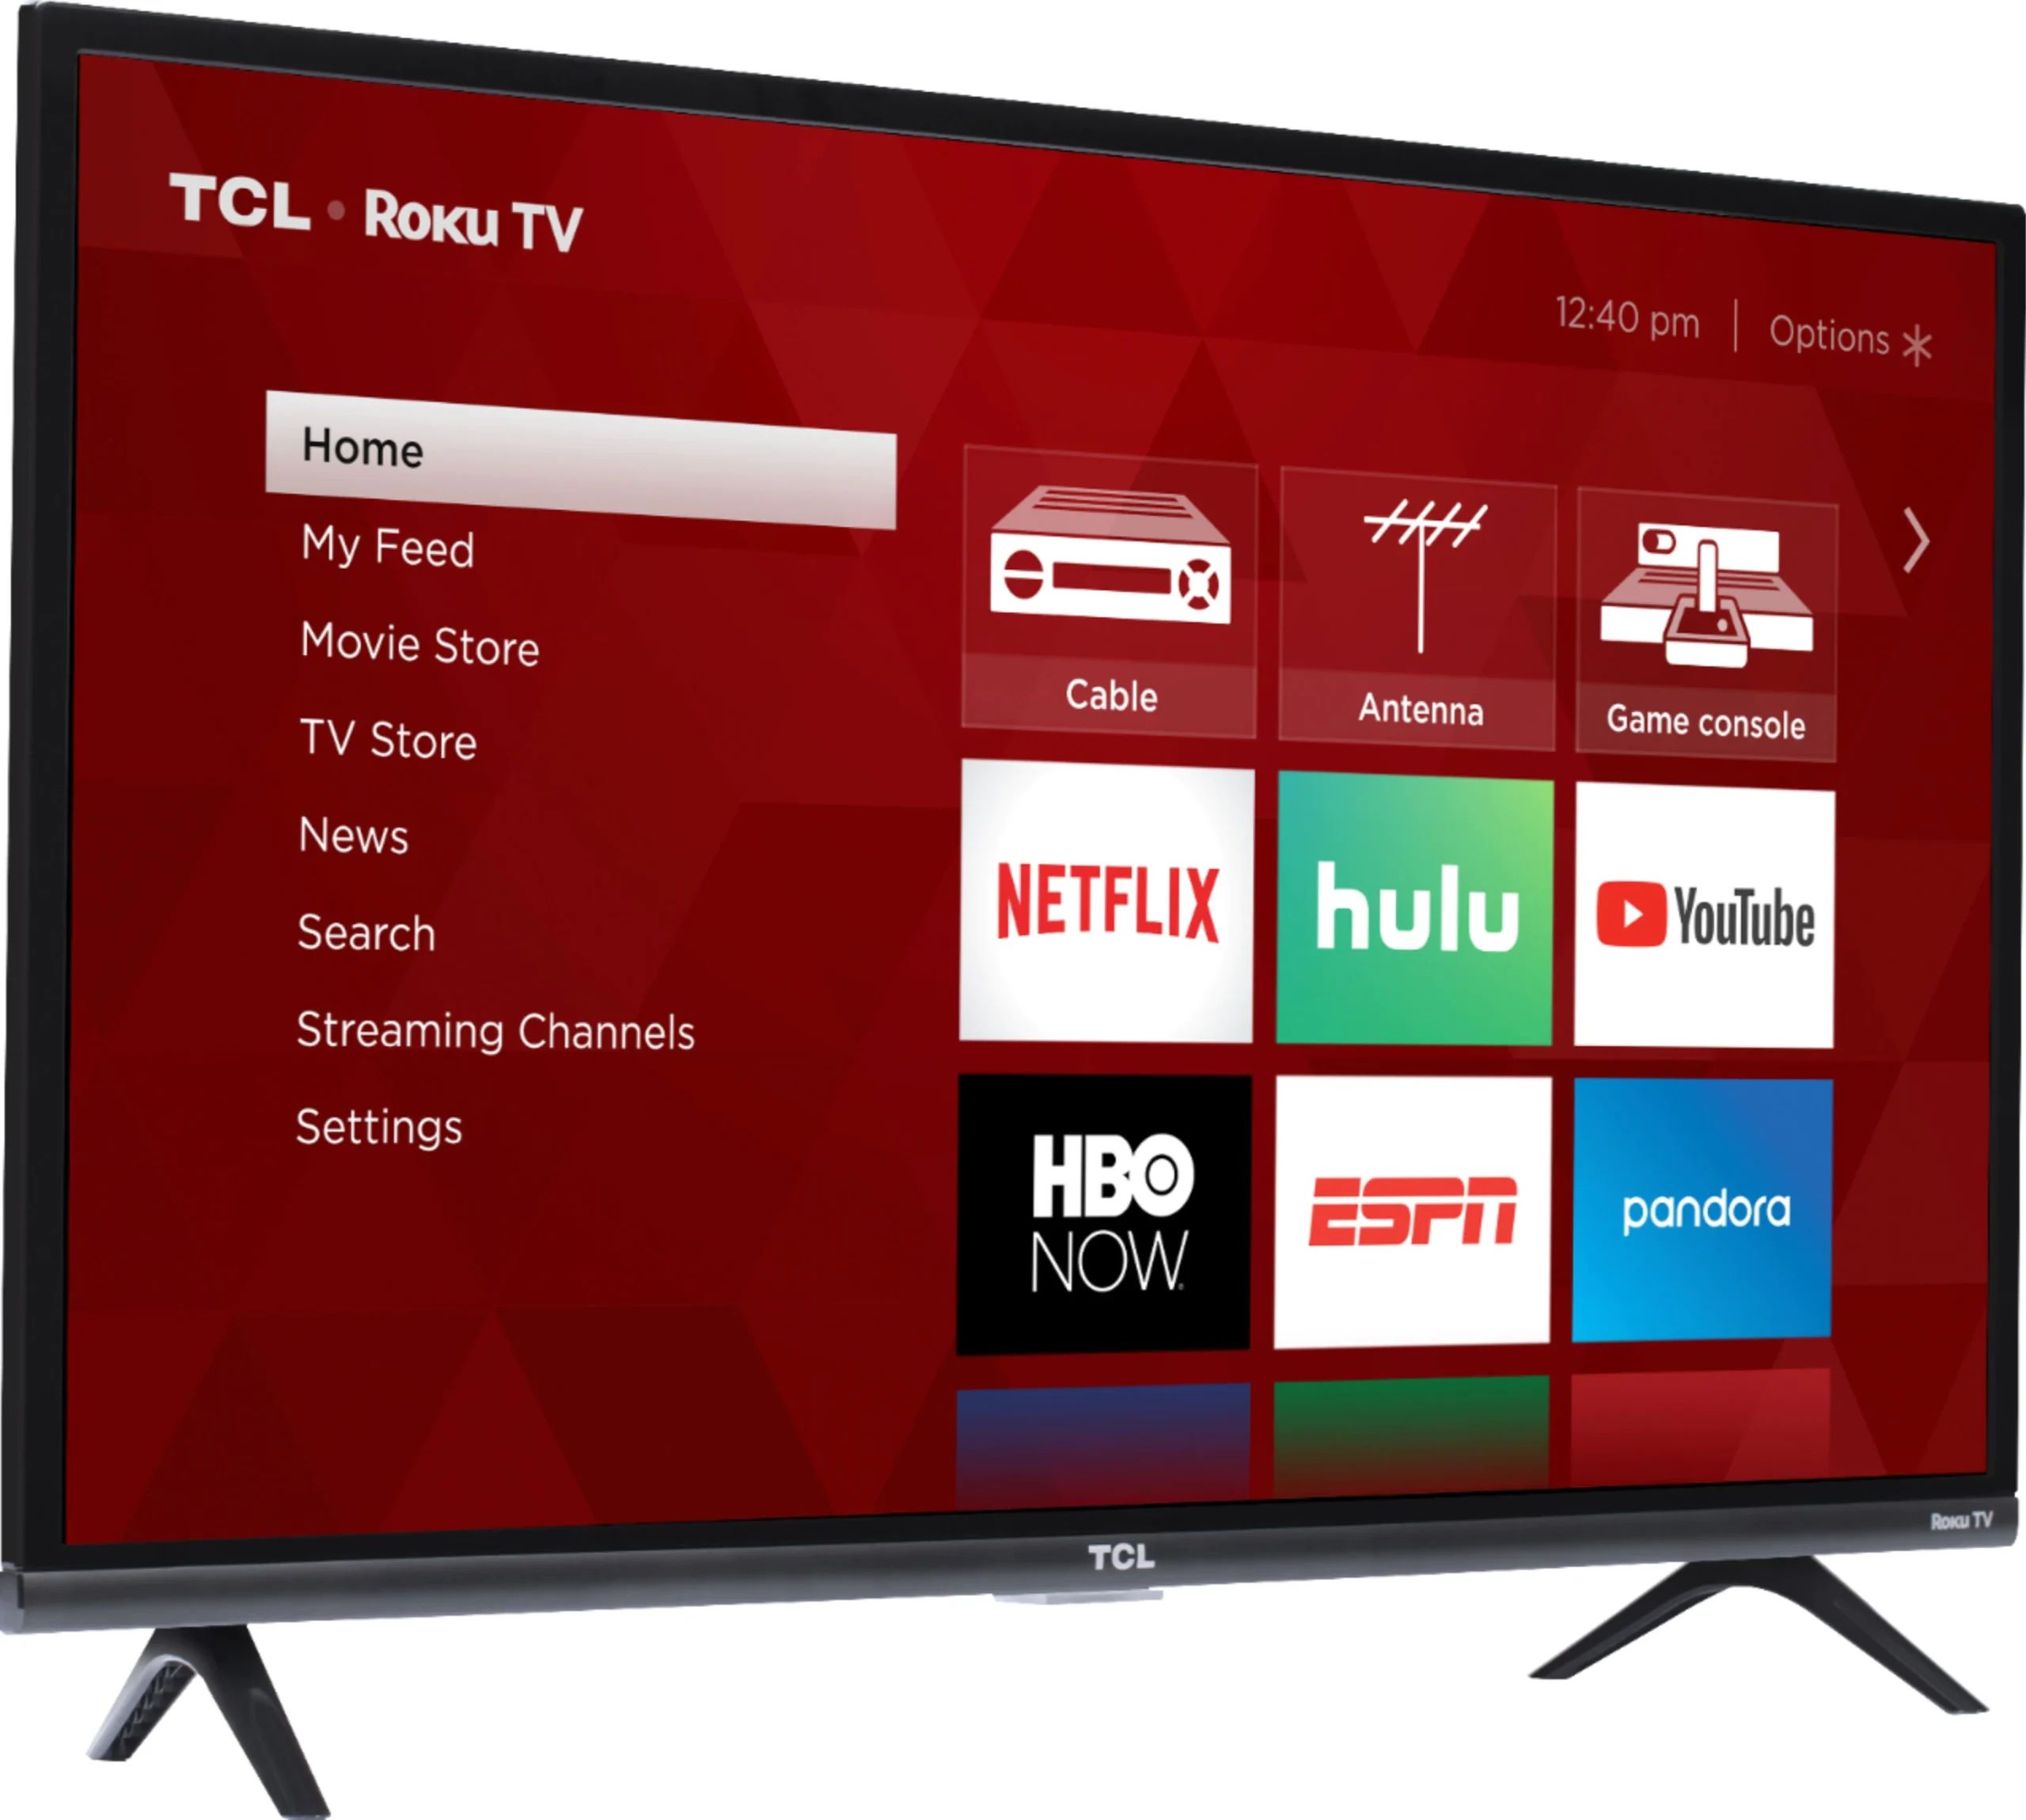
- Turn on the Roku device: Once you’ve selected the correct input source, you should see the Roku logo or the home screen on your TV. If not, ensure that both your Roku device and TV are powered on and the connections are secure.
That’s it! Your Roku device is now successfully connected to your TV. Now, let’s move on to configuring the Roku settings and getting your device ready for streaming.
Powering Up the Roku Device
With your Roku device properly connected to your TV, it’s time to power it up and start the setup process. Follow these steps:
- Ensure that your Roku device is connected to a power source, either through a wall outlet using the provided power adapter or by connecting it to a USB port on your TV.
- Once the Roku device is powered on, you will see the Roku logo displayed on your TV screen or be taken directly to the Roku home screen.
- If you see the Roku logo, wait for a few seconds until the loading screen disappears and the home screen appears. This indicates that your Roku device is ready for configuration.
Powering up your Roku device is a quick and straightforward process. Once it’s powered on, you’re ready to move on to the next step of configuring the Roku settings to personalize your streaming experience.
Configuring the Roku Settings
After powering up your Roku device, it’s time to configure the settings to tailor the device to your preferences. Follow these steps to get started:
- Using your Roku remote, navigate through the on-screen prompts and select your preferred language. This will set the language for all the menus and options.
- Next, connect your Roku device to your home network. Select your Wi-Fi network from the list of available networks, enter the password if required, and wait for the Roku device to establish a connection.
- Once connected to your network, your Roku device will automatically check for any available software updates. If an update is found, let the device download and install the update. This ensures that you have the latest features and improvements.
- After completing the software update, the Roku device will restart. Allow it to restart and continue with the setup process.
- Now, you will be prompted to create or log in to your Roku account. If you already have a Roku account, enter your credentials to sign in. If not, follow the instructions to create a new Roku account. This account will allow you to manage your Roku device and install channels.
- Once signed in, you will be prompted to activate your Roku device. Visit the website displayed on your TV screen and enter the provided activation code. Follow the on-screen instructions to complete the activation process.
- After activating your Roku device, you may be prompted to add additional channels or streaming services. Browse through the available options and select the ones that interest you. You can always add or remove channels later.
- Finally, review and customize the display and audio settings according to your preferences. Adjust the screen resolution, aspect ratio, and audio output options to ensure the best viewing experience.
By configuring the Roku settings, you’re personalizing your streaming device to suit your specific needs. Once you have completed the configuration process, your Roku device is ready to use.
Connecting to Your Network
Now that your Roku device is configured, the next step is to connect it to your home network. Follow these steps to establish a connection:
- On your Roku home screen, navigate to “Settings” using the Roku remote and select “Network.”
- Choose “Wireless” if you’re connecting your Roku device to your Wi-Fi network. If you have an Ethernet cable, select “Wired” to connect your Roku device directly to your router.
- If you selected “Wireless,” a list of available Wi-Fi networks will be displayed. Select your network from the list and enter the password if required.
- Allow your Roku device a few moments to establish a connection with your network. Once connected, the network name will be displayed on the screen.
- The Roku device will automatically test the connection to ensure it’s working properly. If the test is successful, you’re ready to move on to the next step. If not, double-check the network credentials or try restarting your router.
Connecting your Roku device to your home network is crucial for seamless streaming. Once you’ve successfully connected, you can enjoy a wide range of streaming services, channels, and content on your TV.
Activating Your Roku Device
After configuring the settings and connecting your Roku device to your network, the next step is to activate it. The activation process verifies your Roku device and allows you to access streaming services. Follow these steps to activate your Roku device:
- On your TV screen, you will see an activation code displayed. Keep this code handy as you will need it during the activation process.
- Using a computer or smartphone, open a web browser and visit the Roku activation website mentioned on your TV screen.
- Enter the activation code in the specified field on the website and click or tap “Submit” to proceed.
- Sign in to your Roku account. If you already have an account, enter your email address and password. If not, you can create a new account by following the instructions provided.
- After signing in, you will see a prompt asking you to link your Roku device to your account. Confirm the device by clicking or tapping “Yes, link it” or similar.
- Your Roku device will now finalize the activation process. Once completed, you will see a confirmation message on your TV screen.
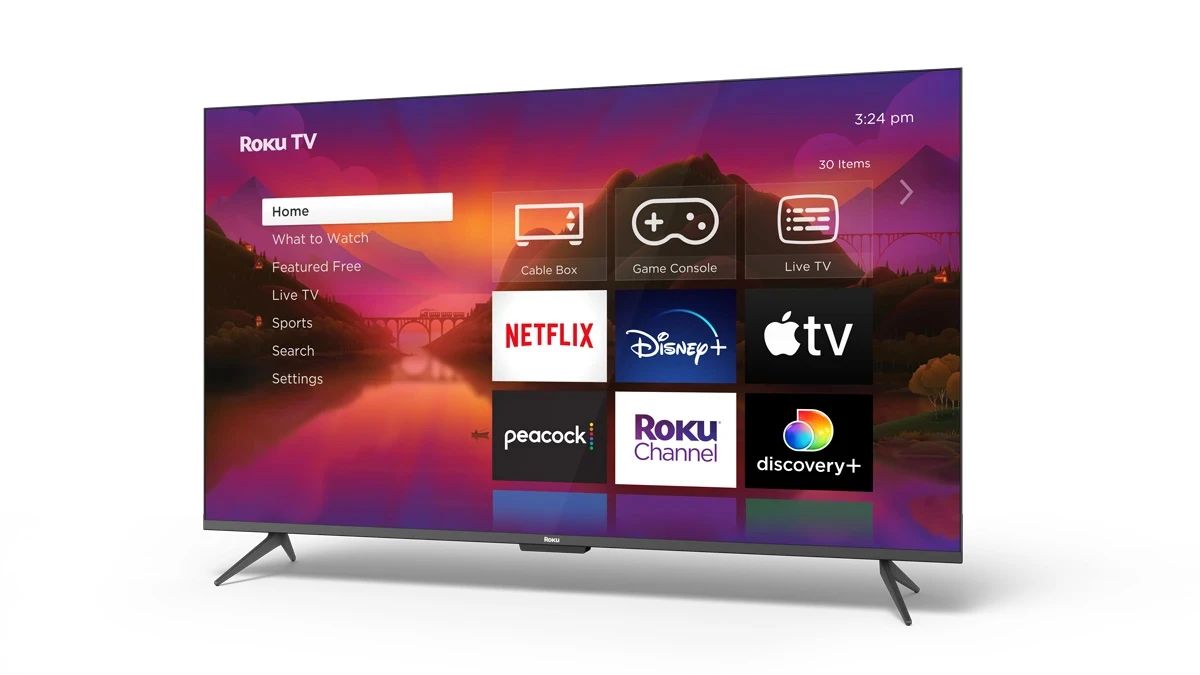
With your Roku device successfully activated, you can now start exploring the wide range of streaming services and channels available. Enjoy popular streaming platforms, such as Netflix, Hulu, Disney+, and many more, all conveniently accessible from your Roku device.
Setting up Channels and Streaming Services
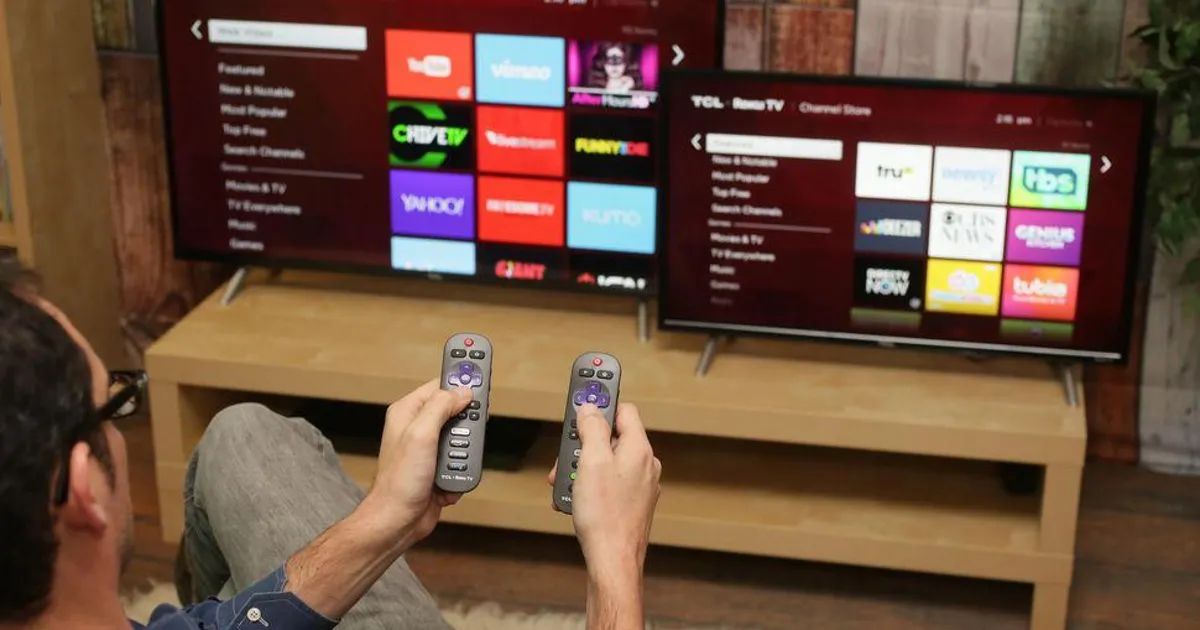
Now that your Roku device is activated, it’s time to set up your preferred channels and streaming services. Roku offers a vast selection of channels, ranging from popular streaming platforms to niche channels catering to specific interests. Follow these steps to set up your desired channels:
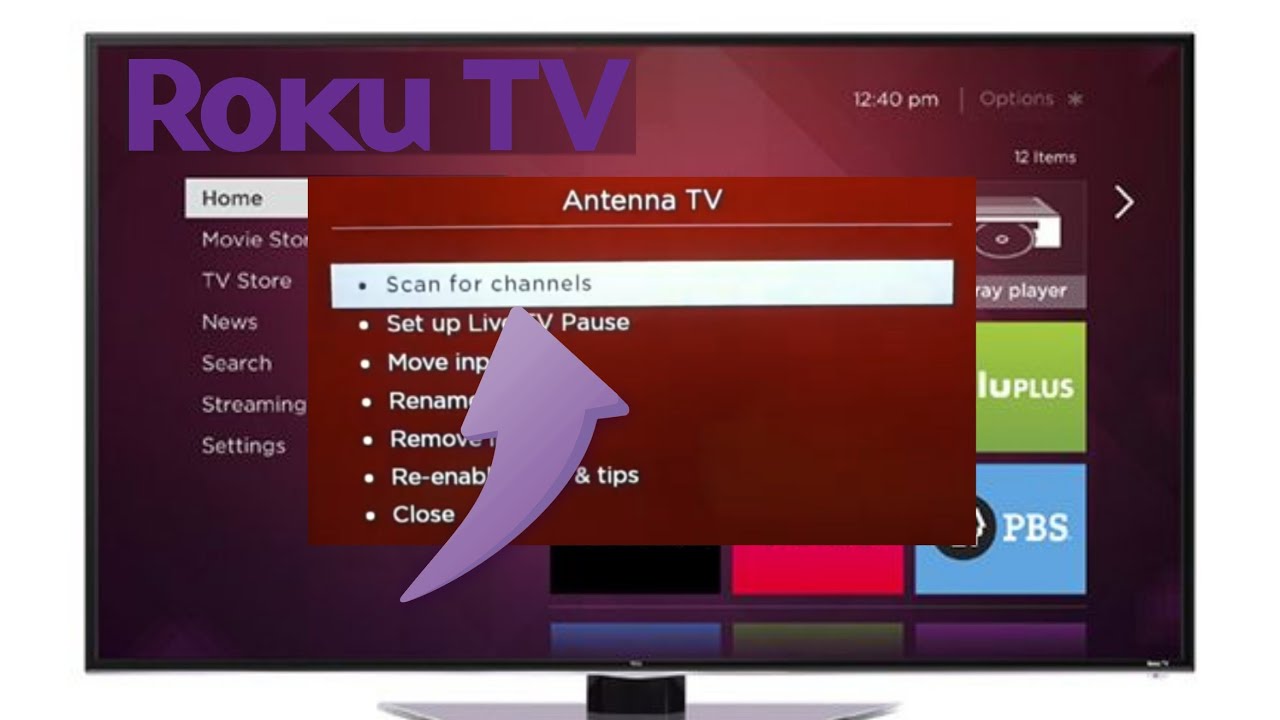
- On your Roku home screen, navigate to the “Streaming Channels” option and select it.
- You can browse through the available channels by category or use the search feature to find specific channels. To search, simply enter the name of the channel you wish to add.
- Once you find a channel you want to add, highlight it and select “Add Channel.” If the channel is free, it will be added to your Roku home screen right away. For paid channels, you may need to complete the payment process to access the content.
- Repeat this process to add all the desired channels and streaming services to your Roku home screen. You can add or remove channels at any time, giving you full control over your streaming experience.
- Arrange and customize your channels by moving them around on the Roku home screen. You can prioritize your favorite channels, create unique channel groups, and personalize your Roku interface.
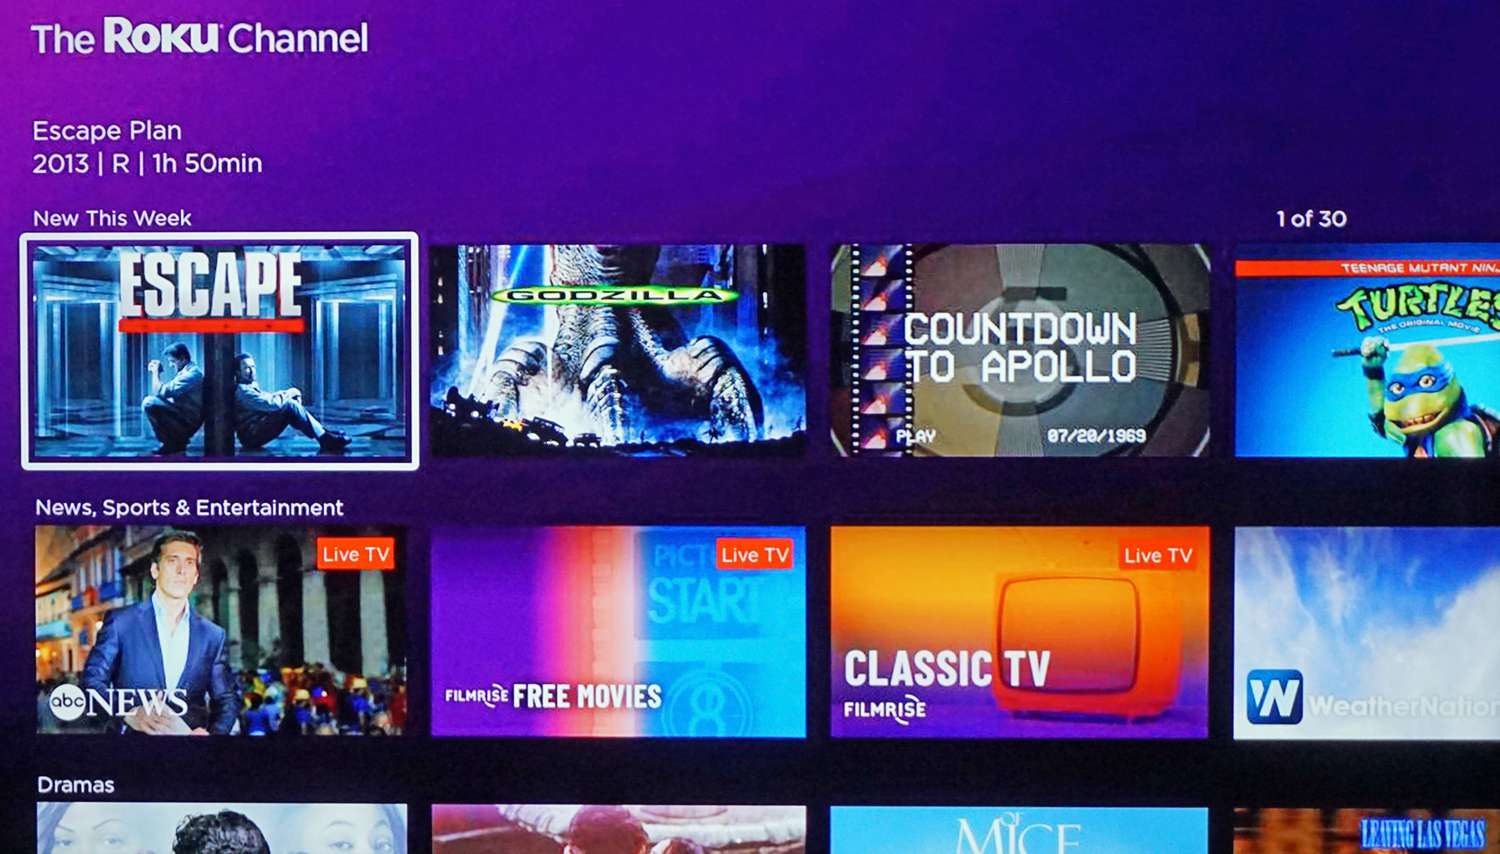
Setting up channels and streaming services on your Roku device allows you to easily access all your favorite content in one place. From movies and TV shows to news, sports, and music, you’ll have a wide range of entertainment options at your fingertips.
Troubleshooting Common Issues
While setting up and using your Roku device, you may encounter some common issues. Here are a few troubleshooting tips to help you resolve them:
- No signal on the TV: Ensure that your Roku device is powered on and connected to the correct HDMI input on your TV. Check the HDMI connection and make sure it’s secure. If using an HDMI switch or audio-video receiver, try connecting the Roku device directly to the TV.
- Connection issues: If you’re experiencing Wi-Fi connectivity issues, try restarting your Roku device and Wi-Fi router. Double-check your network credentials and ensure that you’re within range of the Wi-Fi signal. Consider moving your Wi-Fi router closer to the Roku device for a more stable connection.
- Buffering or poor video quality: Insufficient internet bandwidth can lead to buffering or poor video quality. Check your internet speed and make sure it meets the recommended requirements for streaming. You can also try adjusting the video playback settings on your Roku device to match your internet connection.
- Remote control not working: If your Roku remote control is not responding, try replacing the batteries or re-pairing the remote with the Roku device. To re-pair, remove the batteries from the remote, unplug the Roku device, wait for a few seconds, and plug it back in. Once the Roku screen appears, re-insert the batteries and press any button on the remote to re-pair it.
- Issues with specific channels: If you’re experiencing problems with a particular channel, such as freezing or crashing, try removing and re-adding the channel. This can help resolve any temporary glitches or compatibility issues. If the issue persists, check for any available channel updates or contact the channel provider for assistance.
- Software or firmware updates: Regularly check for software updates for your Roku device. These updates often include bug fixes, performance improvements, and new features. To check for updates, go to the “Settings” menu on your Roku device and select “System” followed by “System Update.”
If you’re still experiencing issues or have specific questions about setting up or using your Roku device, consult the Roku support website or contact their customer support for further assistance. They will be able to provide you with specific troubleshooting steps based on your situation.
Conclusion
Congratulations! You have successfully set up your Roku device and are ready to embark on a world of endless entertainment. By following the steps in this guide, you have connected your Roku device to your TV, configured the settings, connected to your network, activated your device, and set up your preferred channels and streaming services.
Roku provides a seamless streaming experience, allowing you to access a wide range of content from popular streaming platforms, news channels, sports networks, and more. With its user-friendly interface and customizable options, you can tailor your Roku experience to match your unique preferences.
Remember to troubleshoot any common issues that may arise during the setup process, such as connectivity problems or remote control issues. The Roku support website and customer support team are great resources for help and advice.
Now it’s time to grab your popcorn, sit back, and enjoy the incredible entertainment options available to you through your Roku device. Watch your favorite movies, binge-watch TV shows, discover new channels, and stay up to date with the latest news and sports events.
Make the most of your Roku device, explore the diverse selection of channels and streaming services, and elevate your TV viewing experience to new heights. Happy streaming!