Introduction
Welcome to the delicious world of homemade butter made right in your very own ice cream maker! If you’ve ever wondered how to make butter in an ice cream maker, look no further. In this guide, we will take you through the step-by-step process of churning, separating, washing, and flavoring the butter, resulting in a creamy and flavorful spread that will elevate your breakfast toast, baked goods, and savory dishes to a whole new level.
Making butter in an ice cream maker is a fun and easy way to explore your culinary creativity. Not only does it allow you to control the quality of ingredients you use, but it also provides an opportunity to experiment with different flavors and add-ins to suit your taste preference. Plus, the process itself is quite mesmerizing to watch – from the moment the cream starts to transform into butter, to the rich aroma that fills the air.
Whether you have a dedicated ice cream maker or a multi-use appliance with an ice cream maker attachment, you’re well on your way to creating your homemade butter. So, gather your ingredients and let’s get started on this buttery adventure!
Ingredients and Equipment Needed
Before diving into the butter-making process, let’s make sure you have all the necessary ingredients and equipment at hand. Here’s what you’ll need:
- Heavy cream: Make sure to use high-quality heavy cream, preferably with a high fat content, as this will result in a richer and creamier butter.
- Salt (optional): If you want to make salted butter, have some fine sea salt or kosher salt ready. You can also experiment with other seasonings and herbs to add a unique flavor twist to your butter.
- Ice: This will be used in the ice cream maker to create the chilly environment needed for the cream to churn into butter.
- Ice cream maker: You’ll need an ice cream maker with a churn function. Whether you have a standalone ice cream maker or an attachment for a multi-use appliance, make sure it’s in good working condition.
- Mixing bowl and whisk: These will be used to whip the cream and facilitate the butter separation process.
- Strainer or cheesecloth: To strain and collect the butter once it’s separated from the liquid.
- Storage container: Have airtight containers or jars ready to store your freshly made butter.
While these are the basic ingredients and equipment needed, feel free to get creative and experiment with additional ingredients such as honey, garlic, herbs, or even flavored extracts to make your butter truly unique. Now that you’re well-equipped, it’s time to roll up your sleeves and churn some butter!
Step 1: Preparing the Ice Cream Maker
Before you start making butter in your ice cream maker, it’s important to ensure that it’s prepared and ready for use. Follow these simple steps to get your ice cream maker ready:
- Freeze the bowl: Most ice cream makers require a frozen bowl to churn the cream into butter. Place the bowl in the freezer at least 24 hours before you plan to make butter. Ensure that the bowl is completely dry before placing it in the freezer to prevent any ice crystals from forming.
- Chill the cream: For optimal results, it’s best to start with chilled cream. Place the heavy cream in the refrigerator for a few hours before starting the butter-making process. Cold cream helps to facilitate the churning and separation process, resulting in butter with a great consistency.
- Set up the ice cream maker: Once the bowl is frozen and the cream is chilled, assemble the ice cream maker according to the manufacturer’s instructions. Make sure all the components are securely in place before proceeding.
- Add ice: Fill the outer chamber of the ice cream maker with ice. The ice helps to create a cold environment that is essential for churning the cream into butter. Some ice cream makers may require you to add a layer of rock salt between the ice layers to further enhance the freezing process.
- Pre-chill the ice cream maker: Before adding the cream, let the ice cream maker run for a few minutes to allow the bowl to cool down further. This step helps to ensure that the cream stays cold throughout the churning process.
Once you’ve completed these steps, your ice cream maker will be ready to transform your cream into luscious homemade butter. Remember to consult your specific ice cream maker’s manual for any additional instructions and precautions. With the ice cream maker prepared, it’s time to move on to the next step: gathering your ingredients!
Step 2: Gathering the Ingredients
Now that your ice cream maker is prepared, it’s time to gather all the ingredients you’ll need to make butter. Here’s what you’ll need:
- Chilled heavy cream: Start with high-quality heavy cream that has been thoroughly chilled in the refrigerator. The cold temperature will aid in the churning process and lead to better butter formation.
- Salt (optional): If you prefer salted butter, have some fine sea salt or kosher salt on hand. Feel free to adjust the amount of salt based on your personal taste preference.
While these are the basic ingredients for making butter, you can also get creative and experiment with additional flavorings and add-ins. Consider adding herbs, spices, honey, or even citrus zest for a unique twist on your homemade butter.
Once you have gathered all your ingredients, it’s time to start churning the cream in the ice cream maker. Remember, the quality of your ingredients will greatly impact the taste and texture of your final product, so opt for the freshest and highest-quality options available.
Before moving on to the next step, ensure you have everything ready on your countertop or workspace. This includes your chilled cream, salt (if desired), and any additional flavorings or add-ins you would like to incorporate. With the ingredients in place, it’s time to move on to the exciting step of churning the cream to transform it into delicious butter!
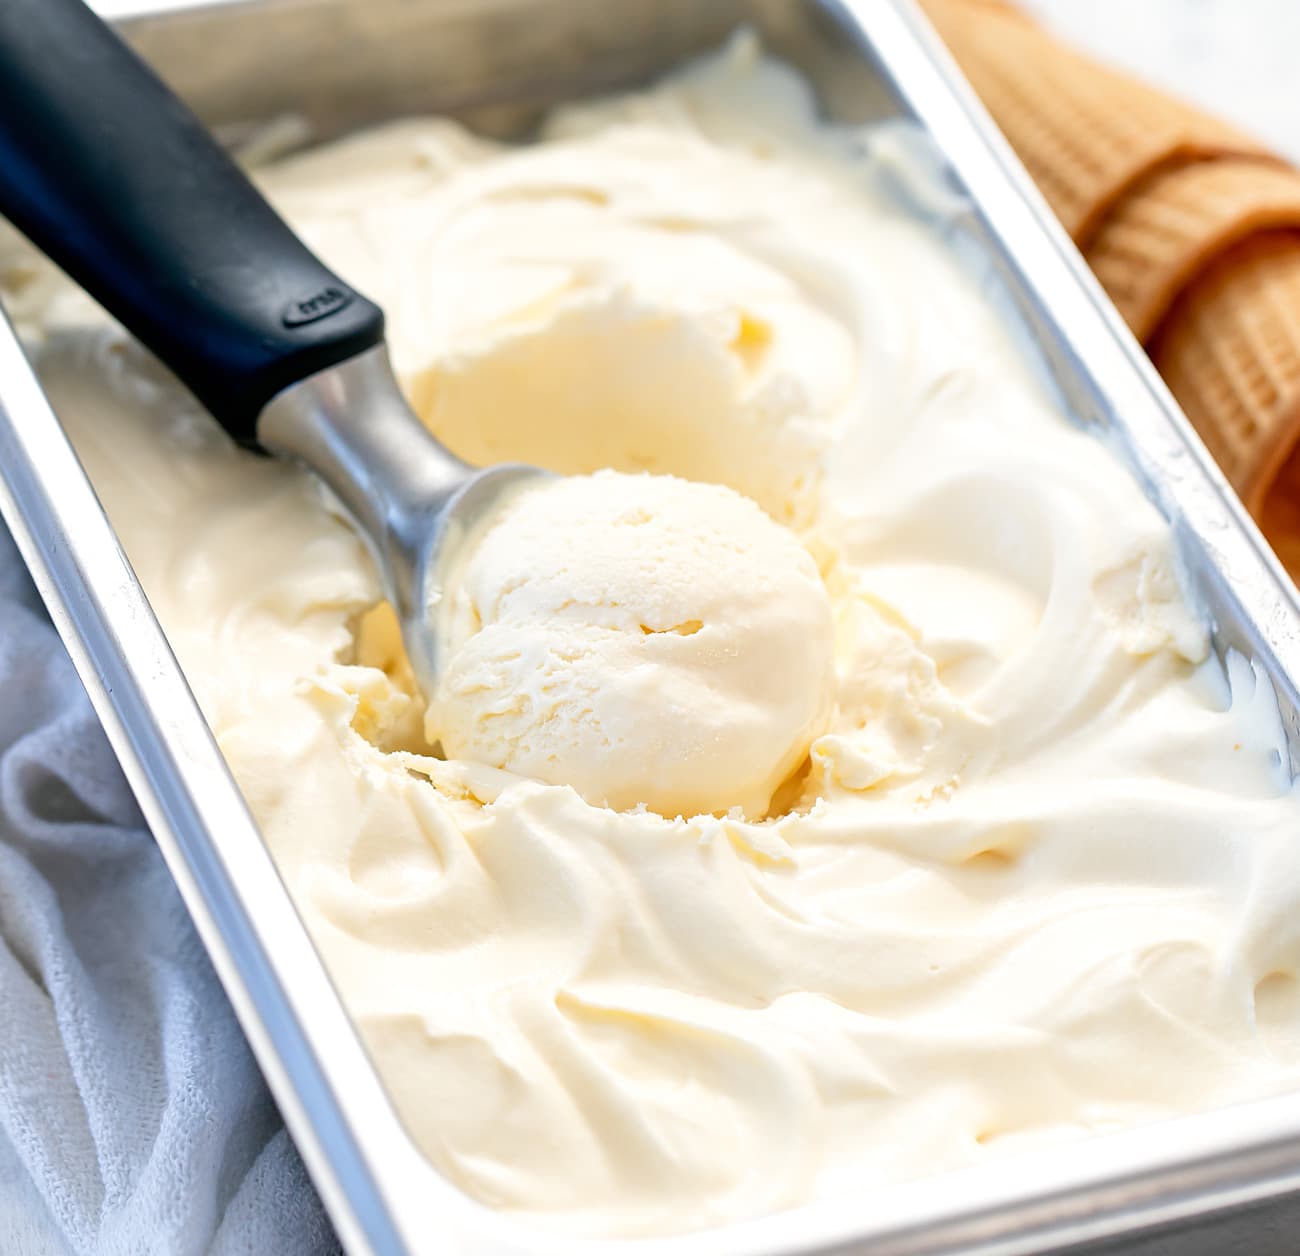
Step 3: Churning the Cream
Now comes the exciting part – churning the cream in your ice cream maker to transform it into butter. Follow these steps to achieve creamy homemade butter:
- Pour the chilled cream into the frozen bowl of the ice cream maker. Ensure that you do not exceed the maximum capacity recommended for your specific machine.
- If desired, add a pinch of salt to the cream to make salted butter. Adjust the amount of salt based on your taste preference. You can also experiment with different seasonings or herbs at this stage if you want to add a unique flavor to your butter.
- Secure the lid of the ice cream maker, making sure that it is tightly closed to prevent any leaks or spills. This will also ensure that the cream is effectively churned into butter.
- Switch on the ice cream maker and let it run according to the manufacturer’s instructions. The churning time may vary depending on your machine and the quantity of cream being churned, but typically it takes around 10-20 minutes.
- As the cream churns, it will gradually thicken and go through different stages. Initially, it will become whipped cream, then it will start to separate into buttermilk and butterfat. You will notice the butter clumps forming and separating from the liquid buttermilk.
- Monitor the process closely and stop the ice cream maker once the butter has fully separated from the buttermilk and formed into clumps. At this point, you have successfully churned the cream into butter.
Once the churning process is complete, you’re one step closer to enjoying homemade butter. In the next step, we’ll focus on separating the butter from the buttermilk.
Step 4: Separating the Butter
After churning the cream in the ice cream maker, it’s time to separate the butter from the buttermilk. Follow these steps to effectively separate the two:
- Remove the bowl from the ice cream maker and carefully pour the contents into a mixing bowl or container.
- To separate the butter from the buttermilk, you can use a strainer or cheesecloth placed over a second bowl. This will allow the buttermilk to drain away while capturing the butter.
- Gently pour the cream mixture into the strainer or cheesecloth. The liquid buttermilk will pass through, leaving the butter behind.
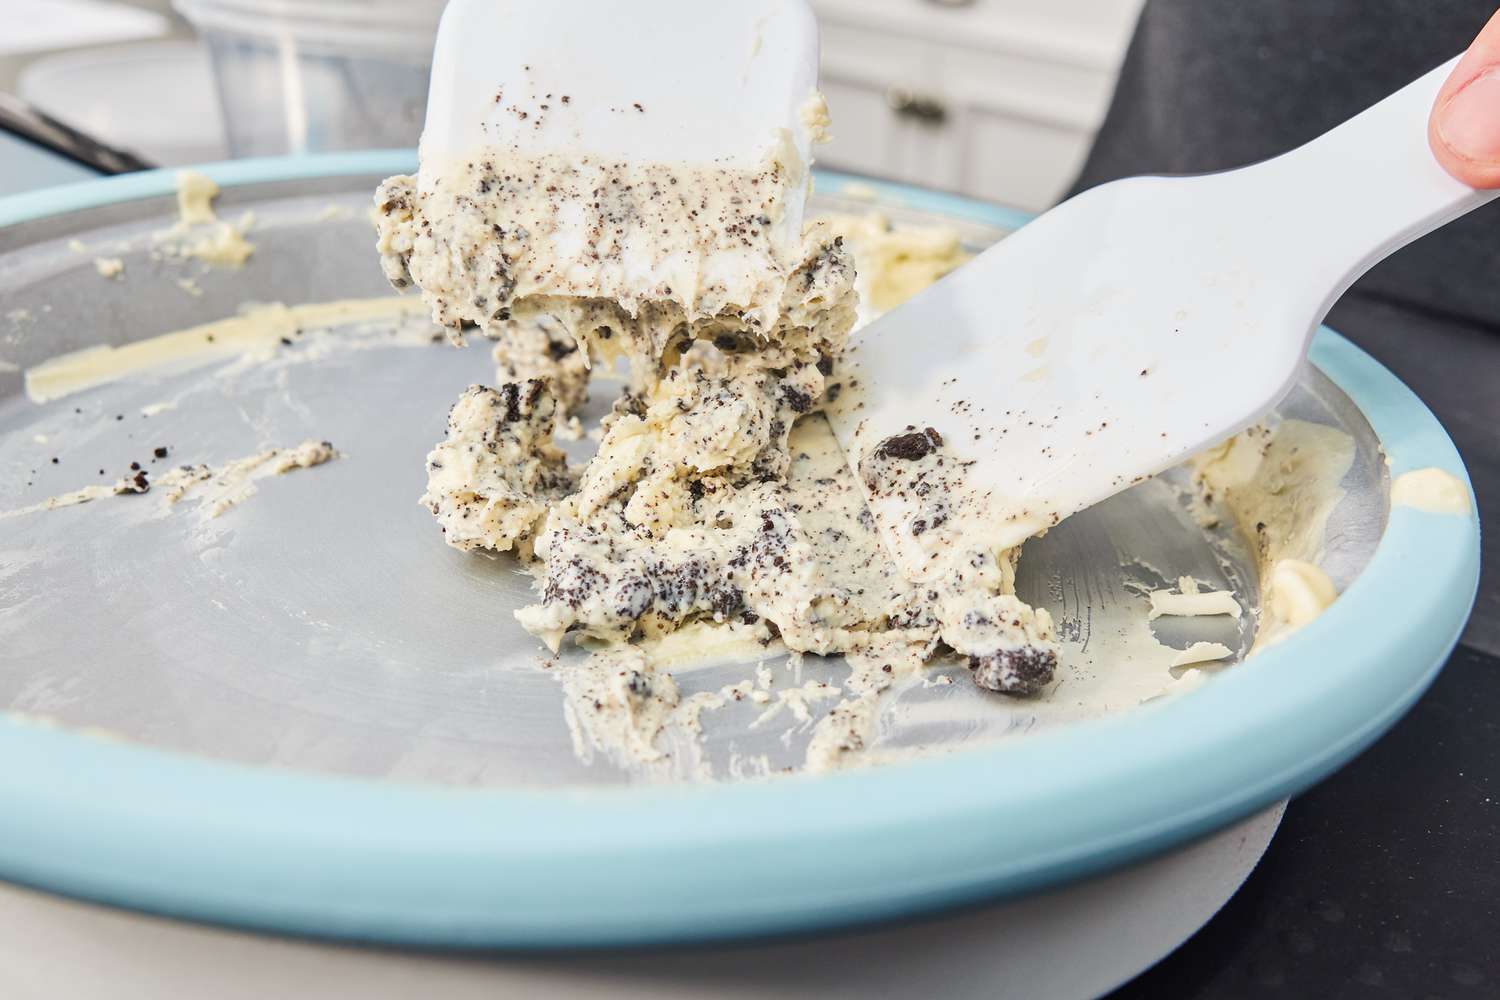
- Use a spatula or your hands to press and squeeze the butter to remove any excess buttermilk. This step is crucial as it helps to prevent the butter from turning sour.
- Once you’ve removed most of the buttermilk, you can place the butter back into the mixing bowl and rinse it with cold water. Doing this will further remove any remaining buttermilk and improve the butter’s flavor and shelf life.
- Keep rinsing the butter under cold running water, gently kneading and massaging it to squeeze out any residual buttermilk. Change the water as needed until the water runs clear.
It’s essential to remove as much buttermilk as possible from the butter as it can cause the butter to spoil quickly. Properly separating and rinsing the butter will ensure its freshness and longevity.
Once you’ve completed the separation process, pat the butter dry with a clean towel or paper towels to remove any excess moisture. Congratulations! You have successfully separated the butter from the buttermilk – the next step is to wash and collect the butter.
Step 5: Washing and Collecting the Butter
Now that you have separated the butter from the buttermilk, it’s time to wash and collect the butter. This step will help remove any remaining traces of buttermilk and ensure the butter is clean and flavorful. Follow these steps to wash and collect your homemade butter:
- Fill a clean bowl or sink with cold water.
- Place the butter into the water and gently knead it, swishing it around to further rinse out any remaining buttermilk. As you rinse, the water may become cloudy.
- Drain the water and refill the bowl or sink with fresh cold water.
- Repeat the process of kneading the butter and swishing it around in the fresh water. Keep repeating this step until the water remains clear after rinsing the butter.
- Once the butter is well-rinsed, drain out the water.
- Pat the butter with a clean towel or paper towels to remove any remaining moisture.
- At this point, your homemade butter is ready to be shaped and stored. You can mold it into a log, transfer it to a butter dish, or place it in airtight containers or jars for storage.
Properly washing the butter not only removes any residual buttermilk, but it also enhances the flavor and extends its shelf life. It’s important to note that the homemade butter may still contain a small amount of moisture, which is normal and acceptable.
Store your freshly made butter in the refrigerator. It will stay fresh for around two to three weeks, depending on the cleanliness and quality of the ingredients used. Homemade butter brings a delightful freshness and flavor to your culinary creations, elevating your favorite dishes to new heights.
Now that you have successfully washed and collected your butter, you can move on to the final step: flavoring and storing the butter.
Step 6: Flavoring and Storing the Butter
After washing and collecting your homemade butter, it’s time to add some flavorful touches and store it properly. Follow these steps to flavor and store your delicious butter:
- If desired, you can add additional flavorings to your butter. Consider mixing in herbs, spices, garlic, honey, or even citrus zest to create unique and flavorful variations.
- Place the butter in a mixing bowl and let it soften slightly at room temperature. This will make it easier to incorporate any flavorings.
- Add your desired flavorings to the softened butter and use a fork or spatula to thoroughly mix them in. Ensure that the flavorings are evenly distributed throughout the butter.
- If shaping the butter into a log or any specific shape, transfer the flavored butter onto a sheet of plastic wrap or wax paper. Wrap it tightly and shape it into the desired form. Refrigerate the wrapped butter for at least a couple of hours to allow it to firm up.
- If storing the butter in a container or jar, transfer it into the desired storage container and ensure it is well-sealed to prevent any air exposure.
- Label the container with the date and any flavorings added to keep track of its freshness and variations.
Store your flavored butter in the refrigerator to preserve its freshness. It can typically be stored for up to a month, but be sure to check for any signs of spoilage before using it in your recipes. It’s best to consume the butter within this time frame to enjoy its optimal flavor and quality.
As you experiment with different flavorings, you’ll discover endless possibilities for enhancing your dishes with the unique taste of homemade flavored butter. Spread it on toast, melt it over steamed vegetables, slather it on warm biscuits, or use it to add richness and flavor to your favorite recipes.
With your butter now flavored and properly stored, you can enjoy the rewarding experience of homemade butter any time you want. Just remember to keep it refrigerated and use it within the recommended time frame to relish its delightful taste and texture.
Tips and Tricks
As you embark on your journey to make butter in an ice cream maker, consider these helpful tips and tricks to ensure a successful and enjoyable experience:
- Use high-quality heavy cream with a high fat content for creamier butter.
- Ensure that the cream and the ice cream maker’s bowl are properly chilled for best results.
- Experiment with different seasonings, herbs, or flavorings to create unique variations of butter.
- Monitor the churning process closely to prevent over-churning, which can result in the butter turning into a grainy texture.
- Properly drain and rinse the butter to remove any residual buttermilk, preventing it from spoiling quickly.
- Store the butter in airtight containers or wrap it tightly to prevent air exposure.
- Label the butter containers with the date and any added flavorings to keep track of freshness and variations.
- Softened butter is easier to mix with flavorings, so allow it to soften slightly at room temperature before adding any additional ingredients.
- Clean and dry your ice cream maker thoroughly before and after use to maintain its performance.
- Be creative and experiment with different flavors and add-ins to personalize your homemade butter.
Remember, making butter in an ice cream maker is a fun and delicious process that allows you to take control over the ingredients and flavors. Don’t be afraid to get creative and try new combinations to elevate your culinary creations.
Whether you’re hosting a brunch, baking a batch of cookies, or simply enjoying a slice of warm bread, homemade butter adds a touch of decadence and flavor that can’t be replicated by store-bought alternatives. Enjoy the process, savor the results, and share your delicious creations with friends and family!
Conclusion
Congratulations on successfully making butter in an ice cream maker! You have embarked on a culinary adventure that has transformed simple heavy cream into a delicious and flavorful spread. By following the step-by-step process of preparing the ice cream maker, gathering the ingredients, churning the cream, separating the butter, washing and collecting the butter, flavoring and storing the butter, and implementing the tips and tricks along the way, you have created homemade butter that will surpass any store-bought alternative.
The beauty of making butter in an ice cream maker lies not only in the simplicity of the process, but also in the ability to tailor the flavors to suit your taste preferences. Whether you choose to make traditional salted butter or experiment with an array of herbs, spices, and other flavorings, the possibilities are endless. The result is a creamy, rich, and delectable butter that will elevate everything from your morning toast to gourmet recipes.
Remember to properly store your butter in airtight containers or wrap it tightly to maintain its freshness and longevity. Label the containers with the date and any added flavors to keep track of variations and ensure you consume it within the suggested time frame.
By making butter in an ice cream maker, you have embraced the joy of homemade culinary creations, taking control over the quality of ingredients and adding a personal touch to your meals. So, continue to explore and experiment with different flavor combinations, and don’t forget to share your delicious butter creations with your loved ones.
Enjoy the process, the delicious results, and the satisfaction of knowing that you have discovered a new skill in the world of culinary delights. Homemade butter made in an ice cream maker is a delightful addition to your kitchen repertoire that will surely impress and delight anyone who has the pleasure of tasting it.