Introduction
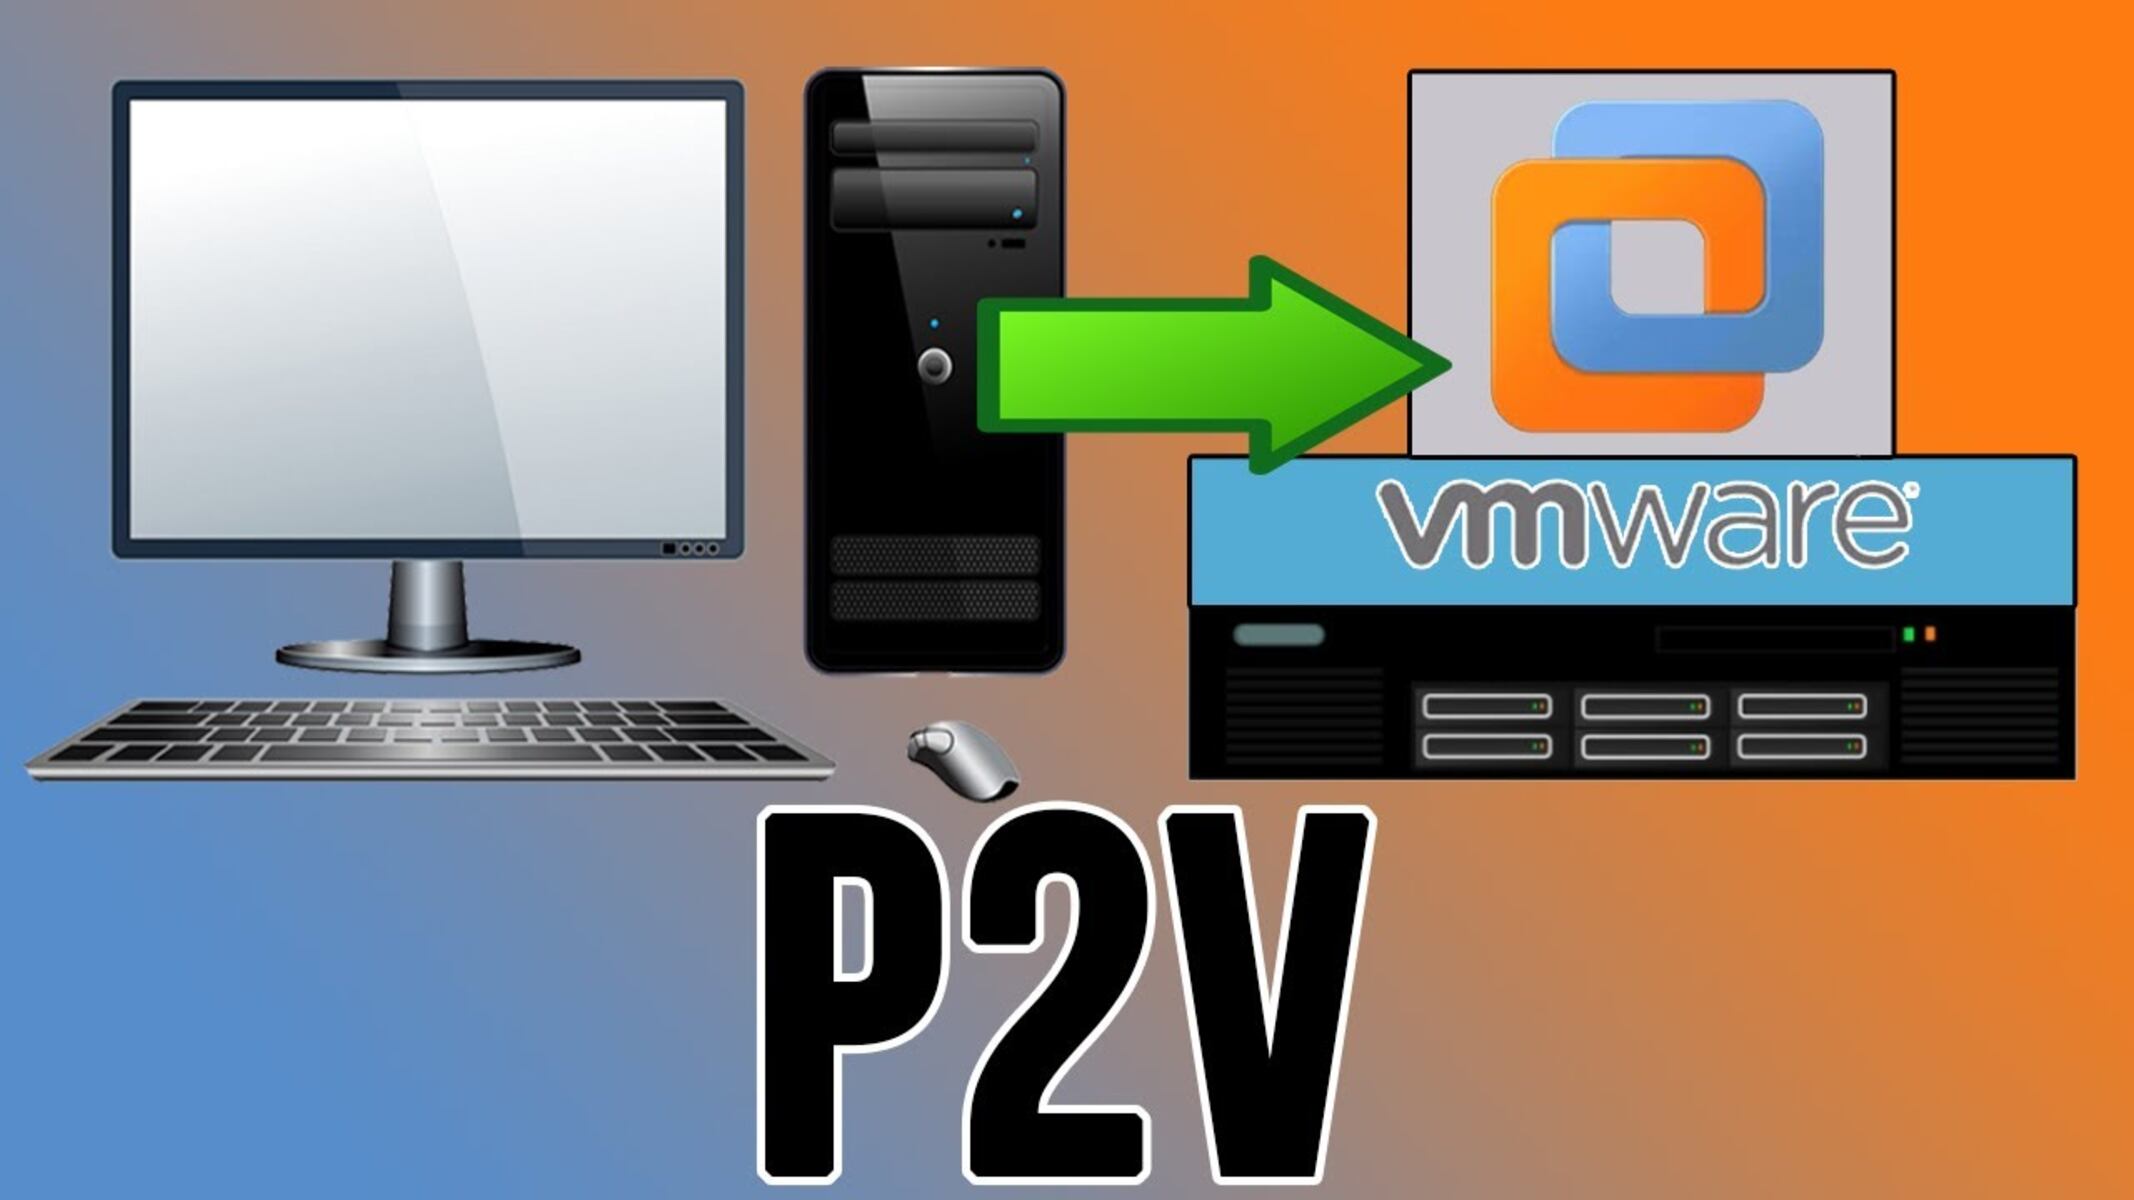
Welcome to the world of virtual machines! In this guide, we will explore how to convert a physical machine into a virtual machine using VMware Workstation. This process allows you to take your existing physical setup and replicate it in a virtual environment, offering increased flexibility, scalability, and ease of management. Whether you want to test new software configurations, create a backup of your system, or simply make your workflows more efficient, converting your physical machine to a virtual machine can be a game-changer.
VMware Workstation is a powerful virtualization software that enables you to run multiple operating systems on a single physical machine. By converting your physical machine to a VM, you can benefit from the ability to run multiple environments simultaneously without the need for additional hardware. This not only saves you space but also reduces costs and simplifies the management of your IT infrastructure.
Throughout this guide, we will provide you with step-by-step instructions to convert your physical machine to a virtual machine using VMware Workstation. We will cover all the necessary prerequisites, installation procedures, and configuration steps needed to successfully make this transformation. So, without further ado, let’s dive into the world of virtualization and discover how you can make a VM from your physical machine with VMware Workstation.
Prerequisites
Before you embark on the journey of converting your physical machine to a virtual machine with VMware Workstation, there are a few prerequisites you need to keep in mind. Ensuring that you have the necessary hardware, software, and knowledge in place will ensure a smooth and successful conversion process. Let’s take a look at what you need:
- Physical Machine: Of course, you will need a physical machine that you want to convert into a virtual machine. This machine should be in working condition and meet the minimum system requirements for VMware Workstation.
- VMware Workstation: Download and install the latest version of VMware Workstation from the official website. Ensure that your system meets the software’s system requirements to run it smoothly.
- Storage Space: Make sure you have sufficient storage space available on your computer’s hard drive or an external storage device to accommodate the converted virtual machine.
- Operating System ISO: Prepare an ISO file or installation media for the operating system you wish to install on the virtual machine. This will be necessary for configuring the converted VM later.
- Basic Computer Skills: Familiarize yourself with basic computer skills, such as navigating through the file system, installing software, and configuring system settings. This will help you follow the conversion process more effectively.
- Backup: It is always recommended to create a backup of your physical machine before proceeding with the conversion process. Although converting a physical machine to a virtual machine is generally safe, having a backup ensures that you have a fail-safe option in case something goes wrong.
By ensuring that you have these prerequisites fulfilled, you will be well-prepared to dive into the process of converting your physical machine to a virtual machine using VMware Workstation. So, let’s move on to the next steps and start the conversion process!
Step 1: Installing VMware Workstation
The first step in converting your physical machine to a virtual machine is to install VMware Workstation on your computer. Follow the instructions below to complete the installation:
- Download: Visit the official VMware website and download the latest version of VMware Workstation. Make sure to choose the appropriate version for your operating system.
- Run the Installer: Once the download is complete, locate the installer file and double-click on it to run the installation wizard.
- Accept the License Agreement: Read through the license agreement and click on the “I accept the terms of the license agreement” checkbox. Click “Next” to proceed.
- Choose Installation Type: Select the installation type that suits your needs. If you are unsure, it is recommended to go with the default option. Click “Next” to continue.
- Choose User Experience Settings: Decide whether you want to join the VMware Customer Experience Improvement Program and click “Next”.
- Choose Destination Folder: Select the folder where you want to install VMware Workstation or leave it as the default. Click “Next” to proceed.
- Configure Shortcuts: Choose whether you want to create desktop shortcuts and click “Next”.
- Ready to Install: Review the installation settings and click “Install” to begin the installation process.
- Complete the Installation: Wait for the installation to finish. Once completed, click “Finish” to exit the installation wizard.
After following these steps, you should have successfully installed VMware Workstation on your computer. Now you are ready to move on to the next step and prepare your physical machine for conversion. Keep reading to learn how to do that in the next section.
Step 2: Preparing the Physical Machine for Conversion
Before you can convert your physical machine into a virtual machine, there are a few preparations that need to be done. Follow the steps below to ensure a smooth and successful conversion process:
- Free up Disk Space: Remove unnecessary files and programs from your physical machine to free up disk space. This will ensure that the virtual machine has enough room to store all the necessary files.
- Update Operating System: Make sure that your physical machine is running the latest updates for the operating system. This will help prevent compatibility issues during the virtual machine conversion process.
- Uninstall Unused Applications: Remove any applications or software that you no longer use or need. This will reduce the size of the virtual machine and streamline the conversion process.
- Check for Malware or Viruses: Run a thorough security scan on your physical machine to ensure that it is free from malware or viruses. If any threats are detected, remove them before proceeding with the conversion process.
- Disable Unnecessary Services and Startup Programs: Disable any unnecessary services and startup programs that are running on your physical machine. This will help optimize the performance of the virtual machine.
- Update Drivers: Update the drivers for your hardware components, such as graphics cards, network adapters, and sound cards. This will ensure that the virtual machine can properly utilize these components.
- Create a System Backup: It is always recommended to create a backup of your physical machine before proceeding with the conversion process. In case anything goes wrong during the conversion, you will have a backup to restore your system to its original state.
By following these preparation steps, you will ensure that your physical machine is in an optimal state for conversion to a virtual machine. Once you have completed these preparations, you can move on to the next step and start the conversion process. Stay tuned for the next section, where we will guide you through the process of converting the physical machine into a virtual machine using VMware Workstation.
Step 3: Converting the Physical Machine to a VM
Now that you have prepared your physical machine, it’s time to convert it into a virtual machine using VMware Workstation. Follow the steps below to perform the conversion:
- Launch VMware Workstation: Open VMware Workstation on your computer.
- Create a New Virtual Machine: Click on “File” in the menu bar and select “New Virtual Machine” to start the New Virtual Machine Wizard. Choose the option to install the operating system later as we will be using the existing operating system from the physical machine.
- Select the Source: In the New Virtual Machine Wizard, select the option “Use a physical disk” and choose the physical disk that represents your physical machine.
- Specify Disk Format: Choose the disk format that you prefer for the virtual machine. You can either select “Use physical disk (raw disk)” or “Use individual partitions”. The raw disk option allows you to use the entire physical disk, while the individual partitions option gives you more control over which partitions to use.
- Configure Virtual Machine Name and Location: Set a name and location for the virtual machine files. Choose a location with sufficient storage space.
- Review the Settings: Review the summary of the virtual machine settings and click “Finish” to start the conversion process.
- Conversion Process: VMware Workstation will begin the process of converting the physical machine to a virtual machine. This process may take some time, depending on the size and complexity of your physical machine.
- Post-conversion Steps: Once the conversion process is complete, you may need to perform some post-conversion configuration, like adjusting virtual hardware settings or installing additional drivers.
After completing these steps, you will have successfully converted your physical machine into a virtual machine using VMware Workstation. In the next section, we will guide you through the process of configuring the converted virtual machine. Stay tuned!
Step 4: Configuring the Converted VM
After successfully converting your physical machine to a virtual machine using VMware Workstation, it’s time to configure the VM to ensure optimal performance and functionality. Follow the steps below to configure the converted VM:
- Power On the VM: Launch VMware Workstation and power on the converted virtual machine.
- Install VMware Tools: In the virtual machine window, go to the “VM” menu and select “Install VMware Tools”. This will install the necessary drivers and software to enhance the performance of the virtual machine.
- Configure Network Settings: Depending on your network setup, you may need to configure the network settings of the virtual machine. Choose the appropriate network connection type, such as bridged, NAT, or host-only, to ensure connectivity.
- Adjust Virtual Hardware Settings: Review and adjust the virtual hardware settings as needed. This includes allocating memory, adjusting CPU settings, and configuring virtual storage devices.
- Activate the Operating System: If your virtual machine requires activation, use the provided product key to activate the operating system within the VM.
- Install Required Software: Install any additional software that is required on the virtual machine, such as drivers, applications, or utilities.
- Set Up Virtual Machine Preferences: Customize the virtual machine preferences, such as display settings, input/output settings, and power management options, according to your preferences.
- Take Snapshots (Optional): If desired, take snapshots of the virtual machine to create restore points that you can revert to if needed.
- Test the VM: Verify that the virtual machine is functioning properly by running tests, launching applications, and ensuring that all necessary functionality is working.
By following these steps, you will be able to configure the converted virtual machine according to your requirements. This ensures that the VM is ready to be used effectively for your desired purposes. In the next section, we will guide you through the process of running the converted VM. Keep reading!
Step 5: Running the Converted VM
Now that you have successfully configured the converted virtual machine, it’s time to power it on and start using it. Follow the steps below to run the converted VM:
- Launch VMware Workstation: Open VMware Workstation on your computer.
- Open the Virtual Machine: From the VMware Workstation dashboard, select the converted virtual machine you want to run.
- Power On the VM: Click on the “Play Virtual Machine” button to power on the VM. This will start the operating system within the virtual machine.
- Log In to the VM: Once the OS has booted up, log in to the virtual machine using your credentials.
- Enjoy Your Virtual Machine: You can now use the virtual machine just like a physical machine. Install software, access files, and perform tasks within the VM as you would on a physical computer.
- Transfer Files to the VM (Optional): If needed, you can transfer files from your physical machine to the virtual machine using various methods, such as shared folders, USB devices, or network sharing.
- Save and Shut Down the VM: When you are finished using the virtual machine, save any work and shut down the VM using the proper operating system shutdown procedure.
- Take Snapshots (Optional): If desired, take snapshots of the virtual machine at different points to create restore points that you can revert to if needed.
- Revisit and Modify VM Settings as Necessary: If you encounter any issues or need to make changes to the virtual machine settings, you can always revisit the VMware Workstation interface to modify the VM configuration.
By following these steps, you can now effectively run and utilize the converted virtual machine. Whether you want to test software configurations, create backups, or streamline your workflows, running a virtual machine offers increased flexibility and efficiency. Congratulations on successfully converting your physical machine to a virtual machine!
Conclusion
Converting your physical machine to a virtual machine using VMware Workstation opens up a world of possibilities. You have now learned the step-by-step process to convert, configure, and run a virtual machine, giving you the ability to test new software configurations, create backups, and improve your overall workflow.
Throughout this guide, we covered the prerequisites, installation of VMware Workstation, preparation of the physical machine, the actual conversion process, configuration of the converted virtual machine, and finally, how to run and utilize the virtual machine.
By converting your physical machine to a virtual machine, you can take advantage of the flexibility, scalability, and ease of management that virtualization offers. Running multiple operating systems or configurations on a single physical machine not only saves space but also enables you to streamline and optimize your computing resources.
Remember to always ensure you have sufficient disk space, backup your physical machine, and keep your system updated before initiating the conversion process. Additionally, familiarize yourself with virtual machine configurations and settings to optimize the performance and functionality of your virtual environment.
Now that you have the knowledge and tools to convert a physical machine to a virtual machine using VMware Workstation, it’s time to put it into practice. Explore the world of virtualization and discover the endless possibilities that virtual machines offer.
And with that, you are ready to take the next step and bring your physical machine into the virtual realm. Happy virtualizing!


