Introduction
Connecting a VCR to a smart TV may seem like a daunting task, especially with the advancements in technology. However, fear not! With the right cables and a few simple steps, you’ll be able to enjoy your favorite VCR tapes on the big screen in no time.
Gone are the days when VCRs were the primary source of entertainment. Today, smart TVs offer a plethora of features and connectivity options, allowing you to watch your favorite movies and shows from various sources. But what if you have a collection of VCR tapes that you can’t bear to part with?
In this guide, we will take you through the step-by-step process of connecting your VCR to your smart TV. Whether you want to relive nostalgic memories or simply want to watch those classic movies, we’ve got you covered. So, dust off your old VCR and let’s get started on this exciting journey of seamlessly connecting it to your smart TV.
Before we dive into the steps, keep in mind that the process may differ slightly depending on the specific models and brands of your VCR and smart TV. It’s always a good idea to consult the user manuals for both devices to ensure compatibility and familiarize yourself with the inputs and outputs available.
Now that you’re ready, let’s move on to the first step – checking the inputs and outputs of your VCR and smart TV.
Step 1: Check the inputs and outputs of your VCR and Smart TV
The first step in connecting your VCR to your smart TV is to check the inputs and outputs of both devices. The inputs and outputs are usually located at the back or sides of the devices and are labeled accordingly. By identifying the available connections, you can determine which cables and adapters you need for the connection.
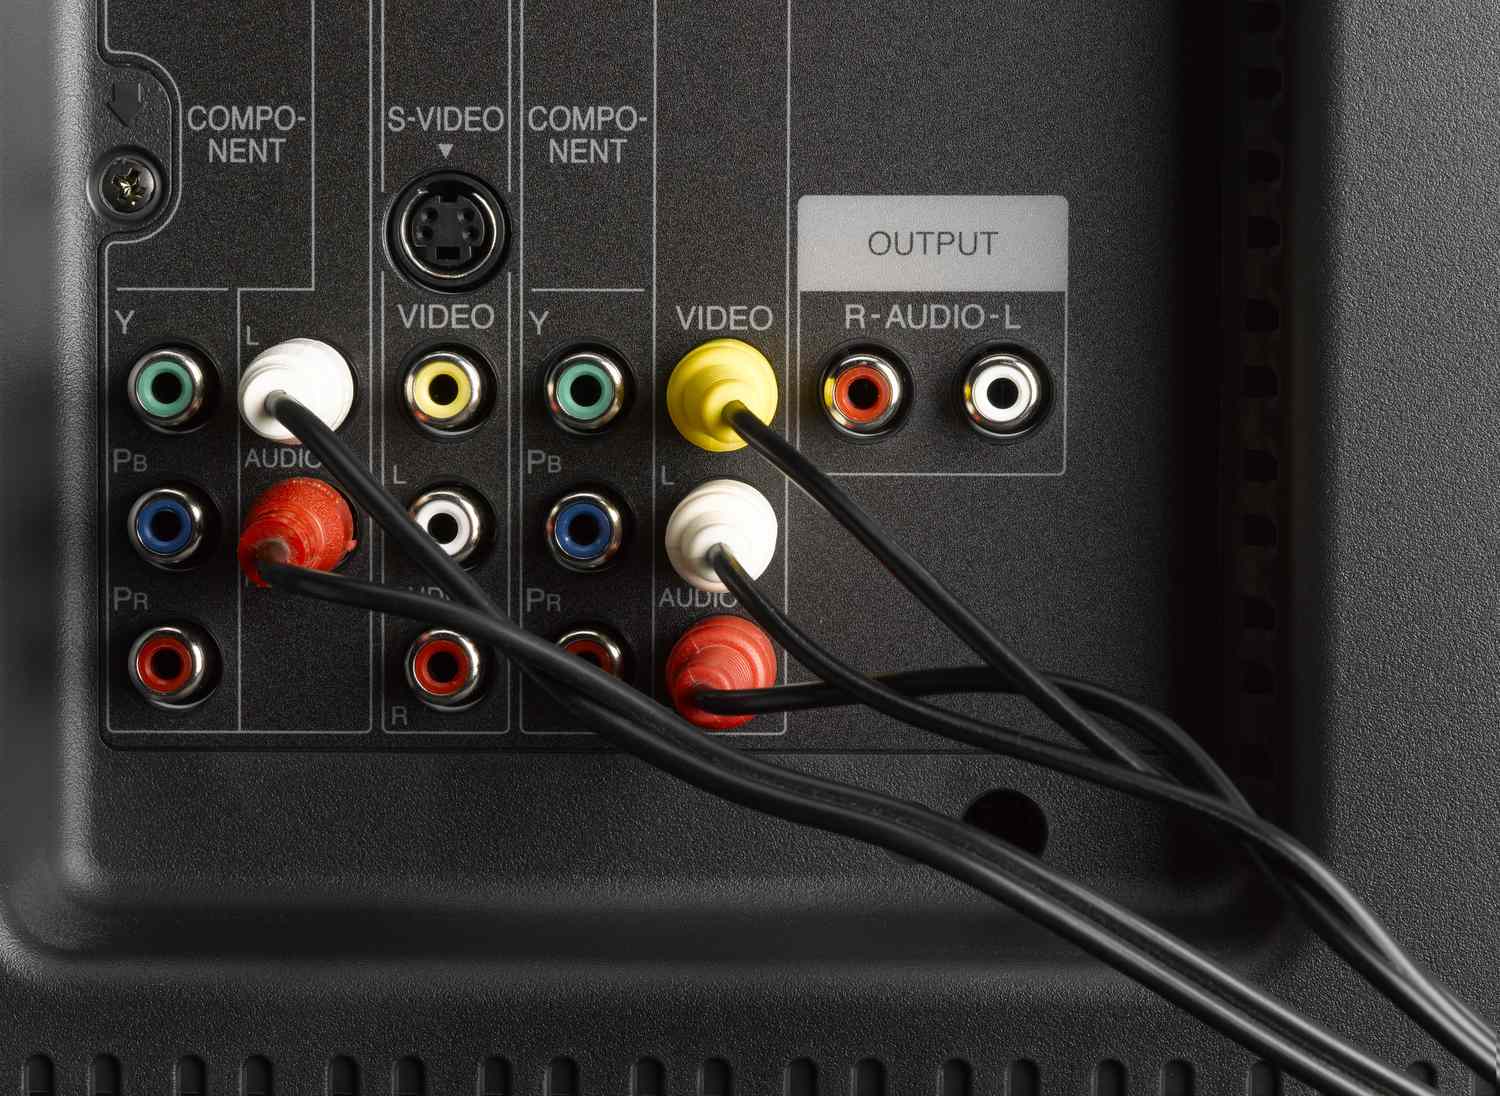
On your VCR, look for the output options. The most common output on VCRs is the RCA output, which consists of three color-coded jacks: red (right audio), white (left audio), and yellow (video). If your VCR has other output options, such as S-Video or component output, take note of them as well.
Next, check the inputs on your smart TV. Most modern smart TVs have multiple input options, including HDMI, component, and composite. HDMI is the preferred option for high-quality video and audio, but if your VCR does not support HDMI, you can use the RCA or other available input options on your smart TV.
Once you have identified the inputs and outputs on both devices, you can move on to the next step – purchasing the necessary cables and adapters.
Step 2: Purchase the necessary cables and adapters
Now that you have identified the inputs and outputs of your VCR and smart TV, it’s time to gather the necessary cables and adapters to connect the two devices. The specific cables you’ll need depend on the available connections on both devices.
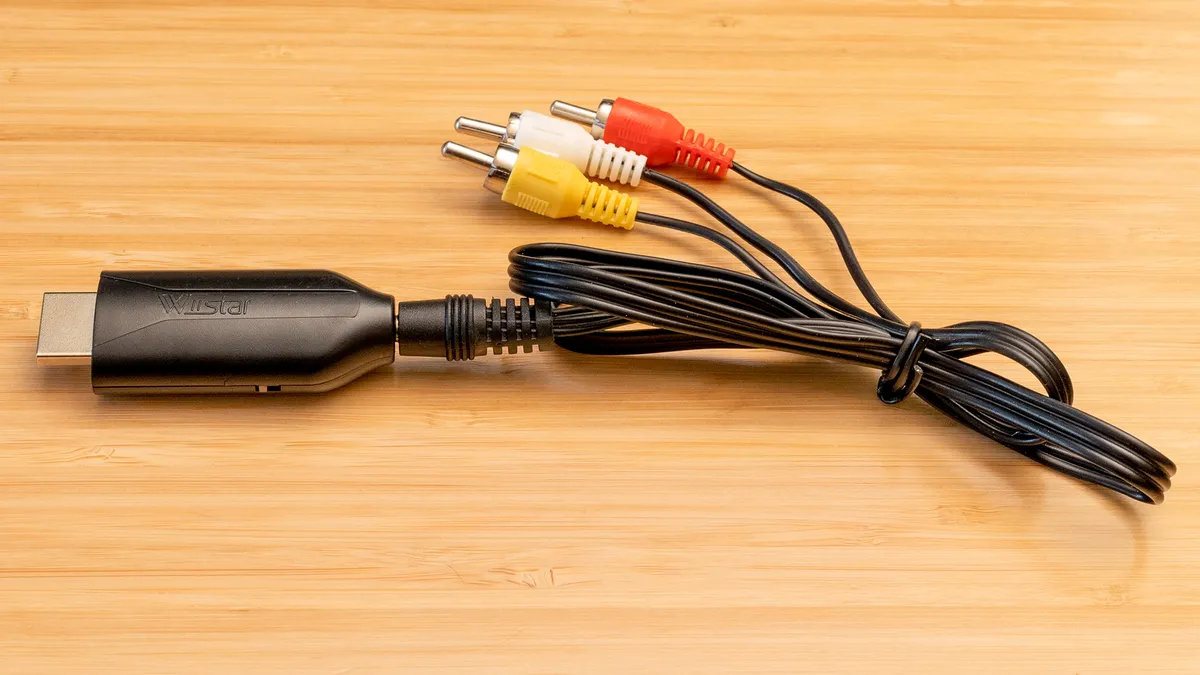
If your VCR has RCA outputs and your smart TV has RCA inputs, you’ll need an RCA cable. RCA cables have three connectors on each end, matching the red, white, and yellow jacks. Make sure to choose a cable that is long enough to reach between the VCR and TV.
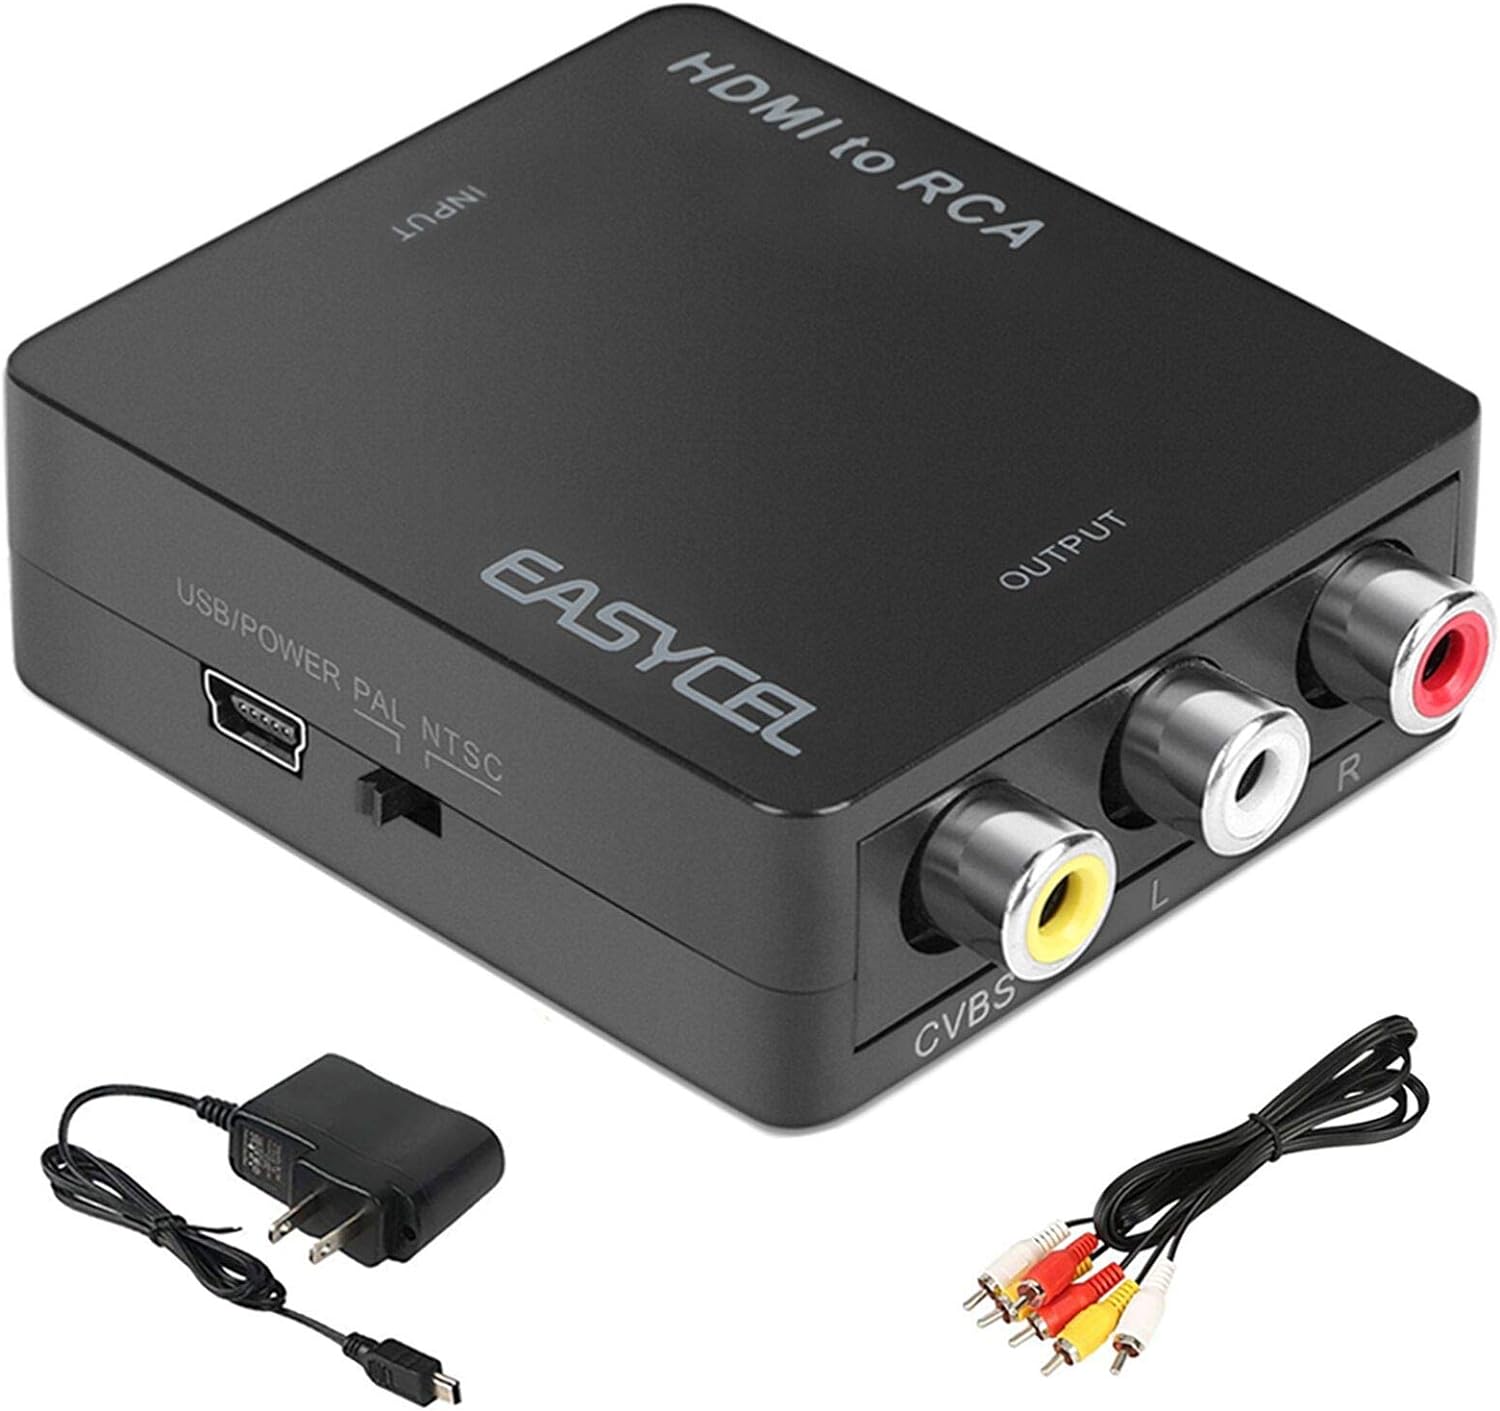
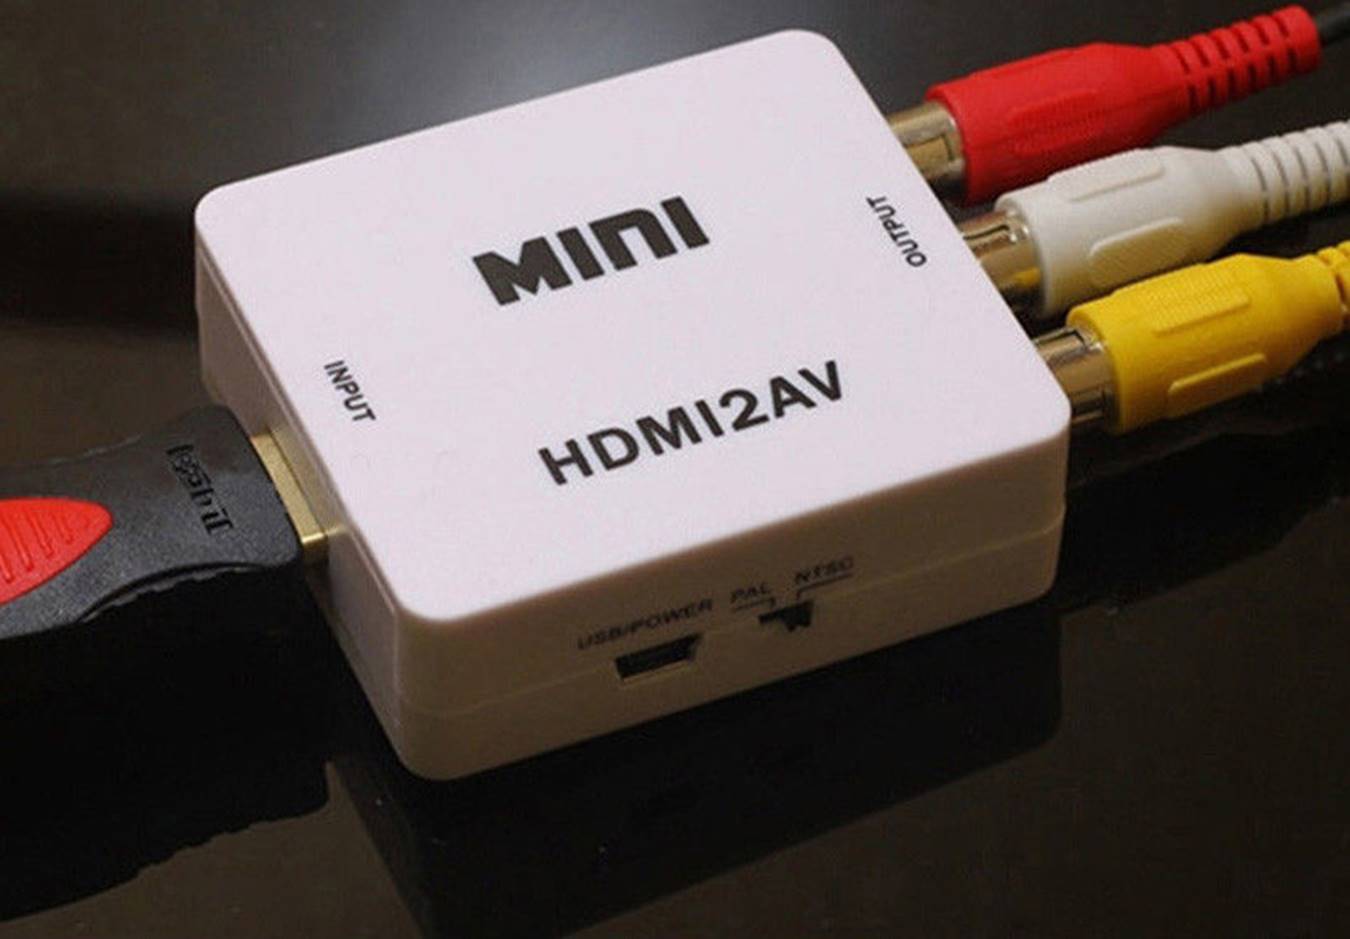
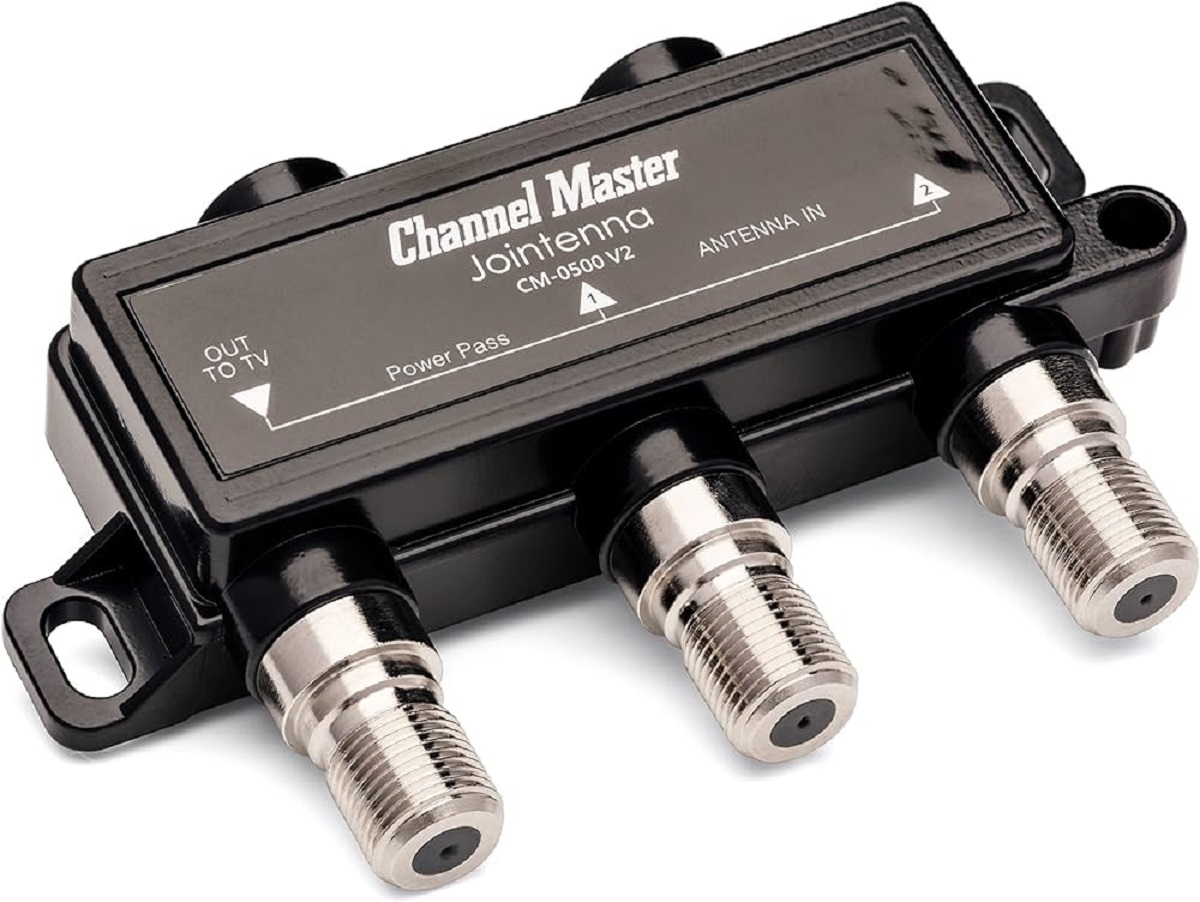
If your VCR only has an RF output or your smart TV doesn’t have RCA inputs, you may need to use an RF modulator. An RF modulator converts the RF signal from your VCR to a standard video signal that can be connected via RCA or other inputs on your smart TV. Ensure that the RF modulator is compatible with your devices and follow the instructions for setup.
In case your smart TV has HDMI inputs, and your VCR supports HDMI output, using an HDMI cable will provide the best quality connection. HDMI cables transmit both high-definition video and audio signals in a single cable, eliminating the need for separate audio cables. Remember to choose an HDMI cable that supports the appropriate resolution and length needed for your setup.
If your VCR and smart TV have different types of outputs and inputs, you may need additional adapters. For example, if your VCR has S-Video output and your smart TV only has HDMI inputs, you’ll require an S-Video to HDMI adapter. These adapters allow you to connect devices with different types of outputs and inputs.
Once you’ve acquired the necessary cables and adapters, you’re ready to move on to the next step – connecting the VCR to the smart TV.
Step 3: Connect the VCR to the Smart TV using RCA cables
With the cables and adapters in hand, you can now proceed to connect your VCR to your smart TV using RCA cables. RCA cables are a common and straightforward method of connecting audio and video devices.
Start by locating the RCA outputs on your VCR. They are typically labeled as “Audio Out” or “Video Out” and color-coded as red (right audio), white (left audio), and yellow (video). Plug the corresponding RCA connectors into the output jacks of your VCR, ensuring a secure connection.
Next, locate the RCA inputs on your smart TV. Depending on the model, these inputs may be labeled as “AV In,” “Component In,” or “Composite In.” They are usually color-coded to match the RCA cable connectors. Plug the other end of the RCA cables into the corresponding inputs on your smart TV, making sure to match the colors correctly.
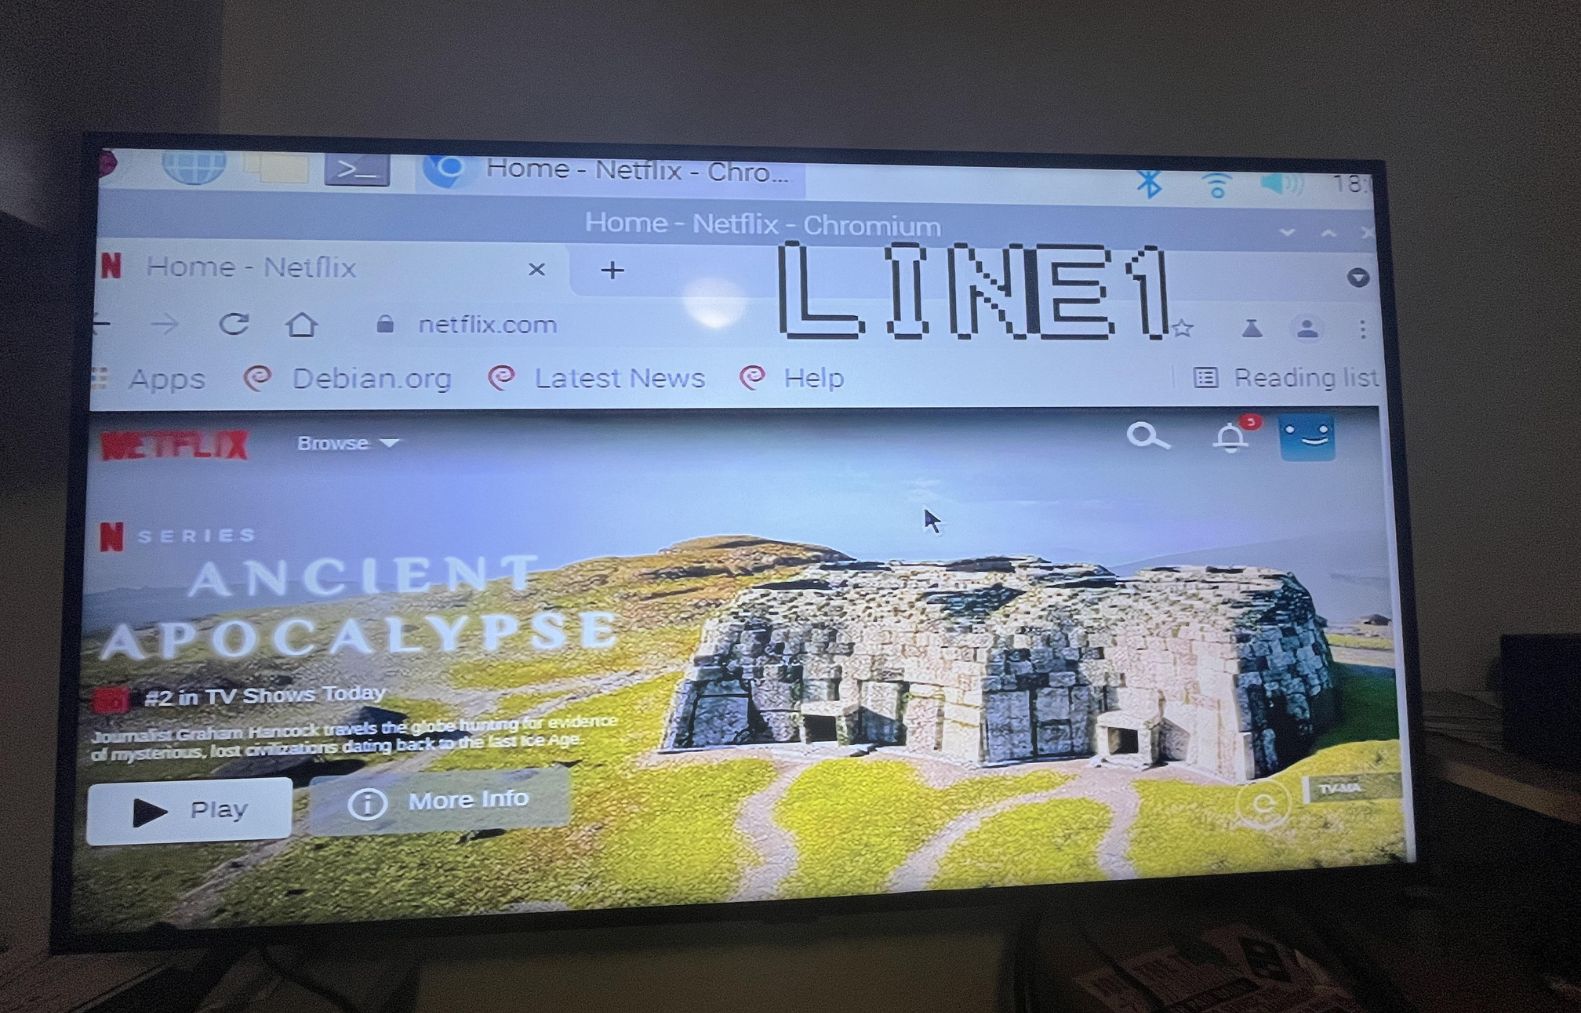
Once the RCA cables are securely connected, power on both your VCR and smart TV. Using your TV’s remote control, navigate to the Input or Source menu to select the appropriate input where the RCA cables are connected. This will allow the TV to display the output from your VCR.
With the connection established, you should now see the content from your VCR playing on your smart TV. If the picture or sound quality is not satisfactory, ensure that the cables are plugged in tightly and that the TV is set to the correct input. You can also try adjusting the settings on your TV to improve the display and audio.
That’s it! You have successfully connected your VCR to your smart TV using RCA cables. Now you can enjoy watching your favorite VCR tapes on the big screen. If you want an even better audio-visual experience, continue to Step 4 to explore how to connect your VCR using HDMI cables.
Step 4: Connect the VCR to the Smart TV using HDMI cables
If your VCR and smart TV both have HDMI ports, using HDMI cables will provide you with the best audio and video quality. HDMI cables transmit high-definition audio and video signals in a single cable, simplifying the setup process.
To connect your VCR to your Smart TV using HDMI, start by locating the HDMI output port on your VCR. It is usually labeled “HDMI Out” and may be located on the back or side of the device. Insert one end of the HDMI cable into the HDMI output port of your VCR, ensuring a snug fit.
Next, locate the HDMI input port on your smart TV. Depending on the model, it might be labeled as “HDMI In” or have a corresponding HDMI number. Insert the other end of the HDMI cable into the HDMI input port of your smart TV, making sure it is securely connected.
Once the HDMI cable is connected, power on both your VCR and smart TV. Use your TV’s remote control to select the HDMI input source that corresponds to the HDMI port you connected the VCR to. This will enable your TV to display the content from your VCR.
With the HDMI connection established, you should now see your VCR’s content playing on your smart TV. The audio and video should be of excellent quality, providing a more immersive viewing experience.
If there is no video or audio output, make sure the HDMI cable is plugged in correctly and securely. Additionally, ensure that both your VCR and smart TV are set to the correct input source and that their HDMI settings are properly configured.
Congratulations! You have successfully connected your VCR to your smart TV using HDMI cables. Now you can enjoy your VCR tapes with high-definition audio and video on the big screen. If you encounter any issues or need further assistance, consult the user manuals of your devices or reach out to the manufacturer’s customer support for guidance.
Step 5: Adjust the settings on your Smart TV
Once you have successfully connected your VCR to your smart TV, it’s important to adjust a few settings on your TV to optimize the viewing experience. By making these adjustments, you can ensure that the content from your VCR is displayed correctly and in the best possible quality.
Start by accessing the menu or settings options on your smart TV. The exact steps may vary depending on the brand and model of your TV, but generally, you can find the settings menu by pressing the menu button on your TV’s remote control.
Look for the display or picture settings in the settings menu. Here, you can customize various parameters such as brightness, contrast, color saturation, and sharpness. Adjust these settings according to your personal preferences or the specific requirements of the VCR tape you are watching. Experiment with different settings to find the balance that suits your needs.
Additionally, check the aspect ratio settings on your smart TV. VCR tapes were typically recorded in a 4:3 aspect ratio, which may cause the content to appear stretched or distorted on modern widescreen TVs. Changing the aspect ratio settings to “4:3” or “Standard” will ensure that the content is displayed in its original format.
If your smart TV offers advanced features such as noise reduction or motion smoothing, you can also explore and enable these options. These features can enhance the picture quality and smooth out any glitches or artifacts present in the VCR tape.
Lastly, don’t forget to adjust the audio settings on your smart TV. You can customize parameters such as volume, equalizer settings, and audio output options to enhance the sound quality of your VCR tape. Experiment with different audio settings to find the optimal balance between clarity and immersion.
By adjusting these settings on your smart TV, you can optimize the playback of your VCR tapes and ensure an enjoyable viewing experience. Take the time to explore the settings menu and make the necessary changes according to your preferences and the requirements of each VCR tape you watch.
Congratulations! You have now completed all the steps to connect your VCR to your smart TV and adjust the settings for the best viewing experience. Sit back, relax, and enjoy watching your favorite VCR tapes on the big screen!
Conclusion
In this guide, we have explored the step-by-step process of connecting your VCR to your smart TV. By following the steps outlined in this article, you can relive the nostalgia of watching your favorite VCR tapes on the big screen.
We started by checking the inputs and outputs of your VCR and smart TV, ensuring compatibility and identifying the necessary cables and adapters. Then, we discussed how to purchase the required cables and adapters, ensuring you have all the necessary equipment for the connection.
Next, we covered two methods of connecting your VCR to your smart TV – using RCA cables and HDMI cables. The RCA cable method provides a simple and straightforward connection, while the HDMI cable method offers higher-quality audio and video transmission.
Finally, we discussed the importance of adjusting the settings on your smart TV to optimize the viewing experience. By tweaking the display, aspect ratio, and audio settings, you can ensure that the content from your VCR is presented in the best possible quality.
Now that you are armed with the knowledge and steps to connect your VCR to your smart TV, it’s time to dust off your old tapes and enjoy the timeless classics. Remember, each VCR and smart TV may have slightly different settings and configurations, so always refer to the user manuals for specific instructions and troubleshooting tips.
Thank you for joining us on this journey of seamlessly connecting your VCR to your smart TV. We hope this guide has been helpful, and we wish you many enjoyable moments of nostalgia as you watch your favorite VCR tapes on the big screen!