Introduction
Welcome to this guide on how to connect your VCR to the Seiki Se32Hy LED TV. While VCRs may have become less common in recent years, there are still many people who have a collection of cherished VHS tapes that they want to enjoy. Thankfully, with the right cables and connections, it is possible to connect a VCR to a modern LED TV.
The process of connecting a VCR to the Seiki Se32Hy LED TV may seem daunting at first, especially if you are not familiar with the various ports and cables involved. However, with a little bit of guidance, you can easily set up the connection and start watching your favorite VHS tapes again.
In this guide, we will walk you through the necessary steps to connect your VCR to the Seiki Se32Hy LED TV. We will cover the required tools, the cable connections you will need, and the configuration of both the TV and VCR settings. Additionally, we will provide troubleshooting tips in case you encounter any issues during the setup process.
Before we begin, it’s important to note that the steps outlined in this guide are specific to the Seiki Se32Hy LED TV model. While the general process may be similar for other TVs, it is recommended to consult the user manual for your specific TV model for any variations in the connections or settings.
Now, let’s dive into the steps required to connect your VCR to the Seiki Se32Hy LED TV and start reliving your favorite VHS memories.
Required Tools
Before you begin connecting your VCR to the Seiki Se32Hy LED TV, it’s important to gather the necessary tools to ensure a smooth setup process. Here are the tools you will need:
- A VCR: Of course, you will need a VCR player to connect to your TV. Make sure it is in working condition and has the necessary ports for connection.
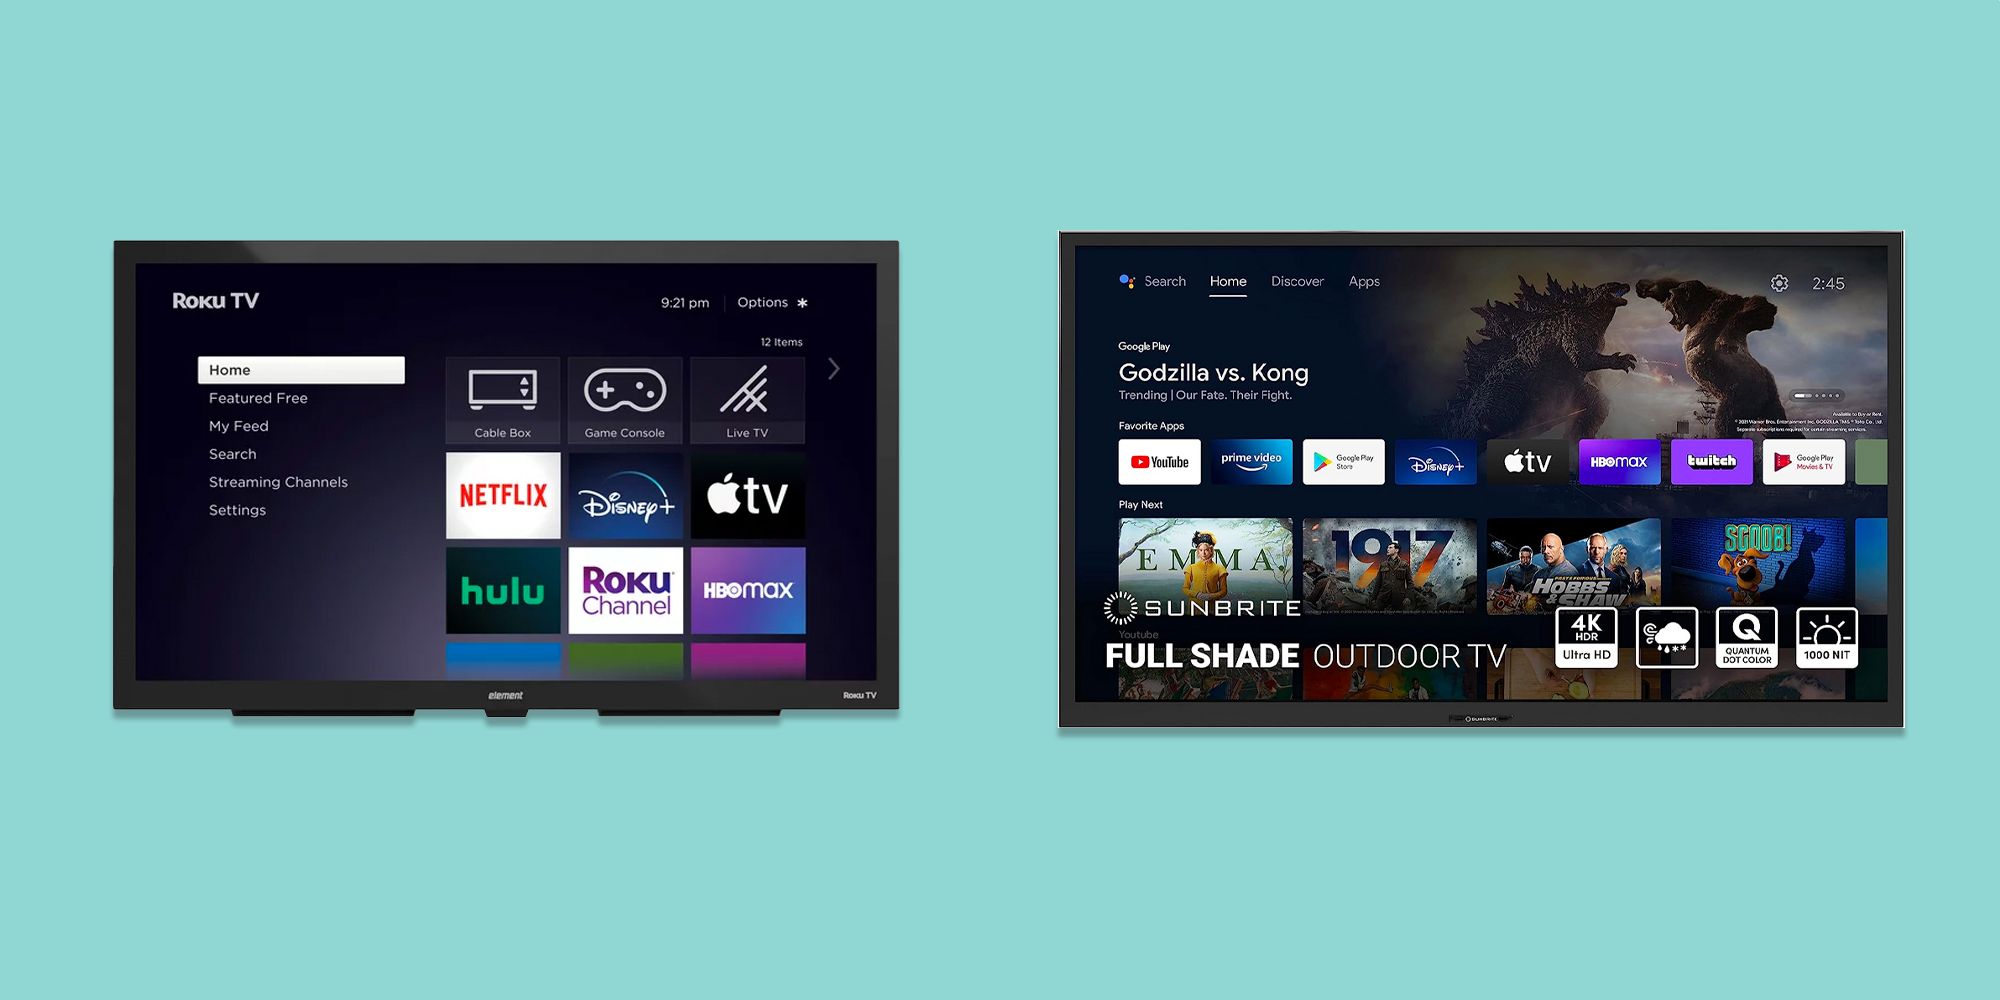
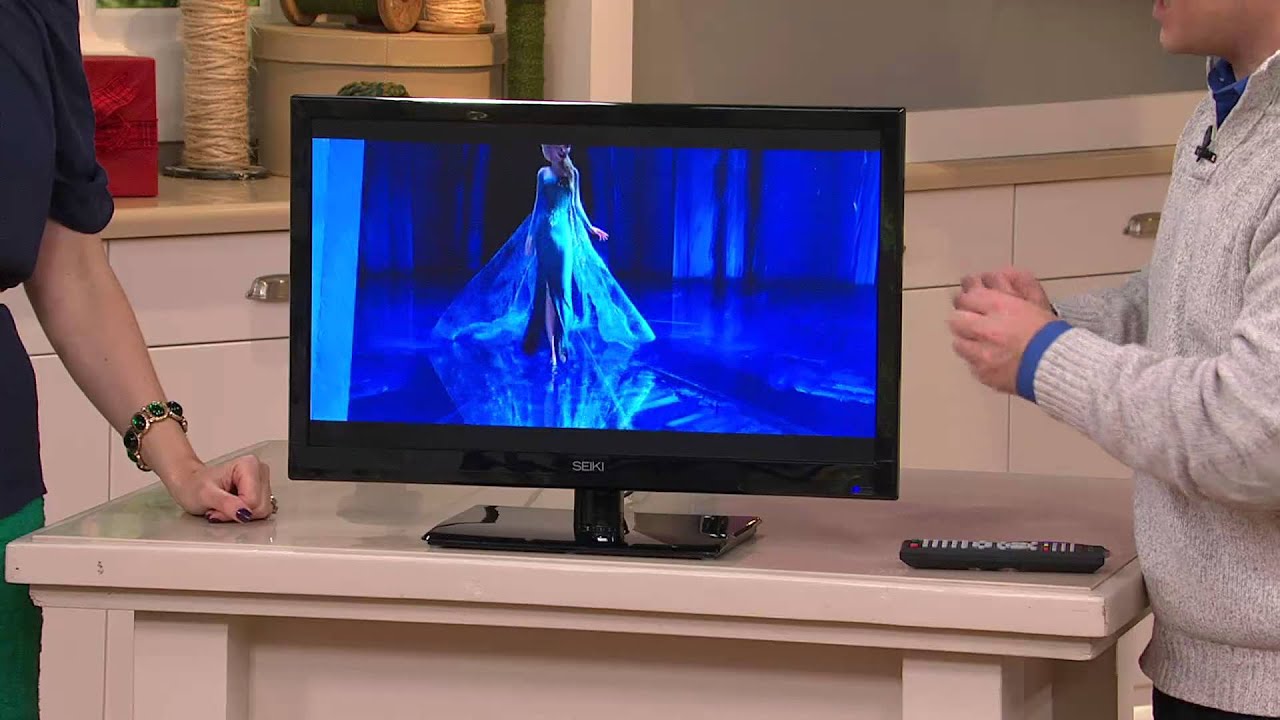
- A Seiki Se32Hy LED TV: This guide is specifically written for the Seiki Se32Hy model. If you have a different TV model, make sure to consult the user manual for any specific instructions or variations.
- Coaxial Cable: This cable will be used to establish the connection between the VCR and the TV. Ensure you have a coaxial cable that is long enough to reach from the VCR to the TV.
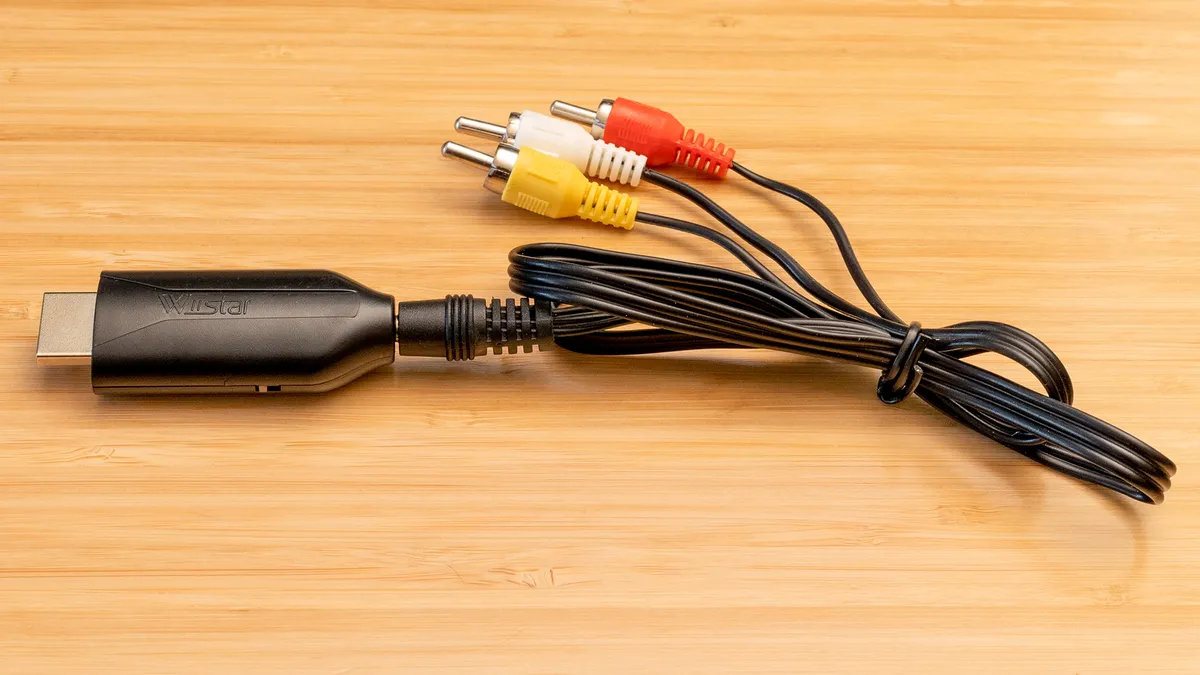
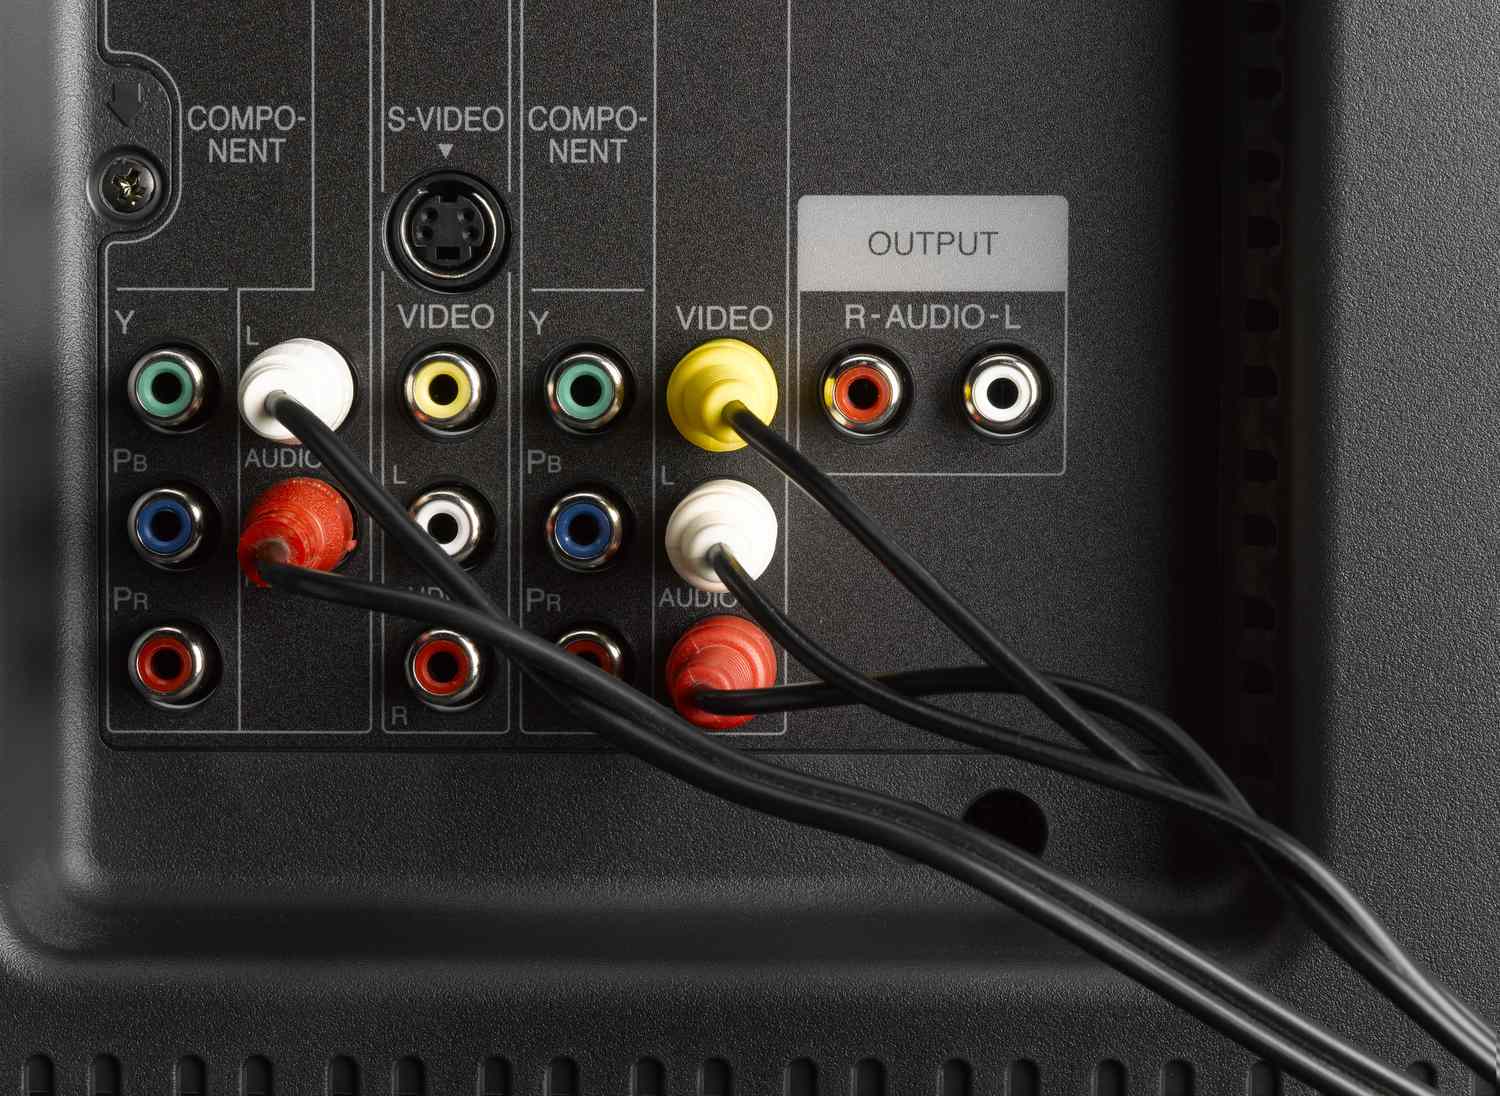
- RCA Cables: RCA cables are another option for connecting the VCR to the TV. You will need a set of RCA cables with three connectors: one yellow (video) and two red/white (audio).
- A Power Outlet: Make sure you have a power outlet near the TV and VCR for plugging in the power cables.
These tools are essential for a successful connection between your VCR and the Seiki Se32Hy LED TV. Once you have gathered all the necessary tools, you can proceed to the next section to learn about the cable connections required for the setup.
Cable Connections
Now that you have the required tools, it’s time to make the necessary cable connections between your VCR and the Seiki Se32Hy LED TV. There are two common methods for connecting a VCR to a TV: using a coaxial cable or using RCA cables. Let’s explore both options:
Coaxial Cable Connection:
Follow these steps to connect your VCR to the Seiki Se32Hy LED TV using a coaxial cable:
- Locate the coaxial output port on the back of your VCR. This port is typically labeled “RF Out” or “Antenna Out.”
- Take one end of the coaxial cable and connect it to the coaxial output port of the VCR.
- Locate the coaxial input port on the back of the Seiki Se32Hy LED TV. This port is usually labeled “RF In” or “Antenna In.”
- Take the other end of the coaxial cable and connect it to the coaxial input port of the TV.
Once the coaxial cable is securely connected to both the VCR and the TV, you can proceed to the next section to learn how to configure the settings on both devices.
RCA Cable Connection:
If you choose to connect your VCR to the Seiki Se32Hy LED TV using RCA cables, follow these steps:
- Locate the RCA output ports on the back of your VCR. These ports are color-coded – yellow for video and red/white for audio.
- Take one end of the RCA cables and connect the yellow connector to the yellow video output port on the VCR. Connect the red and white connectors to the corresponding audio output ports.
- Locate the RCA input ports on the back of the Seiki Se32Hy LED TV. These ports are usually color-coded and labeled – yellow for video and red/white for audio.
- Take the other end of the RCA cables and connect the yellow video connector to the yellow input port on the TV. Connect the red and white connectors to the corresponding audio input ports.
Once the RCA cables are securely connected, you can move on to the next section to learn how to configure the settings on both the VCR and the TV.
Connecting the VCR to the Seiki Se32Hy LED TV
Now that you have made the necessary cable connections between your VCR and the Seiki Se32Hy LED TV, it’s time to connect the devices to complete the setup. Follow these steps:
Coaxial Cable Connection:
- Make sure the VCR and the TV are turned off before proceeding.
- Plug one end of the power cable into the VCR and the other end into a power outlet.
- Turn on the VCR and the Seiki Se32Hy LED TV.
- On the TV remote, press the “Input” or “Source” button to access the input selection menu.
- Using the arrow keys on the remote, select the input source that corresponds to the coaxial connection. It may be labeled as “Antenna” or “TV.”
- Tune the TV to channel 3 or 4, depending on the output channel set on your VCR.
- Use the VCR remote to play a VHS tape. You should now see the content on the screen of the Seiki Se32Hy LED TV.
RCA Cable Connection:
- Make sure the VCR and the TV are turned off before proceeding.
- Plug one end of the power cable into the VCR and the other end into a power outlet.
- Turn on the VCR and the Seiki Se32Hy LED TV.
- On the TV remote, press the “Input” or “Source” button to access the input selection menu.
- Using the arrow keys on the remote, select the input source that corresponds to the RCA connection. It may be labeled as “AV,” “Video,” or “Composite.”
- Start playing a VHS tape on the VCR, and you should see the content on the screen of the Seiki Se32Hy LED TV.
Once you have successfully connected the VCR to the Seiki Se32Hy LED TV, you can move on to the next section to learn how to configure the settings on both devices for optimal playback.
Configuring the TV and VCR Settings
In order to ensure optimal playback quality and performance, it is important to configure the settings on both the Seiki Se32Hy LED TV and the VCR. Follow these steps to adjust the settings:
TV Settings:
- On the Seiki Se32Hy LED TV remote, navigate to the settings menu. This can usually be accessed by pressing the “Menu” or “Settings” button.
- Using the arrow keys on the remote, navigate to the “Picture” or “Display” settings.
- Adjust the picture settings such as brightness, contrast, and color to your preference. It is recommended to choose settings that provide a balanced and vibrant picture.
- Navigate to the “Sound” or “Audio” settings.
- Adjust the sound settings such as volume, bass, and treble according to your preference.
- Save the changes and exit the settings menu.
VCR Settings:
- On the VCR remote, locate the “Setup” or “Menu” button.
- Use the arrow keys on the remote to navigate through the VCR’s settings menu.
- Adjust the playback settings such as tracking and color adjustment for optimal video quality.
- Configure the audio settings such as balance and volume level to your preference.
- Save any changes made and exit the settings menu.
By configuring the settings on both the Seiki Se32Hy LED TV and the VCR, you can ensure an enjoyable viewing experience with the best possible quality and audio output.
Now that you have adjusted the settings, it’s time to test the connection to ensure everything is working correctly.
Testing the Connection
After connecting the VCR to the Seiki Se32Hy LED TV and configuring the settings on both devices, it’s crucial to test the connection to ensure everything is working correctly. Here’s how you can test the connection:
- Insert a VHS tape into the VCR and press the play button.
- Observe the screen of the Seiki Se32Hy LED TV to see if the video from the VHS tape is displaying properly. Pay attention to the clarity, color, and any distortions.
- Listen to the audio output from the TV speakers. Ensure that the sound quality is clear and in sync with the video.
- Use the VCR remote to perform functions such as fast forward, rewind, and pause. Ensure that these functions are working smoothly and the tape is advancing correctly.
- If you have a remote control for the Seiki Se32Hy LED TV, test if it can control the basic functions of the VCR, such as play, stop, and eject. This compatibility can vary depending on the TV model.
If you encounter any issues during the testing process, refer to the troubleshooting tips in the next section to help resolve common problems.
Once you have verified that the connection between the VCR and the Seiki Se32Hy LED TV is functioning properly, you can start enjoying your VHS tapes and reliving those nostalgic moments.
Troubleshooting Tips
While setting up the connection between your VCR and the Seiki Se32Hy LED TV, you may encounter some common issues. Don’t worry – here are some troubleshooting tips to help you resolve them:
No Video or Audio
If you’re not getting any video or audio from your VCR on the TV:
- Check that all the cables are securely connected to both the VCR and the TV.
- Ensure that the VCR and the TV are powered on.
- Make sure that the TV is set to the correct input source for the VCR connection, such as “Antenna” or “AV.”
- Check the TV’s volume and ensure it is not muted or set to a low level.
- If using RCA cables, verify that the yellow video connector is properly connected to the yellow input port on the TV.
Poor Video or Audio Quality
If the video or audio quality is not satisfactory:
- Adjust the tracking on the VCR to improve the video playback quality.
- Ensure that the TV’s picture settings, such as brightness and contrast, are properly adjusted.
- Check the cables for any signs of damage or wear and consider replacing them if necessary.
- Make sure that the VHS tape itself is in good condition without any visible damage.
Remote Control Compatibility
If the TV remote control does not work with the basic functions of the VCR:
- Check the user manual of your TV to determine if the remote control has the capability to control VCR functions.
- Consider using the VCR’s remote control or a universal remote control compatible with both the TV and VCR.
If you are still experiencing issues after following these troubleshooting tips, it may be helpful to consult the user manuals for both the Seiki Se32Hy LED TV and the VCR or seek assistance from a professional technician.
With these troubleshooting tips, you should be able to overcome common problems and enjoy your VCR tapes on the Seiki Se32Hy LED TV.
Conclusion
Congratulations! You have successfully connected your VCR to the Seiki Se32Hy LED TV and are now ready to relive your favorite VHS memories. By following the steps outlined in this guide, you have gained the knowledge and skills to establish the necessary cable connections, configure the settings on both devices, and troubleshoot common issues that may arise.
Connecting a VCR to a modern LED TV may seem like a daunting task, but with the right tools and guidance, it becomes a straightforward process. Whether you chose to use a coaxial cable or RCA cables, the connection allows you to enjoy VHS tapes on the Seiki Se32Hy LED TV’s vibrant screen and enhanced audio quality.
Remember to adjust the settings on both the TV and the VCR to optimize the picture and sound according to your preferences. This will ensure an enjoyable viewing experience and allow you to fully immerse yourself in the content of your VHS tapes.
If you run into any issues along the way, refer back to the troubleshooting tips provided to help you resolve common problems. Don’t hesitate to consult the user manuals or seek assistance from a professional if needed.
Now, grab your favorite VHS tapes, sit back, and enjoy the nostalgia that comes with watching them on the Seiki Se32Hy LED TV. Happy viewing!