Reasons to Connect Your Projector to Wi-Fi
Connecting your projector to Wi-Fi can greatly enhance your viewing experience and offer you a range of benefits. Let’s explore some of the reasons why you should consider connecting your projector to Wi-Fi:
1. Access to Online Content: By connecting your projector to Wi-Fi, you can easily access various online content platforms such as streaming services, video-sharing websites, and social media platforms. This means you can stream your favorite movies, TV shows, and online videos directly on the big screen, expanding your entertainment options.
2. Convenience and Flexibility: Connecting your projector to Wi-Fi eliminates the need for cumbersome wired connections. You can enjoy the freedom to move your projector around without worrying about tangling cables. This is especially useful if you plan to use your projector in different locations or if you frequently host events or presentations.
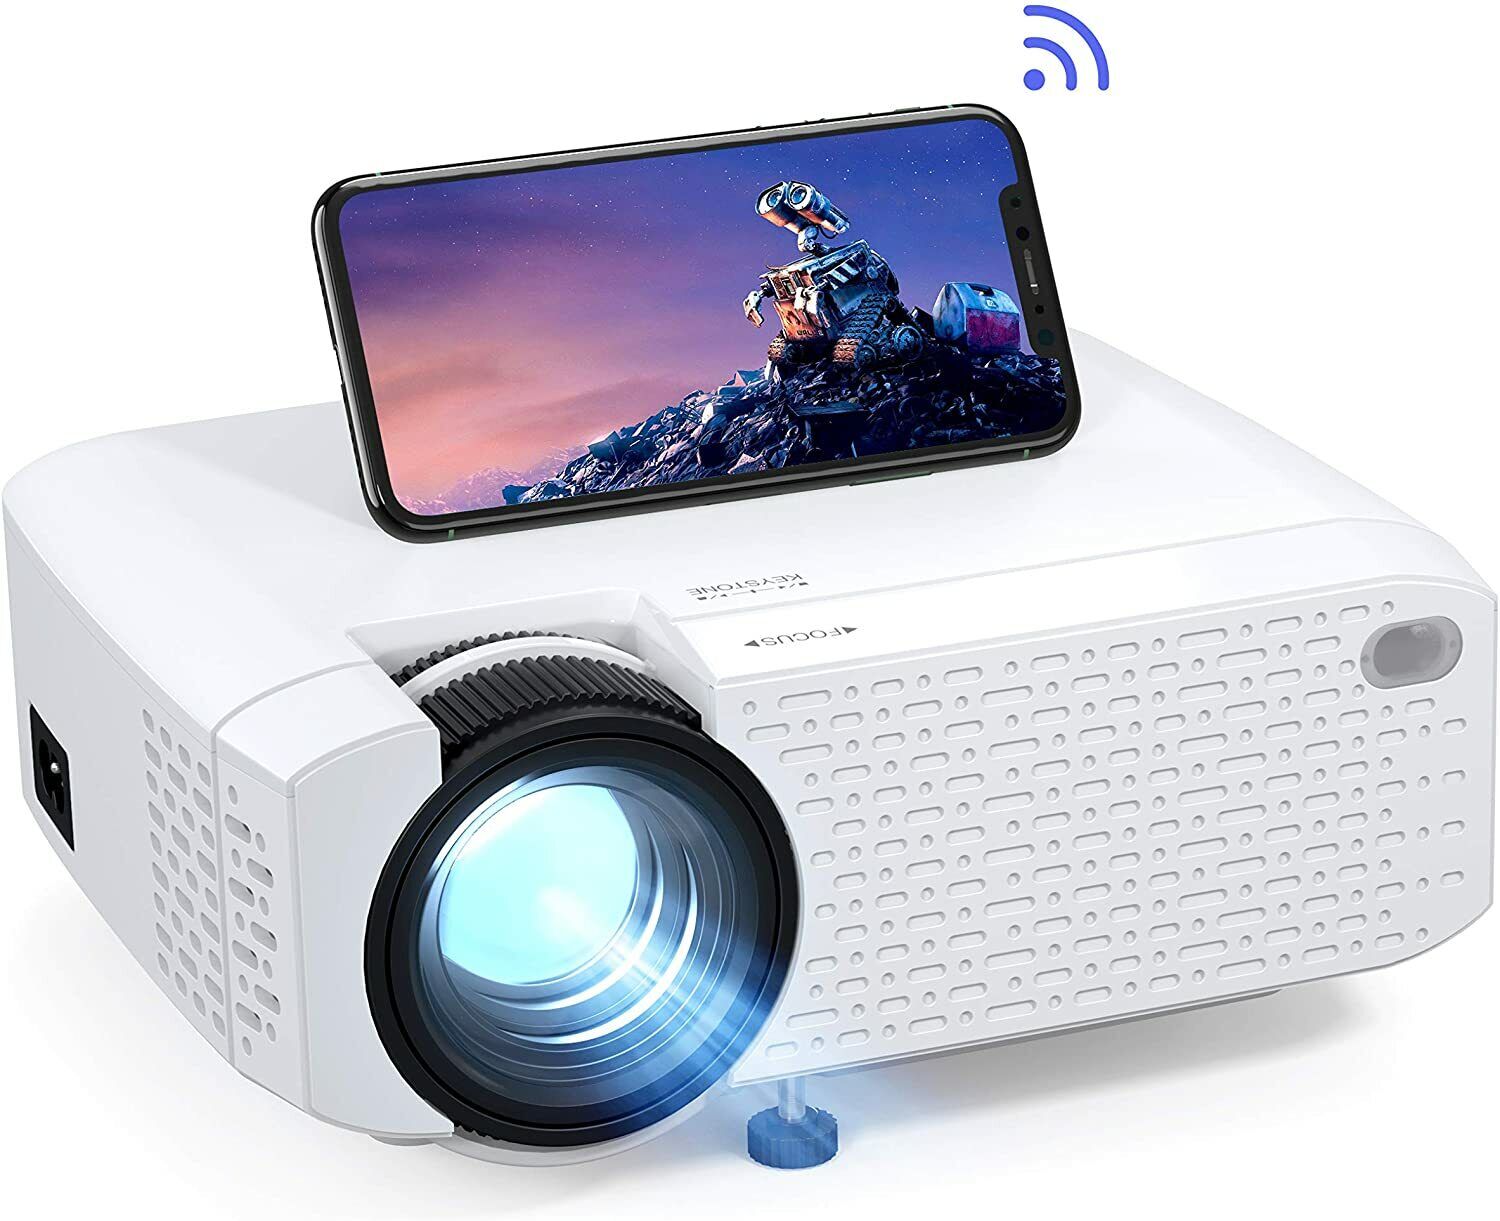
3. Wireless Screen Mirroring: Wi-Fi connectivity enables seamless screen mirroring from your smartphone, tablet, or laptop to the projector. This means you can effortlessly display photos, videos, presentations, and even play games directly on the big screen, providing a more immersive and engaging experience.
4. Remote Access and Control: Many projectors with Wi-Fi capability come with dedicated mobile apps or web interfaces that allow you to control the projector remotely. You can adjust settings, change inputs, and even perform software updates from your smartphone or tablet, making it more convenient to manage your projector.
5. Firmware Updates: Wi-Fi connectivity enables easy access to firmware updates for your projector. Manufacturers often release firmware updates to improve performance, add new features, and address any bugs or compatibility issues. By connecting your projector to Wi-Fi, you can ensure that you always have the latest software installed, keeping your projector up to date.
6. Integration with Smart Home Systems: If you have a smart home setup, connecting your projector to Wi-Fi allows you to integrate it into your existing smart home ecosystem. You can control your projector using voice commands through virtual assistants like Amazon Alexa or Google Assistant, making it even more convenient to use.
Overall, connecting your projector to Wi-Fi offers a world of possibilities, from accessing a vast array of online content to enjoying wireless screen mirroring and complete control over your viewing experience. With the convenience, flexibility, and added functionality it provides, Wi-Fi connectivity is a feature you should definitely consider in your projector setup.
Preparing Your Projector for Wi-Fi Connection
Before you can connect your projector to Wi-Fi, there are a few steps you need to take to ensure a successful setup. Follow these steps to prepare your projector for Wi-Fi connection:
1. Check the Manual: Start by referring to the user manual of your projector. Different projector models have varying requirements and instructions for connecting to Wi-Fi. The manual will provide you with specific guidance on how to proceed.
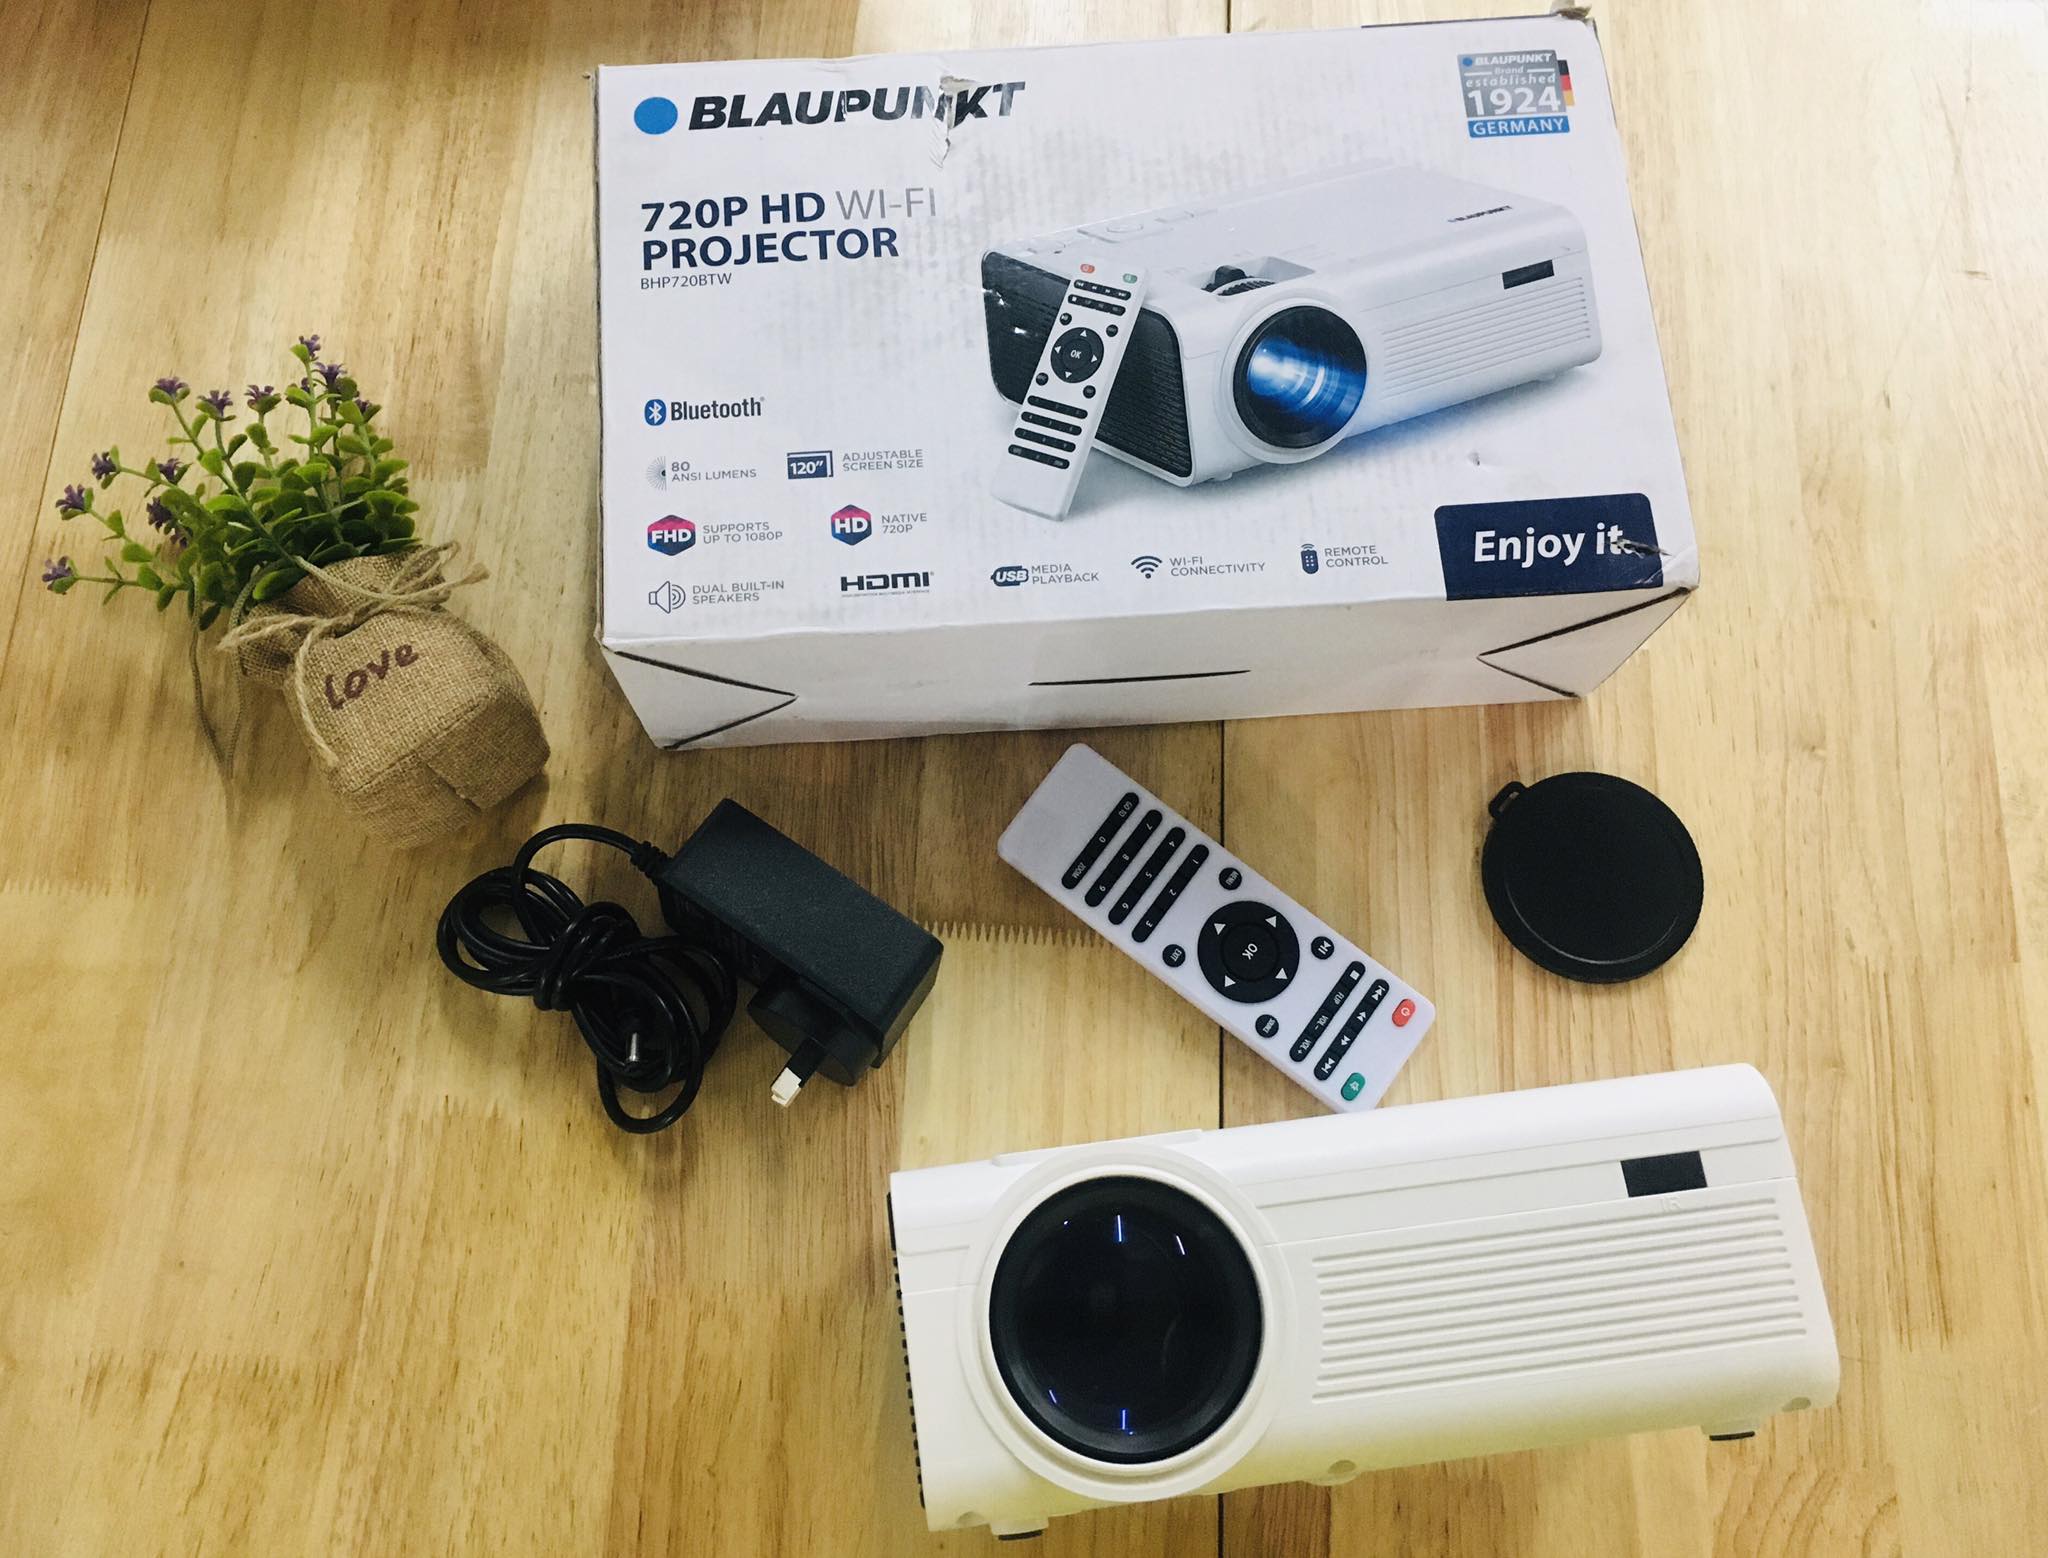
2. Verify Wi-Fi Capability: Ensure that your projector has built-in Wi-Fi capability or supports a Wi-Fi adapter. Some projectors come with Wi-Fi functionality built-in, while others may require the use of a separate wireless adapter. Check the specifications of your projector to determine if Wi-Fi is available and if any additional accessories are required.
3. Connect Power and Turn On: Connect your projector to a power source and turn it on. Allow it to fully boot up before proceeding with the Wi-Fi connection setup.
4. Navigate to the Wi-Fi Setup Menu: Access the projector’s settings menu using the remote control or the control panel buttons on the device. Look for the Wi-Fi or Network settings option and select it to begin the Wi-Fi setup process.
5. Select Your Network: Once you are in the Wi-Fi setup menu, the projector will scan for available networks. Select your desired network from the list. If your network is password-protected, you may be prompted to enter the password. Use the remote control or the projector’s controls to input the password correctly.
6. Confirm Connection: After entering the password, the projector will attempt to connect to your Wi-Fi network. Wait for the confirmation message or the wireless icon on the projector’s display indicating a successful connection. If the connection fails, double-check that the password was entered correctly and that you are within range of the Wi-Fi network.
7. Update Firmware (if necessary): If your projector successfully connects to the Wi-Fi network, check for any available firmware updates in the settings menu. Updating the firmware will ensure that your projector has the latest software, improving performance and potentially adding new features.
8. Test the Connection: Once the Wi-Fi setup is complete, test the connection by accessing an online platform or streaming service. Use the projector’s built-in apps (if available) or connect a device like a laptop or media player via Wi-Fi to see if you can successfully stream content on the projector.
By following these steps, you can properly prepare your projector for Wi-Fi connection. Pay attention to the specific instructions for your projector model to ensure a seamless setup process. Once you have successfully connected your projector to Wi-Fi, you can enjoy the benefits of wireless streaming and enhanced control over your viewing experience.
Using an Ethernet Cable for a Wired Connection
If you prefer a wired connection for your projector instead of relying on Wi-Fi, you can easily connect it using an Ethernet cable. Here’s a step-by-step guide on how to set up a wired connection for your projector:
1. Check the Projector’s Connections: Ensure that your projector has an Ethernet port. Most projectors come equipped with an Ethernet port, which resembles a larger version of a telephone jack.
2. Locate the Router/Modem: Find the router or modem that provides your internet connection. This is the device that usually connects to your internet service provider (ISP). It should have multiple Ethernet ports at the back.
3. Connect the Ethernet Cable: Take one end of the Ethernet cable and insert it into the Ethernet port on the back of your projector. Then, take the other end of the cable and plug it into one of the available Ethernet ports on the router or modem.
4. Configure Network Settings (if necessary): In most cases, you won’t need to configure any network settings as the projector will automatically detect the wired connection. However, if your projector has advanced network settings, you may need to access the projector’s settings menu to configure the network connection manually.
5. Test the Connection: Once the Ethernet cable is connected to both the projector and the router/modem, turn on the projector and ensure it has a stable internet connection. To test the connection, access an online platform or streaming service. Use the projector’s built-in apps or connect a device like a laptop or media player to verify if you can access and stream content.
6. Cable Management: Consider the placement of the Ethernet cable to minimize any tripping hazards or visual clutter. Use cable clips or ties to secure the cable against the wall or floor, ensuring a neat and tidy setup.
Using an Ethernet cable for a wired connection offers several advantages, such as a stable and reliable connection, reduced latency, and increased security compared to a wireless connection. It is particularly useful in environments where Wi-Fi signals may be weak or congested, such as in crowded offices or areas with interference.
By following these steps and connecting your projector using an Ethernet cable, you can enjoy a seamless and uninterrupted viewing experience without relying on Wi-Fi.
Connecting Your Projector to Wi-Fi Using the Built-In Wi-Fi Feature
If your projector has a built-in Wi-Fi feature, connecting it to your Wi-Fi network is a straightforward process. Follow these steps to establish a wireless connection:
1. Power On and Access the Wi-Fi Settings: Start by powering on your projector and accessing the settings menu. Use the remote control or the control panel buttons on the device to navigate to the Wi-Fi settings.
2. Scan for Available Networks: Within the Wi-Fi settings, the projector will scan for available Wi-Fi networks. Wait for the scan to complete, and a list of networks should appear on the screen.
3. Select Your Wi-Fi Network: Use the remote control or the projector’s controls to select your desired Wi-Fi network from the list. If your network is password-protected, you may be prompted to enter the password. Use the remote control to input the password correctly, ensuring the proper capitalization and character entry.
4. Confirm Connection: After entering the password, the projector will attempt to establish a connection to your Wi-Fi network. Wait for the confirmation message or the wireless icon on the projector’s display indicating a successful connection. If the connection fails, double-check that the password was entered correctly and that you are within range of the Wi-Fi network.
5. Configure Additional Settings (if necessary): Depending on your projector model and settings, you may have additional options to adjust for your Wi-Fi connection. These can include network protocols, IP settings, DNS settings, or other advanced options. Refer to the projector’s user manual for specific guidance on these settings.
6. Test the Connection: Once the Wi-Fi connection is established, test it by accessing an online platform or streaming service. Use the projector’s built-in apps (if available) or connect a device like a laptop or media player via Wi-Fi to ensure you can successfully stream content through the projector.
7. Troubleshoot Connection Issues: If you encounter any connection issues, make sure you’re within the Wi-Fi network’s range and check that the network itself is functioning properly. Restarting the projector and the Wi-Fi router/modem can also help resolve any temporary issues. Additionally, ensure that your projector’s firmware is up to date, as firmware updates may address compatibility or performance issues.
By following these steps, you can easily connect your projector to Wi-Fi using its built-in Wi-Fi feature. Once connected, you can enjoy the benefits of wireless streaming and control over your viewing experience without the need for additional cables or adapters.
Connecting Your Projector to Wi-Fi Using a Wireless Display Adapter
If your projector does not have built-in Wi-Fi capability, you can still connect it to Wi-Fi using a wireless display adapter. Follow these steps to establish a wireless connection:
1. Check the Projector’s Ports: Start by checking the available ports on your projector. Look for HDMI or USB ports, as these are commonly used for connecting wireless display adapters.
2. Purchase a Wireless Display Adapter: Research and purchase a wireless display adapter that is compatible with your projector. Choose a reputable brand and ensure that it supports Wi-Fi connectivity. Some popular models include the Google Chromecast, Microsoft Wireless Display Adapter, or the Amazon Fire TV Stick.
3. Connect the Adapter to the Projector: Plug the wireless display adapter into the HDMI or USB port of your projector. Ensure a secure connection by inserting the adapter firmly into the port.
4. Power On the Adapter: Power on the wireless display adapter by connecting it to a power source. Most adapters come with a USB cable for power, which can be connected to the projector’s USB port or an external power outlet.
5. Set Up the Wireless Display Adapter: Follow the manufacturer’s instructions to set up the wireless display adapter. This typically involves connecting the adapter to your Wi-Fi network by entering the network details using a mobile device or computer. Refer to the user manual or the manufacturer’s website for specific guidance.
6. Select the Adapter as the Display Source: Once the wireless display adapter is set up and connected to the Wi-Fi network, switch the projector’s input source to the HDMI or USB port that the adapter is connected to. This can usually be done using the projector’s remote control or the buttons on the control panel.
7. Mirror Your Device’s Screen: On your smartphone, tablet, or computer, go to the device’s settings and access the screen mirroring or casting feature. Select the wireless display adapter from the list of available devices to mirror or cast your device’s screen onto the projector.
8. Test the Connection: Ensure that the screen mirroring or casting is successfully displayed on the projector. Try playing a video or opening a presentation on your device to test the connection and verify that the audio and video are synchronized on the projector.
By following these steps and using a wireless display adapter, you can connect your projector to Wi-Fi and enjoy wireless screen mirroring from your devices. This method allows you to stream content, show presentations, and share media wirelessly on the big screen, enhancing your viewing experience.
Troubleshooting Tips for Wi-Fi Connection Issues
While connecting your projector to Wi-Fi offers numerous benefits, you may encounter occasional connection issues. Here are some troubleshooting tips to help resolve common Wi-Fi connection problems:
1. Check Wi-Fi Signal Strength: Ensure that your projector is within range of the Wi-Fi network. Move it closer to the router or access point to improve signal strength and minimize interference from other devices or obstacles.
2. Verify Wi-Fi Network Availability: Make sure that the Wi-Fi network you are trying to connect to is operational and accessible. Check if other devices can connect to the network successfully. Restarting the router or modem may resolve temporary network issues.
3. Double-Check Wi-Fi Password: Confirm that you entered the correct Wi-Fi password when connecting your projector to the network. Pay attention to uppercase and lowercase letters, as well as any special characters or spaces.
4. Restart Projector and Wi-Fi Router: Perform a power cycle by turning off both the projector and the Wi-Fi router. Wait a few minutes, then power them back on. This can help clear any temporary glitches that may be causing the connection issues.
5. Update Projector Firmware: Check if there are any firmware updates available for your projector. Manufacturers often release updates to address compatibility issues or improve the projector’s performance. Updating the firmware may help resolve Wi-Fi connectivity problems.
6. Disable Firewalls or VPNs: If you have a firewall or VPN enabled on your Wi-Fi network or on the connected devices, try temporarily disabling them. Sometimes, these security measures can interfere with the projector’s ability to connect to the network.
7. Reset Network Settings: If you have previously connected the projector to a different Wi-Fi network, reset the network settings on the projector and start the connection process from scratch. This ensures that there are no conflicting settings from a previous network.
8. Check for Firmware Updates on the Wireless Display Adapter: If you are using a wireless display adapter, ensure that it has the latest firmware installed. Check the manufacturer’s website for any available updates. Updating the adapter’s firmware can address compatibility issues or improve performance.
9. Reduce Wi-Fi Interference: Limit the number of devices connected to your Wi-Fi network during the projector setup. Other devices, such as smartphones, tablets, and laptops, can compete for bandwidth and potentially cause connection issues. Disconnect unnecessary devices to improve overall network performance.
10. Contact Tech Support: If you have exhausted all troubleshooting options and are still experiencing Wi-Fi connection problems with your projector, reach out to the manufacturer’s technical support team. They can provide further assistance or guide you through advanced troubleshooting steps specific to your projector model.
By following these troubleshooting tips, you can overcome common Wi-Fi connection issues and ensure a stable and reliable connection for your projector. Enjoy seamless streaming, screen mirroring, and an enhanced viewing experience with your Wi-Fi-enabled projector.


