Introduction
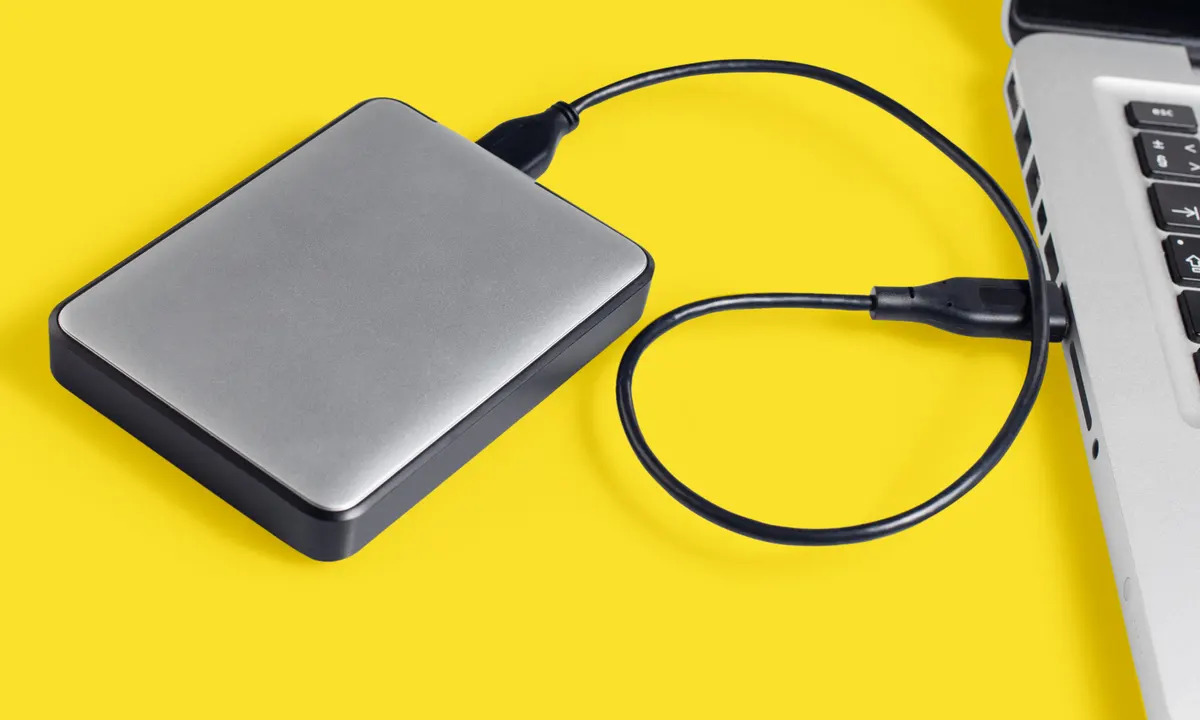
Welcome to the world of external hard drives! These handy devices provide an easy and convenient way to store and backup your data. However, when you connect an external hard drive to your computer, you might find that it doesn’t automatically get assigned a drive letter. In this article, we will explore the process of assigning a drive letter to an external hard drive, whether you are using a Windows or Mac operating system.
Before we dive into the details, let’s first understand what a drive letter is and why it’s important. In simple terms, a drive letter is a single alphabetic character that is assigned to a specific storage device, such as a hard drive or a USB flash drive. It allows the operating system to identify and access the storage device easily. Without a drive letter, the external hard drive remains inaccessible, making it impossible to view or manage the files stored on it.
Assigning a drive letter to an external hard drive is crucial for a couple of reasons. Firstly, it provides a way to access and manage the files stored on the drive. Once a drive letter is assigned, you can open the drive through the operating system’s file explorer and perform various tasks like copying, deleting, or transferring files. Secondly, assigning a drive letter ensures that the external hard drive is recognized consistently every time you connect it to your computer. This is especially important if you have multiple storage devices connected, as it allows you to easily differentiate between them.
Now that we understand the importance of assigning a drive letter, let’s move on to the next step: checking the available drive letters on your system. Every computer has a set of available drive letters, ranging from A to Z, excluding letters that are already assigned to other drives. The process of assigning a drive letter involves choosing an available letter and associating it with the external hard drive. In the following sections, we will explore how to assign a drive letter on both Windows and Mac operating systems.
What is a drive letter?
A drive letter is a single alphabetic character that is assigned to a specific storage device, such as a hard drive or a USB flash drive. It acts as an identifier that allows the operating system to locate and access the storage device. Drive letters are commonly used in Windows and Mac operating systems to represent different storage devices connected to the computer.
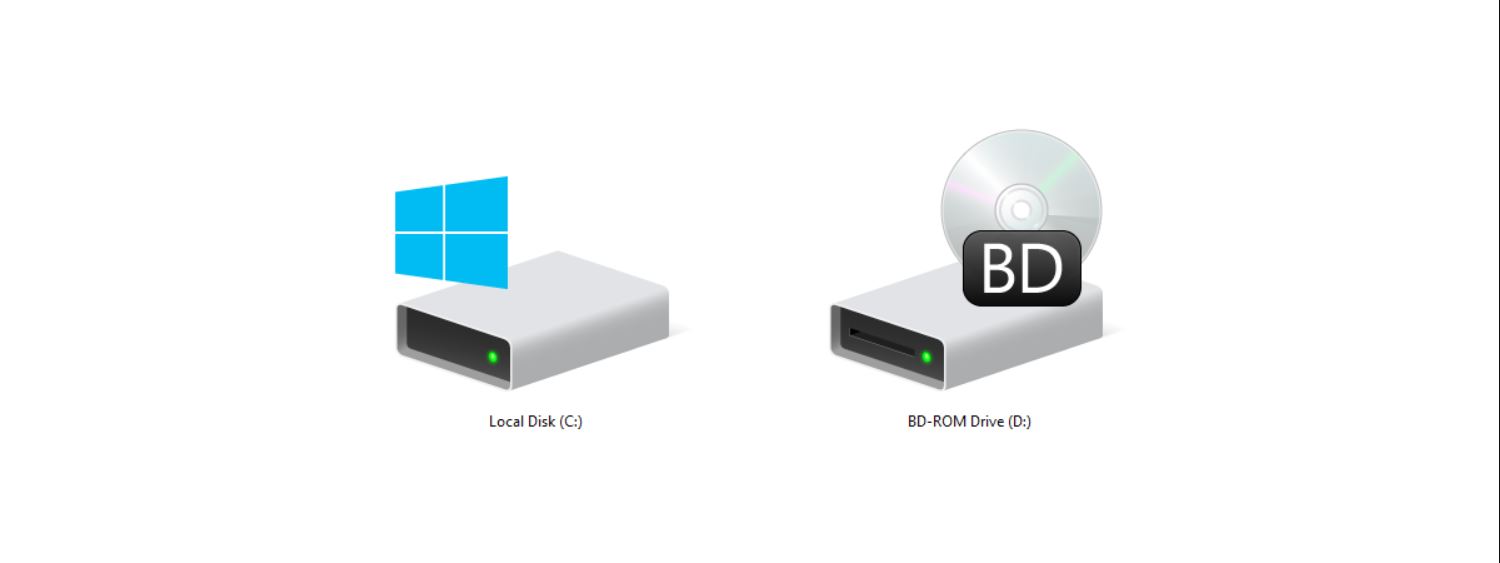
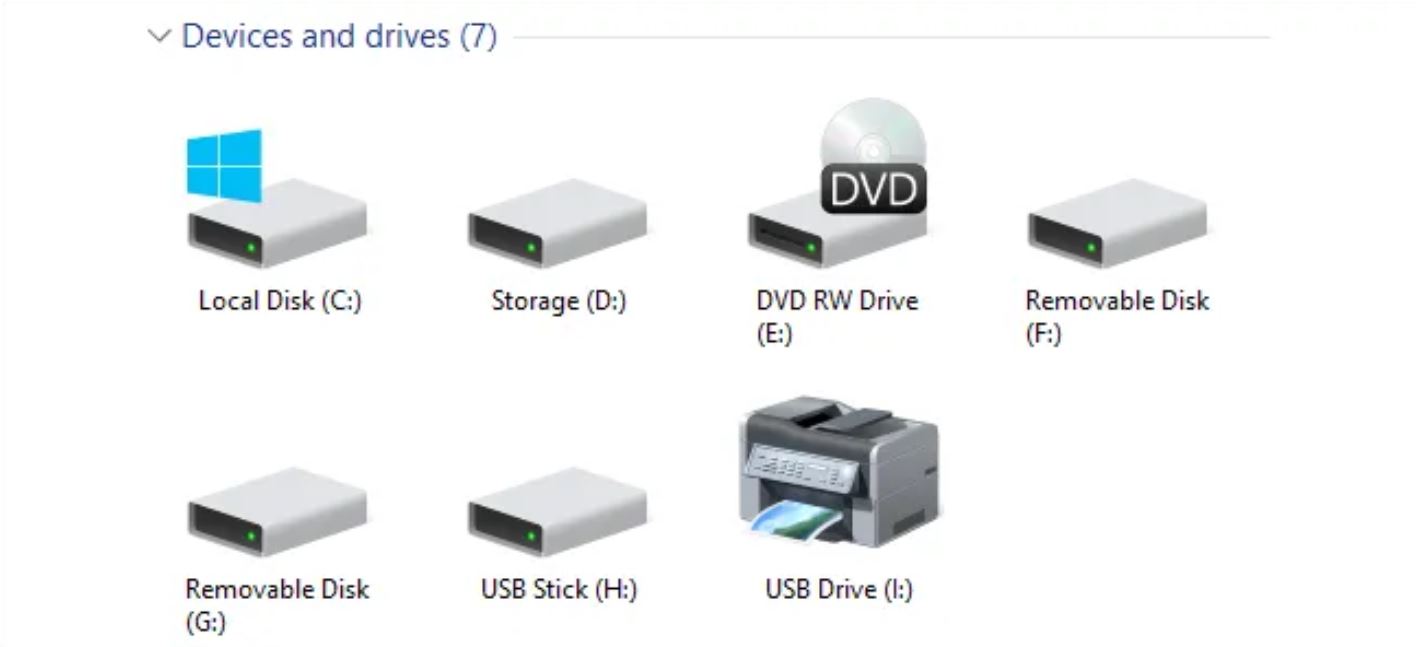
In Windows, each storage device, whether it’s an internal hard drive, external hard drive, or USB drive, is assigned a unique drive letter. The drive letters range from A to Z, excluding letters that are already assigned to other drives or network resources. For example, the primary hard drive is typically assigned the letter C, while subsequent drives receive the letters D, E, and so on. When a new external hard drive is connected, it is automatically assigned the next available drive letter.
Similarly, in Mac operating systems, storage devices are represented by mount points in the file system. While Macs do not use traditional drive letters like Windows, they follow a similar concept. Each device is given a mount point, which appears as an icon on the desktop or in the Finder sidebar. When an external hard drive is connected, it is mounted to a specific directory, such as /Volumes/drive_name. This allows the user to access and manage the files stored on the device.
The assignment of drive letters or mount points serves two primary purposes. First, it provides a way for users to easily identify and access their storage devices. By assigning a unique letter or mount point to each device, users can quickly locate and manage the files stored on the specific drive. Second, drive letters and mount points enable applications and the operating system to reference and interact with the storage device. Whether it’s saving a file, accessing a program, or performing any system operations, the drive letter or mount point helps the operating system and applications accurately locate the desired storage device.
Overall, drive letters or mount points play a crucial role in organizing and managing storage devices in both Windows and Mac operating systems. They simplify the process of accessing and manipulating files on external hard drives and other storage devices, ensuring a seamless user experience.
Why assign a drive letter to an external hard drive?
Assigning a drive letter to an external hard drive is essential for several reasons. Let’s explore why this step is necessary when working with external storage devices.
First and foremost, assigning a drive letter provides a straightforward way to access and manage the files stored on the external hard drive. Once a drive letter is assigned, you can open the drive through the operating system’s file explorer or Finder and perform various tasks like copying, deleting, or transferring files. Without a drive letter, the external hard drive remains inaccessible, making it impossible to view or manage the files.
Furthermore, assigning a drive letter ensures consistency and convenience when using the external hard drive. Each time you connect the device to your computer, it will be recognized and associated with the assigned drive letter. This is especially important if you have multiple external hard drives or other storage devices connected. With a designated drive letter, you can easily differentiate between the various drives and access the specific files stored on each device without confusion or hassle.
Assigning a drive letter also facilitates the organization of your computer’s file system. By assigning a specific letter to an external hard drive, you can create structured folders and subfolders within the drive to keep your files organized. This makes it easier to locate and retrieve files when needed, enhancing productivity and efficiency.
In addition, assigning a drive letter allows for seamless integration with third-party applications and software. Many programs rely on the use of drive letters to locate specific files or folders on external devices. By assigning a drive letter to your external hard drive, you ensure that these applications can easily access the necessary files, preventing any compatibility issues.
Another advantage of assigning a drive letter is the ability to create shortcuts and bookmarks for quick access. With a specific drive letter assigned, you can create desktop shortcuts or bookmark the drive for easy access in the future. This eliminates the need to search for the external hard drive manually, saving you time and effort.
Overall, assigning a drive letter to an external hard drive is crucial for accessing, managing, and organizing your data effectively. It simplifies the process of working with external storage devices, ensuring consistent recognition and convenient access to your files.
Checking available drive letters
Before assigning a drive letter to an external hard drive, it’s important to check the available drive letters on your system. By doing so, you can choose an unused letter and assign it to the external hard drive. Here’s how you can check the available drive letters on both Windows and Mac operating systems:
Windows:
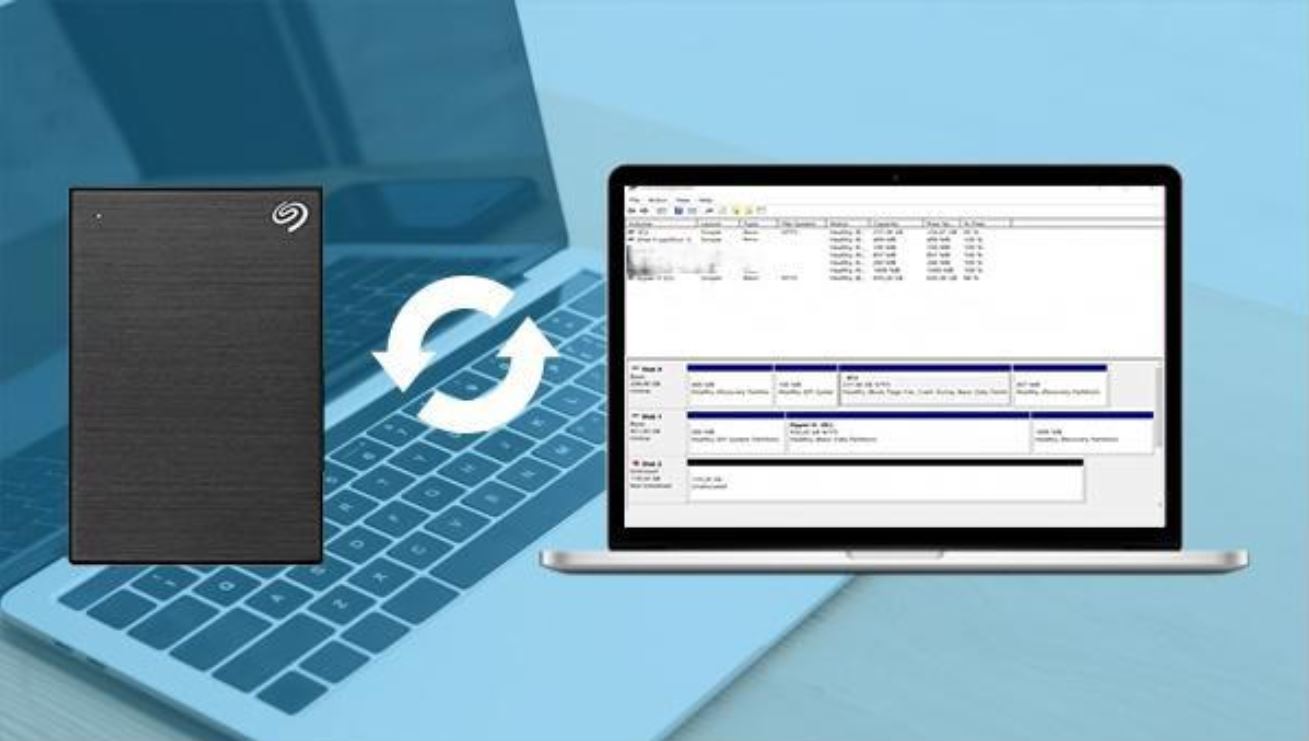
In Windows, you can easily check the available drive letters using the Disk Management tool. To access Disk Management, right-click the “Start” button and select “Disk Management” from the context menu.
Once in Disk Management, you will see a list of all the drives connected to your computer. The drive letters will be displayed next to each drive. Take note of the drive letters that are already assigned to other drives and identify any available letters. The available letters will not be associated with any drives or partitions.
Mac:
In Mac operating systems, checking the available drive letters is slightly different as Macs do not use traditional drive letters like Windows. Instead, each storage device is represented by mount points in the file system. However, you can still check the available mount points using the Disk Utility application.
To access Disk Utility, go to the “Applications” folder, then open the “Utilities” folder, and launch “Disk Utility.” In Disk Utility, you will see a list of all the storage devices connected to your Mac. Each device will have a mount point listed next to it. Take note of any available mount points that are not currently assigned to any drives.
By checking the available drive letters or mount points, you can ensure that you choose an unused letter or point for assigning to your external hard drive. This helps prevent conflicts with existing drives and ensures a smooth and seamless integration of the external hard drive into your system.
Assigning a drive letter using Disk Management (Windows)
If you’re using a Windows operating system, you can assign a drive letter to an external hard drive using the Disk Management tool. Disk Management allows you to manage and configure drives and partitions on your computer. Here’s a step-by-step guide on how to assign a drive letter using Disk Management:
- Connect your external hard drive to your computer using the appropriate cable. Ensure that the drive is properly powered on.
- Right-click the “Start” button and select “Disk Management” from the context menu. This will open the Disk Management window.
- In the lower section of the Disk Management window, you will see a list of all the drives connected to your computer. Locate your external hard drive in the list. Identify the drive by its capacity and make sure it is labeled as “Offline” or “Not Initialized.”
- Right-click on the drive and select “Initialize Disk.” Choose the appropriate disk initialization method (MBR or GPT) and click “OK” to proceed.
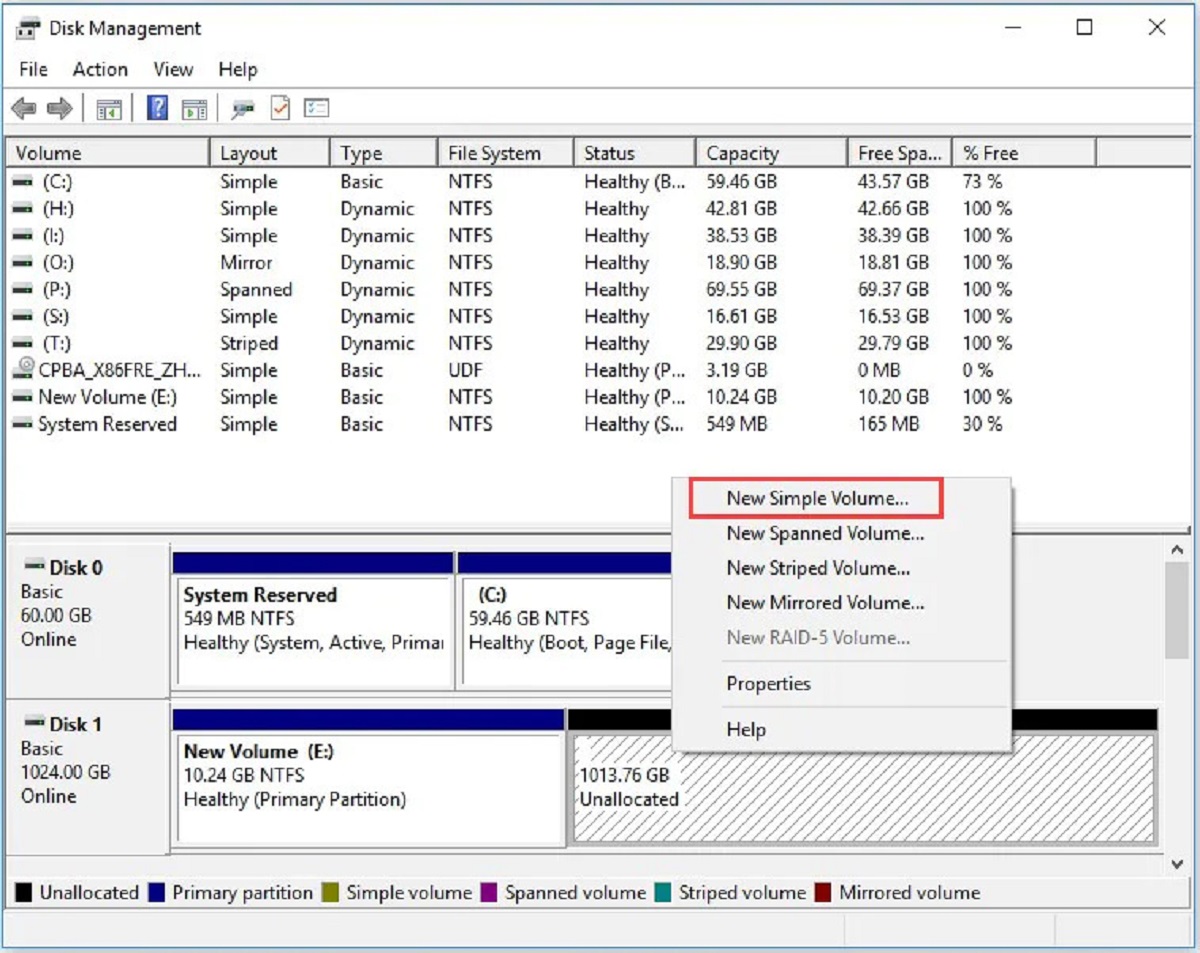
- Once the disk is initialized, right-click on the unallocated space of the drive and select “New Simple Volume.” This will open the New Simple Volume Wizard.
- Follow the instructions in the wizard to set the desired volume size, assign a drive letter, and specify the file system (usually NTFS). You can also choose to format the drive at this stage.
- After completing the wizard, Disk Management will assign the selected drive letter to your external hard drive. You can now access the drive through the file explorer or any other programs.
Remember to choose an available drive letter that is not already assigned to another drive or network resource. This ensures smooth and conflict-free integration of the external hard drive into your system.
Assigning a drive letter using Disk Management in Windows is a straightforward process that allows you to access and manage your external hard drive easily. With the assigned drive letter, you can conveniently perform tasks like copying, deleting, or transferring files, enhancing your productivity and data management efficiency.
Assigning a drive letter using Disk Utility (Mac)
If you are using a Mac operating system, you can assign a drive letter, or more accurately, a mount point, to an external hard drive using the Disk Utility application. Disk Utility is a built-in utility that allows you to manage and configure disks and volumes on your Mac. Here’s a step-by-step guide on how to assign a mount point to an external hard drive using Disk Utility:
- Connect your external hard drive to your Mac using the appropriate cable. Ensure that the drive is properly powered on.
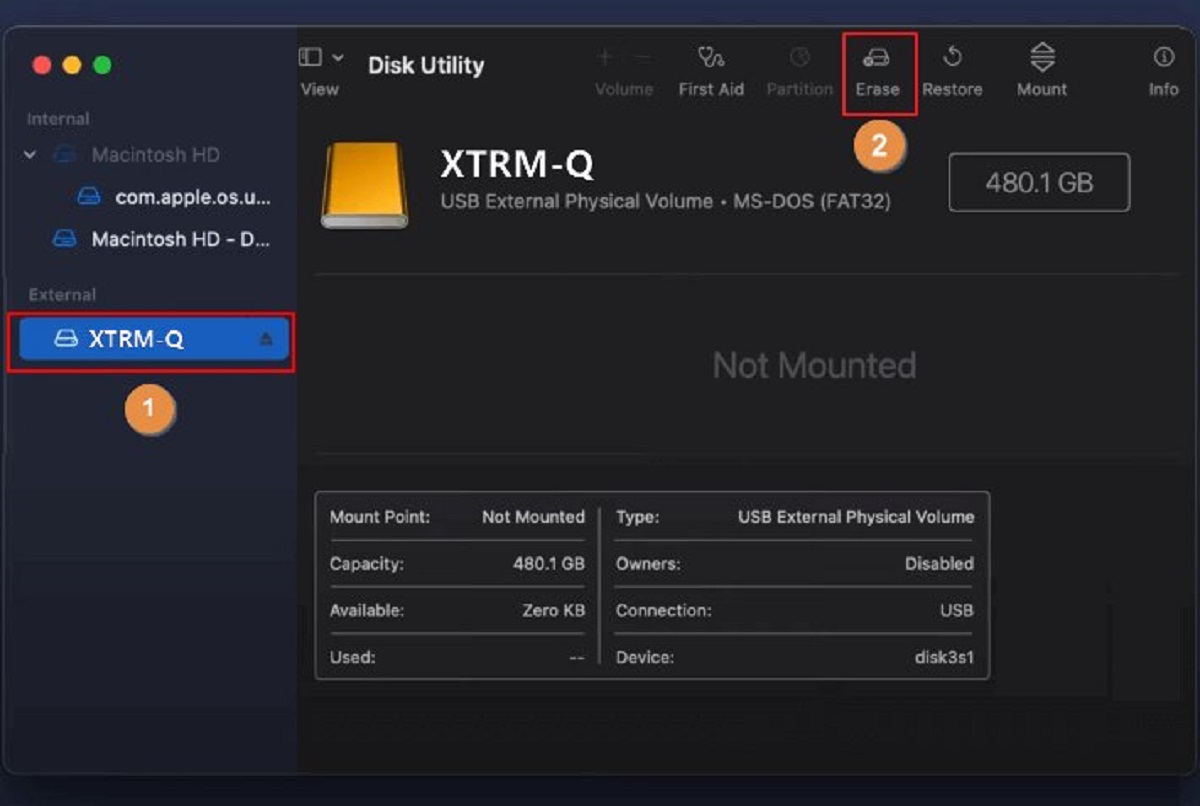
- Navigate to the “Applications” folder and open the “Utilities” folder. Launch the “Disk Utility” application.
- In the left sidebar of the Disk Utility window, you will see a list of all the disks and volumes connected to your Mac. Locate your external hard drive in the list. Identify the drive by its name and capacity.
- Select the external hard drive by clicking on it.
- In the toolbar at the top of the Disk Utility window, click on the “Mount” button. This will mount the drive and assign a mount point to it in the file system.
- The external hard drive will now appear on your desktop and in the Finder sidebar with the assigned mount point. You can access and manage the drive just like any other storage device on your Mac.
Assigning a mount point to your external hard drive using Disk Utility allows for seamless integration and easy access to the drive’s files and folders. The assigned mount point serves as an identifier for the drive within your Mac’s file system, making it recognizable and accessible through various applications and functions.
Remember that on Mac, the assigned mount point will not appear as a drive letter but will be represented as an icon on the desktop or in the Finder sidebar. By assigning a mount point, you ensure that the external hard drive is consistently recognized and easily accessible whenever you connect it to your Mac.
Assigning a mount point using Disk Utility is a simple and effective way to manage your external hard drive on a Mac. It allows for convenient file organization, data management, and seamless integration with various applications and software.
Troubleshooting common issues with assigning drive letters
While assigning a drive letter to an external hard drive is usually a straightforward process, you may encounter some common issues along the way. Here are a few troubleshooting tips for resolving common issues when assigning drive letters:
1. Drive letter already in use: If you receive an error message stating that the drive letter you want to assign is already in use, you will need to choose a different letter. Select an available drive letter that is not currently assigned to any drives or network resources.
2. Drive not appearing in Disk Management or Disk Utility: If your external hard drive is not showing up in Disk Management (Windows) or Disk Utility (Mac), there may be a connection or power issue. Make sure the drive is properly connected to your computer and powered on. Try using a different USB or Thunderbolt cable or connecting the drive to a different USB or Thunderbolt port.
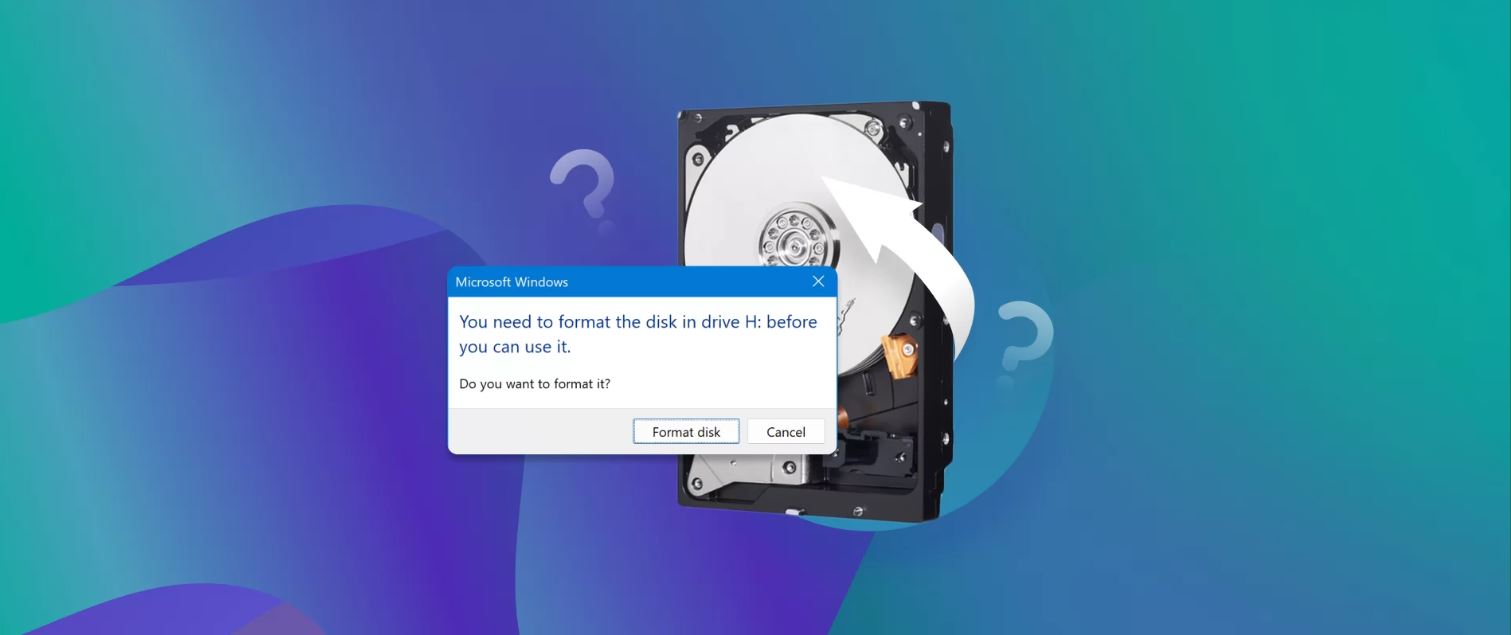
3. Drive appearing as “Not Initialized” or “Unallocated”: If your external hard drive is showing up as “Not Initialized” or “Unallocated” in Disk Management (Windows) or Disk Utility (Mac), you will need to initialize or format the drive. Follow the prompts in the respective disk management tool to initialize the drive and assign a drive letter or mount point.
4. Drive not recognized on multiple computers: If your external hard drive is not recognized on multiple computers, it may indicate a hardware issue with the drive itself. Try connecting the drive to a different computer or using a different cable to rule out any connectivity issues. If the drive still doesn’t work, it may require professional help or data recovery services.
5. Drive letter or mount point not persisting: In some cases, the assigned drive letter or mount point may not persist after reconnecting the external hard drive. This could be due to conflicts with other devices or settings on your computer. To resolve this, you can try reassigning the drive letter or mount point, or consider changing the drive letter or mount point to a different one that is less likely to conflict.
If you encounter any of these issues or other unexpected behaviors when assigning drive letters to an external hard drive, it’s worth checking for software updates, ensuring proper connections, and seeking assistance from technical support if needed. Troubleshooting steps may vary depending on the specific operating system and hardware configuration.
By troubleshooting and resolving these common issues, you can ensure a smooth and successful process of assigning drive letters to your external hard drive, allowing for seamless access and management of your data.
Conclusion
Assigning a drive letter to an external hard drive is a crucial step in ensuring easy access and management of your files. Whether you are using Windows or Mac, the process allows you to define a unique identifier for the external hard drive, making it recognizable to the operating system and applications.
By assigning a drive letter or mount point to your external hard drive, you can effortlessly access and manage your files, create structured folders, and integrate the drive seamlessly into your computer’s file system. This simplifies tasks such as copying, deleting, and transferring files, enhancing your productivity and data management efficiency.
Throughout this article, we explored the importance of drive letters, checked available drive letters, and learned how to assign drive letters using Disk Management on Windows and Disk Utility on Mac. Additionally, we discussed common issues that may arise during the drive letter assignment process and provided troubleshooting tips to help resolve them.
Remember that assigning a drive letter or mount point is a necessary step to ensure consistent recognition and easy access to your external hard drive. It’s important to choose an available letter or mount point, avoiding conflicts with existing drives or network resources.
Whether you are using your external hard drive for backups, storing multimedia files, or transferring data between devices, assigning a drive letter or mount point is a fundamental step in making the process seamless and efficient.
Now that you have a clear understanding of how to assign a drive letter to an external hard drive, you can confidently manage your storage devices and enjoy quick and easy access to your important files.


