Introduction
Google Chrome's sync feature is a convenient tool that allows users to seamlessly access their browsing history, bookmarks, passwords, and other settings across multiple devices. While this feature offers unparalleled convenience, there are instances when users may prefer to disable it. Whether it's for privacy reasons, troubleshooting issues, or simply a desire to streamline their browsing experience, knowing how to disable Chrome sync can be invaluable.
Disabling Chrome sync can be particularly useful when you want to prevent certain data from being shared across devices. For instance, if you share a computer with others and wish to keep your browsing history and bookmarks private, disabling sync ensures that your personal data remains confined to your individual device. Additionally, if you encounter sync-related problems, such as duplicate bookmarks or incorrect passwords, disabling and re-enabling sync can serve as a troubleshooting step to resolve these issues.
Understanding how to disable Chrome sync empowers users to take control of their browsing experience and tailor it to their specific needs. Whether it's for a temporary adjustment or a permanent change, the ability to manage sync settings provides users with the flexibility to customize their browsing environment according to their preferences.
In the following steps, we'll explore how to disable Chrome sync, offering a clear and straightforward guide to help you navigate this process with ease. Whether you're a seasoned Chrome user or new to the platform, mastering the art of disabling sync ensures that you can harness the full potential of Chrome while maintaining control over your browsing data.
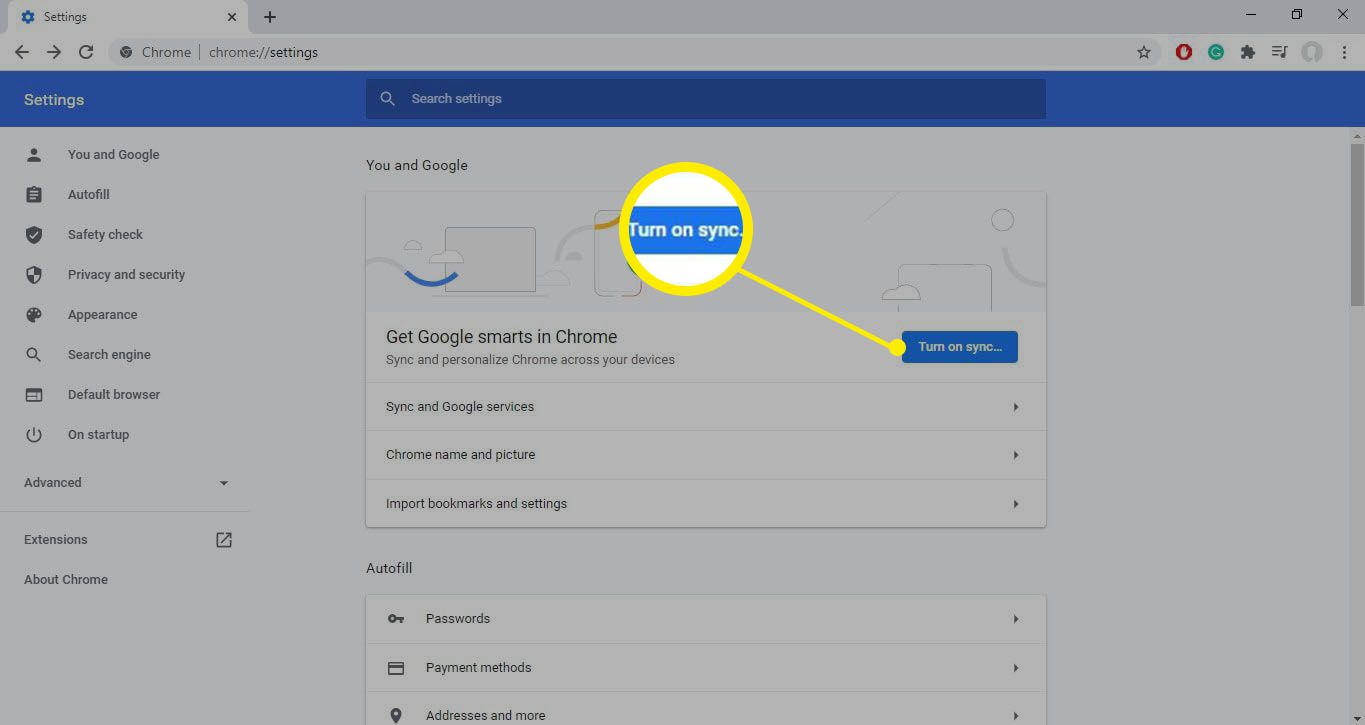
Step 1: Open Chrome Settings
To begin the process of disabling Chrome sync, the first step is to access the Chrome settings. This can be easily accomplished by following a few simple steps:
-
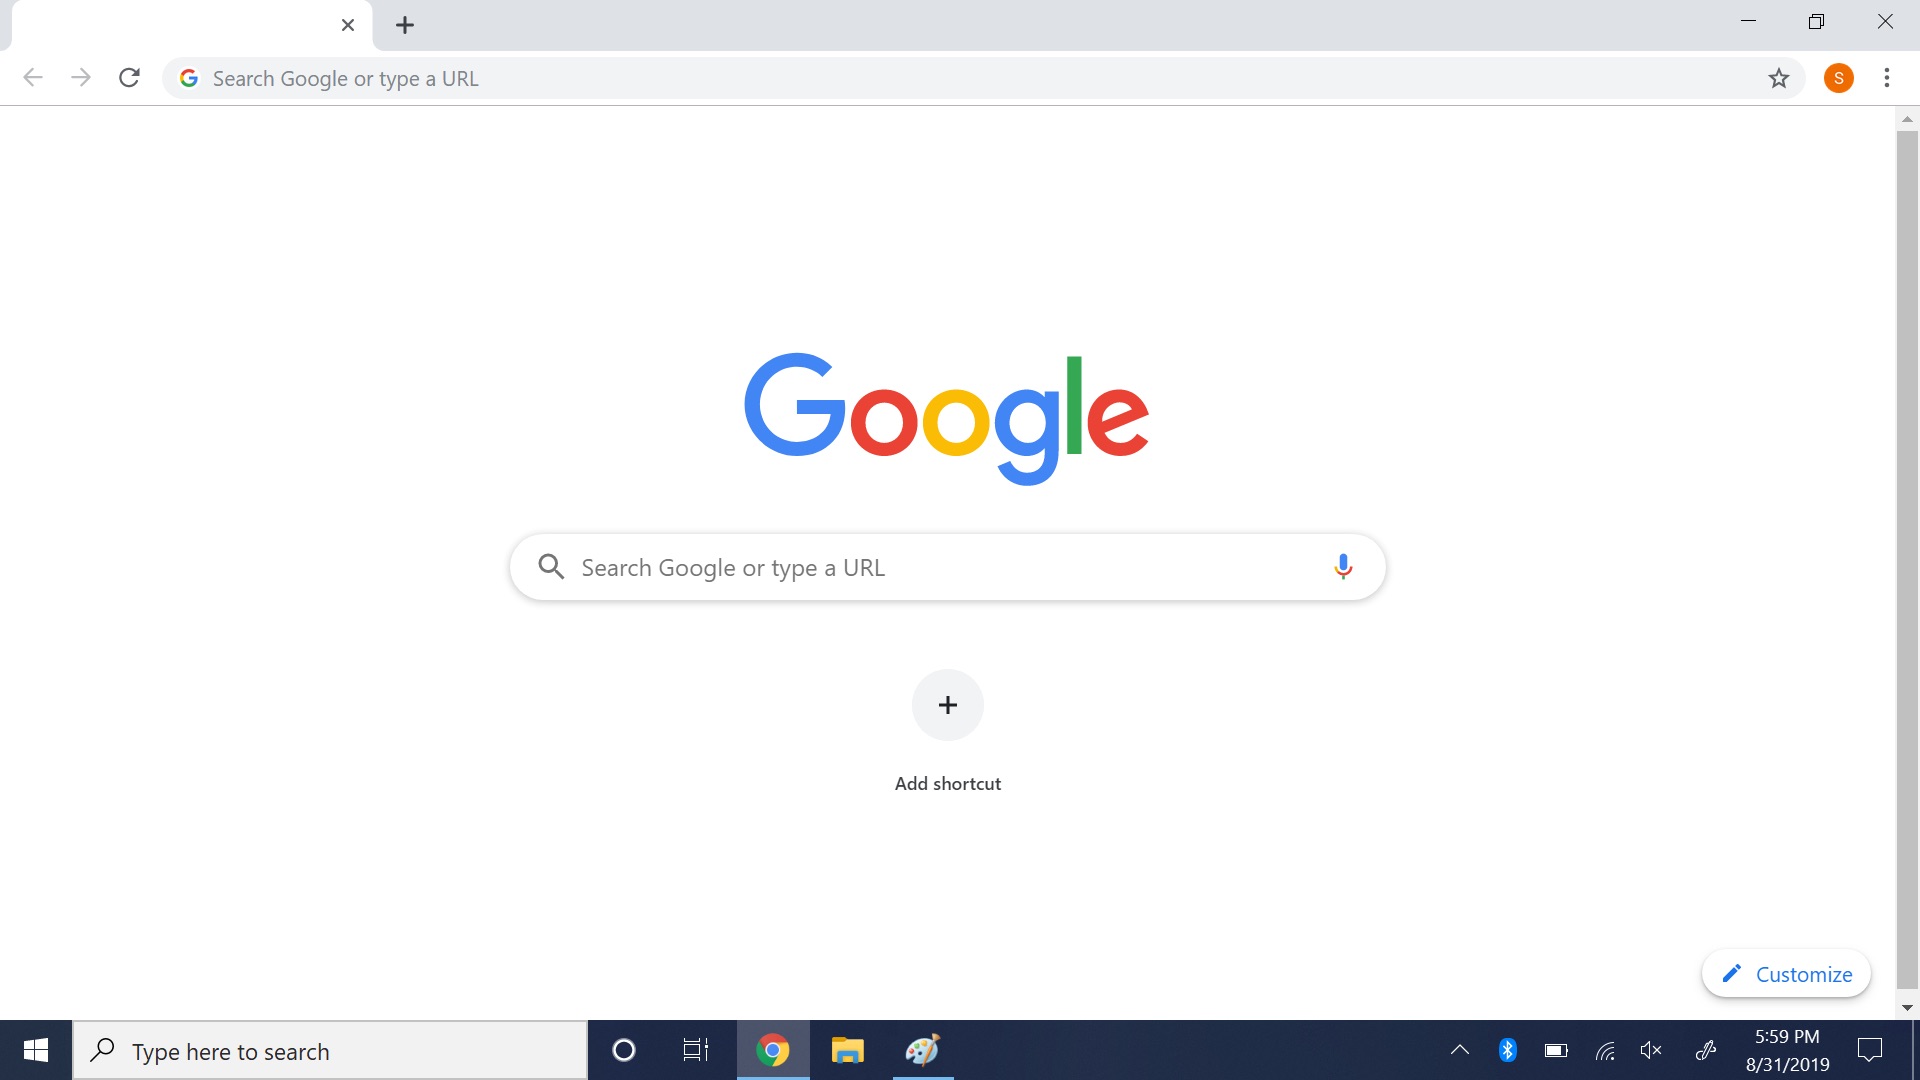
Launch Google Chrome: Open the Chrome browser on your computer or device by clicking on the Chrome icon in your application menu or taskbar. Alternatively, you can search for "Google Chrome" in your computer's search bar and launch the browser from the search results.
-
Access the Menu: Once Chrome is open, look to the top-right corner of the browser window for the three vertical dots, which represent the Chrome menu. Click on these dots to open the menu.
-
Navigate to Settings: Within the menu, locate and click on the "Settings" option. This will open a new tab in the Chrome browser, displaying various settings and customization options.
-
Explore Advanced Settings (Optional): If you prefer to access advanced settings, you can do so by scrolling to the bottom of the Settings page and clicking on "Advanced." This will reveal additional options, including those related to privacy, security, and content settings.
By following these steps, you can easily access the Chrome settings, laying the groundwork for the subsequent steps involved in disabling the sync feature. Opening the Chrome settings provides users with a centralized hub for customizing their browsing experience, allowing them to manage various aspects of Chrome's functionality and behavior.
Accessing the Chrome settings is a fundamental skill that empowers users to tailor their browsing environment according to their preferences. Whether it's adjusting privacy settings, managing site permissions, or disabling sync, the Settings page serves as a gateway to a multitude of customization options, enabling users to optimize their Chrome experience to suit their individual needs and preferences.
Step 2: Turn Off Sync
Disabling the sync feature in Google Chrome is a straightforward process that allows users to exert control over the synchronization of their browsing data across devices. Whether you're looking to temporarily halt sync or permanently disable it, the following steps will guide you through the process:
-
Open the Sync Settings: After accessing the Chrome settings as outlined in Step 1, navigate to the "Sync and Google Services" section. Here, you will find the option to manage sync settings, including the ability to turn off sync entirely.
-
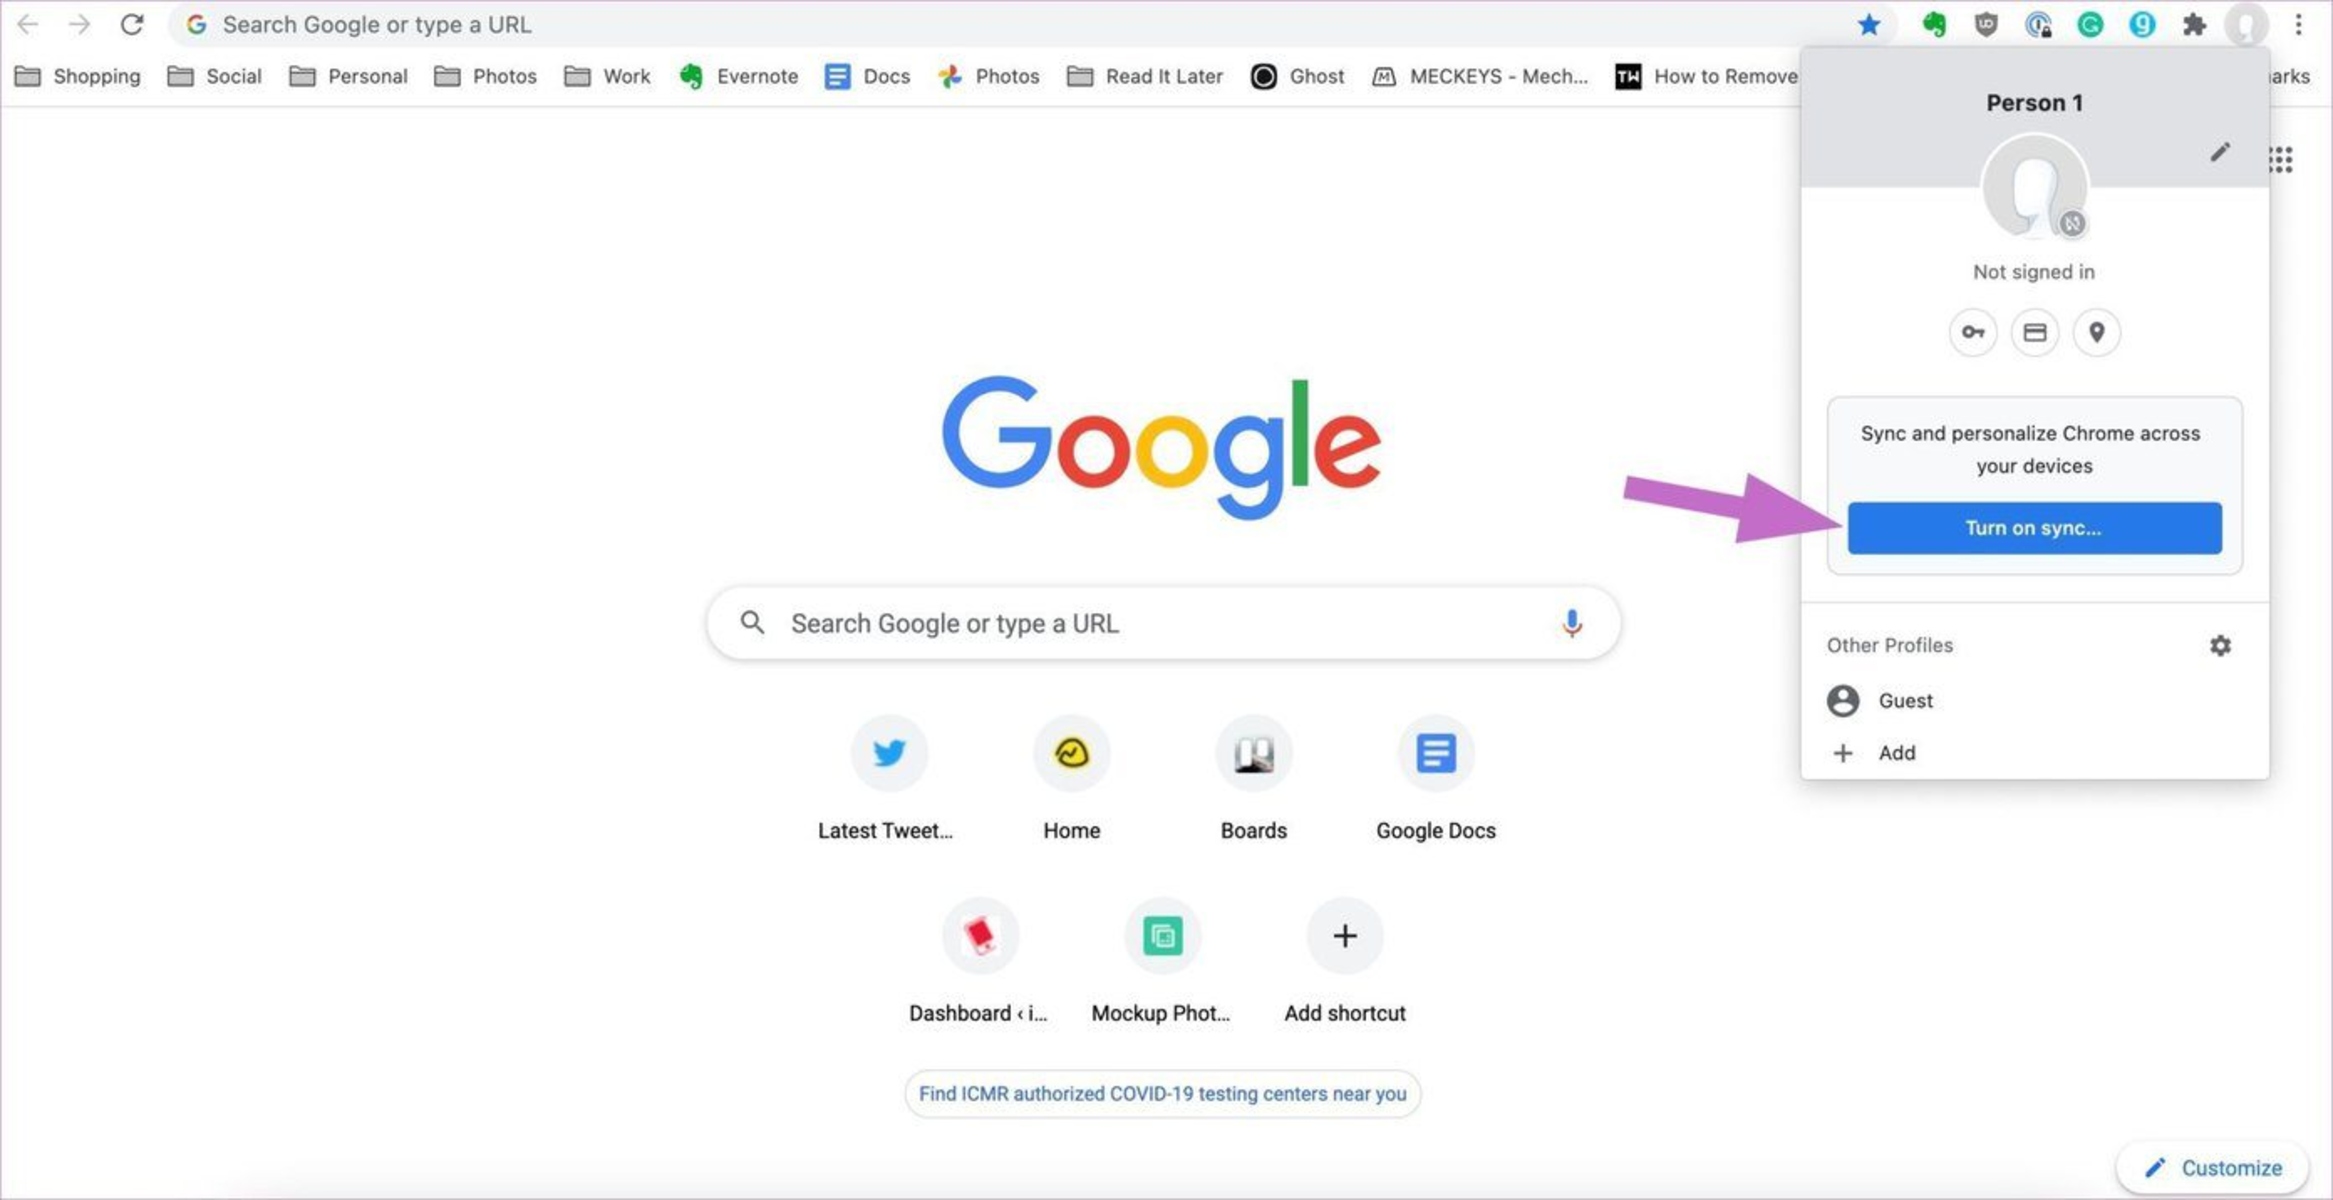
Toggle the Sync Option: Within the "Sync and Google Services" section, you will encounter a toggle switch labeled "Sync." By default, this switch is turned on, indicating that sync is active. To disable sync, simply click on the toggle switch, turning it off. Once disabled, the switch will appear grayed out, signifying that sync is no longer active.
-
Confirm the Change: Upon toggling off the sync option, Chrome will prompt you to confirm the action. A dialog box will appear, asking whether you want to "Turn off sync." To proceed with disabling sync, click on the "Turn off" button within the dialog box.
By following these steps, you can effectively turn off the sync feature in Google Chrome, thereby halting the synchronization of your browsing data across devices. Whether you're seeking to address privacy concerns, troubleshoot sync-related issues, or simply streamline your browsing experience, the ability to disable sync provides users with a valuable tool for customizing their Chrome environment according to their preferences.
Turning off sync does not delete your existing synced data; it simply stops the continuous synchronization of new data across devices. If you wish to clear your synced data after disabling sync, you can proceed to the next step to learn how to accomplish this.
Disabling sync can be a strategic decision, allowing users to maintain greater control over their browsing data and privacy. By understanding how to turn off sync, users can confidently navigate the intricacies of Chrome's synchronization feature, leveraging it to their advantage while preserving their individual preferences and privacy considerations.
Step 3: Clear Synced Data
Once you have disabled the sync feature in Google Chrome, you may decide to clear your existing synced data to ensure that no residual information is shared across devices. This process allows you to reset your synced data, providing a clean slate for your browsing information. Whether you're transitioning to a new device, addressing privacy concerns, or simply seeking to start afresh with your browsing data, clearing synced data can be a valuable step in managing your Chrome environment.
To clear your synced data in Google Chrome, follow these steps:
-
Open Chrome Settings: Begin by accessing the Chrome settings, as outlined in Step 1. Once in the settings, navigate to the "Sync and Google Services" section, where you previously disabled the sync feature.
-
Click on "Manage Synced Data": Within the "Sync and Google Services" section, you will find the option to "Manage Synced Data." Click on this option to proceed to the next step.
-
Choose Data to Clear: Upon clicking "Manage Synced Data," you will be presented with a list of data types that are synced across your devices. This may include browsing history, bookmarks, passwords, and other settings. Select the specific data types that you wish to clear from your synced data.
-
Confirm Data Deletion: After selecting the data types to clear, Chrome will prompt you to confirm the deletion of the chosen data. A dialog box will appear, asking whether you want to "Clear synced data." To proceed with clearing the selected data types, click on the "Clear Data" button within the dialog box.
By following these steps, you can effectively clear your synced data in Google Chrome, ensuring that no residual information is shared across your devices. This process provides a comprehensive method for managing your synced data, allowing you to tailor your browsing experience according to your preferences and privacy considerations.
Clearing synced data can be particularly beneficial when transitioning to a new device or addressing privacy concerns related to shared browsing information. By understanding how to manage and clear synced data, users gain greater control over their browsing environment, empowering them to maintain their desired level of privacy and customization within the Chrome browser.
Conclusion
In conclusion, mastering the art of disabling Chrome sync empowers users to take control of their browsing experience and tailor it to their specific needs. Whether it's for privacy reasons, troubleshooting issues, or simply a desire to streamline their browsing experience, the ability to manage sync settings provides users with the flexibility to customize their browsing environment according to their preferences.
By following the clear and straightforward steps outlined in this guide, users can confidently navigate the process of disabling Chrome sync. From accessing the Chrome settings to turning off sync and clearing synced data, each step serves as a strategic tool for managing browsing data and privacy considerations.
Disabling Chrome sync does not only offer users greater control over their browsing data but also provides a sense of empowerment and customization within the Chrome browser. Whether it's halting the continuous synchronization of new data across devices or clearing existing synced data, these actions enable users to maintain their desired level of privacy and customization within the Chrome environment.
Understanding how to disable Chrome sync is particularly valuable for individuals who share a computer with others and wish to keep their browsing history and bookmarks private. Additionally, for those encountering sync-related problems, such as duplicate bookmarks or incorrect passwords, the ability to disable and re-enable sync serves as a troubleshooting step to resolve these issues.
Ultimately, the process of disabling Chrome sync offers users the flexibility to tailor their browsing environment according to their individual preferences. Whether it's for a temporary adjustment or a permanent change, the knowledge and ability to manage sync settings ensure that users can harness the full potential of Chrome while maintaining control over their browsing data.
In essence, the capability to disable Chrome sync represents a pivotal aspect of managing one's browsing experience, providing users with the autonomy to customize their environment according to their unique needs and preferences. By mastering this skill, users can confidently navigate the intricacies of Chrome's synchronization feature, leveraging it to their advantage while preserving their individual preferences and privacy considerations.