Introduction
Google Chrome extensions are powerful tools that enhance the browsing experience by adding new features and functionalities to the browser. From ad blockers to productivity boosters, there's a wide array of extensions available in the Chrome Web Store to cater to diverse user needs. However, there may come a time when you no longer require a particular extension or when you need to troubleshoot issues related to an extension. In such cases, knowing how to delete a Google Chrome extension can be incredibly useful.
Removing an extension from Google Chrome is a straightforward process, but it's essential to understand the steps involved to ensure a smooth and efficient removal. Whether you're looking to declutter your browser, address performance issues, or simply streamline your browsing experience, being able to delete Chrome extensions is a valuable skill for any user.
In this guide, we'll walk you through the step-by-step process of removing an extension from Google Chrome. By following these instructions, you'll be able to manage your extensions effectively and tailor your browsing environment to suit your preferences. Let's dive into the details and learn how to delete a Google Chrome extension with ease.
Step 1: Open Google Chrome
To begin the process of removing a Google Chrome extension, the first step is to open the Google Chrome browser on your computer. You can do this by locating the Chrome icon on your desktop or by searching for "Google Chrome" in the Start menu or applications folder.
Once you have located the Chrome icon, simply double-click on it to launch the browser. Alternatively, you can use the search bar on your computer to type "Google Chrome" and then click on the Chrome icon in the search results to open the browser.
If Google Chrome is your default browser, you can also open it by clicking on any web link or by clicking on the Chrome icon in your taskbar if it is pinned there.
Upon opening Google Chrome, you will be greeted by the familiar interface, featuring the address bar, tabs, and various menu options. Take a moment to ensure that the browser has fully loaded and that you are ready to proceed with the next steps to remove the extension.
It's important to note that the process of removing a Google Chrome extension requires you to have the browser open and running. Therefore, ensuring that Google Chrome is launched and ready for use is the crucial first step in the process of deleting an extension.
With Google Chrome now open and ready, you are prepared to move on to the next step in removing the extension from your browser. This will involve accessing the extensions menu, where you can manage and remove the extensions installed in your Google Chrome browser.
Now that you have successfully opened Google Chrome, let's proceed to the next step and learn how to access the extensions menu to remove the unwanted extension from your browser.
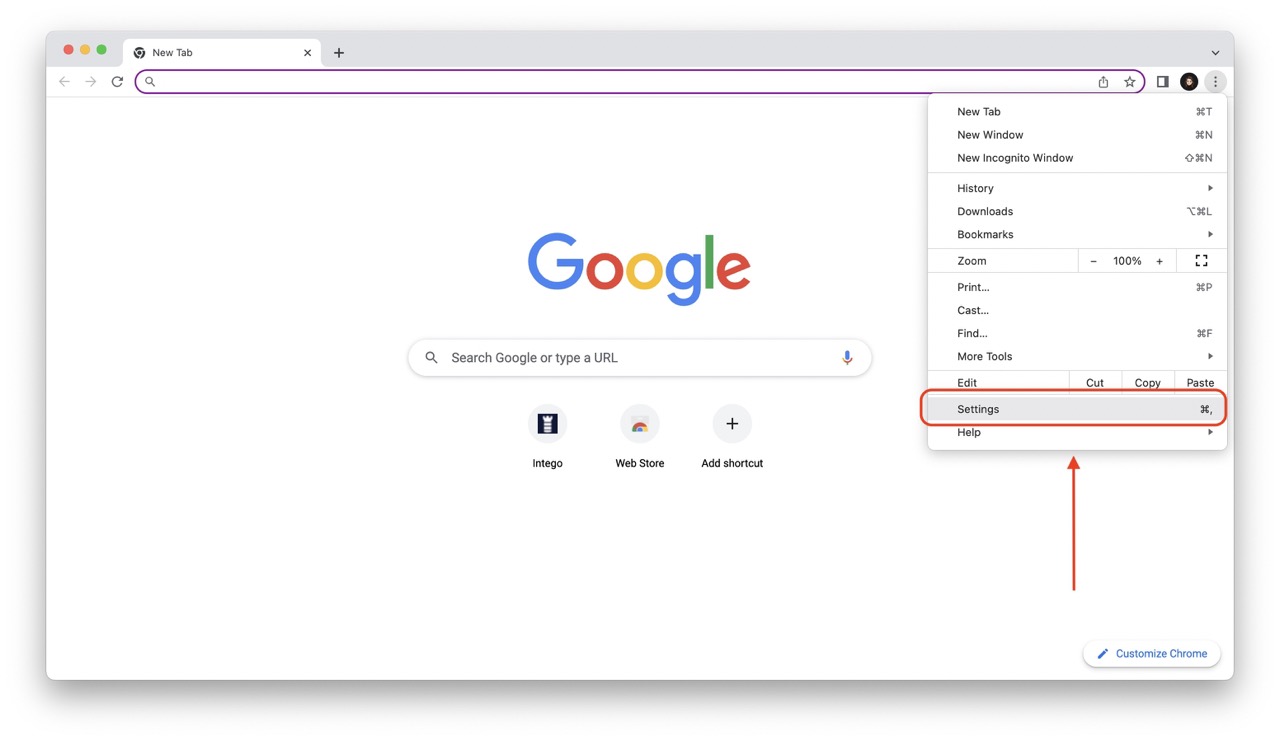
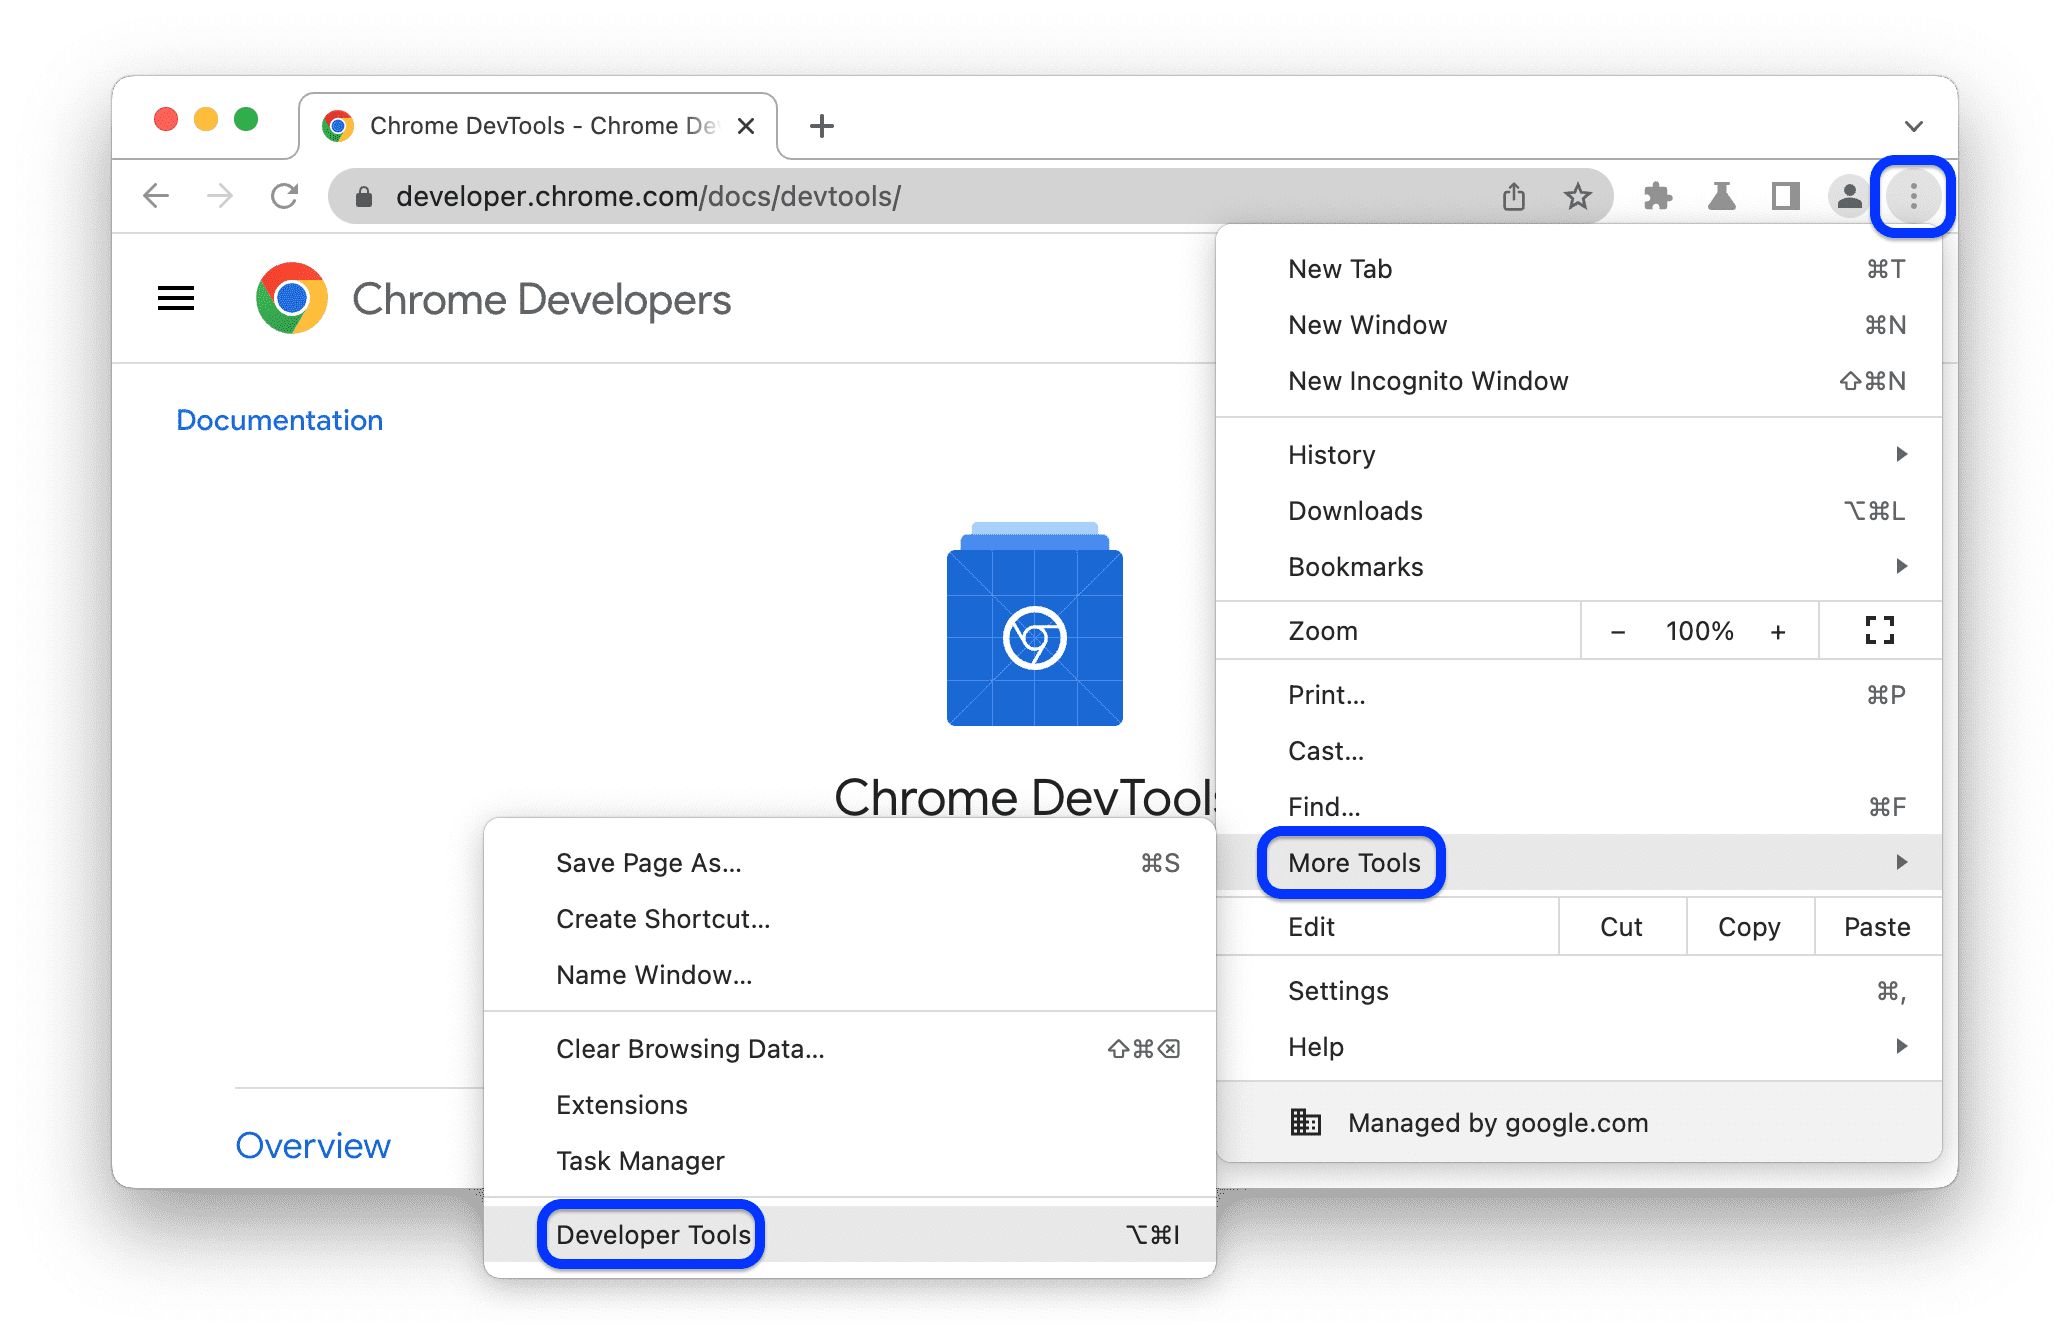
Step 2: Access the Extensions Menu
After successfully opening Google Chrome, the next step in removing a Google Chrome extension is to access the Extensions menu. This menu provides a centralized location where you can view all the extensions installed in your browser and manage their settings, including the option to remove or disable them.
To access the Extensions menu, you can follow these simple steps:
-
Look for the "Puzzle Piece" Icon: In the top-right corner of the Chrome interface, you will find the main menu represented by three vertical dots. Next to this, you will see an icon that resembles a puzzle piece. This is the Extensions icon. Click on this icon to access the Extensions menu.
-
Alternatively, you can directly type "chrome://extensions/" in the address bar of your Chrome browser and press Enter. This will also take you to the Extensions menu.
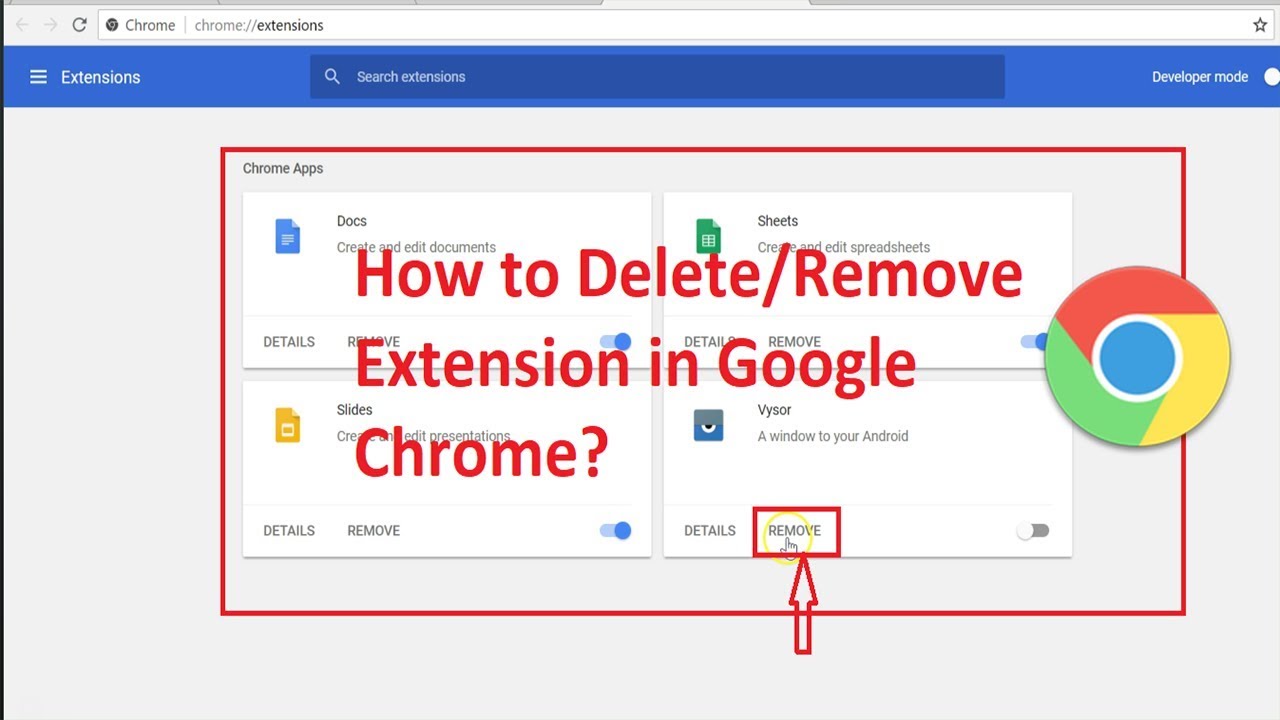
Upon clicking the Extensions icon or entering the "chrome://extensions/" URL, you will be directed to the Extensions menu, where you can view a list of all the extensions currently installed in your Google Chrome browser. Each extension will be accompanied by its respective settings and options.
Once you have accessed the Extensions menu, you will be able to see the full list of extensions that are currently active in your browser. From here, you can proceed to the next step, which involves removing the specific extension that you no longer require.
Accessing the Extensions menu is a crucial step in the process of deleting a Google Chrome extension, as it provides you with a clear overview of all the extensions installed in your browser and allows you to manage them effectively. With the Extensions menu now accessible, you are ready to move on to the next step and learn how to remove the unwanted extension from your Google Chrome browser.
Now that you have successfully accessed the Extensions menu, let's proceed to the next step and learn how to remove the unwanted extension from your browser.
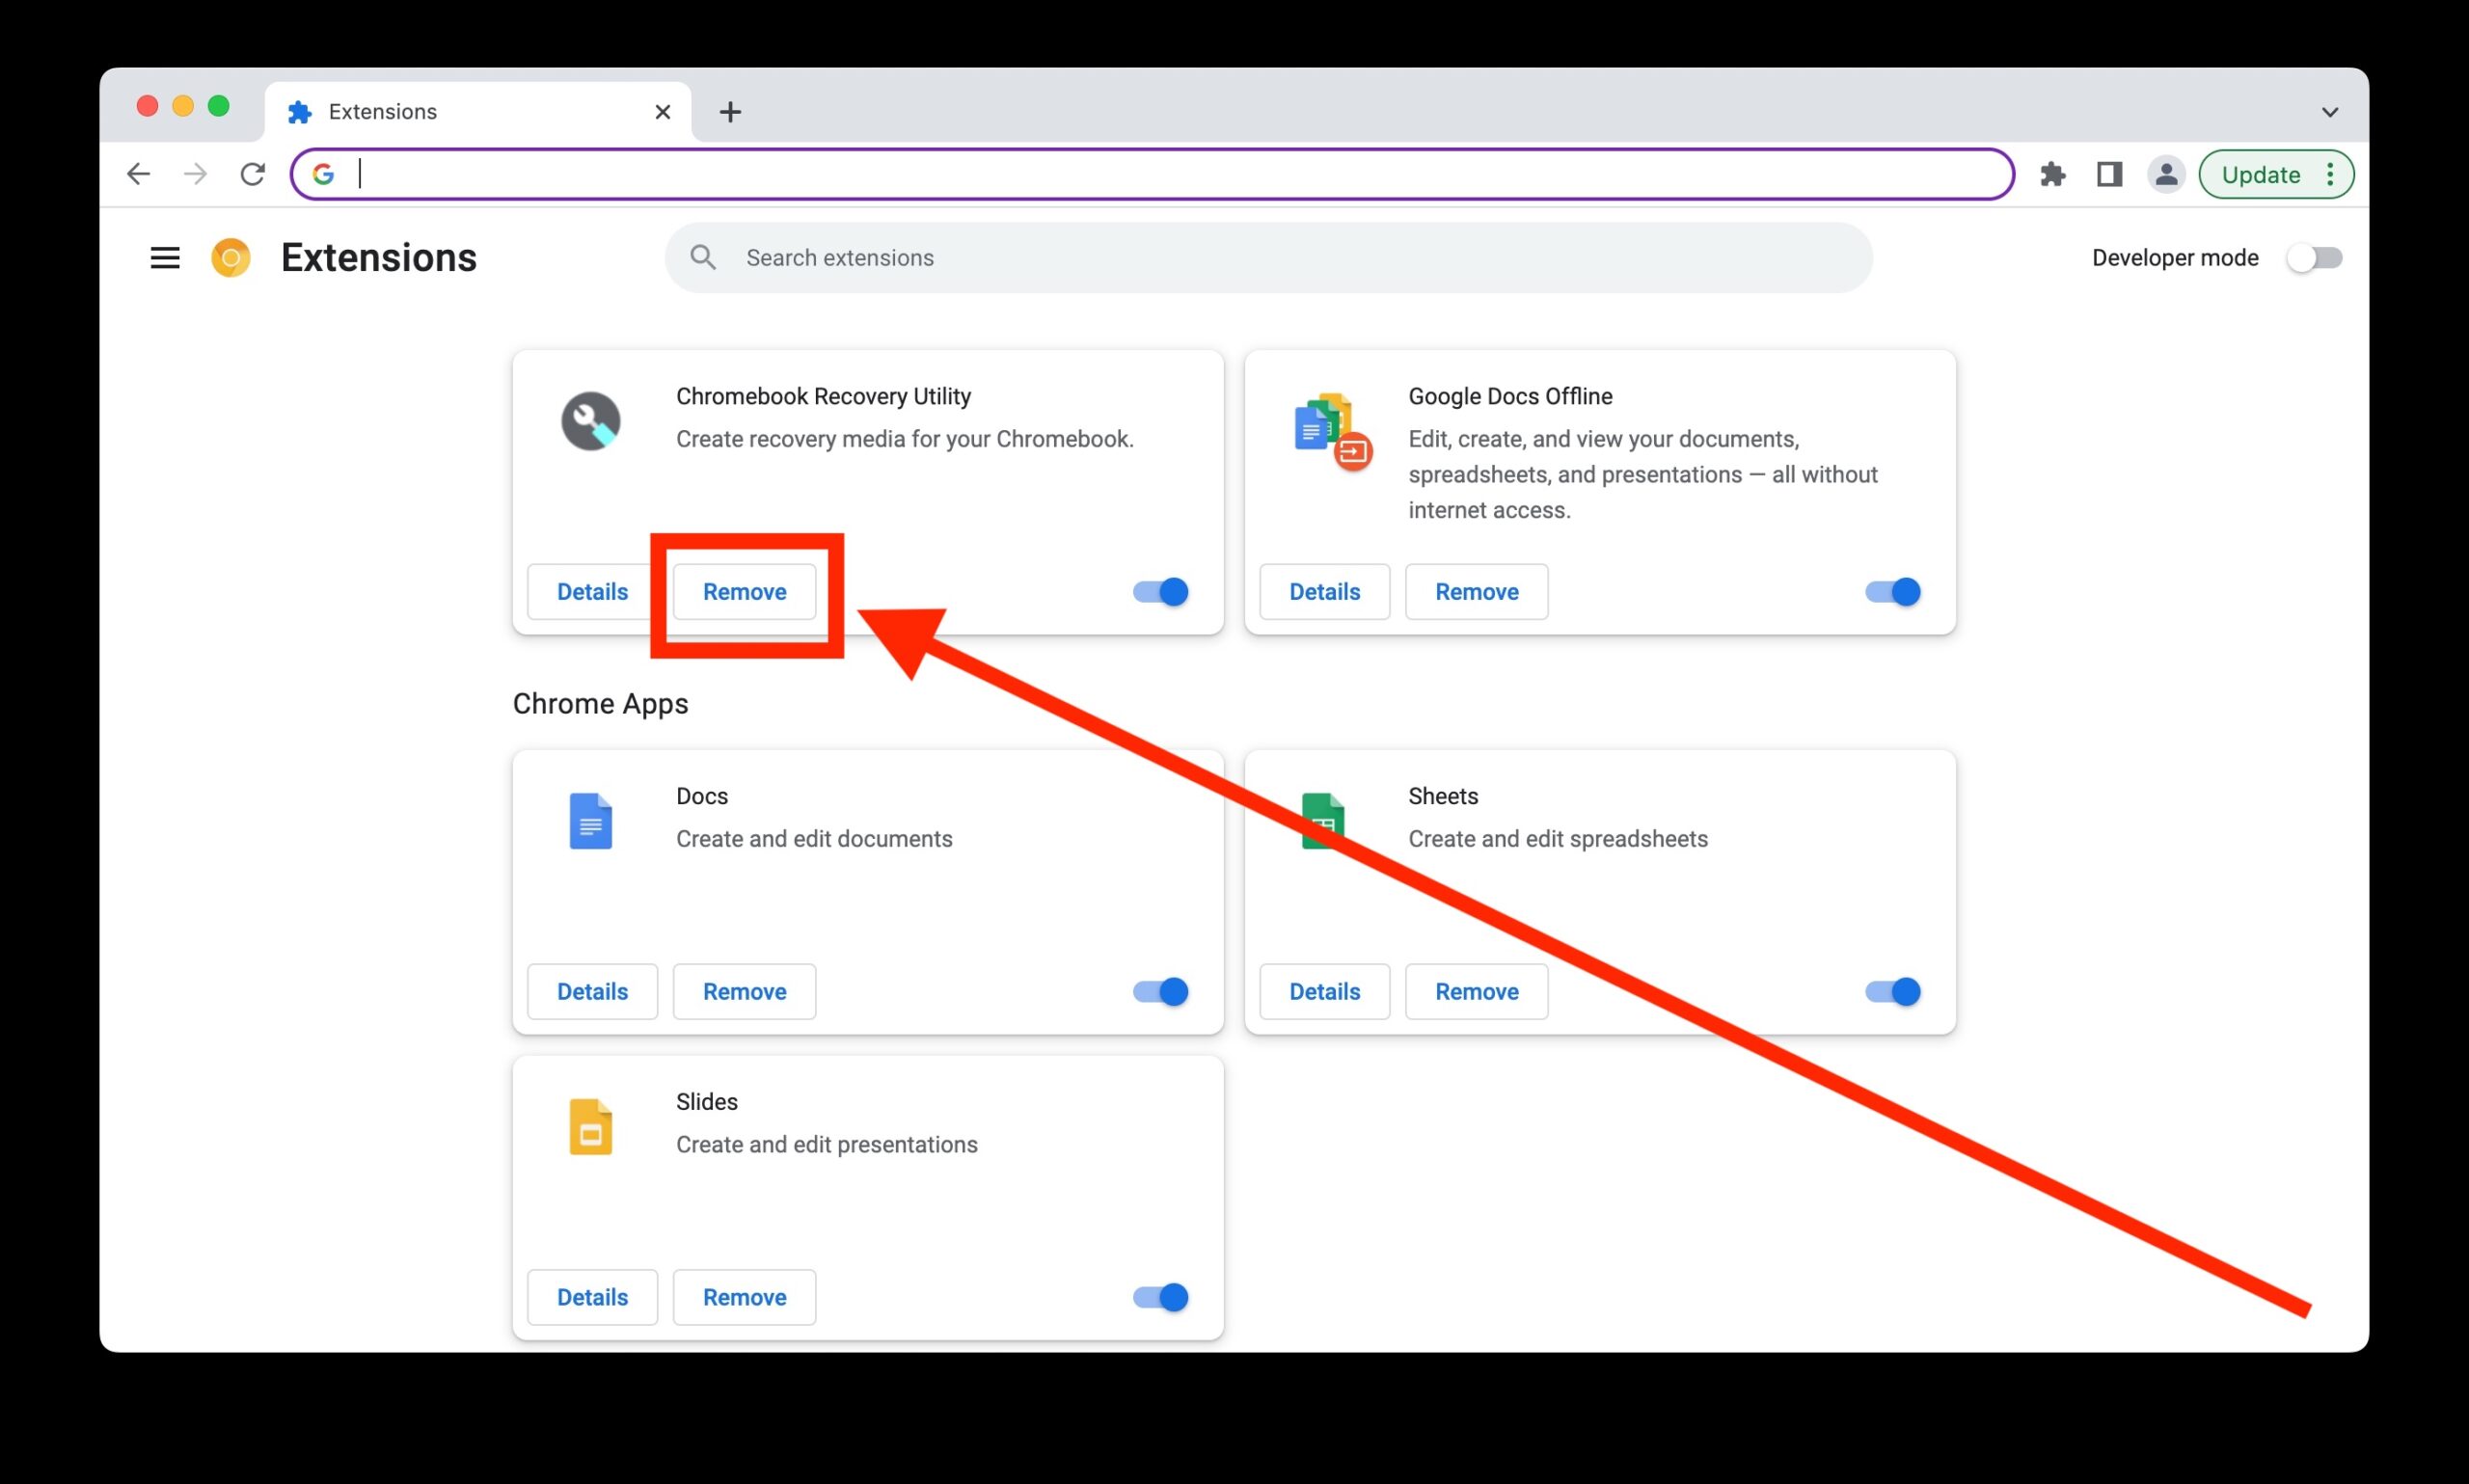
Step 3: Remove the Extension
Once you have accessed the Extensions menu in Google Chrome, removing an extension is a straightforward process. Follow these steps to remove the unwanted extension from your browser:
-
Identify the Extension: In the Extensions menu, locate the extension that you wish to remove from Google Chrome. Each extension will be accompanied by its respective settings and options, making it easy to identify the specific extension you want to delete.
-
Disable or Remove: Under the extension's details, you will find the option to either disable or remove the extension. To completely uninstall the extension from your browser, click on the "Remove" button. A confirmation dialog may appear to ensure that you want to remove the extension. Click "Remove" to proceed with the deletion.
-
Confirm Removal: After clicking the "Remove" button, Google Chrome will promptly remove the extension from your browser. The process is usually instantaneous, and you will receive a confirmation message indicating that the extension has been successfully removed.
-
Verify Removal: To confirm that the extension has been deleted, you can revisit the Extensions menu and verify that the extension is no longer listed. Additionally, you can navigate to any web page and check if the functionality provided by the extension is no longer present, further confirming that the extension has been successfully removed from Google Chrome.
By following these steps, you can effectively remove unwanted extensions from your Google Chrome browser, decluttering your browsing experience and ensuring that only the necessary and desired extensions remain active.
Removing unnecessary extensions not only streamlines your browsing environment but can also contribute to improved browser performance and security. It's a good practice to periodically review the extensions installed in your browser and remove any that are no longer needed or have become obsolete.
With the unwanted extension successfully removed from your Google Chrome browser, you have effectively managed your extensions and tailored your browsing experience to better suit your preferences and needs.
Step 4: Confirm Removal
After clicking the "Remove" button to delete the unwanted extension from Google Chrome, it's essential to confirm the removal to ensure that the process is completed successfully. Upon initiating the removal, Google Chrome promptly executes the deletion process, and a confirmation message typically appears to indicate that the extension has been successfully removed.
The confirmation message serves as a reassurance that the selected extension has been permanently deleted from the browser. It provides a clear indication that the removal process has been executed without any issues. This confirmation message is a crucial element in the removal process, as it offers users peace of mind and certainty that the unwanted extension has been effectively eliminated from their browsing environment.
Upon receiving the confirmation message, users can be confident that the extension is no longer active in their Google Chrome browser. This means that any associated features, functionalities, or settings provided by the extension have been completely removed, thereby decluttering the browser and ensuring a more streamlined and efficient browsing experience.
It's important to note that the confirmation message may vary slightly based on the specific version of Google Chrome being used. However, regardless of the exact wording or visual presentation of the confirmation, the key message remains consistent: the extension has been successfully removed.
To further verify the removal of the extension, users can revisit the Extensions menu to confirm that the deleted extension is no longer listed. Additionally, they can navigate to various web pages and observe that the functionality previously provided by the extension is no longer present, further confirming that the removal process has been completed as intended.
By confirming the removal of the unwanted extension, users can ensure that their Google Chrome browser is free from unnecessary or obsolete extensions, thereby optimizing its performance and enhancing the overall browsing experience. This proactive approach to managing extensions empowers users to maintain a clean and efficient browsing environment tailored to their specific needs and preferences.
Conclusion
In conclusion, knowing how to delete a Google Chrome extension is a valuable skill that empowers users to manage their browsing environment effectively. By following the step-by-step process outlined in this guide, users can seamlessly remove unwanted extensions, declutter their browser, and tailor their browsing experience to suit their preferences.
Removing unnecessary extensions not only streamlines the browsing environment but can also contribute to improved browser performance and security. It's a good practice to periodically review the extensions installed in the browser and remove any that are no longer needed or have become obsolete.
By accessing the Extensions menu, identifying the specific extension to be removed, and confirming its deletion, users can ensure that their Google Chrome browser remains optimized and free from unnecessary or obsolete extensions. This proactive approach to managing extensions empowers users to maintain a clean and efficient browsing environment tailored to their specific needs and preferences.
Furthermore, the ability to remove extensions from Google Chrome provides users with the flexibility to customize their browsing experience, ensuring that only the necessary and desired extensions remain active. This level of control allows users to curate a browsing environment that aligns with their individual requirements, whether it involves boosting productivity, enhancing security, or simply decluttering the browser interface.
In essence, the process of deleting a Google Chrome extension is a simple yet impactful way to take charge of one's browsing experience. By staying informed about the management of extensions and leveraging the tools provided by the Chrome browser, users can maintain a streamlined and efficient browsing environment that aligns with their evolving needs and preferences.
As technology continues to evolve, the ability to manage and customize the browsing experience becomes increasingly important. With the knowledge and skills gained from this guide, users can confidently navigate the process of removing Google Chrome extensions, ensuring that their browsing environment remains optimized, secure, and tailored to their unique requirements.