Introduction
Chrome extensions are powerful tools that enhance your browsing experience by adding additional features and functionalities to your Google Chrome browser. They can be incredibly useful in improving productivity, customizing the layout, and even blocking unwanted ads. However, there may come a time when you no longer need a particular extension or want to remove it for various reasons such as privacy concerns, performance issues, or simply trying to streamline your browser.
In this article, we will explore different methods to remove Chrome extensions on Mac. Whether you want to completely uninstall an extension or simply disable it temporarily, we’ve got you covered.
Before we dive into the methods, it’s important to note that removing an extension permanently means you will lose all the data and settings associated with it. If you think you may need to use the extension again in the future, it might be worth considering disabling it instead of uninstalling.
Now, let’s explore the different methods you can use to remove Chrome extensions on your Mac.
Method 1: Removing Chrome Extensions using the Browser
The first and most straightforward method to remove Chrome extensions on your Mac is by using the browser itself. Here’s how you can do it:
- Launch Google Chrome on your Mac.
- Click on the three-dot menu icon in the top-right corner of the browser window.
- From the dropdown menu, select “More Tools” and then click on “Extensions.”
- A new tab will open, displaying all the extensions installed in your Chrome browser.
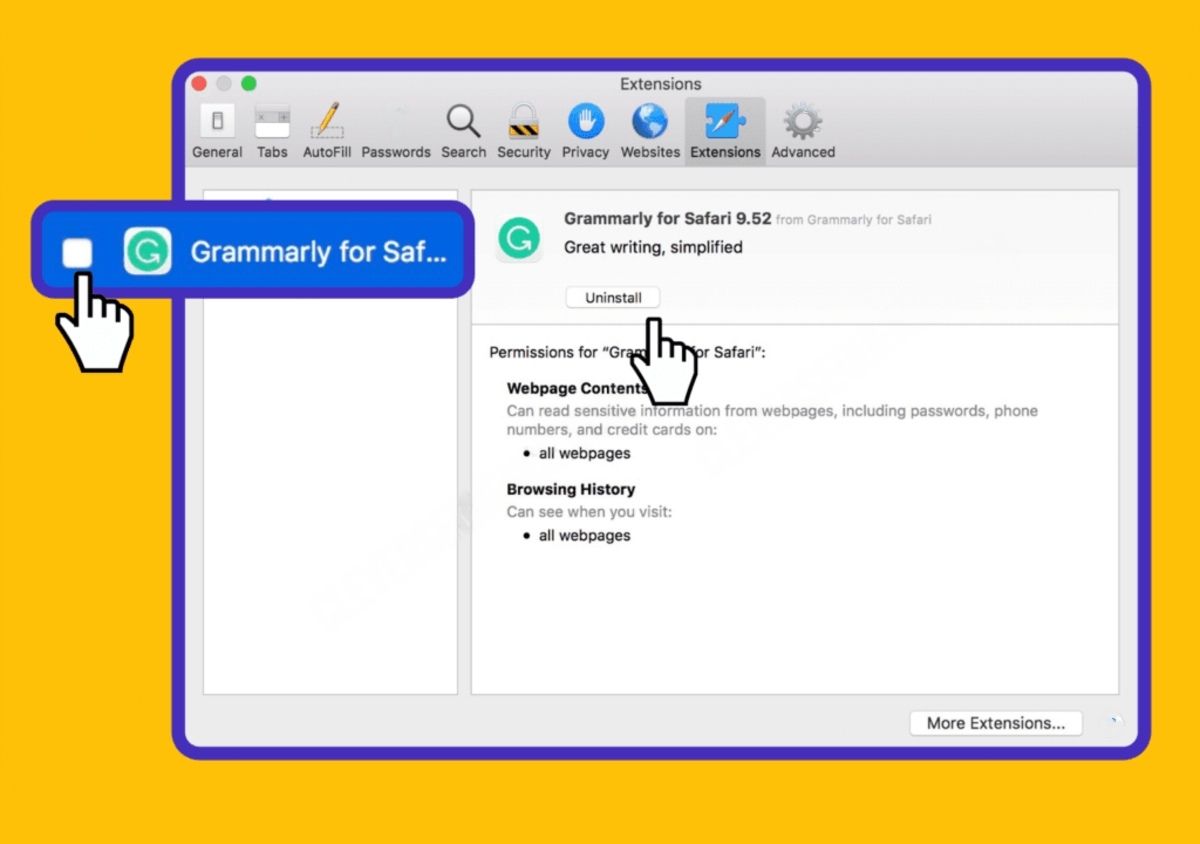
To remove an extension, locate the one you want to delete and click on the “Remove” button next to it. A popup confirmation message will appear asking if you want to remove the extension. Click “Remove” to confirm.
If you want to temporarily disable an extension instead of removing it, you can simply toggle off the switch next to the extension’s name. This will disable the extension without fully uninstalling it from your browser.
Once you have removed or disabled the desired extensions, close the Extensions tab, and you’re all set.
It’s important to note that removing an extension using this method will completely uninstall it from your browser, and any related data or settings will be permanently deleted. If you decide later on that you want to use the extension again, you will need to re-install it from the Chrome Web Store.
This method is simple and effective, allowing you to quickly manage your Chrome extensions without leaving the browser. However, if you prefer a method that offers more control over the removal process, you may want to consider other options that we will cover in the following sections.
Method 2: Uninstalling Chrome Extensions using the Chrome Web Store
If you prefer a centralized method for managing your Chrome extensions, you can use the Chrome Web Store to uninstall them. Here’s how:
- Open Google Chrome on your Mac.
- Click on the three-dot menu icon in the top-right corner of the browser window.
- From the dropdown menu, select “More Tools” and then click on “Extensions.”
- In the Extensions tab, look for the “Open Chrome Web Store” link at the bottom-left corner of the page and click on it.
- The Chrome Web Store will open in a new tab, displaying all the extensions available.
- In the search bar at the top-left corner of the page, type the name of the extension you want to uninstall.
- Find the extension from the search results and click on it to open its details page.
- On the extension’s details page, you will find a blue “Remove” button.
- Click on the “Remove” button, and a confirmation dialog box will appear.
- Click “Remove” in the dialog box to confirm the uninstallation.
Once you have uninstalled the extension, it will be removed from your Chrome browser. You can verify this by going back to the Extensions tab within the browser and checking if it’s listed there.
This method offers a convenient way to uninstall Chrome extensions by directly accessing the Chrome Web Store. It allows you to review the details of the extension and ensure that you are removing the correct one. Additionally, it can be helpful in discovering new extensions or alternatives to the ones you have uninstalled.
However, keep in mind that some extensions may not be available in the Chrome Web Store, and you may need to use other methods to uninstall them. Furthermore, if you have multiple Chrome profiles on your Mac, note that you will need to uninstall the extension for each individual profile if you want to remove it completely.
Method 3: Deleting Chrome Extensions from the Finder
If you prefer a more hands-on approach and want to remove Chrome extensions manually, you can do so by deleting the extension files from the Finder on your Mac. Here’s how:
- Open a new Finder window on your Mac.
- Click on “Go” in the menu bar at the top of the screen.
- From the dropdown menu, select “Go to Folder.”
- A small window will appear where you can enter the folder path. Type:
~/Library/Application Support/Google/Chrome/Default/Extensions - Press the “Go” button or hit Enter on your keyboard.
- The Extensions folder will open, displaying a list of folders, each representing an installed extension.
- Identify the folder of the extension you want to remove. You can match the folder name with the ID of the extension found in the Chrome browser’s Extensions tab.
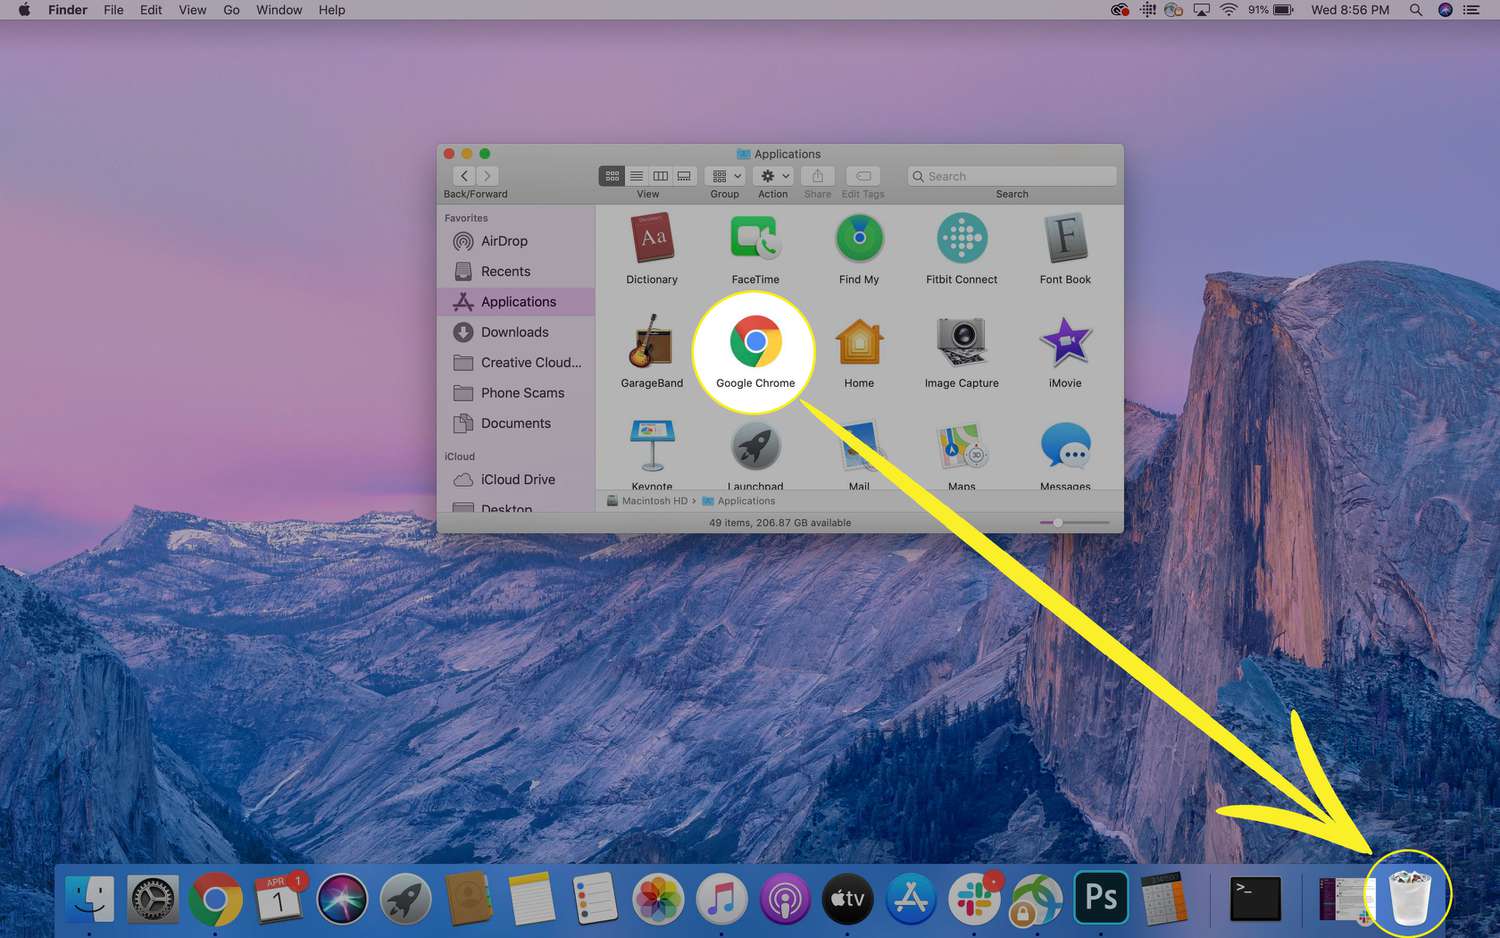
- Once you’ve located the appropriate folder, select it and move it to the Trash by either dragging it or right-clicking and selecting “Move to Trash.”
After moving the extension folder to the Trash, it is recommended to empty the Trash to completely remove the extension from your system.
This method provides a direct way to delete Chrome extensions from your Mac by accessing the extension files in the Finder. However, be cautious when deleting the extension files as removing the wrong ones could potentially cause issues with your browser. Therefore, it’s essential to double-check the folder you’re deleting and ensure it corresponds to the extension you want to remove.
Keep in mind that some extensions may have additional files or data stored in other locations. If you want to completely remove all traces of the extension, you may need to search for and delete any associated files or folders manually.
Method 4: Disable Chrome Extensions using the Command Prompt
If you prefer a command-line approach to managing your Chrome extensions on Mac, you can use the Terminal application to disable them. Here’s how:
- Launch the Terminal application on your Mac. You can find it by going to Applications > Utilities > Terminal.
- In the Terminal window, type the following command and press Enter:
defaults write com.google.Chrome ExtensionManagementEnabled false - Restart Google Chrome for the changes to take effect.
- Open Chrome, click on the three-dot menu icon in the top-right corner, and select “Extensions” from the dropdown menu.
- All the extensions installed in your browser will be listed, but they will be grayed out and labeled as “Disabled.”
- If you want to re-enable the extensions, simply repeat the process in the Terminal, but this time enter the following command:
defaults write com.google.Chrome ExtensionManagementEnabled true - Once again, restart Chrome for the changes to take effect.
By using this method, you can quickly disable or enable all Chrome extensions without having to go through the individual extension settings. It can be particularly useful if you want to temporarily disable all extensions to troubleshoot browser issues or improve performance.
However, it’s important to note that disabling extensions using the command prompt does not uninstall them. The extensions will still be present in your browser, but they will be inactive until you re-enable them.
If you want to permanently remove an extension, you will need to use one of the previous methods mentioned in this article.
Now that you know how to disable extensions using the command prompt, you have more control over managing the extensions in your Chrome browser on your Mac.
Conclusion
Removing or disabling Chrome extensions on your Mac is a simple process that allows you to customize your browsing experience and optimize your browser’s performance. Whether you choose to remove extensions using the browser, uninstall them through the Chrome Web Store, delete their files from the Finder, or disable them using the command prompt, each method offers its own benefits and flexibility.
By removing unnecessary or unwanted extensions, you can free up valuable system resources and ensure a smoother browsing experience. Additionally, removing extensions that you no longer use or need can help protect your privacy and enhance your online security.
Take some time to review the extensions you currently have installed in your Chrome browser and consider whether each one still serves a purpose or if it can be safely removed. Regularly evaluating your extensions will help keep your browser organized and efficient.
Remember, if you ever decide that you want to use a previously removed extension again, you can always reinstall it from the Chrome Web Store.
By following the methods outlined in this article, you have the knowledge and tools to manage your Chrome extensions effectively on your Mac. Find the approach that works best for you, whether it’s through the browser’s interface, the Chrome Web Store, the Finder, or the command prompt.
Now, go ahead and take control of your Chrome extensions, enhancing your browsing experience and optimizing your Mac’s performance.