Introduction
Google Chrome is a versatile and powerful web browser that offers a wide range of extensions to enhance your browsing experience. These extensions, also known as add-ons or plugins, provide additional functionality and customization options, allowing users to tailor their browsing experience to their specific needs. While extensions can be incredibly useful, there may come a time when you need to remove one for various reasons, such as decluttering your browser, improving performance, or addressing security concerns.
In this guide, we will walk you through the process of removing extensions from Chrome. Whether you no longer find an extension useful, or you suspect it may be causing issues with your browser, knowing how to delete extensions can help you maintain a streamlined and efficient browsing environment. By following the simple steps outlined in this article, you can easily manage your Chrome extensions and ensure that your browser operates smoothly and securely.
So, if you're ready to declutter your Chrome browser and streamline its performance, let's dive into the step-by-step process of removing extensions. Whether you're a seasoned Chrome user or just getting started with browser customization, this guide will equip you with the knowledge and skills to effectively manage your Chrome extensions. Let's get started!
Step 1: Open Chrome Browser
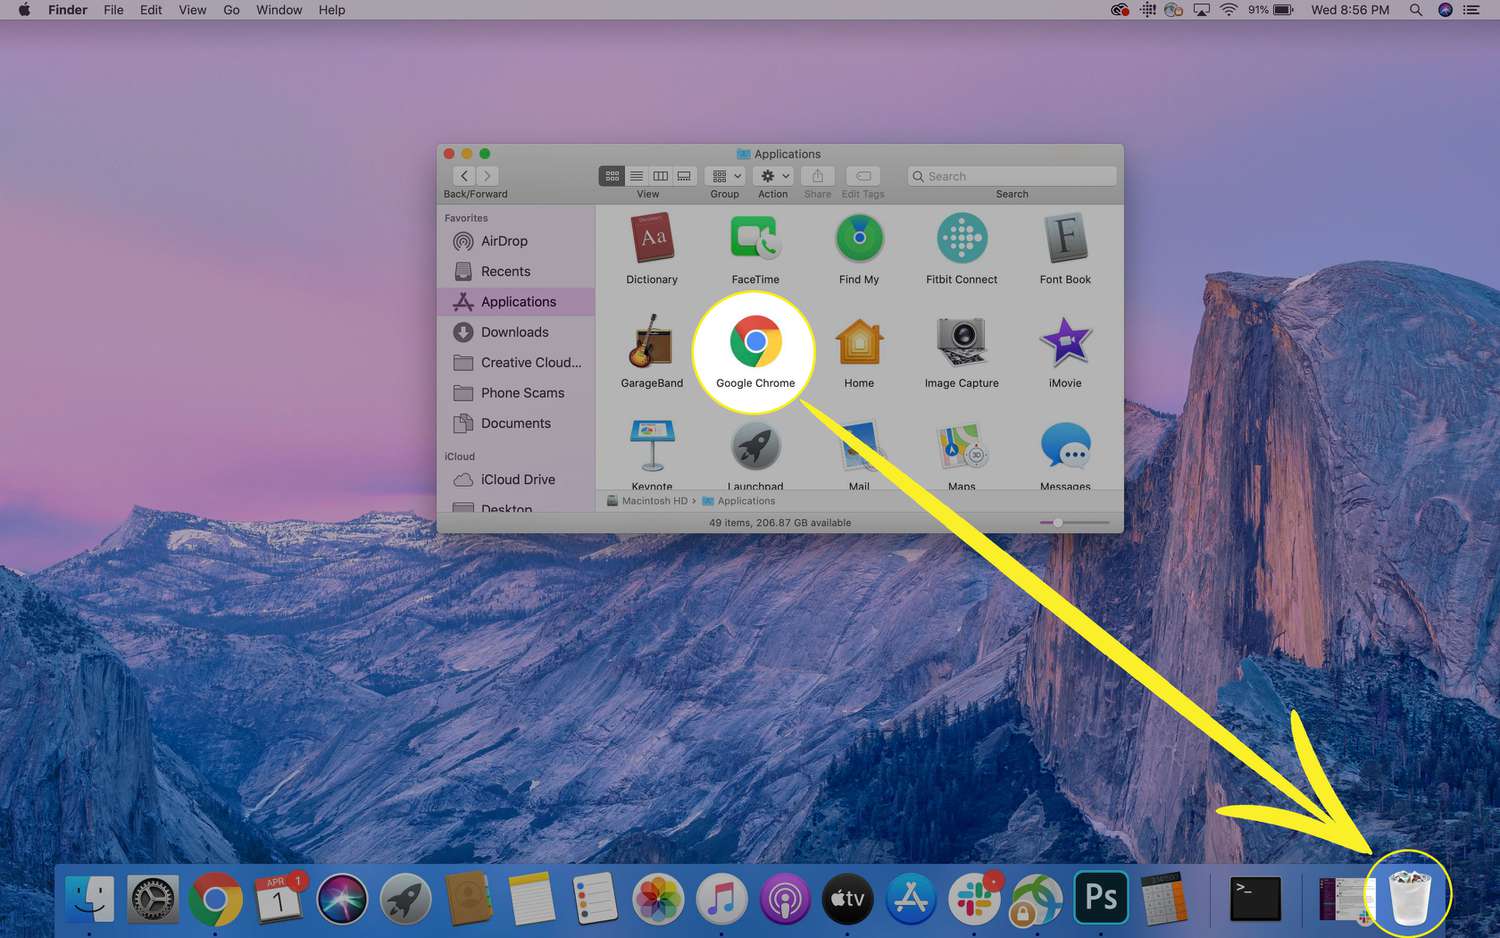
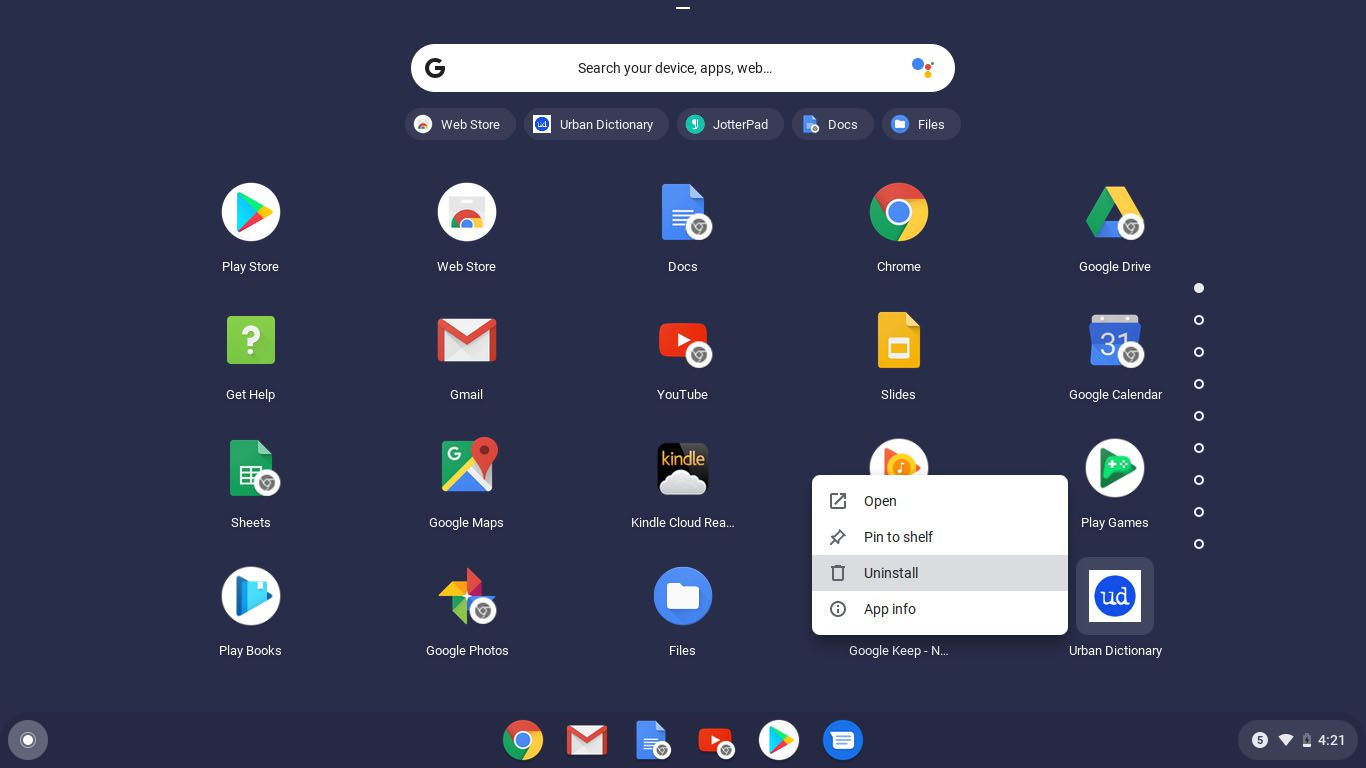
To begin the process of removing extensions from your Chrome browser, the first step is to open the browser itself. Whether you are using a Windows, Mac, or Linux operating system, launching Chrome is typically a straightforward task. You can simply locate the Chrome icon on your desktop, taskbar, or applications folder and double-click it to open the browser.
Upon opening Chrome, you will be greeted by the familiar interface, featuring the address bar, tabs, and various menu options. If Chrome is set as your default browser, you might also encounter it when clicking on web links from other applications or documents.
Alternatively, if you prefer using keyboard shortcuts, you can press the Windows key + S on a Windows computer, type "Chrome," and press Enter to launch the browser. On a Mac, you can use Spotlight by pressing Command + Space, typing "Chrome," and hitting Enter.
Once Chrome is open, you will have access to its full range of features and settings, including the ability to manage extensions. It's important to ensure that you are using the latest version of Chrome to benefit from the most up-to-date security patches and performance improvements. Chrome typically updates automatically, but you can manually check for updates by clicking on the three-dot menu in the top-right corner, selecting "Help," and then choosing "About Google Chrome."
By keeping your browser updated, you can maintain a secure and optimized browsing experience while effectively managing your extensions. With Chrome open and up-to-date, you are now ready to proceed to the next step of removing unwanted extensions from your browser.
Opening Chrome is the essential first step in the process of managing your extensions, setting the stage for the subsequent actions that will enable you to streamline your browsing experience and optimize the performance of your browser.
Step 2: Access the Extensions Menu
Once you have Chrome open, accessing the extensions menu is the next crucial step in the process of removing unwanted extensions from your browser. The extensions menu provides a centralized location where you can view all installed extensions, manage their settings, and remove those that are no longer needed.
To access the extensions menu, you can follow these simple steps:
-
Navigate to the Menu Icon: Look for the three-dot icon located in the top-right corner of the Chrome window. This icon serves as the main menu for accessing various browser features and settings.
-
Open the Menu: Click on the three-dot icon to open the main menu. This action will reveal a dropdown list of options that allow you to customize and control your browsing experience.
-
Select "More Tools": Within the dropdown menu, hover your cursor over the "More Tools" option. This will expand a secondary menu containing additional tools and functionalities.
-
Choose "Extensions": From the expanded "More Tools" menu, click on the "Extensions" option. This will direct you to the extensions management page, where you can view a list of all installed extensions and take actions to modify or remove them.
Upon selecting the "Extensions" option, a new tab will open within the Chrome browser, displaying a list of all the extensions you have installed. Each extension will be accompanied by its icon, name, and a brief description of its functionality. This interface provides a convenient overview of your installed extensions, allowing you to assess their utility and decide which ones to remove.
Accessing the extensions menu is a pivotal step in the process of managing your Chrome extensions. By navigating to this dedicated section of the browser, you gain the ability to review, modify, and remove extensions as needed, empowering you to maintain a clean and efficient browsing environment.
With the extensions menu now accessible, you are poised to proceed to the next step of removing unwanted extensions from your Chrome browser, as we continue to streamline and optimize your browsing experience.
Step 3: Remove the Extension
After accessing the extensions menu and reviewing the list of installed extensions, you can proceed to remove any extensions that are no longer needed or causing issues. The process of removing an extension from Chrome is straightforward and can be accomplished in just a few simple steps.
To remove an extension, follow these steps:
-
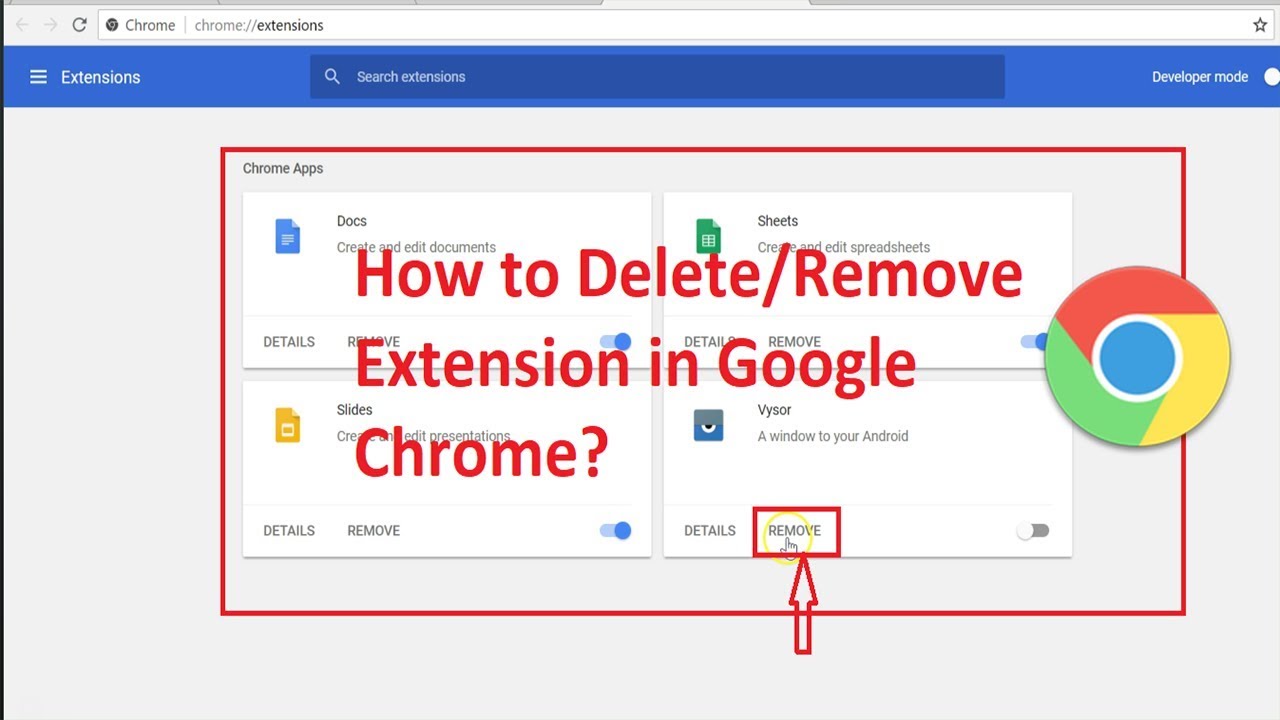
Identify the Extension: Before proceeding with the removal, take a moment to identify the specific extension you wish to delete. You can review the list of installed extensions on the extensions management page, where each extension is accompanied by its name, icon, and a brief description of its functionality. By identifying the extension you want to remove, you can ensure that you take the intended action.
-
Toggle Off the Extension (Optional): Some extensions may have a toggle switch next to them, allowing you to disable them temporarily without completely removing them. If you prefer to temporarily disable an extension rather than removing it entirely, you can do so by toggling off the switch next to the extension's name. This can be useful if you want to test the impact of the extension's absence before making a final decision.
-
Click on "Remove": To permanently remove an extension from Chrome, locate the extension you wish to delete and click on the "Remove" button associated with it. This action will prompt a confirmation dialog to ensure that you intend to remove the extension.
-
Confirm Removal: Upon clicking "Remove," a confirmation dialog will appear, asking if you want to remove the extension. This serves as a final confirmation to prevent accidental removals. If you are certain that you want to proceed, click "Remove" in the confirmation dialog to complete the removal process.
-
Extension Removed: Once you confirm the removal, the selected extension will be permanently deleted from your Chrome browser. The extension's icon and related features will no longer be accessible, and any associated settings or preferences will be removed from the browser.
By following these steps, you can effectively remove unwanted extensions from your Chrome browser, decluttering your browsing environment and potentially improving the browser's performance. It's important to review your extensions periodically and remove any that are no longer useful or necessary, as this can help maintain a streamlined and efficient browsing experience.
With the extension successfully removed, you have taken a proactive step in managing your Chrome browser's extensions, ensuring that only the most relevant and beneficial extensions remain installed. This process empowers you to tailor your browsing experience to your specific needs while optimizing the performance and security of your browser.
Step 4: Confirm Removal
After initiating the removal of an extension by clicking the "Remove" button, Chrome prompts a confirmation dialog to ensure that the user intends to proceed with the removal. This additional step serves as a safeguard against accidental deletions, providing an opportunity for users to confirm their decision before permanently removing the extension from their browser.
The confirmation dialog typically includes a message informing the user that the action will permanently delete the selected extension from Chrome. This message serves as a final checkpoint, prompting users to consider the implications of removing the extension and ensuring that they are making an informed decision.
Upon encountering the confirmation dialog, users are presented with the option to either proceed with the removal by clicking "Remove" or cancel the action by clicking "Cancel." This deliberate design allows users to pause and reconsider their choice, preventing unintended deletions and providing a moment for reflection before finalizing the removal process.
By requiring users to confirm the removal of an extension, Chrome prioritizes user control and prevents accidental or hasty deletions. This intentional approach aligns with Chrome's commitment to user-friendly design and emphasizes the importance of empowering users to make deliberate decisions when managing their browser's extensions.
Once the user clicks "Remove" in the confirmation dialog, the selected extension is permanently deleted from Chrome. This action signifies the completion of the removal process, and the extension's icon, functionality, and associated settings are immediately removed from the browser.
The confirmation dialog serves as a pivotal checkpoint in the removal process, ensuring that users have the opportunity to validate their decision before permanently eliminating an extension from their browsing environment. This deliberate approach underscores Chrome's dedication to user empowerment and reinforces the importance of informed decision-making when managing extensions.
With the confirmation of removal, users can proceed with confidence, knowing that the extension has been successfully deleted from their Chrome browser, contributing to a streamlined and personalized browsing experience tailored to their specific needs.
Conclusion
In conclusion, the ability to manage and remove extensions from your Chrome browser is a valuable skill that empowers you to maintain a clean, efficient, and personalized browsing experience. By following the step-by-step process outlined in this guide, you have gained the knowledge and proficiency to effectively remove unwanted extensions, declutter your browser, and optimize its performance.
The process begins with opening the Chrome browser, ensuring that you are using the latest version to benefit from enhanced security and performance. Accessing the extensions menu provides a centralized location where you can review all installed extensions and take actions to modify or remove them. This step is crucial in enabling you to make informed decisions about the extensions you wish to manage.
Removing an extension involves identifying the specific extension you want to delete, toggling it off if necessary, and then initiating the removal process. Chrome's deliberate design includes a confirmation dialog, which serves as a final checkpoint to ensure that you intend to proceed with the removal. This intentional approach prioritizes user control and prevents accidental deletions, aligning with Chrome's commitment to user-friendly design.
By successfully removing unwanted extensions, you have taken proactive steps to tailor your browsing experience to your specific needs while optimizing the performance and security of your browser. This process allows you to maintain a streamlined and efficient browsing environment, ensuring that only the most relevant and beneficial extensions remain installed.
As you continue to explore the diverse range of extensions available for Chrome, periodically reviewing and managing your extensions will enable you to adapt your browsing environment to evolving needs and preferences. Whether you are seeking to enhance productivity, improve security, or customize your browsing experience, the ability to manage extensions equips you with the flexibility to curate a personalized and efficient browsing environment.
By mastering the process of removing extensions from Chrome, you have demonstrated your ability to take control of your browsing experience, ensuring that your browser remains optimized, secure, and tailored to your unique requirements. This knowledge empowers you to navigate the dynamic landscape of Chrome extensions with confidence, enabling you to leverage their benefits while maintaining a streamlined and efficient browsing environment.