Introduction
Are you looking to streamline your browsing experience by removing unnecessary extensions from your Chrome browser? Whether you're aiming to declutter your interface, improve performance, or enhance security, deleting extensions can be a simple yet effective solution. Chrome extensions, while incredibly useful, can sometimes accumulate over time, leading to a cluttered browser interface and potential performance issues. Fortunately, removing extensions is a straightforward process that can be accomplished in just a few simple steps.
In this guide, we'll walk you through the process of deleting an extension from your Chrome browser. By following these steps, you'll be able to manage your extensions efficiently, ensuring that your browser remains optimized for your specific needs. Whether you're a seasoned Chrome user or just getting started with browser customization, understanding how to remove extensions is a valuable skill that can help you maintain a clean and efficient browsing environment.
So, if you're ready to take control of your Chrome extensions and optimize your browsing experience, let's dive into the step-by-step process of removing an extension from your Chrome browser.
Step 1: Open Chrome Browser
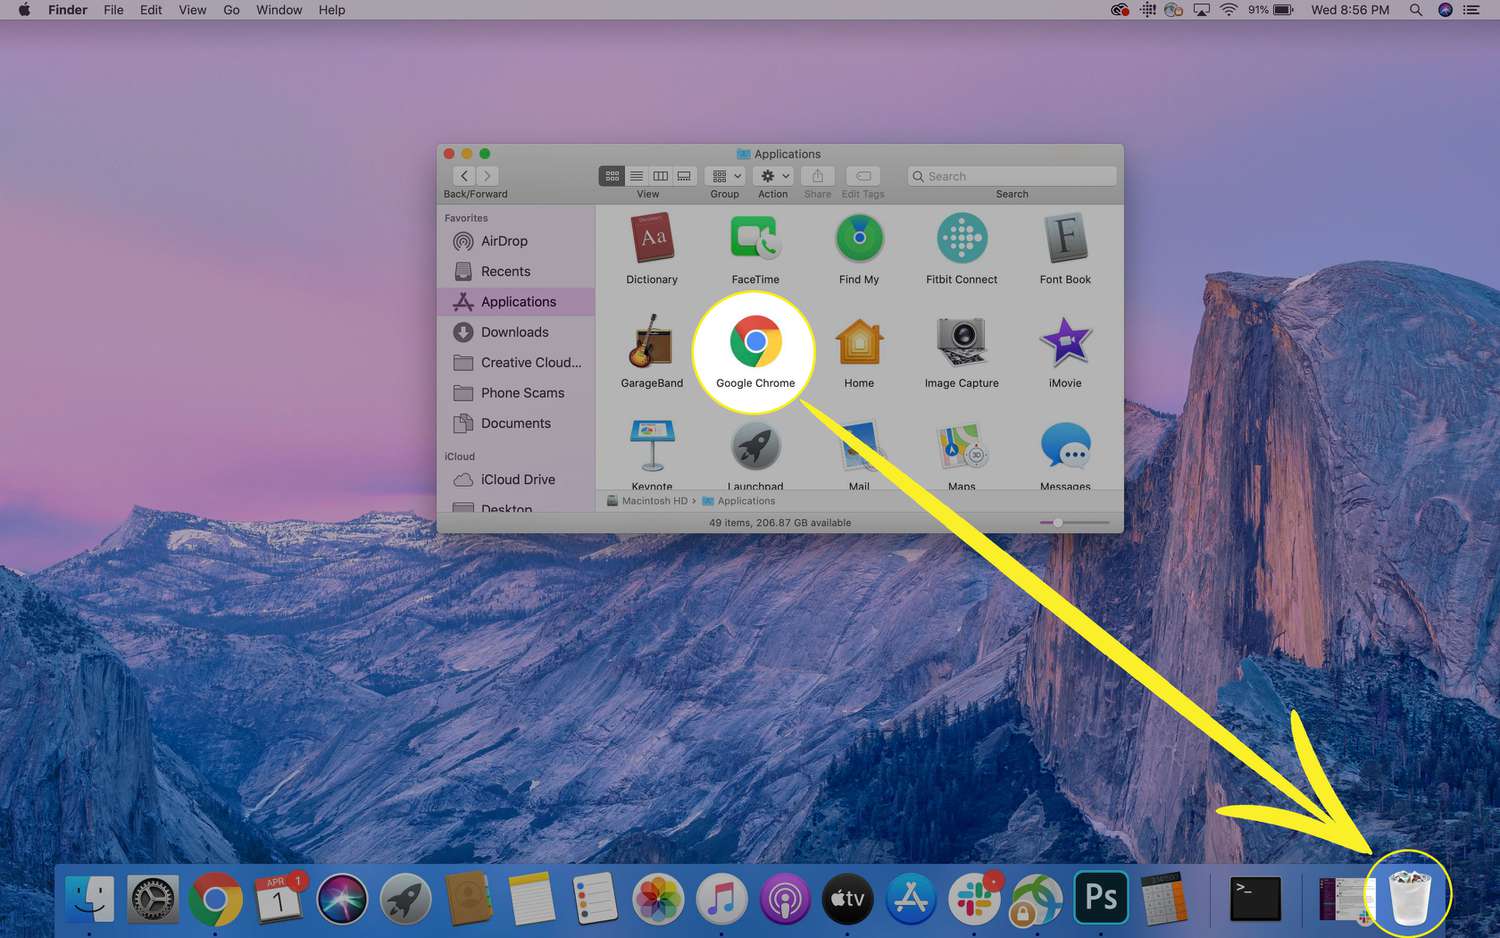
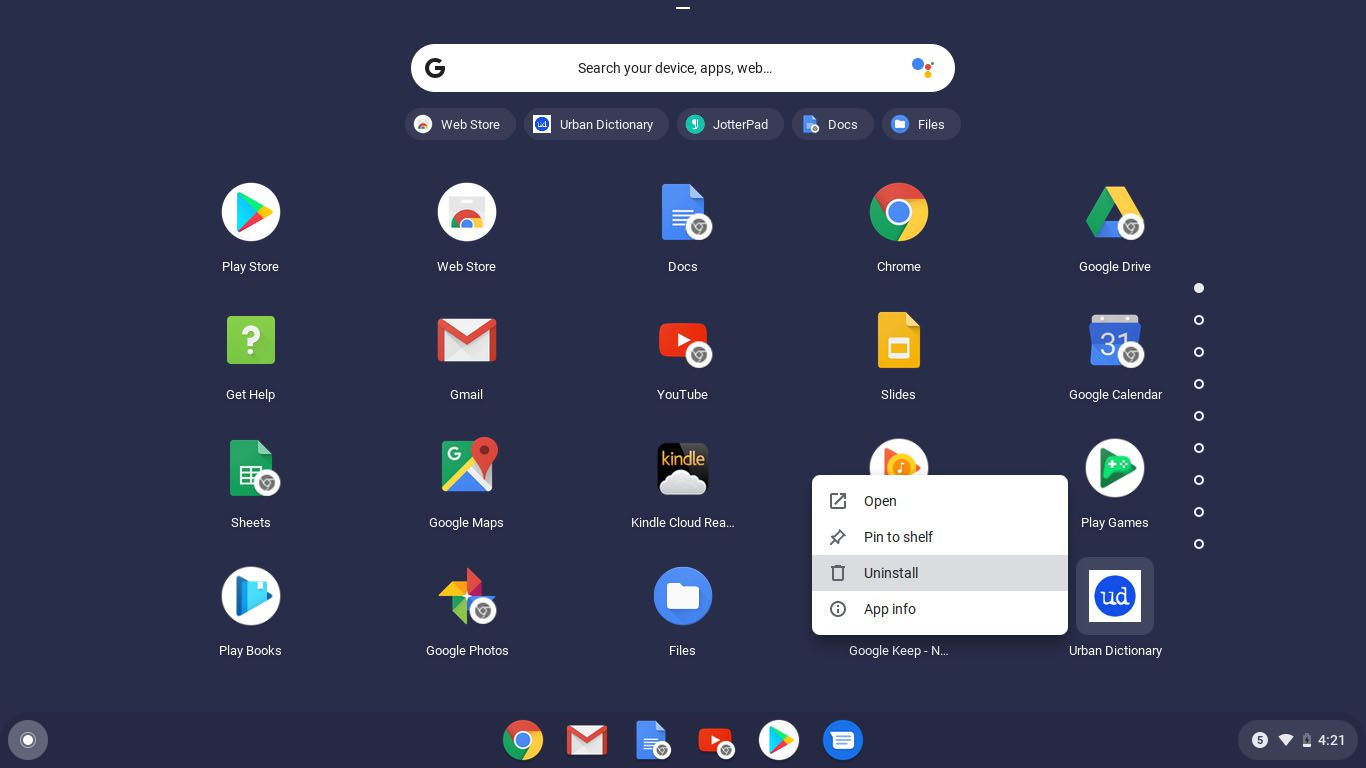
To begin the process of removing an extension from your Chrome browser, the first step is to open the Chrome browser on your computer. You can do this by locating the Chrome icon on your desktop or by searching for "Chrome" in the Windows Start menu or the macOS Launchpad.
Once you've located the Chrome browser icon, simply click on it to launch the browser. Alternatively, if Chrome is already pinned to your taskbar or dock, you can open it with a single click. As the browser opens, you'll be greeted by the familiar interface, complete with the omnibox at the top, where you can enter web addresses and search queries.
If you're using a Windows computer, you may also choose to open Chrome by pressing the Windows key on your keyboard, typing "Chrome," and hitting Enter. Similarly, if you're using a Mac, you can utilize the Spotlight search feature by pressing Command + Space, typing "Chrome," and pressing Enter to open the browser.
Once Chrome is open, you're ready to proceed to the next step in the process of removing an extension from your browser. With the Chrome browser now launched and ready for use, you're one step closer to efficiently managing your extensions and optimizing your browsing experience.
Opening the Chrome browser is the initial step in the process of removing an extension, setting the stage for the subsequent steps that will guide you through the seamless removal of unwanted extensions from your browser. With Chrome up and running, you're now prepared to access the extension menu and begin the process of removing the specific extension you wish to delete.
Now that you've successfully opened the Chrome browser, let's move on to the next step in the process: accessing the extension menu.
Step 2: Access the Extension Menu
Accessing the extension menu in Chrome is a pivotal step in the process of removing an extension from your browser. The extension menu serves as a centralized hub where you can manage all your installed extensions, enabling you to easily add, disable, or remove them as needed. To access the extension menu, follow these simple steps:
-
Navigate to the Menu Icon: Located in the top-right corner of the Chrome browser window, you'll find the menu icon represented by three vertically aligned dots. Click on this icon to reveal a dropdown menu containing various options for customizing and managing your browser.
-
Select "More Tools": Within the dropdown menu, hover your cursor over the "More Tools" option to reveal a secondary menu. From this submenu, select "Extensions." This action will direct you to the dedicated extensions page, where you can view all the extensions currently installed in your browser.
-
Direct Access via URL: Alternatively, you can directly access the extensions page by typing "chrome://extensions/" into the omnibox at the top of the browser window and pressing Enter. This URL serves as a shortcut to the extensions page, allowing you to bypass the dropdown menu and navigate directly to the extension management interface.
Upon accessing the extensions page, you'll be presented with a comprehensive overview of all the extensions installed in your Chrome browser. Each extension is accompanied by relevant details, such as its name, toggle switch for enabling or disabling, and additional options for customization.
By reaching the extension menu, you've successfully positioned yourself to proceed with the next crucial step: removing the specific extension you wish to delete. With the extension menu readily accessible, you're now equipped to efficiently manage your extensions and tailor your browsing experience to your preferences.
Accessing the extension menu is a fundamental aspect of maintaining a well-organized and optimized browser environment. Whether you're looking to remove outdated extensions, declutter your interface, or enhance performance, navigating to the extension menu is the gateway to effective extension management.
Now that you've successfully accessed the extension menu, let's move on to the next step in the process: removing the extension from your Chrome browser.
Step 3: Remove the Extension
Removing an extension from your Chrome browser is a straightforward process that allows you to declutter your browsing environment and optimize performance. Once you've accessed the extension menu and identified the specific extension you wish to delete, follow these steps to remove it:
-
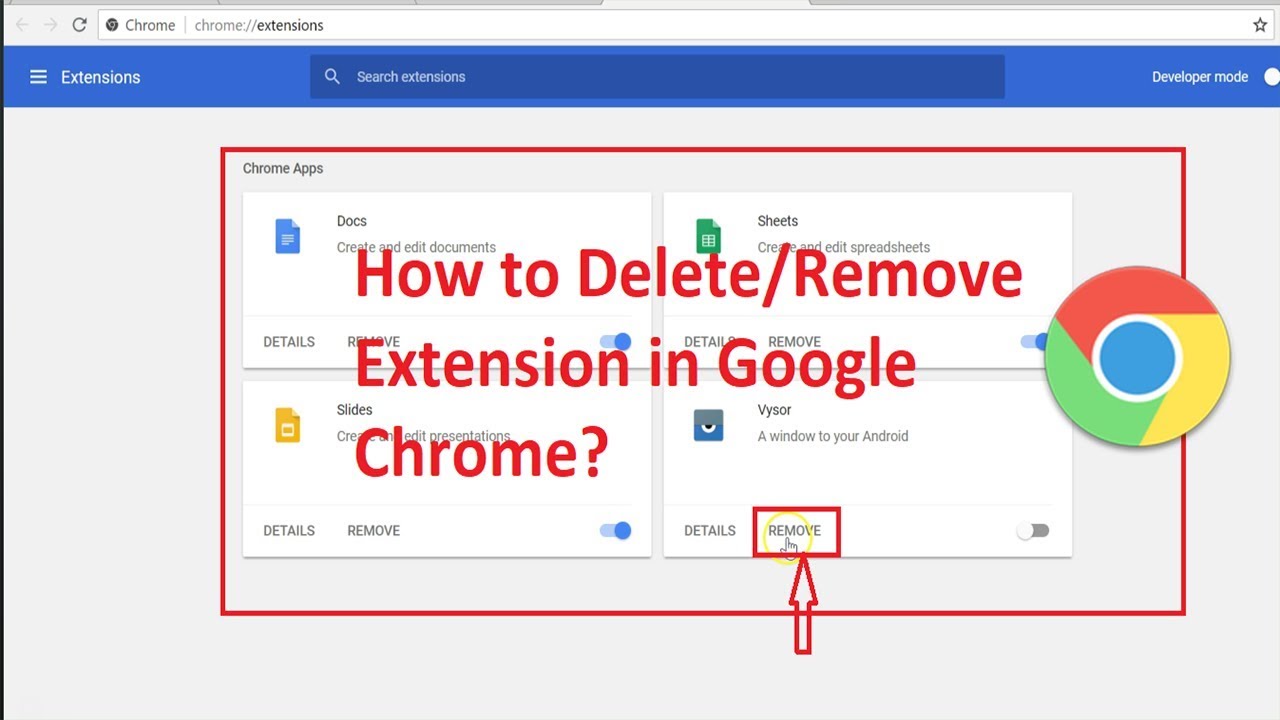
Locate the Extension: Within the extension menu, scroll through the list of installed extensions to locate the one you want to remove. Each extension is accompanied by its name, toggle switch for enabling or disabling, and additional options for customization.
-
Remove the Extension: Once you've identified the extension you wish to delete, look for the "Remove" or trash bin icon associated with that extension. This icon is typically located near the extension's description or beneath its details. Clicking on the "Remove" button will prompt a confirmation dialog to ensure that you intend to delete the extension.
-
Confirm Removal: After clicking the "Remove" button, a confirmation dialog will appear, asking if you want to remove the extension. To proceed with the removal, click "Remove" in the confirmation dialog. This action will effectively delete the extension from your Chrome browser.
By following these steps, you can seamlessly remove unwanted extensions from your Chrome browser, allowing you to tailor your browsing experience to your specific needs. Whether you're eliminating outdated extensions, reducing clutter, or optimizing performance, the ability to remove extensions with ease empowers you to maintain a clean and efficient browsing environment.
Once you've successfully removed the extension, you'll notice an immediate difference in your browser's interface and performance. With unnecessary extensions removed, you can enjoy a streamlined browsing experience that is tailored to your preferences and optimized for efficiency.
Now that you've completed the process of removing the extension from your Chrome browser, you're one step closer to efficiently managing your extensions and maintaining a well-organized browsing environment. With the unwanted extension successfully deleted, you can proceed to explore additional customization options and further optimize your browsing experience.
With the extension successfully removed, you've taken a proactive step toward enhancing your browsing environment and ensuring that your Chrome browser remains optimized for your specific needs. By mastering the process of removing extensions, you've gained valuable insight into managing your browsing experience and maintaining a clutter-free interface.
Step 4: Confirm Removal
After clicking the "Remove" button to initiate the removal of the extension, a confirmation dialog will promptly appear on the screen. This dialog serves as a final checkpoint to ensure that you indeed intend to delete the selected extension from your Chrome browser. The purpose of this confirmation prompt is to prevent accidental removals and provide users with a last opportunity to reconsider before permanently eliminating the extension.
Within the confirmation dialog, you will typically encounter a message that explicitly states the action you are about to take, such as "Remove extension" or "Confirm removal." This message serves as a clear indication of the impending deletion, allowing you to verify that you are indeed targeting the correct extension for removal.
Accompanying the message, you will also find a button or link that enables you to confirm the removal. This button is often labeled "Remove" or "Confirm," serving as the final trigger to execute the deletion process. By clicking this button, you signal your definitive intent to proceed with the removal of the selected extension.
In some instances, the confirmation dialog may also include additional information or warnings related to the removal process. This could include notifications about the potential impact of removing the extension on your browsing experience, such as the loss of specific functionalities or settings associated with the extension. These supplementary details aim to provide users with a comprehensive understanding of the consequences of their action, ensuring informed decision-making.
Upon clicking the "Remove" or "Confirm" button within the confirmation dialog, the removal process is immediately initiated. At this point, the selected extension is permanently deleted from your Chrome browser, and any associated files or settings are effectively removed from the system.
It's important to note that once the removal process is confirmed, it cannot be undone through a simple undo command. Therefore, it's crucial to carefully review the extension you are removing and ensure that it aligns with your intentions.
By navigating through the confirmation dialog and confirming the removal of the extension, you finalize the deletion process, thereby streamlining your browser environment and optimizing its performance. With the unwanted extension successfully removed, you can now enjoy a cleaner and more efficient browsing experience tailored to your specific preferences.
As you proceed with the confirmation of the removal, you take a decisive step toward maintaining a well-organized and optimized browsing environment, free from unnecessary extensions that may hinder your productivity and enjoyment of the web.
Conclusion
Congratulations! By following the step-by-step process outlined in this guide, you've successfully learned how to remove an extension from your Chrome browser. This newfound skill empowers you to efficiently manage your browsing environment, ensuring that your browser remains optimized for your specific needs. As you've experienced, the process of deleting an extension is straightforward and can significantly contribute to a cleaner, more efficient browsing experience.
By mastering the art of removing extensions, you've gained valuable insight into maintaining a well-organized browser interface. Whether you're decluttering your browser, optimizing performance, or enhancing security, the ability to remove extensions with ease allows you to tailor your browsing environment to your preferences.
As you navigate through the extension menu, locate the specific extension, and confirm its removal, you're taking proactive steps to streamline your browsing experience. With unnecessary extensions eliminated, you can enjoy a more focused and efficient interface that aligns with your browsing habits and preferences.
Furthermore, the confirmation dialog serves as a crucial checkpoint, ensuring that you have the opportunity to verify your intent before permanently deleting the extension. This additional layer of confirmation underscores the importance of informed decision-making, allowing you to proceed with confidence in your actions.
By removing unwanted extensions, you're not only decluttering your browser but also optimizing its performance. With a leaner set of extensions, you can expect improved browser responsiveness and reduced resource consumption, contributing to a smoother and more enjoyable browsing experience.
In conclusion, the ability to remove extensions from your Chrome browser is a valuable skill that enables you to maintain a well-organized, efficient, and personalized browsing environment. By following the steps outlined in this guide, you've gained the knowledge and confidence to take control of your extensions, ensuring that your browser remains optimized for your specific needs. Whether you're a seasoned Chrome user or just beginning to explore the world of browser customization, the process of removing extensions is a fundamental aspect of maintaining a streamlined and efficient browsing experience.