Introduction
Welcome to the world of Chrome extensions! Google Chrome, with its powerful set of features and customizability, has become one of the most popular web browsers worldwide. One of the key reasons behind its popularity is the availability of a vast array of extensions that can enhance the browser’s functionality and tailor it to your specific needs.
Chrome extensions are small software programs that you can install to add extra features and functionalities to your Chrome browser. Whether you’re looking for productivity tools, ad blockers, language translators, or social media integrations, there’s a Chrome extension out there to meet your needs.
In this article, we’ll guide you through the process of adding Chrome extensions to your toolbar, making it easier and quicker for you to access and use them whenever you want. By following a few simple steps, you can have your favorite extensions at your fingertips, just a click away.
So, if you’re ready to take your browsing experience to the next level, let’s dive into the step-by-step process of adding Chrome extensions to your toolbar!
Step 1: Open the Chrome Web Store
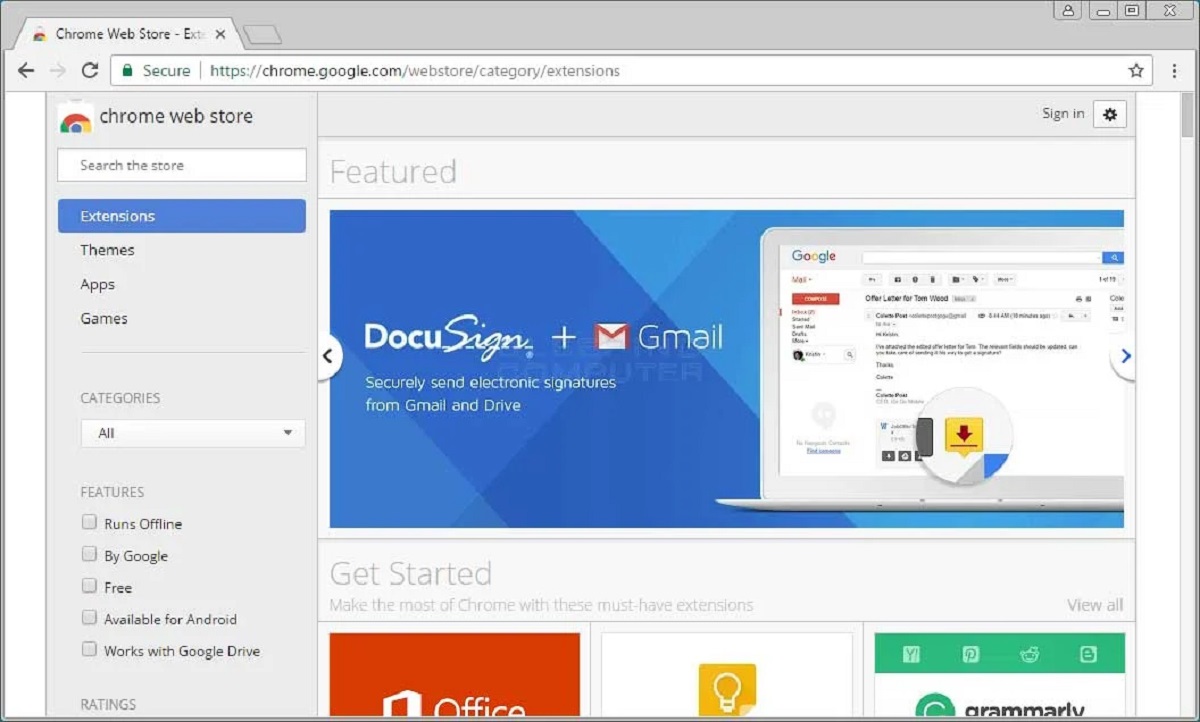
The first step to adding Chrome extensions to your toolbar is to open the Chrome Web Store. This is the official marketplace where you can find a wide range of extensions developed by both Google and third-party developers.
To open the Chrome Web Store, follow these simple steps:
- Launch your Google Chrome browser on your computer.
- Click on the three-dot menu icon located at the top-right corner of the browser window.
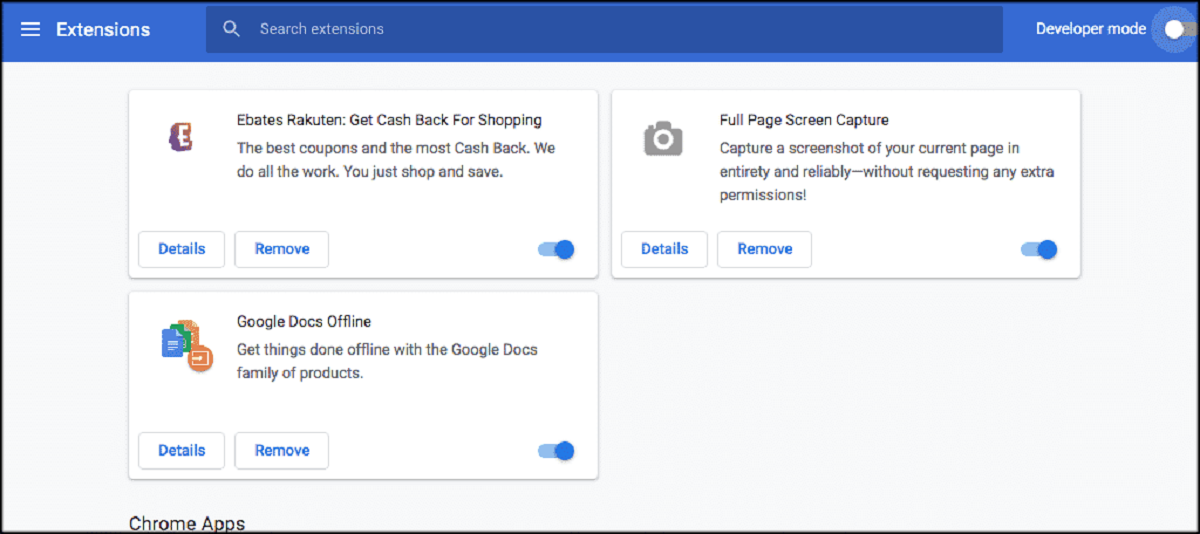
- From the dropdown menu, select “More Tools” and then click on “Extensions.”
- Your browser will now open a new tab, displaying the Extensions page.
- On the left sidebar of the Extensions page, you’ll find a link labeled “Chrome Web Store.” Click on it.
Alternatively, you can also directly visit the Chrome Web Store by typing in the URL “chrome.google.com/webstore” in the address bar of your Chrome browser.
Once you’ve successfully opened the Chrome Web Store, you’ll be ready to explore the vast collection of Chrome extensions available for you to browse, search, and install.
Now that you’re in the Chrome Web Store, let’s move on to the next step: searching for the desired extension.
Step 2: Search for the Desired Extension
Now that you’re in the Chrome Web Store, it’s time to search for the extension you want to add to your toolbar. The Chrome Web Store offers various ways to discover extensions, including browsing through categories, checking out curated collections, and searching for specific keywords.
Here’s how you can search for the desired extension:
- On the main page of the Chrome Web Store, you’ll find a search bar at the top-left corner. Click on it or simply start typing to enter your search query.
- Think about what kind of extension you’re looking for or enter specific keywords related to the functionality you need. For example, if you want an ad blocker, you can type “ad blocker” in the search bar.
- As you type, the Chrome Web Store will start suggesting relevant extensions based on your search query. You can either choose one of the suggestions or press Enter to view all search results.
- The search results page will display a list of extensions that match your search query. Take your time to browse through the options and read the descriptions and user reviews to find the one that suits your needs.
If you already know the name of the extension you want to add, you can directly search for it using its name in the search bar. This will ensure you find your desired extension quickly.
Once you’ve found the extension you want to add, it’s time to move on to the next step: clicking on the extension to view its details and installation options.
Step 3: Click on the Extension You Want to Add
After searching for the desired extension in the Chrome Web Store, you’ll need to click on the extension to view its details and installation options. This step allows you to gather more information about the extension and make an informed decision before adding it to your toolbar.
Here’s how you can proceed with this step:
- From the search results page or the extension’s category page, locate the extension you want to add to your toolbar.
- Click on the extension’s name or its thumbnail image to open its details page.
- On the extension’s details page, you’ll find valuable information such as a description of its features, user reviews and ratings, screenshots, and additional details provided by the developer.
- Take your time to carefully read through this information to understand what the extension offers and whether it meets your requirements.
While evaluating an extension, you may want to consider factors such as the extension’s popularity, user ratings, and developer credibility. This will give you an idea of the extension’s quality and reliability.
Additionally, be sure to check the compatibility of the extension with your version of Chrome and any potential conflicts it may have with other installed extensions.
Once you’re satisfied with your evaluation and have decided to proceed with the installation, it’s time to move on to the next step: clicking on the “Add to Chrome” button.
Step 4: Click on the “Add to Chrome” Button
After reviewing the details of the extension you want to add to your toolbar, it’s time to take the next step: clicking on the “Add to Chrome” button. This button initiates the installation process and adds the extension to your browser.
Here’s how you can proceed with this step:
- On the extension’s details page, locate the “Add to Chrome” button. It is usually located near the top-right corner of the page, above the extension’s description.
- Click on the “Add to Chrome” button.
- A confirmation dialog box will appear, displaying the permissions required by the extension. Permissions allow the extension to access certain features or data within your browser.
- Review the permissions carefully to ensure you are comfortable with the level of access the extension requires. If you have any concerns, you can cancel the installation by clicking the “Cancel” button.
- If you’re satisfied with the permissions and want to proceed with the installation, click on the “Add extension” button.
- The installation process may take a few seconds, depending on the size of the extension. During this time, you’ll see a progress indicator.
- Once the installation is complete, you’ll receive a notification confirming that the extension has been added to your Chrome browser.
Congratulations! You’ve successfully added the extension to your browser. However, adding the extension to your browser doesn’t automatically add it to your toolbar.
In the next step, we’ll cover how to locate and access the extension on your toolbar.
Step 5: Confirm the Installation by Clicking “Add Extension”
After clicking on the “Add to Chrome” button and reviewing the required permissions, you’ll need to confirm the installation by clicking the “Add extension” button. This step finalizes the installation process and ensures that the extension becomes fully functional within your Chrome browser.
Here’s how you can proceed with this step:
- Once you click on the “Add to Chrome” button, a confirmation dialog box will appear, displaying the permissions required by the extension.
- Take a moment to review the permissions and ensure that you are comfortable with the access the extension will have to your browser.
- If you are satisfied with the permissions and want to proceed with the installation, click on the “Add extension” button.
- After clicking “Add extension”, the installation process will begin, and you’ll see a progress indicator indicating the status of the installation.
- The duration of the installation process may vary depending on the size of the extension and your internet connection speed.
- Once the installation is complete, you’ll receive a notification confirming that the extension has been successfully added to your Chrome browser.
Now that you have confirmed the installation, the extension is ready to be used. However, it may not appear on your toolbar immediately.
Next, we’ll discuss how you can locate and access the extension on your Chrome toolbar.
Step 6: The Extension Will Now Appear on Your Chrome Toolbar
Once you have successfully installed an extension by clicking the “Add extension” button, it will appear on your Chrome toolbar, ready for you to access and use whenever you need it. This step highlights the final stage of the process, where you can easily locate and utilize the newly added extension.
Follow these steps to locate the extension on your Chrome toolbar:
- Look for the toolbar section at the top-right corner of your Chrome browser window.
- Keep an eye out for the newly installed extension’s icon. It should be displayed alongside other icons for your active extensions.
- The position of the extension icon may vary depending on the number of installed extensions and your personal toolbar settings.
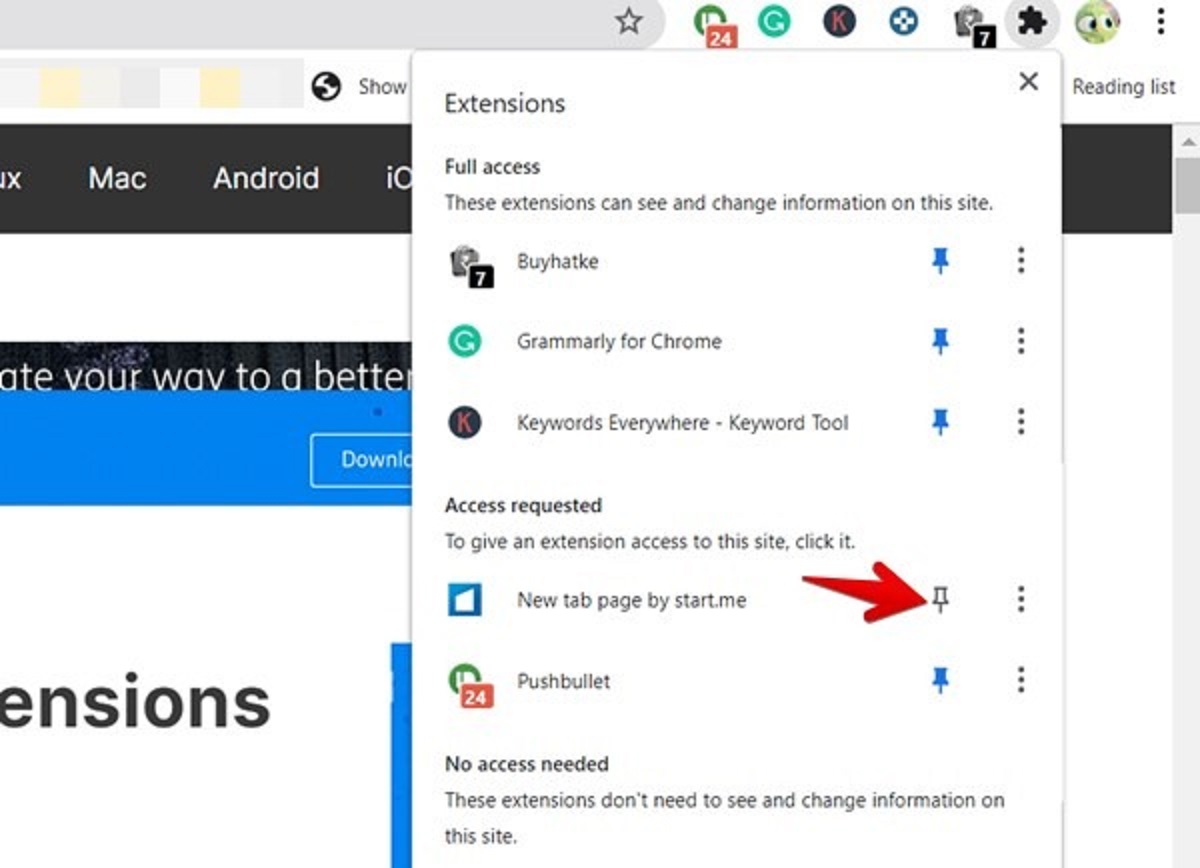
- If you cannot immediately find the extension icon, click on the puzzle piece icon to reveal a dropdown menu of hidden extensions.
- From the dropdown menu, locate the extension you want to access and click on its icon to activate it.
After clicking on the extension icon, you’ll be able to access its features and utilize its functionality as intended. Some extensions may provide additional options or a full-fledged interface directly from the toolbar itself, while others may open in a separate tab or window.
Congratulations! You’ve successfully added the extension to your Chrome toolbar, making it easily accessible within a click. Now, you can fully enjoy the features and benefits provided by the extension.
It’s worth noting that you can manage your extensions, rearrange their positions on the toolbar, or remove them if necessary. To explore these options, right-click on the extension icon or visit the “Extensions” page by clicking on the three-dot menu icon > More Tools > Extensions.
With your newly added extension conveniently located on your Chrome toolbar, you’re ready to take full advantage of its capabilities to enhance your browsing experience.
Conclusion
Adding Chrome extensions to your toolbar is a simple and straightforward process that can greatly enhance your browsing experience. By following the steps outlined in this guide, you can easily search for extensions, review their details, and install them onto your Chrome browser.
The Chrome Web Store serves as a hub for a wide variety of extensions, catering to diverse needs and preferences. It provides you with the opportunity to customize your browser, boost productivity, block ads, translate languages, and much more.
Remember to explore the Chrome Web Store and make use of the search functionality to find the extension that best suits your requirements. Take the time to evaluate each extension’s features, user reviews, and compatibility to make an informed decision before installation.
Once you’ve installed an extension by clicking the “Add extension” button, it will appear on your Chrome toolbar, ready to be accessed with ease. Be sure to familiarize yourself with the positioning of the extension icon, and feel free to manage your extensions as needed by rearranging, disabling, or removing them.
Now that you know how to add Chrome extensions to your toolbar, take advantage of the vast selection available in the Chrome Web Store and tailor your browsing experience to meet your specific needs and preferences. Unlock new levels of productivity, security, and convenience with the power of extensions.
So, get started today and elevate your Chrome browsing experience to the next level!