Introduction
When it comes to browsing the internet, privacy and security are paramount. Whether you're researching a surprise gift for a loved one, checking your bank account, or simply exploring the vast expanse of the web, it's essential to know how to maintain your privacy by deleting your browsing history. In this article, we'll delve into the step-by-step process of clearing your browsing history on Google Chrome for mobile devices.
Google Chrome is one of the most popular web browsers, known for its user-friendly interface and seamless integration across various devices. However, as you navigate through the digital landscape, your browser accumulates a trail of your online activities, including the websites you've visited, searches you've conducted, and cookies stored from various sites. While this data can enhance your browsing experience by providing quick access to your favorite sites and personalized content, it's crucial to have the option to clear this information when needed.
By understanding how to delete your browsing history on Google Chrome for mobile, you can take control of your digital footprint and ensure that your online activities remain private. Whether you're using an Android or iOS device, the process of clearing your browsing history is relatively straightforward, and by following the steps outlined in this guide, you can safeguard your privacy and maintain a clutter-free browsing experience.
In the following sections, we'll walk you through the precise steps to access and clear your browsing history on Google Chrome for mobile devices. By the end of this guide, you'll have the knowledge and confidence to manage your browsing history effectively, allowing you to enjoy a secure and personalized browsing experience on your mobile device. Let's embark on this journey to discover how to delete your browsing history on Google Chrome for mobile and take control of your digital privacy.
Step 1: Open Google Chrome
To begin the process of deleting your browsing history on Google Chrome for mobile, the first step is to open the Google Chrome app on your device. Whether you're using an Android smartphone or an iOS device, the Google Chrome app is readily accessible from your home screen or app drawer.
Upon locating the Google Chrome app icon, simply tap on it to launch the browser. As the app opens, you'll be greeted by the familiar interface of Google Chrome, featuring the omnibox for entering web addresses and conducting searches, as well as the navigation bar for accessing various browser functions.
Once Google Chrome is open, you're ready to proceed with the next steps to access and clear your browsing history. With the browser at your fingertips, you're empowered to take control of your digital privacy and ensure that your online activities remain secure and confidential.
By initiating the process with the simple act of opening Google Chrome, you're setting the stage for managing your browsing history effectively. This foundational step paves the way for the subsequent actions that will enable you to navigate through the browser's settings and clear your browsing data, ultimately empowering you to maintain a clutter-free and private browsing experience on your mobile device.
With Google Chrome now open on your device, you're poised to embark on the journey of managing your browsing history, taking charge of your digital footprint, and ensuring that your online activities remain private and secure. As you proceed to the next steps, you'll gain valuable insights into the process of accessing and clearing your browsing history on Google Chrome for mobile, equipping you with the knowledge and confidence to navigate the digital landscape with peace of mind and privacy.
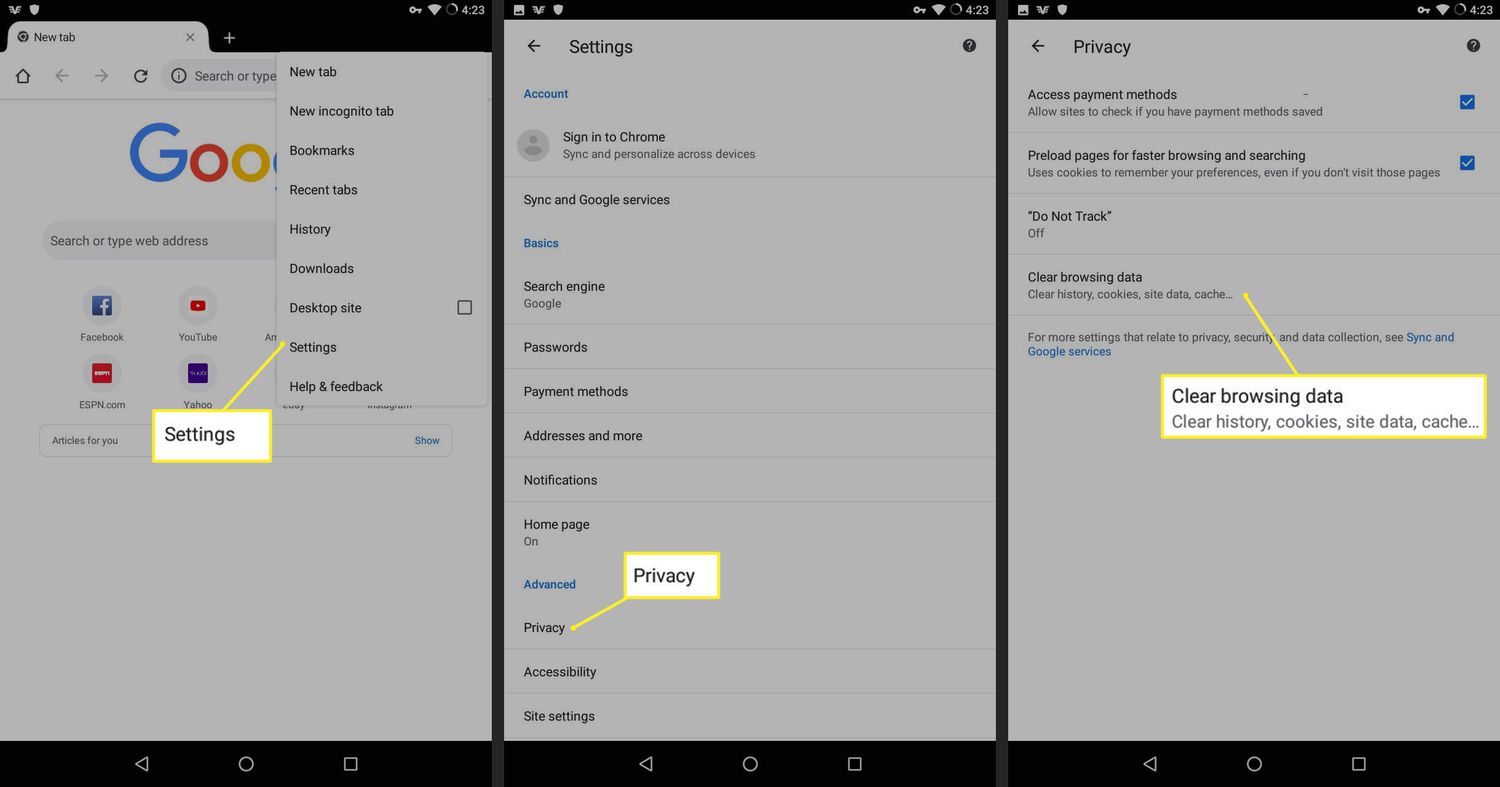
Step 2: Access the Menu
Once you have Google Chrome open on your mobile device, the next step in the process of deleting your browsing history is to access the menu. The menu is a pivotal gateway to a plethora of essential browser functions, including the option to manage your browsing history and clear your browsing data.
To access the menu in Google Chrome, look for the three vertical dots located in the upper-right corner of the browser interface. These dots symbolize the menu and serve as the entry point to a range of browser settings and features. Upon tapping on these dots, a dropdown menu will appear, unveiling a host of options that enable you to customize your browsing experience and manage various aspects of the browser.
As you access the menu, you'll be presented with a multitude of options, each designed to empower you with control over your browsing activities. From accessing your bookmarks and downloads to managing your privacy and security settings, the menu serves as a central hub for navigating through the diverse functionalities of Google Chrome.
By tapping on the menu, you'll gain access to a wealth of browser features, allowing you to tailor your browsing experience to your preferences and requirements. As you navigate through the menu, you'll discover the option to access your browsing history, a pivotal step in the process of maintaining your privacy and security while using Google Chrome on your mobile device.
Accessing the menu is a fundamental step that sets the stage for managing your browsing history effectively. By tapping into the menu's array of options, you're empowered to delve into the inner workings of Google Chrome, enabling you to customize your browsing experience and take control of your digital privacy.
With the menu now accessible, you're poised to venture into the heart of Google Chrome's functionalities, paving the way for the subsequent steps that will lead you to the option to clear your browsing data. As you proceed to the next steps, you'll harness the power of the menu to navigate through the browser's settings, ultimately empowering you to maintain a clutter-free and private browsing experience on your mobile device.
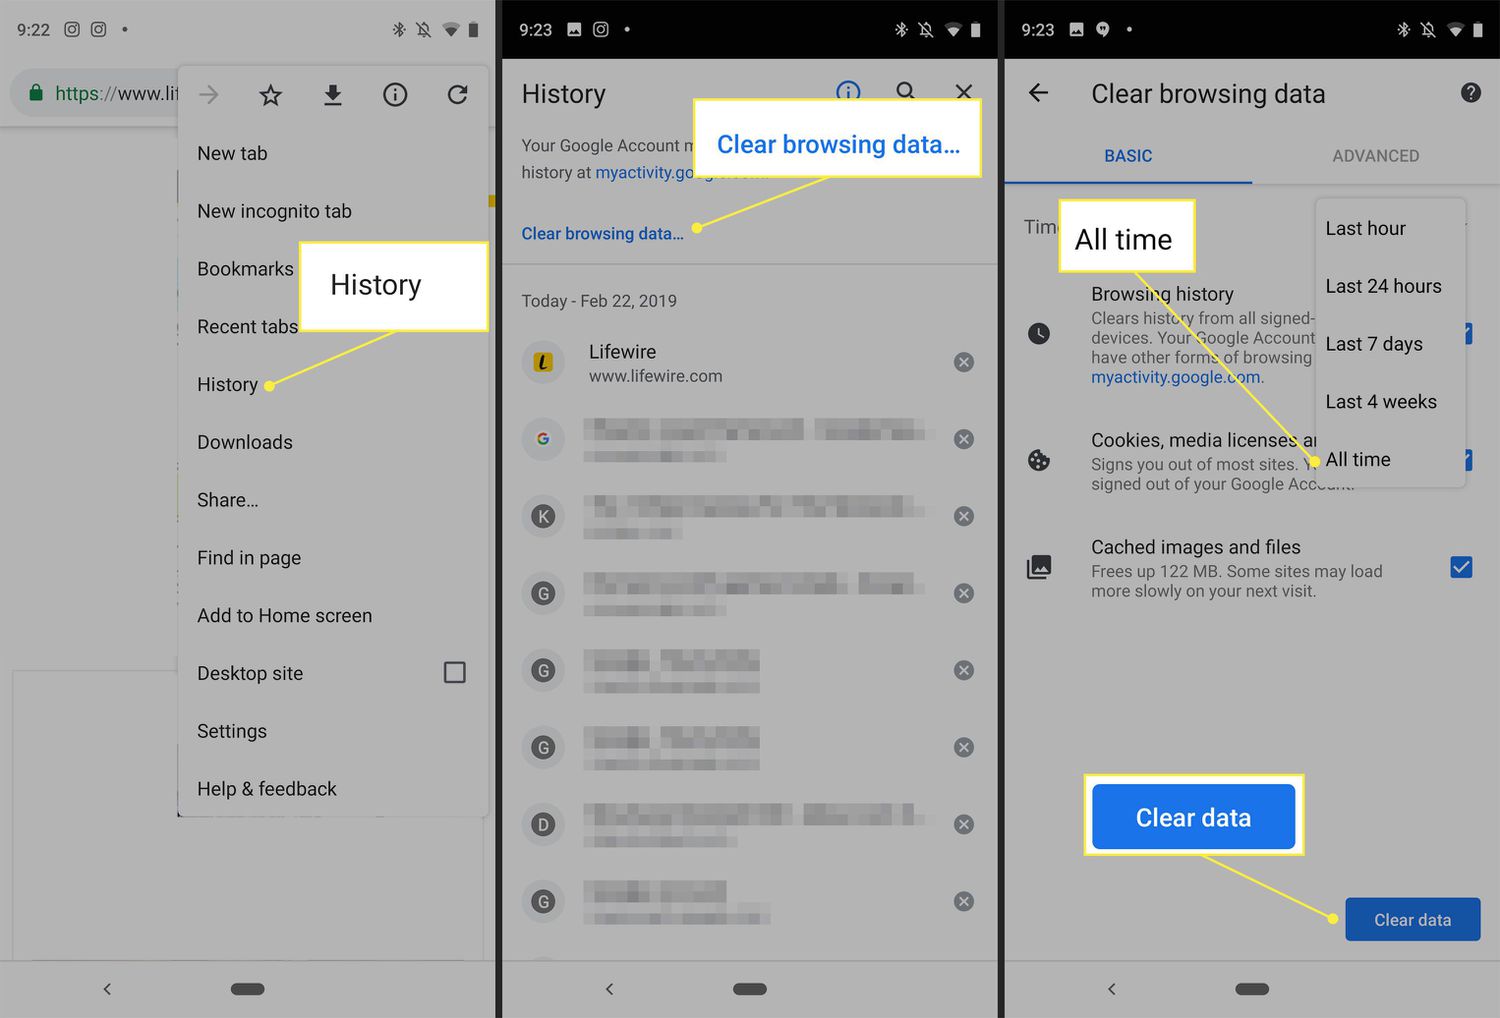
Step 3: Select "History"
After accessing the menu in Google Chrome, the next pivotal step in the process of deleting your browsing history on your mobile device is to select "History." This action will lead you to a comprehensive overview of your browsing activities, allowing you to review and manage the websites you've visited and the associated data stored by the browser.
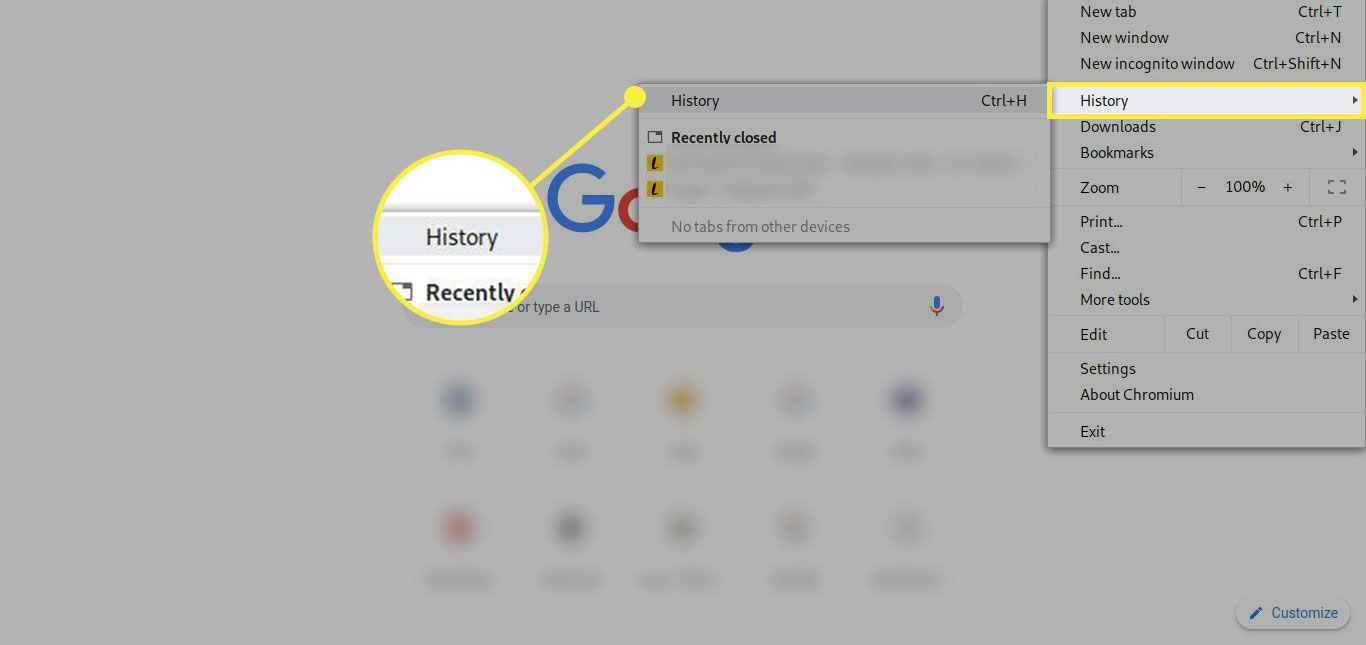
Upon tapping on the menu, you'll notice a range of options that cater to various browser functions and settings. Among these options, you'll find "History," typically represented by a clock icon or a list of recently visited sites. By selecting "History," you'll be directed to a dedicated section within Google Chrome that provides insights into your browsing history, empowering you to take control of your digital footprint.
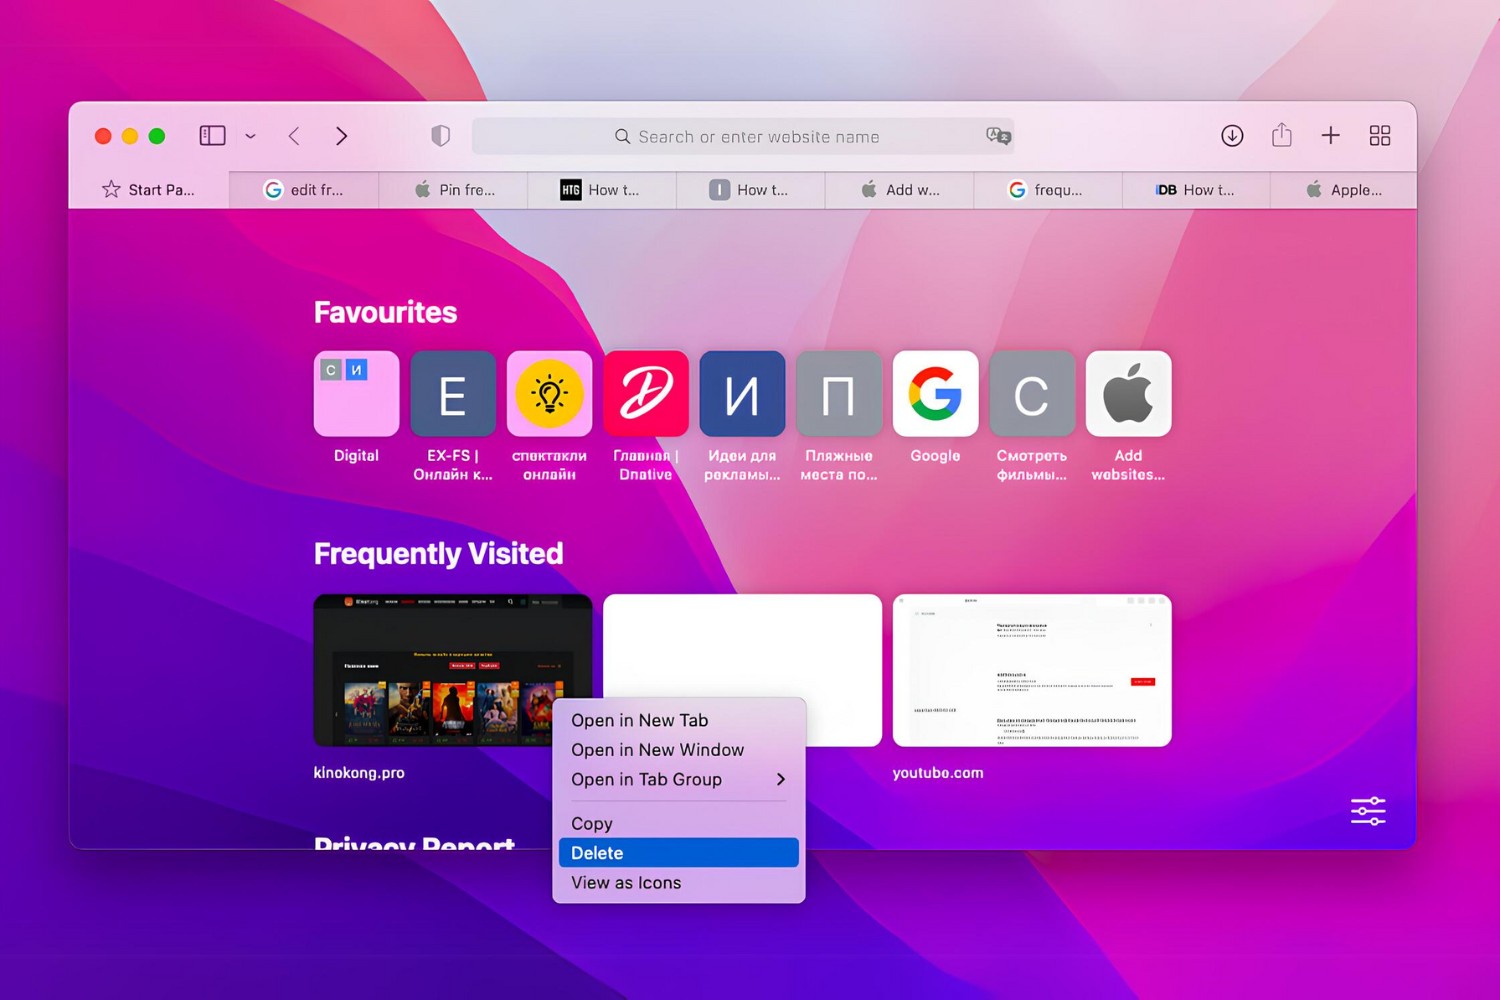
As you delve into the "History" section, you'll encounter a chronological record of the websites you've visited, organized by date and time. This comprehensive overview allows you to retrace your digital footsteps and gain visibility into your browsing activities, enabling you to identify specific entries that you may wish to remove from your browsing history.
Furthermore, within the "History" section, you'll have the option to delve deeper into individual entries, accessing detailed information about each website visit. This granular level of insight equips you with the ability to make informed decisions about which browsing data to clear, ensuring that your browsing history aligns with your privacy preferences.
By selecting "History" within Google Chrome, you're granted access to a wealth of information about your browsing activities, empowering you to manage your digital footprint effectively. This step serves as a pivotal gateway to the subsequent action of clearing your browsing data, allowing you to maintain a clutter-free and private browsing experience on your mobile device.
With "History" now at your fingertips, you're poised to navigate through the detailed record of your browsing activities, gaining valuable insights into your digital footprint. As you proceed to the next steps, you'll harness the power of the "History" section to review and manage your browsing history, ultimately ensuring that your online activities remain private and secure.
Step 4: Clear Browsing Data
Once you have accessed the "History" section in Google Chrome, the next crucial step in managing your browsing history on your mobile device is to clear your browsing data. This action empowers you to remove specific entries or wipe out your entire browsing history, ensuring that your online activities remain private and secure.
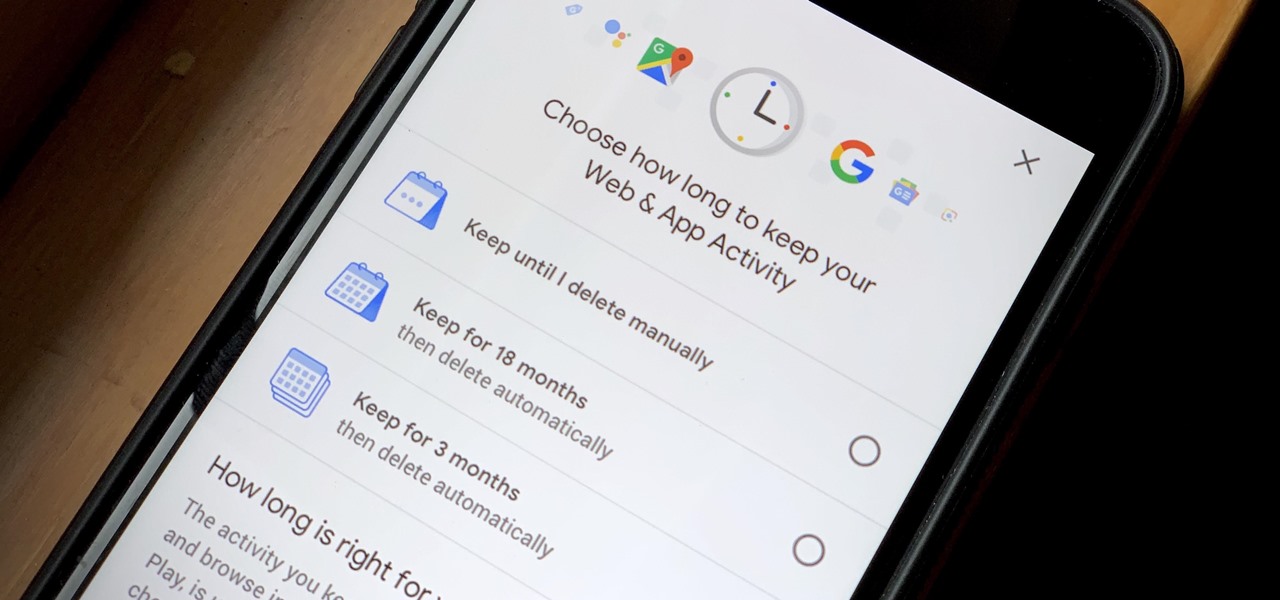
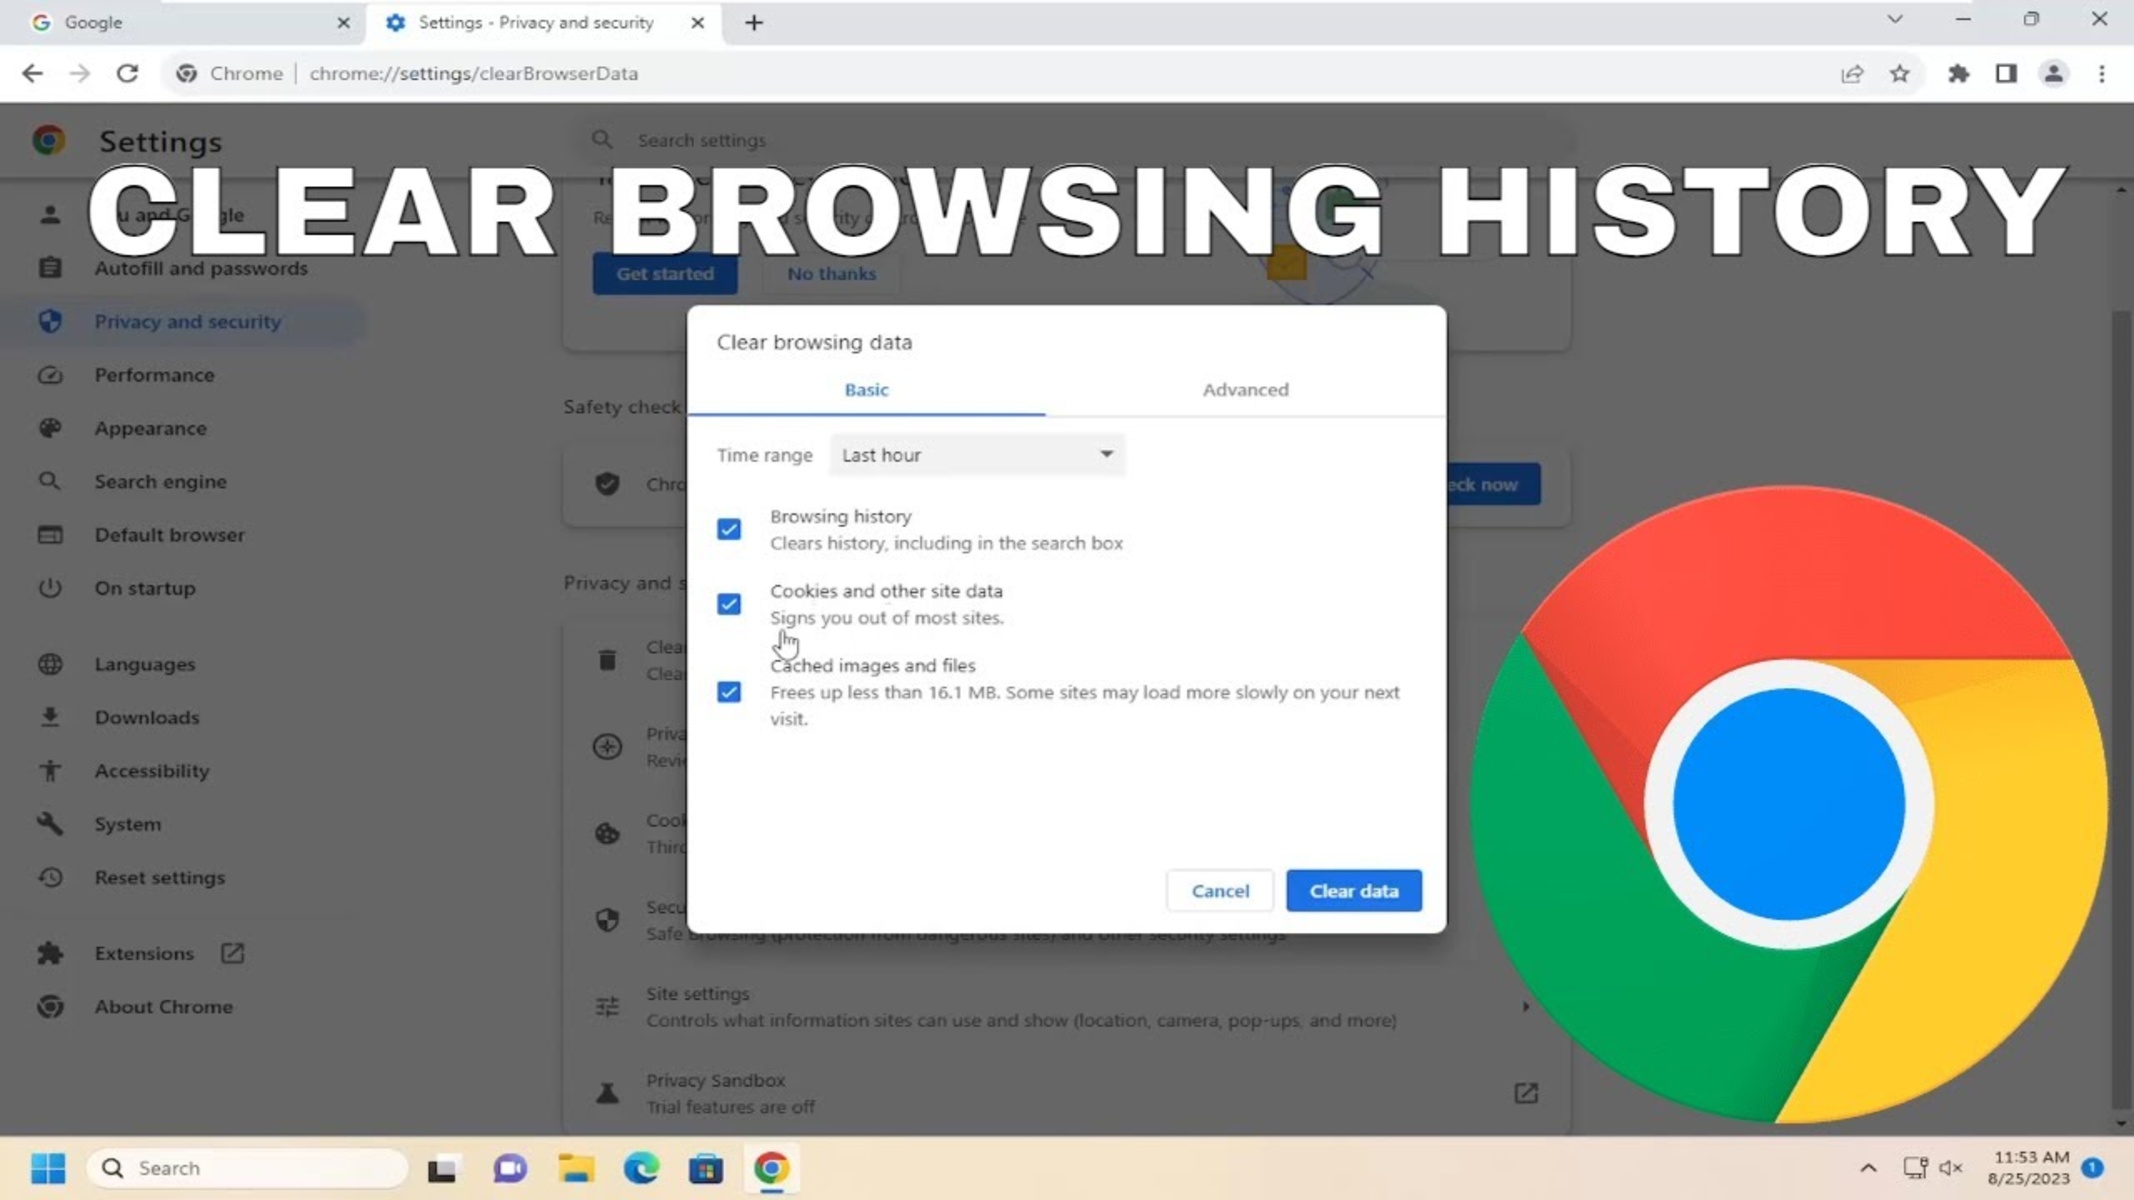
Upon selecting the "Clear browsing data" option within the "History" section, you'll be presented with a range of customizable settings that allow you to tailor the deletion process according to your preferences. These settings typically include options to clear browsing history, cookies, cached images and files, and site settings. Additionally, you may have the flexibility to choose the time range for which you wish to clear the data, providing you with granular control over the deletion process.
By delving into the "Clear browsing data" settings, you're empowered to customize the deletion process to align with your privacy preferences and browsing habits. Whether you seek to remove specific website visits from your history or clear your entire browsing footprint, these settings offer a versatile and comprehensive approach to managing your digital privacy.
Furthermore, the ability to choose the time range for clearing browsing data enables you to target specific periods of activity, allowing for a more nuanced approach to managing your browsing history. Whether you wish to clear data from the past hour, day, week, month, or all time, the time range settings provide you with the flexibility to tailor the deletion process according to your specific needs.
As you navigate through the "Clear browsing data" settings, you'll have the opportunity to review and confirm the selected options before proceeding with the deletion process. This additional step ensures that you have full visibility and control over the data that will be removed, empowering you to make informed decisions about managing your browsing history effectively.
By engaging with the "Clear browsing data" settings, you're taking proactive steps to maintain a clutter-free and private browsing experience on your mobile device. This process empowers you to safeguard your digital privacy, ensuring that your online activities remain confidential and secure.
With the "Clear browsing data" settings at your disposal, you're poised to navigate through the deletion process with confidence and precision, ultimately empowering you to take control of your digital footprint and maintain a secure browsing experience on Google Chrome for mobile.
Step 5: Choose Time Range
After initiating the process of clearing your browsing data in Google Chrome, the next pivotal step is to choose the time range for which you wish to clear the data. This step offers a nuanced approach to managing your browsing history, allowing you to target specific periods of activity and tailor the deletion process according to your preferences.
When you delve into the time range settings, you're presented with a range of options that cater to various timeframes, enabling you to select the precise period for which you wish to clear your browsing data. These options typically include the ability to clear data from the past hour, day, week, month, or all time, providing you with the flexibility to align the deletion process with your specific needs and browsing habits.
By choosing the time range, you gain granular control over the deletion process, allowing you to focus on a specific window of activity and remove data that aligns with your privacy preferences. Whether you seek to clear recent browsing history from the past hour or day, or prefer a more comprehensive approach by clearing data from all time, the time range settings empower you to tailor the deletion process to your individual requirements.
Furthermore, the ability to select a custom time range may also be available, offering an even more tailored approach to managing your browsing history. This option allows you to specify a precise timeframe for data deletion, providing you with the utmost control over the removal of browsing data from your history.
As you navigate through the time range settings, you have the opportunity to review and select the timeframe that best aligns with your privacy preferences and browsing activities. This level of customization ensures that the deletion process is tailored to your specific needs, empowering you to maintain a clutter-free and private browsing experience on your mobile device.
By engaging with the time range settings, you're taking proactive steps to manage your digital footprint effectively, ensuring that your browsing history remains aligned with your privacy preferences. This granular approach to data deletion empowers you to maintain a secure and confidential browsing experience, allowing you to navigate the digital landscape with peace of mind and privacy.
Step 6: Confirm Deletion
After customizing the time range for clearing your browsing data, the final step in the process of managing your browsing history on Google Chrome for mobile is to confirm the deletion. This pivotal action serves as the ultimate checkpoint, ensuring that you have full visibility and control over the data that will be removed from your browsing history.
Upon confirming the deletion, Google Chrome will initiate the process of clearing the selected browsing data according to the specified time range and settings. This action empowers you to take proactive steps in maintaining a clutter-free and private browsing experience on your mobile device, safeguarding your digital privacy and ensuring that your online activities remain confidential and secure.
By confirming the deletion, you're affirming your decision to take control of your digital footprint and manage your browsing history effectively. This final step underscores your commitment to maintaining a secure and personalized browsing experience, aligning your online activities with your privacy preferences and ensuring that your digital interactions remain private and confidential.
As the deletion process commences, you can rest assured that your browsing history is being managed in accordance with your specific needs and preferences. Whether you've chosen to clear data from the past hour, day, week, month, or all time, the confirmation of deletion signifies your proactive approach to maintaining a clutter-free and secure browsing experience on Google Chrome for mobile.
With the deletion confirmed, you can navigate the digital landscape with peace of mind, knowing that your browsing history is aligned with your privacy preferences and that your online activities remain private and secure. This final step empowers you to take control of your digital privacy, ensuring that your browsing history reflects your individual preferences and requirements.
By confirming the deletion, you're embracing the power to manage your digital footprint effectively, enabling you to enjoy a seamless and secure browsing experience on Google Chrome for mobile. This proactive approach to managing your browsing history empowers you to navigate the digital landscape with confidence, knowing that your online activities remain private and secure.