Introduction
Moving a network switch without the need to run all new cables can be a daunting task, especially when considering the potential disruptions and complexities involved. However, with careful planning, the right tools, and a methodical approach, it is possible to execute this task smoothly and efficiently. Whether you are relocating the switch within the same room or to an entirely different part of the building, the key lies in meticulous preparation and systematic execution.
In this guide, we will delve into the essential steps and considerations involved in moving a network switch without the need to re-run all the cables. By following these guidelines, you can minimize downtime, avoid unnecessary costs, and ensure a seamless transition to the new location. From assessing the current network setup to troubleshooting and finalizing the setup, each phase of the process plays a crucial role in the successful relocation of the network switch.
By understanding the intricacies of this undertaking and implementing the best practices outlined in this guide, you can confidently navigate the relocation of your network switch, knowing that you have the knowledge and tools necessary to carry out the move with precision and efficiency. Let's embark on this journey to streamline the process of moving a network switch, empowering you to make informed decisions and execute the relocation with confidence.
Assessing the Current Network Setup
Before embarking on the task of moving a network switch, it is imperative to conduct a comprehensive assessment of the current network setup. This initial phase serves as the foundation for the entire relocation process, providing valuable insights into the existing infrastructure and facilitating informed decision-making.
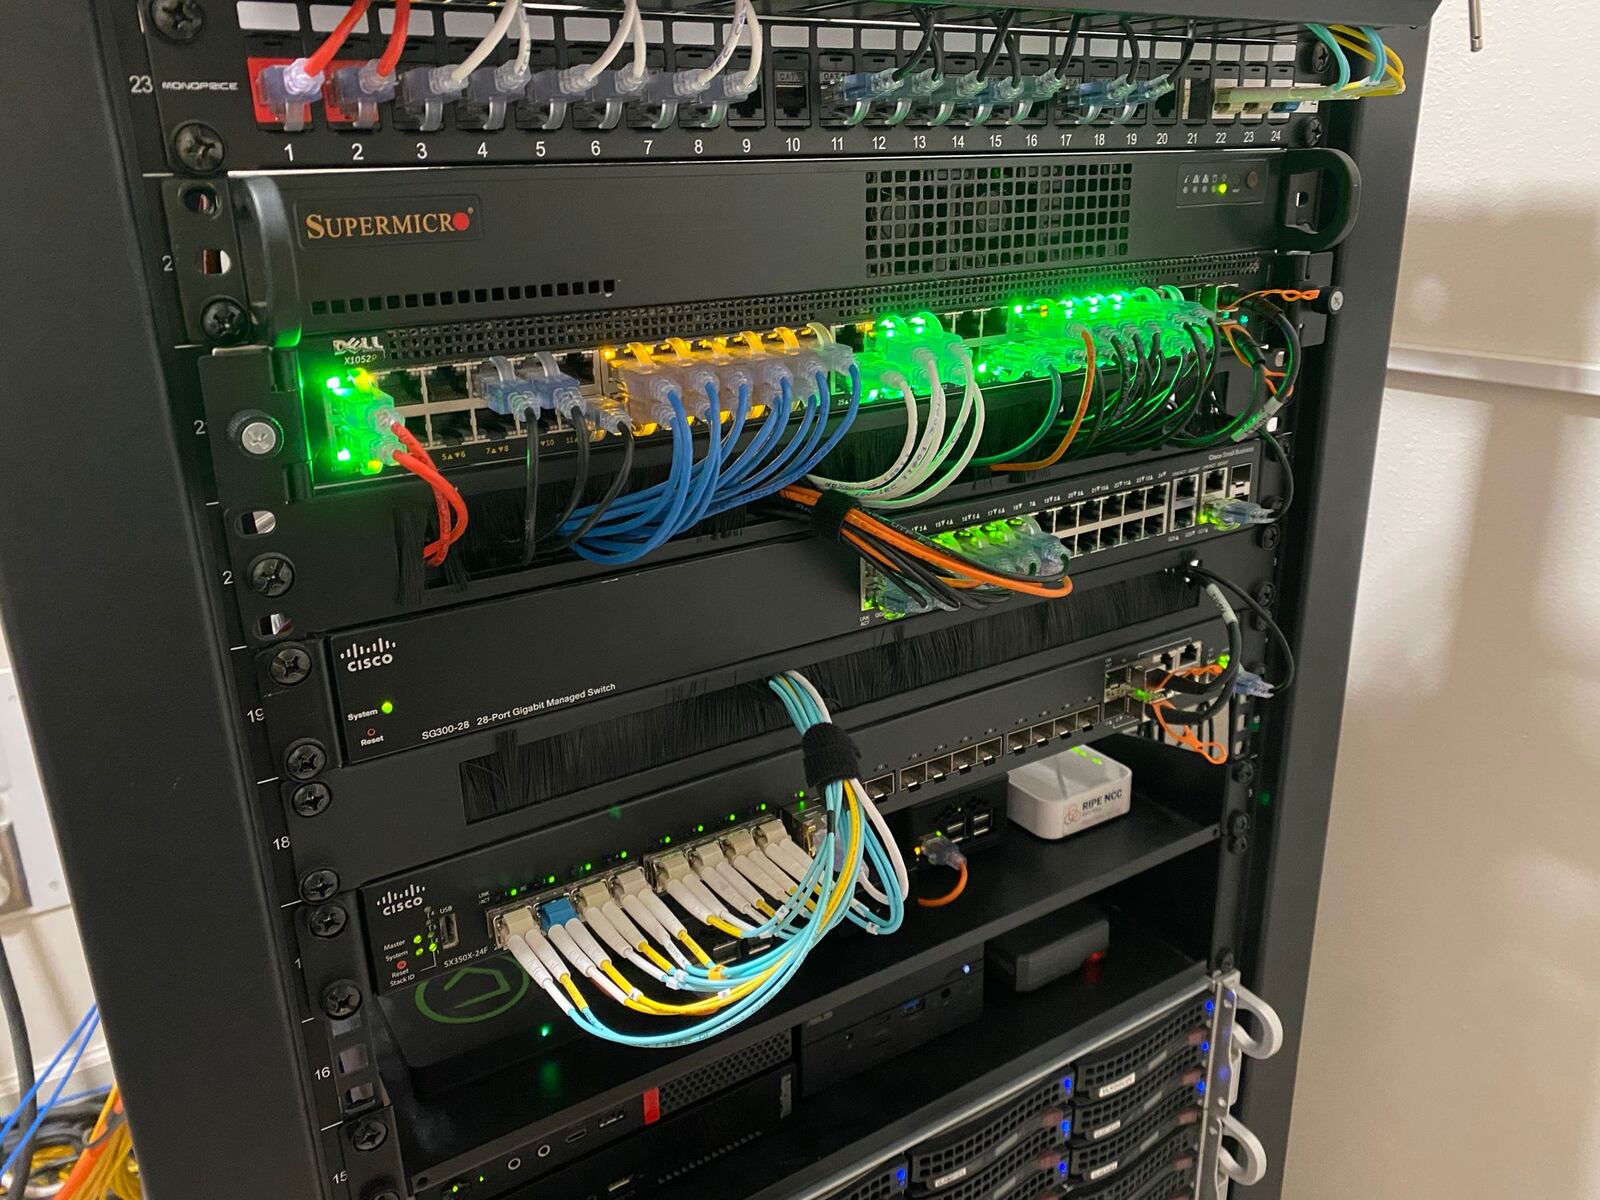
Begin by meticulously documenting the current placement of the network switch, including its physical location, surrounding equipment, and the arrangement of connected cables. By creating a detailed visual or written record, you can gain a clear understanding of the existing setup, which will prove invaluable during the relocation process.
Furthermore, assess the length and labeling of the existing cables to determine their suitability for the new location. Consider factors such as cable slack, potential obstructions, and the distance to the new placement. This assessment will help identify any potential limitations or requirements for cable extensions or replacements, ensuring a seamless transition to the new environment.
Additionally, evaluate the power source and environmental conditions surrounding the current switch location. Ensure that the new placement adheres to safety standards and provides adequate ventilation and access for maintenance. By conducting a thorough assessment of the current network setup, you can proactively address any challenges or limitations, paving the way for a well-informed and efficient switch relocation.
Planning the Switch Move
Effective planning is paramount when preparing for the relocation of a network switch. This phase involves a meticulous evaluation of the new placement, consideration of logistical requirements, and the formulation of a comprehensive strategy to ensure a smooth transition.
Commence the planning process by identifying the new location for the network switch. Evaluate the proximity to connected devices, the accessibility for maintenance, and the availability of power sources and ventilation. Consider factors such as cable routing and potential interference to minimize disruptions and optimize the functionality of the network.
Next, create a detailed relocation plan that outlines the sequence of tasks, designated responsibilities, and a timeline for the move. This plan should encompass the disconnection, physical transfer, and reconnection of the switch, as well as provisions for testing and troubleshooting. By establishing a well-defined plan, you can mitigate potential risks and ensure a structured approach to the relocation process.
Furthermore, assess the need for additional tools, equipment, or resources required for the switch move. This may include cable extensions, labeling materials, cable management tools, and any specialized equipment for handling the switch. By anticipating these requirements in advance, you can preemptively address any logistical challenges and facilitate a seamless transition to the new location.
Lastly, communicate the relocation plan to relevant stakeholders, including network administrators, IT personnel, and affected users. Provide clear instructions, address any concerns, and establish contingency measures to minimize disruptions during the switch move. Effective communication and collaboration are essential components of the planning phase, ensuring that all parties are aligned and prepared for a successful relocation.
Gathering Necessary Tools and Equipment
As you prepare for the relocation of a network switch, assembling the essential tools and equipment is crucial for executing a seamless and efficient move. By ensuring that you have the necessary resources at your disposal, you can mitigate potential challenges and streamline the relocation process.
Begin by gathering basic hand tools such as screwdrivers, pliers, and cable cutters to facilitate the disconnection and reconnection of cables. Additionally, ensure that you have appropriate labeling materials, such as cable tags and markers, to accurately identify and document cable connections during the relocation.
Depending on the specific requirements of the switch move, consider acquiring cable extensions or couplers to accommodate any length limitations or connectivity needs at the new location. Verify the compatibility of these components with the existing cabling infrastructure to prevent any compatibility issues during the relocation.
Furthermore, assess the need for cable management tools, such as cable ties, Velcro straps, or cable conduits, to organize and secure the cables at the new placement. Effective cable management not only enhances the aesthetic appeal of the setup but also contributes to optimal airflow and accessibility for maintenance.
If the relocation involves the transfer of the network switch to a different rack or mounting structure, ensure that you have the appropriate mounting hardware and rack accessories. This may include rack screws, cage nuts, mounting brackets, and any additional components necessary for securing the switch in its new position.
Lastly, consider the potential need for specialized equipment for handling the network switch during the physical transfer. Depending on the size and weight of the switch, equipment such as a trolley, lifting straps, or a rack-mount kit may be required to facilitate the safe and efficient movement of the switch to its new location.
By proactively gathering the necessary tools and equipment, you can position yourself for a well-prepared and organized switch relocation, minimizing the likelihood of unforeseen obstacles and ensuring a successful transition to the new environment.
Labeling and Documenting Cable Connections
Accurate labeling and comprehensive documentation of cable connections are fundamental aspects of preparing for a network switch relocation. By systematically labeling and documenting the existing cable connections, you can streamline the disconnection and reconnection process, minimize errors, and expedite the setup at the new location.
Initiate the process by labeling each cable with clear and descriptive tags, indicating the device it is connected to and its specific port on the network switch. Consistent and legible labeling is essential for swiftly identifying and reconnecting the cables during the relocation, reducing the likelihood of confusion or misplacement.
Simultaneously, document the cable connections in a detailed inventory, either in digital or physical format. This inventory should encompass the device names, port numbers, and the corresponding cable labels, providing a comprehensive reference for the reconnection phase. Additionally, consider including visual diagrams or photographs to visually capture the cable connections for enhanced clarity.
Moreover, verify the accuracy of the labeling and documentation by cross-referencing the inventory with the physical cable connections. This validation process ensures that the information is current and precise, minimizing the risk of errors or oversights during the relocation.
Consider implementing a color-coded labeling system to further distinguish between different types of connections, such as data, voice, or power cables. This visual differentiation simplifies the identification process and reduces the likelihood of interchanging cables during the reconnection phase.
Furthermore, communicate the labeling system and documentation to the individuals involved in the switch relocation, ensuring that all stakeholders are familiar with the organizational structure and can effectively contribute to the process. Clear communication and understanding of the labeling and documentation procedures are essential for a cohesive and coordinated relocation effort.
By prioritizing meticulous labeling and comprehensive documentation of cable connections, you can lay the groundwork for a methodical and efficient switch relocation, minimizing disruptions and ensuring a seamless transition to the new network setup.
Powering Down and Disconnecting the Switch
Before initiating the physical relocation of the network switch, it is imperative to power down the device and systematically disconnect all associated cables. This phase requires a methodical approach to ensure the safety of the equipment and the integrity of the network connections.
Commence by notifying all relevant stakeholders about the impending switch shutdown to minimize disruptions and ensure that users are aware of the temporary network downtime. Communicate the scheduled downtime in advance, allowing users to plan their activities accordingly and minimize the impact of the switch disconnection.
Once the necessary notifications have been disseminated, initiate the shutdown process by following the manufacturer’s recommended procedures for powering down the switch. This may involve accessing the switch’s management interface or using physical controls to gracefully power off the device, allowing it to complete any pending operations and enter a quiescent state.
After the switch has been powered down, systematically disconnect the cables, beginning with the power supply and followed by the network cables. Exercise caution to avoid applying excessive force or causing damage to the connectors during the disconnection process. Utilize appropriate tools and techniques to safely remove the cables from their respective ports, ensuring that each connection is carefully released and organized for future reconnection.
Simultaneously, document the disconnection process by updating the inventory of cable connections, indicating the status of each cable and its corresponding port on the switch. This documentation serves as a reference for the reconnection phase, facilitating a structured and error-free restoration of the network connections.
Furthermore, secure the disconnected cables to prevent tangling or damage during the physical transfer of the switch. Utilize cable ties, Velcro straps, or cable management tools to organize and bundle the cables, minimizing the likelihood of entanglement and simplifying the reconnection process at the new location.
By meticulously adhering to the procedures for powering down and disconnecting the switch, you can ensure the safe and orderly preparation of the device for relocation, laying the groundwork for a systematic and efficient transition to the new network environment.
Physically Moving the Switch
The physical relocation of a network switch demands careful handling and strategic execution to safeguard the equipment and ensure a seamless transition to the new location. This phase involves the methodical transfer of the switch to its designated placement, considering factors such as equipment weight, environmental conditions, and safety protocols.
Prior to moving the switch, assess the environmental conditions and physical obstacles along the path to the new location. Ensure that the route is clear of obstructions, potential hazards, and excessive dust or debris that could compromise the integrity of the equipment during the transfer.
If the switch is rack-mounted, enlist the assistance of qualified personnel to facilitate the safe removal and transfer of the device. Utilize appropriate lifting equipment, such as a trolley or lifting straps, to carefully extract the switch from its current position and transport it to the designated location. Exercise caution to prevent tilting, dropping, or subjecting the switch to sudden jolts that could damage the internal components.
During the transfer, prioritize the safety of the personnel involved and adhere to ergonomic lifting techniques to minimize the risk of injury. Communicate effectively and coordinate the movement to ensure a smooth and controlled transfer of the switch, mitigating the likelihood of accidents or mishandling.
If the relocation involves a significant distance or multiple levels within the building, assess the need for protective packaging or cushioning to secure the switch during transportation. Utilize appropriate packaging materials to shield the switch from impact and vibration, safeguarding its structural integrity and sensitive components.
Upon reaching the new location, carefully position the switch in its designated placement, ensuring that it is securely supported and aligned with the mounting structure. Exercise caution to prevent abrupt movements or misalignment that could compromise the stability and functionality of the switch in its new environment.
Finally, conduct a visual inspection of the switch to verify its condition and integrity following the physical transfer. Confirm that all cables are securely fastened, and the switch is positioned in accordance with the relocation plan and safety guidelines. Once the switch is in place, proceed to the reconnection phase, guided by the meticulous documentation and labeling established during the preparatory stages.
By approaching the physical movement of the switch with meticulous care and adherence to safety protocols, you can ensure the secure and efficient transfer of the equipment, setting the stage for the subsequent reconnection and testing of the network.
Reconnecting and Testing the Network
Following the physical relocation of the network switch, the reconnection and testing phase is a critical step in restoring the network functionality and validating the integrity of the setup in its new environment. This phase involves methodically reconnecting the cables, conducting comprehensive testing, and verifying the operational status of the network components.
Commence the reconnection process by referencing the detailed documentation and labeling established during the preparatory stages. Utilize the inventory of cable connections to systematically restore each cable to its designated port on the switch, ensuring precision and accuracy in the reconnection process.
Exercise caution and attention to detail during the reconnection, verifying that each cable is securely fastened and aligned with the corresponding port. Avoid applying excessive force or causing strain on the connectors, minimizing the risk of damage or connectivity issues upon restoration of the network connections.
Simultaneously, conduct a visual inspection of the reconnected cables to ensure that they are organized and routed in a manner that promotes optimal airflow, accessibility, and aesthetic tidiness. Effective cable management contributes to the overall functionality and maintenance of the network setup in its new location.
Upon completing the reconnection, power on the network switch and monitor its startup sequence to confirm that it initializes without errors or anomalies. Observe the indicator lights and interface feedback to validate that the switch is operational and responsive following the restoration of power.
Subsequently, conduct comprehensive testing of the network connections, assessing the connectivity, throughput, and stability of the network components. Utilize network diagnostic tools and software to verify the integrity of the connections, identify any potential issues, and ensure that the network operates within the expected parameters.
Test the communication between the switch and connected devices, confirming that data transmission, VLAN configurations, and any specialized network features are functioning as intended. This testing phase serves as a critical validation of the network’s operational status and the successful restoration of connectivity following the switch relocation.
Furthermore, communicate with relevant stakeholders, including IT personnel and end-users, to verify that their network-dependent activities are functioning as expected. Address any reported issues or discrepancies promptly, leveraging the documentation and testing results to expedite troubleshooting and resolution.
By meticulously approaching the reconnection and testing phase, you can validate the successful restoration of the network functionality, ensuring that the switch relocation has been executed with precision and minimal disruption to the operational continuity of the network environment.
Troubleshooting and Finalizing the Setup
Upon completing the reconnection and testing of the network following the switch relocation, the troubleshooting and finalization phase is essential to address any potential issues, optimize the setup, and ensure the seamless integration of the switch in its new environment.
Begin by reviewing the testing results and identifying any anomalies, connectivity issues, or performance discrepancies observed during the post-relocation testing phase. Utilize the documentation and testing data to pinpoint specific areas requiring attention and prioritize the resolution of identified issues.
If any connectivity issues or irregularities are detected, systematically verify the integrity of the cable connections, ensuring that each cable is correctly seated and securely fastened in its designated port. Conduct continuity tests and signal integrity assessments to validate the functionality of the connections and identify any potential cable-related issues.
Simultaneously, assess the switch’s operational logs and management interface to identify any error messages, alerts, or configuration inconsistencies that may impact the network’s functionality. Address any reported errors or warnings, leveraging the switch’s diagnostic tools and support resources to troubleshoot and rectify the identified issues.
Furthermore, engage with relevant stakeholders, including network administrators and end-users, to gather feedback on the post-relocation network performance and address any user-reported issues or concerns. Effective communication and collaboration are essential to promptly identify and resolve any lingering issues that may impact the network’s functionality.
Optimize the network setup by reviewing the cable management, ensuring that the cables are organized, secured, and labeled in a manner that facilitates maintenance, accessibility, and future expansion. Address any deficiencies in cable routing and organization to enhance the overall tidiness and functionality of the network setup.
Conduct a final validation of the network’s operational status, verifying the stability, throughput, and connectivity of the network components. Utilize network monitoring tools to assess the network’s performance under normal operational conditions, confirming that the switch relocation has been successfully finalized without compromising the network’s functionality.
Finally, document the troubleshooting process, including the identified issues, resolution steps, and any adjustments made to the network setup. This documentation serves as a valuable reference for future maintenance and provides insights into the post-relocation optimization and stabilization of the network environment.
By meticulously addressing any identified issues, optimizing the network setup, and documenting the troubleshooting process, you can finalize the switch relocation with confidence, ensuring the seamless integration of the switch in its new environment and the sustained functionality of the network infrastructure.


