Introduction
Welcome to the exciting world of the Nintendo Network Switch! Whether you're a seasoned gamer or new to the console scene, setting up your Nintendo Switch is an adventure in itself. This versatile gaming platform offers a seamless transition between handheld and docked modes, allowing you to enjoy your favorite games anytime, anywhere.
In this comprehensive guide, we will walk you through the step-by-step process of unboxing, setting up, and connecting your Nintendo Switch. From unboxing the console to creating a Nintendo account and connecting to the internet, we've got you covered. By the end of this tutorial, you'll be ready to dive into the immersive world of gaming that the Nintendo Switch has to offer.
So, grab your Joy-Con controllers and let's embark on this journey together. Get ready to experience the thrill of gaming on a device that seamlessly adapts to your lifestyle. Whether you're playing solo or connecting with friends, the Nintendo Switch promises endless hours of entertainment and fun.
Now, let's dive into the exciting world of the Nintendo Network Switch and get you started on your gaming adventure.
Step 1: Unboxing the Nintendo Network Switch
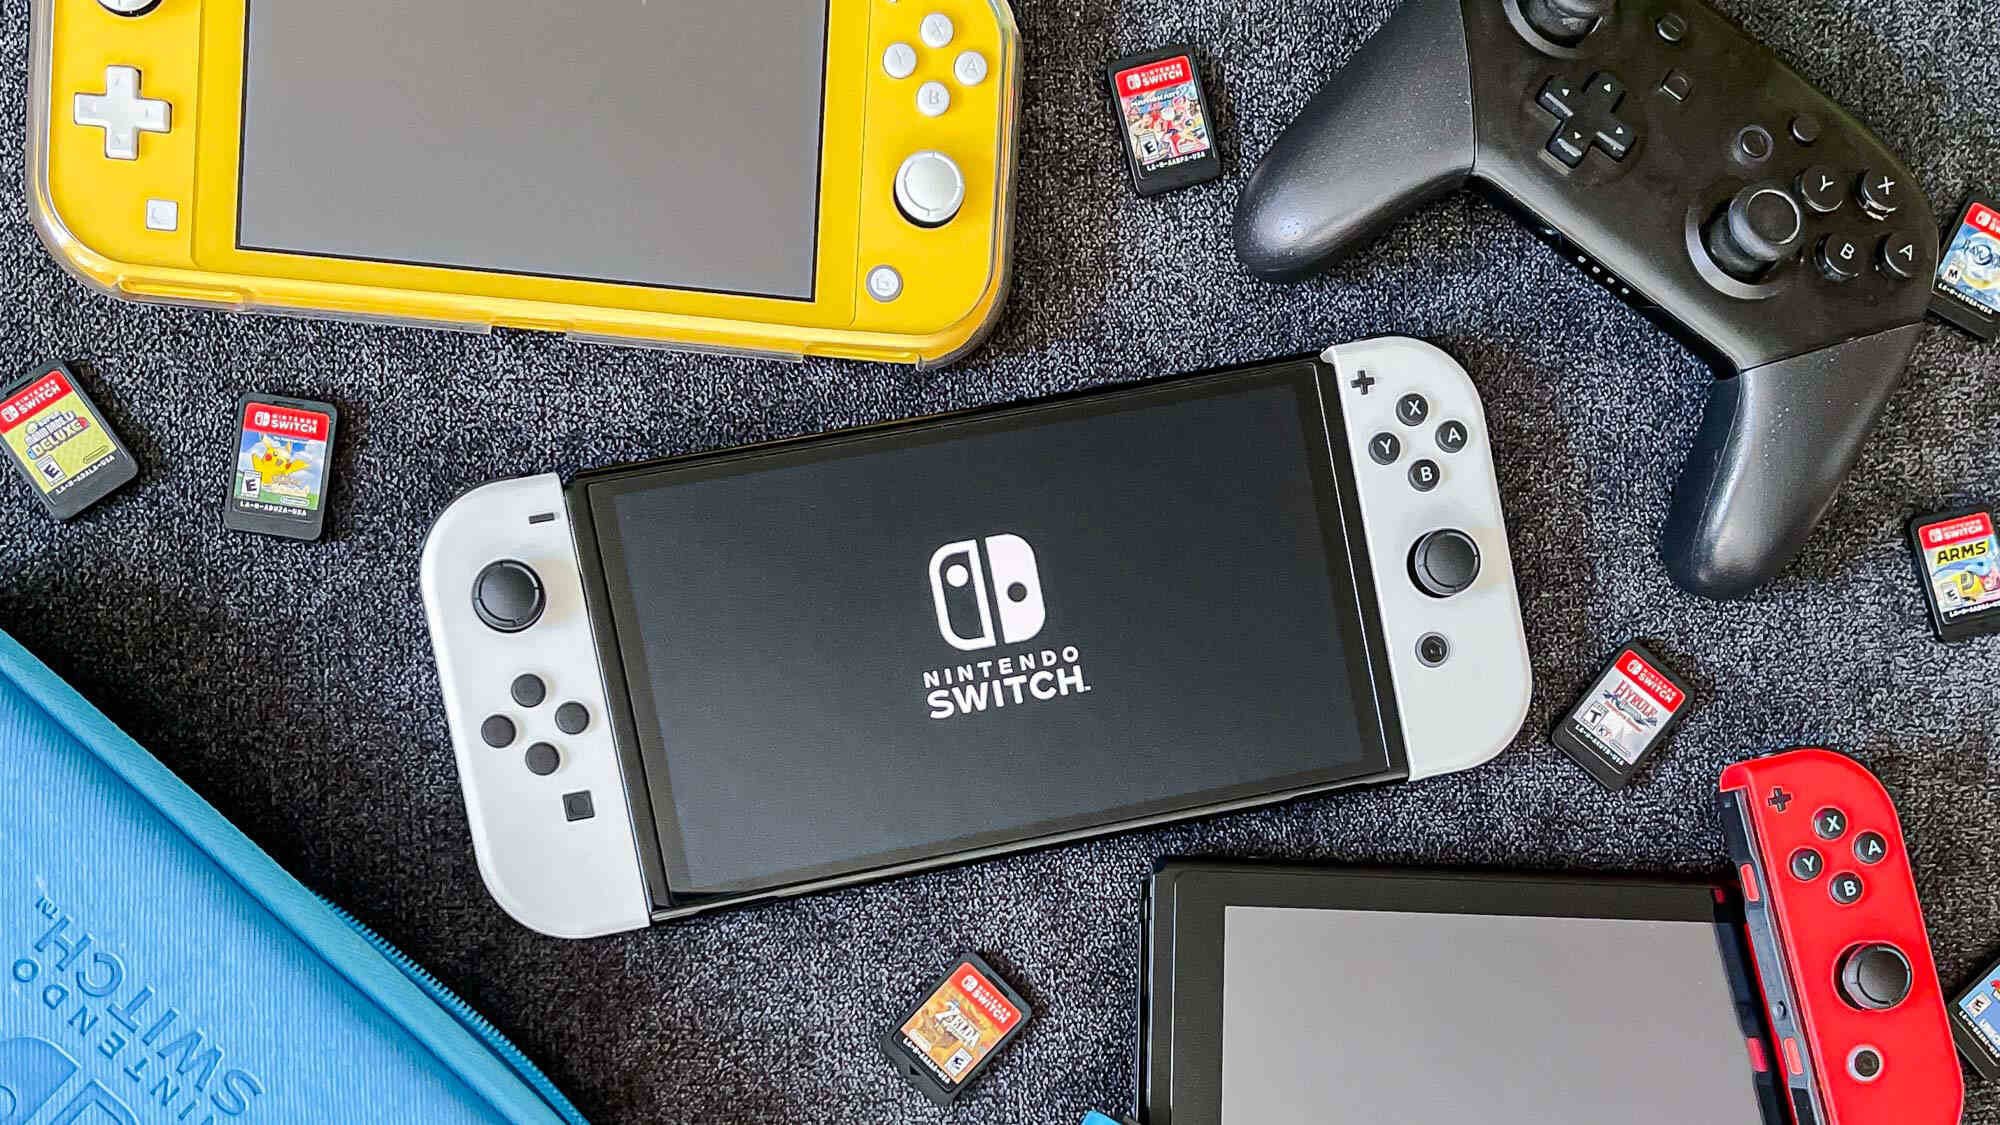
Unboxing your Nintendo Switch is the first step toward immersing yourself in the world of gaming. The packaging is designed to keep the console and its accessories secure during transit. As you unbox your Nintendo Switch, you’ll find the following components neatly arranged:
- The Nintendo Switch console
- The Nintendo Switch dock
- Two Joy-Con controllers (left and right)
- A Joy-Con grip
- A set of Joy-Con wrist straps
- An HDMI cable
- An AC adapter
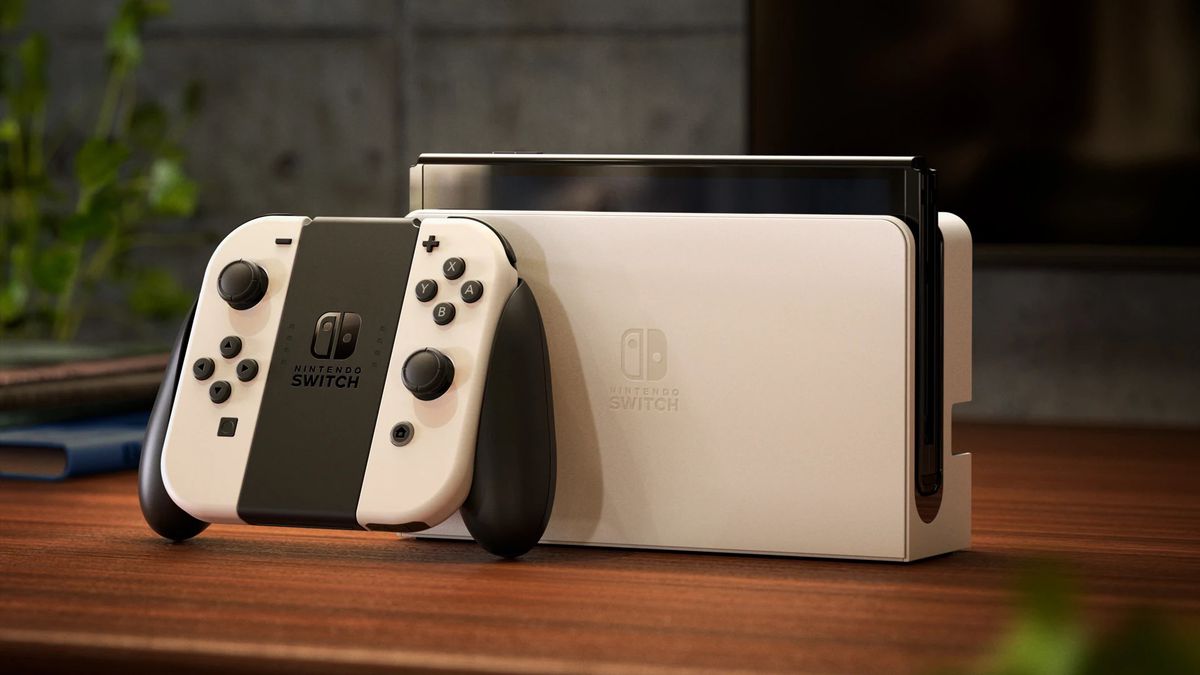
Once you’ve unpacked all the components, you’ll notice the sleek and portable design of the Nintendo Switch console. Its compact size and lightweight construction make it perfect for gaming on the go. The Joy-Con controllers, with their versatile functionality, add a new dimension to your gaming experience.
Take a moment to appreciate the attention to detail in the design of the Nintendo Switch. From the smooth finish of the console to the ergonomic design of the Joy-Con controllers, every element is crafted to enhance your gaming experience.
As you unbox each component, you’ll feel the excitement building as you anticipate the adventures that await. The unboxing process sets the stage for the immersive gaming experiences that the Nintendo Switch has to offer. With the console and accessories in hand, you’re ready to move on to the next step in setting up your Nintendo Switch.
Step 2: Connecting the Dock
Connecting the dock is a crucial step in setting up your Nintendo Switch. The dock serves as a central hub for connecting your console to the TV and charging the device. To connect the dock, follow these simple steps:
- Locate a suitable position for the dock near your TV or monitor. Ensure that there is ample space for the console and that the area is well-ventilated.
- Connect the HDMI cable to the HDMI out port on the dock. Then, connect the other end of the HDMI cable to an available HDMI port on your TV or monitor.
- Next, connect the AC adapter to the AC adapter port on the dock. Plug the other end of the AC adapter into a power outlet.
- Place the Nintendo Switch console into the dock. Ensure that the console is properly aligned and seated securely in the dock.
- Once the console is in place, power on your TV or monitor and select the corresponding HDMI input to which the Nintendo Switch is connected.
- Press the power button on the console to turn it on. You should see the Nintendo Switch logo appear on the screen, indicating that the connection is successful.
With the dock connected, you can seamlessly transition between handheld and TV mode, allowing you to enjoy your favorite games on the big screen. The versatility of the Nintendo Switch is evident as it adapts to your gaming preferences, whether you’re playing solo or with friends and family.
By following these steps, you’ve successfully connected the dock, unlocking the full potential of your Nintendo Switch and preparing to delve into the captivating world of gaming that awaits.
Step 3: Connecting the Joy-Con Controllers
Connecting the Joy-Con controllers to your Nintendo Switch is an essential part of the setup process. These versatile controllers offer a range of gaming possibilities, from traditional button-based gameplay to motion-controlled experiences. To connect the Joy-Con controllers, follow these simple steps:
- Hold the Nintendo Switch console in your hands with the screen facing you.
- Locate the Joy-Con rails on the sides of the console. Each rail is designed to accommodate a Joy-Con controller.
- Slide the left and right Joy-Con controllers onto the corresponding rails on the console until you hear a satisfying click, indicating that the controllers are securely attached.
- Once the Joy-Con controllers are attached, you can use them in handheld mode or detach them for individual use.
- If you prefer a more traditional controller experience, you can slide the Joy-Con controllers into the Joy-Con grip, creating a single, comfortable controller for gaming on the TV.
- For motion-controlled gameplay, simply hold the Joy-Con controllers in each hand and get ready to experience immersive gaming experiences that respond to your movements.
With the Joy-Con controllers connected, you’re ready to explore the diverse range of games that the Nintendo Switch has to offer. Whether you’re navigating through captivating worlds or engaging in competitive multiplayer matches, the Joy-Con controllers provide intuitive and responsive gameplay.
By following these steps, you’ve successfully connected the Joy-Con controllers, unlocking a myriad of gaming experiences that await your exploration.
Step 4: Setting Up the Console
Setting up your Nintendo Switch console is a straightforward process that allows you to customize various settings and preferences to suit your gaming style. After unboxing the console, connecting the dock, and attaching the Joy-Con controllers, it’s time to set up the console itself. Follow these steps to get your Nintendo Switch ready for action:
- Power on the console by pressing the power button located on the top edge of the device.
- Once the console is powered on, you’ll be prompted to select your preferred language. Use the touchscreen or the Joy-Con controllers to make your selection.
- Next, choose your region and time zone to ensure that the console displays the correct date and time.
- After selecting the time zone, the console will prompt you to configure the console’s internet settings. You can choose to connect to a Wi-Fi network at this stage.
- Once connected to the internet, the console will check for any available system updates. It’s essential to keep your console up to date to access the latest features and improvements.
- Agree to the terms of service and user agreement to proceed with the setup process.
- Finally, create a user profile for the console. You can choose an icon and nickname to personalize your profile.
With the console set up, you’re now ready to explore the diverse library of games available for the Nintendo Switch. The intuitive and user-friendly setup process ensures that you can quickly dive into gaming adventures without any hassle.
By following these steps, you’ve successfully set up your Nintendo Switch console, customizing it to your preferences and preparing to embark on an exciting gaming journey.
Step 5: Creating a Nintendo Account
Creating a Nintendo Account is a pivotal step in maximizing the features and benefits of your Nintendo Switch. This account allows you to access online multiplayer, digital game purchases, and the expansive world of Nintendo’s online services. Follow these steps to create your Nintendo Account:
- From the home screen of your Nintendo Switch, select the “System Settings” icon represented by a gear symbol.
- In the System Settings menu, scroll down and select “Users” to access the user settings.
- Choose the user profile that you want to link to a Nintendo Account.
- Select “Link Nintendo Account” and follow the on-screen instructions to begin the account creation process.
- If you already have a Nintendo Account, you can sign in using your existing credentials. If not, you can create a new account by providing the necessary details.
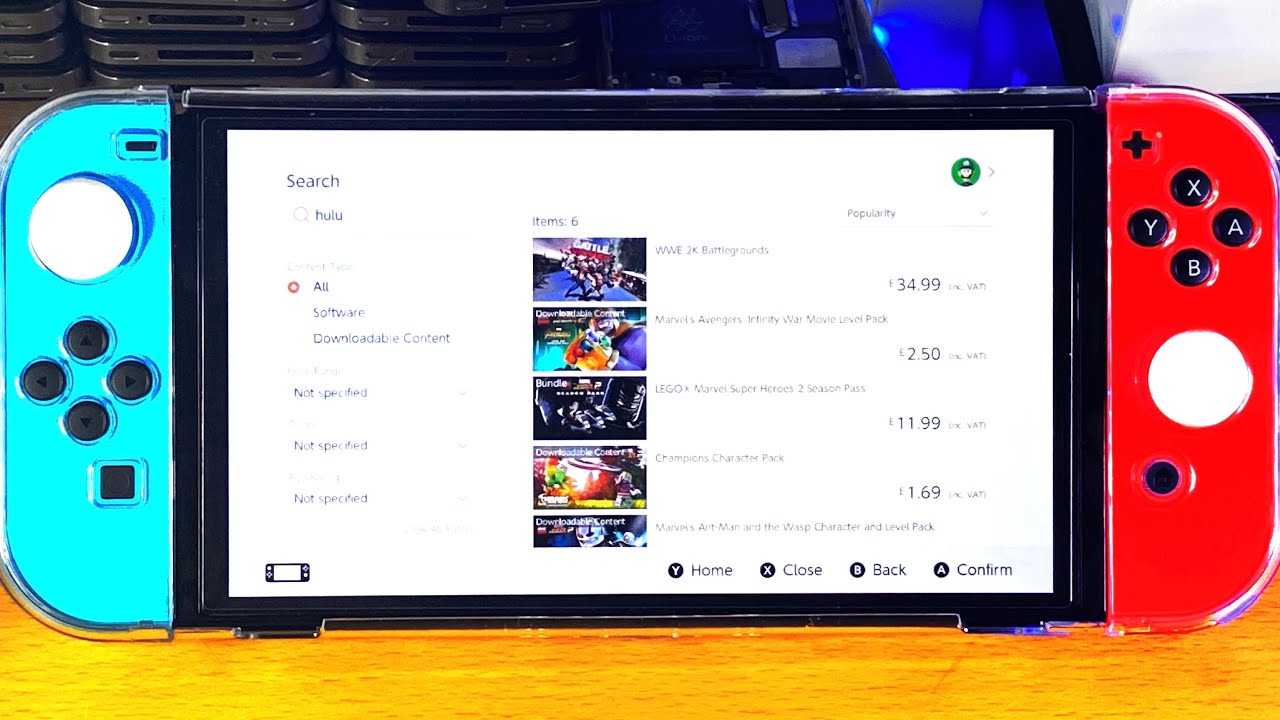
- Once your Nintendo Account is linked to your user profile, you’ll have access to a wide array of online features, including the Nintendo eShop, where you can browse and purchase digital games.
- Additionally, having a Nintendo Account enables you to participate in online multiplayer gaming, connect with friends, and access exclusive offers and rewards.
By creating a Nintendo Account, you open the door to a world of online gaming and digital content that enhances your gaming experience on the Nintendo Switch. Whether you’re engaging in competitive multiplayer battles or exploring a vast library of digital games, your Nintendo Account is the gateway to these exciting opportunities.
By following these steps, you’ve successfully created a Nintendo Account, unlocking the full potential of your Nintendo Switch and gaining access to a myriad of online features and services.
Step 6: Connecting to the Internet
Connecting your Nintendo Switch to the internet is essential for accessing online features, multiplayer gaming, system updates, and the extensive library of digital games available on the Nintendo eShop. Follow these steps to connect your console to the internet:
- From the home screen, select the “System Settings” icon, represented by a gear symbol.
- In the System Settings menu, scroll down and select “Internet” to access the internet settings.
- Choose “Internet Settings” and select the Wi-Fi network to which you want to connect.
- If the selected network is password-protected, enter the password using the on-screen keyboard to establish the connection.
- Once connected, the console will perform a connection test to ensure that it can access the internet and communicate with online services.
- With a successful internet connection, your Nintendo Switch is now ready to access a myriad of online features, including multiplayer gaming, system updates, and the Nintendo eShop.
By connecting to the internet, you unlock a world of possibilities on your Nintendo Switch. Whether you’re engaging in online multiplayer battles, downloading digital games, or staying updated with the latest system enhancements, a reliable internet connection is the key to maximizing your gaming experience.
By following these steps, you’ve successfully connected your Nintendo Switch to the internet, paving the way for seamless online gaming and access to a wealth of digital content.
Step 7: Updating System Software
Keeping your Nintendo Switch’s system software up to date is crucial for ensuring optimal performance, accessing new features, and addressing any security or stability issues. Follow these steps to update the system software on your Nintendo Switch:
- From the home screen, select the “System Settings” icon, represented by a gear symbol.
- In the System Settings menu, scroll down and select “System” to access the system settings.
- Choose “System Update” to check for any available updates for your Nintendo Switch.
- If an update is available, select “Update” to initiate the download and installation process. Ensure that your console is connected to a stable internet connection to facilitate the update.
- Once the update is complete, your Nintendo Switch will restart, and you’ll be running the latest version of the system software.
- Regularly checking for and installing system updates ensures that your Nintendo Switch is equipped with the latest features, performance improvements, and security patches.
By updating the system software, you ensure that your Nintendo Switch remains at the forefront of gaming technology, providing you with a seamless and secure gaming experience. Whether it’s enhanced functionality, new features, or improved stability, system updates play a vital role in optimizing your gaming console.
By following these steps, you’ve successfully updated the system software on your Nintendo Switch, ensuring that your console is equipped with the latest enhancements and features.
Step 8: Setting Up Parental Controls
Setting up parental controls on your Nintendo Switch is an essential step in managing and monitoring the gaming activities of younger users. These controls allow you to restrict certain content, set playtime limits, and ensure a safe and enjoyable gaming experience for children. Follow these steps to set up parental controls on your Nintendo Switch:
- From the home screen, select the “System Settings” icon, represented by a gear symbol.
- In the System Settings menu, scroll down and select “Parental Controls” to access the parental control settings.
- Choose “Use Your Smart Device” or “Use This Console” to set up parental controls using either your smartphone or directly on the console.
- If you choose to use your smart device, you’ll be prompted to download the “Nintendo Switch Parental Controls” app from the App Store or Google Play Store.
- Follow the on-screen instructions to link your console to the app and set up parental controls, including content restrictions, playtime limits, and monitoring features.
- If you opt to set up parental controls directly on the console, you can customize the settings to restrict certain content based on age ratings and manage playtime limits.
- By setting up parental controls, you can ensure that younger users have a safe and balanced gaming experience while providing peace of mind for parents and guardians.
Parental controls empower you to manage and supervise the gaming activities of young users, promoting responsible and enjoyable gameplay while maintaining a safe and secure gaming environment.
By following these steps, you’ve successfully set up parental controls on your Nintendo Switch, providing a tailored and secure gaming experience for younger users while offering peace of mind for parents and guardians.
Conclusion
Congratulations! You’ve successfully navigated through the step-by-step process of setting up your Nintendo Switch. From unboxing the console to connecting to the internet and creating a Nintendo Account, you’ve laid the foundation for an immersive gaming experience that adapts to your preferences and lifestyle.
By unboxing the Nintendo Switch, you’ve experienced the anticipation and excitement of embarking on a gaming journey filled with endless possibilities. The versatile design of the console, coupled with the innovative Joy-Con controllers, promises a gaming experience that seamlessly transitions between handheld and docked modes.
Connecting the dock and Joy-Con controllers has unlocked the full potential of the Nintendo Switch, allowing you to seamlessly transition between gaming modes and experience a diverse range of gameplay styles. The intuitive setup process ensures that you can quickly dive into captivating worlds and engaging multiplayer experiences.
Creating a Nintendo Account and connecting to the internet have opened the doors to a wealth of online features, digital content, and multiplayer gaming opportunities. With a reliable internet connection and a personalized Nintendo Account, you’re ready to explore a vast library of games and engage with the vibrant Nintendo gaming community.
Updating the system software and setting up parental controls demonstrate your commitment to maintaining a secure and optimized gaming environment. By keeping your console up to date and implementing parental controls, you’re ensuring a safe and enjoyable gaming experience for yourself and other users, especially younger players.
As you embark on your gaming adventures with the Nintendo Switch, remember that the console is not just a gaming device; it’s a portal to immersive experiences, social connections, and endless entertainment. Whether you’re playing solo, connecting with friends, or exploring new digital worlds, the Nintendo Switch is your gateway to a dynamic and vibrant gaming ecosystem.
Now that you’ve completed the setup process, it’s time to dive into the diverse library of games, explore new releases, and discover the magic of gaming on the Nintendo Switch. Get ready to embark on thrilling adventures, engage in epic battles, and create unforgettable gaming memories on a platform that adapts to your lifestyle and preferences.