Introduction
Utilizing your Android device as a hotspot can be incredibly convenient, enabling you to share its internet connection with other devices such as laptops, tablets, or other smartphones. Whether you're traveling, working remotely, or simply need a backup internet source, turning your Android device into a hotspot can provide a reliable and secure connection for your other devices.
In this guide, we will walk through the step-by-step process of setting up and using your Android device as a hotspot. By following these instructions, you'll be able to seamlessly connect your other devices to your Android's hotspot, ensuring that you stay connected wherever you go.
Let's dive into the details of how to access the hotspot settings on your Android device and configure them to create a reliable internet-sharing hotspot. Whether you're a tech-savvy individual or someone who's new to this process, this guide will provide you with all the information you need to get started. So, grab your Android device, and let's embark on this hotspot setup journey together.
Step 1: Accessing the Hotspot Settings
Accessing the hotspot settings on your Android device is the first step towards transforming it into a reliable internet-sharing hotspot. Here's how you can navigate to the hotspot settings:
-
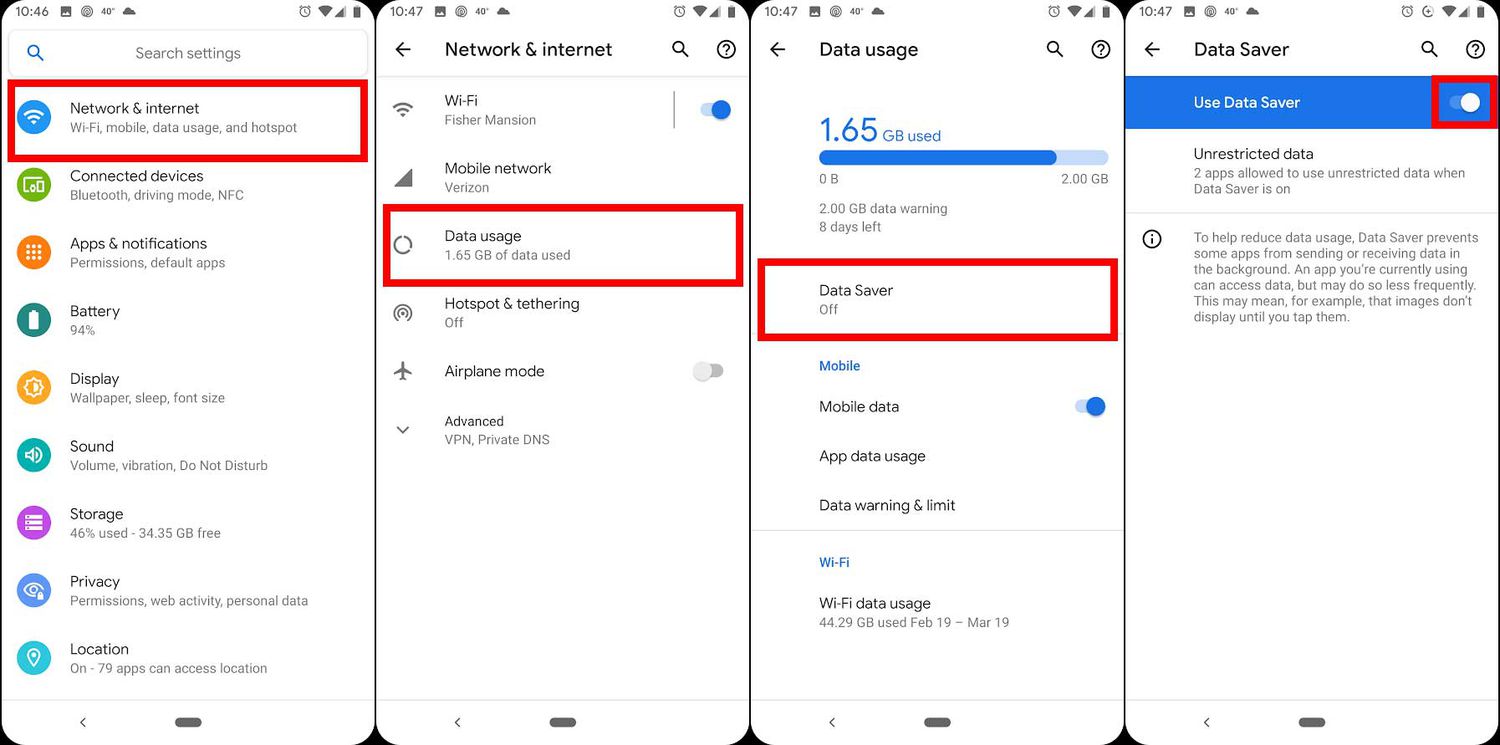
Open Settings: Begin by unlocking your Android device and locating the Settings app. This app is typically represented by a gear icon and can be found either on your home screen or in the app drawer.
-
Locate Network & Internet: Within the Settings menu, scroll or search for the "Network & Internet" option. This section houses various connectivity settings, including Wi-Fi, mobile data, and hotspot.
-
Select Hotspot & Tethering: Once you're in the "Network & Internet" section, tap on the "Hotspot & Tethering" option. This is where you'll find all the settings related to creating and managing your Android device's hotspot.
-
Access Hotspot Settings: Within the "Hotspot & Tethering" menu, tap on the "Wi-Fi hotspot" or "Portable Wi-Fi hotspot" option. This will lead you to the specific settings for configuring and enabling your Android device's hotspot functionality.
By following these steps, you'll successfully access the hotspot settings on your Android device, laying the groundwork for setting up and utilizing it as a hotspot. With this initial step completed, you're now ready to proceed with enabling the hotspot and configuring its settings to suit your preferences.
Accessing the hotspot settings is a straightforward process, allowing you to swiftly prepare your Android device for sharing its internet connection with other devices. Now that you've reached this stage, let's move on to the next step of enabling the hotspot feature on your device.
Step 2: Enabling the Hotspot
Enabling the hotspot on your Android device is a pivotal step that allows you to share its internet connection with other devices. Once you've accessed the hotspot settings, activating this feature is a seamless process. Here's how to enable the hotspot:
-
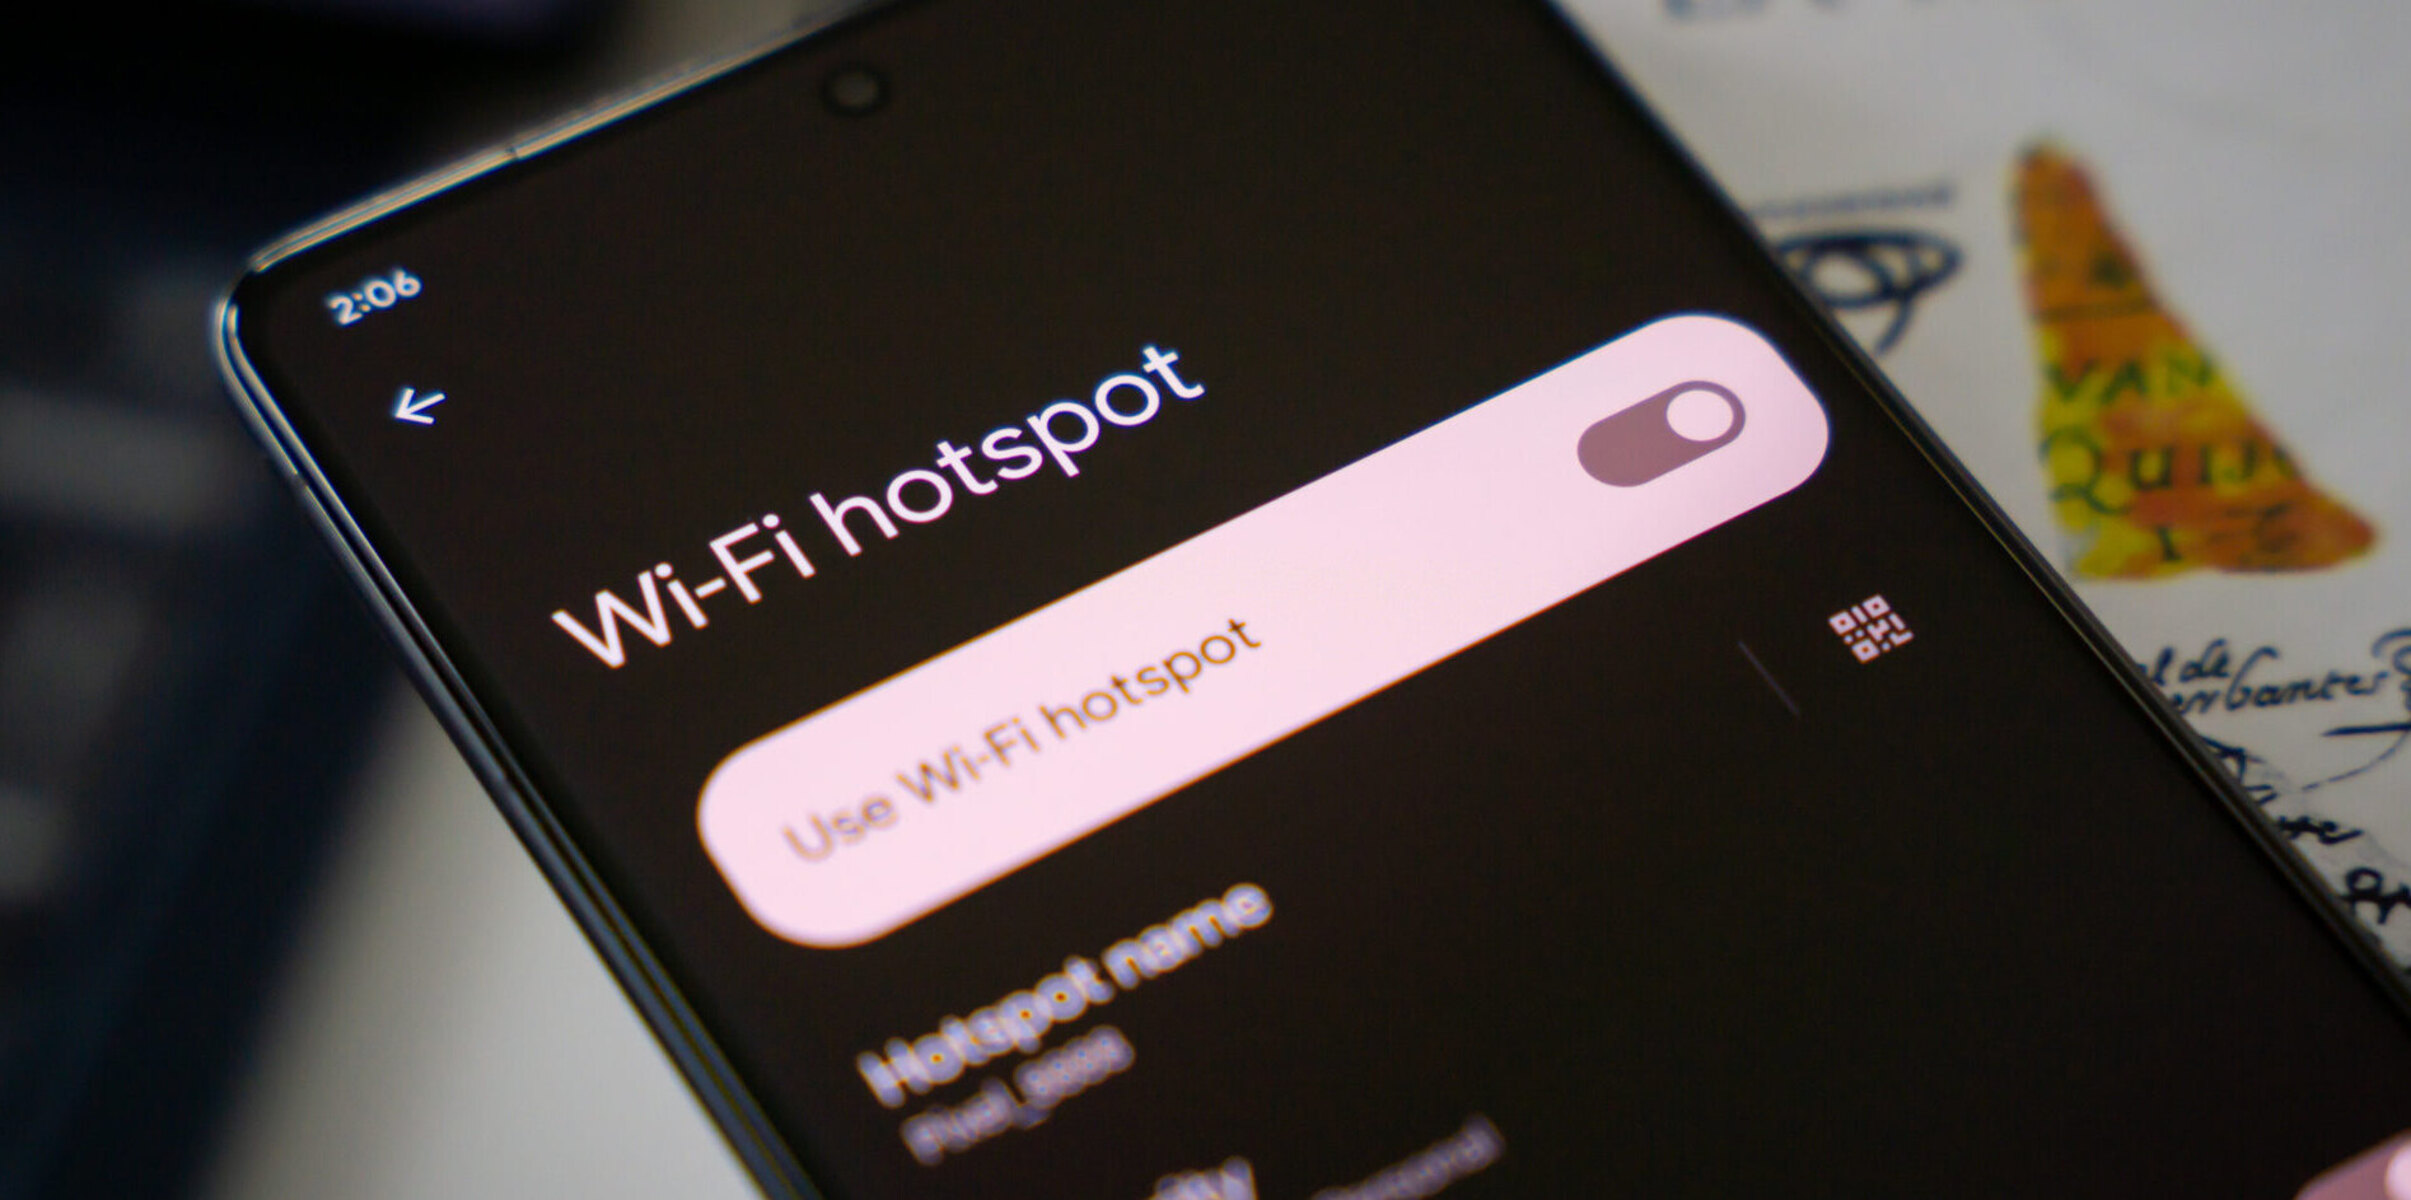
Toggle the Hotspot Switch: Within the "Wi-Fi hotspot" or "Portable Wi-Fi hotspot" settings, you'll find a switch or toggle button to activate the hotspot. Simply tap on the switch to turn on the hotspot feature.
-
Configure Hotspot Security (Optional): Before enabling the hotspot, you have the option to configure its security settings. You can set a custom network name (SSID) and password to secure your hotspot. This prevents unauthorized access and ensures a secure connection for the devices that will be connecting to your hotspot.
-
Confirm Activation: Once you've toggled the hotspot switch, your Android device will begin broadcasting its Wi-Fi signal. You'll typically see a notification confirming that the hotspot is active, along with the network name and password. These details are essential for connecting other devices to your hotspot.
Enabling the hotspot on your Android device empowers you to extend its internet connectivity to other devices, offering a convenient and reliable means of staying connected. With this step completed, your Android device is now functioning as a hotspot, ready to accommodate the connection of additional devices.
By following these straightforward steps, you've successfully enabled the hotspot feature on your Android device. This paves the way for configuring the hotspot settings and connecting your other devices to it, ensuring seamless internet access across all your devices. With the hotspot now active, let's proceed to the next step of configuring its settings to tailor the hotspot to your specific preferences.
Step 3: Configuring Hotspot Settings
Configuring the hotspot settings on your Android device allows you to personalize and optimize the Wi-Fi hotspot to suit your specific preferences and requirements. This step is crucial in ensuring that the hotspot operates efficiently and securely. Here's a detailed guide on how to configure the hotspot settings:
Customizing Network Name (SSID) and Password
Upon accessing the hotspot settings, you'll have the option to customize the network name, also known as the Service Set Identifier (SSID), and set a secure password for your hotspot. It's advisable to choose a unique and easily identifiable network name, as this will be visible to devices searching for available Wi-Fi networks. Additionally, setting a strong password adds a layer of security to your hotspot, preventing unauthorized access and ensuring a safe and private connection for your connected devices.
Selecting Security Protocol
Android devices offer various security protocols for hotspots, such as WPA2 PSK (Wi-Fi Protected Access 2 – Pre-Shared Key) and WPA3 PSK. These protocols provide encryption and authentication methods to safeguard your hotspot from unauthorized access and potential security threats. Choosing an advanced security protocol enhances the overall security of your hotspot, making it more resilient against unauthorized intrusion.
Managing Connected Devices
Within the hotspot settings, you may find options to manage connected devices. This feature allows you to view a list of devices currently connected to your hotspot and provides the flexibility to block or allow specific devices from accessing the hotspot. Managing connected devices empowers you to maintain control over the devices utilizing your hotspot, ensuring that only authorized devices can connect to and benefit from your internet connection.
Adjusting Band and Channel Settings
Depending on your Android device's capabilities, you may have the option to adjust the Wi-Fi band and channel settings for your hotspot. This can optimize the Wi-Fi signal strength and stability, especially in crowded Wi-Fi environments where interference may occur. By selecting the appropriate band and channel settings, you can enhance the overall performance and reliability of your hotspot, providing a smoother internet-sharing experience for your connected devices.
Optimizing Data Usage and Battery Efficiency
Some Android devices offer settings to optimize data usage and battery efficiency while the hotspot is active. These settings can help conserve data and extend the device's battery life, ensuring that the hotspot functionality doesn't excessively drain your device's resources. By leveraging these optimization features, you can strike a balance between providing a reliable hotspot connection and preserving your device's data and battery resources.
By carefully configuring these hotspot settings, you can tailor the Wi-Fi hotspot on your Android device to align with your specific preferences and security requirements. This customization ensures that your hotspot operates efficiently, securely, and in a manner that best serves your connectivity needs. With the hotspot settings now configured, the next step is to connect your devices to the hotspot, enabling seamless internet access across all your devices.
Step 4: Connecting Devices to the Hotspot
Connecting devices to your Android hotspot is a straightforward process that enables seamless access to the internet using your device's shared connection. Once your hotspot is active and its settings are configured, you can proceed to connect other devices such as laptops, tablets, or other smartphones. Here's a detailed guide on how to connect devices to your Android hotspot:
-
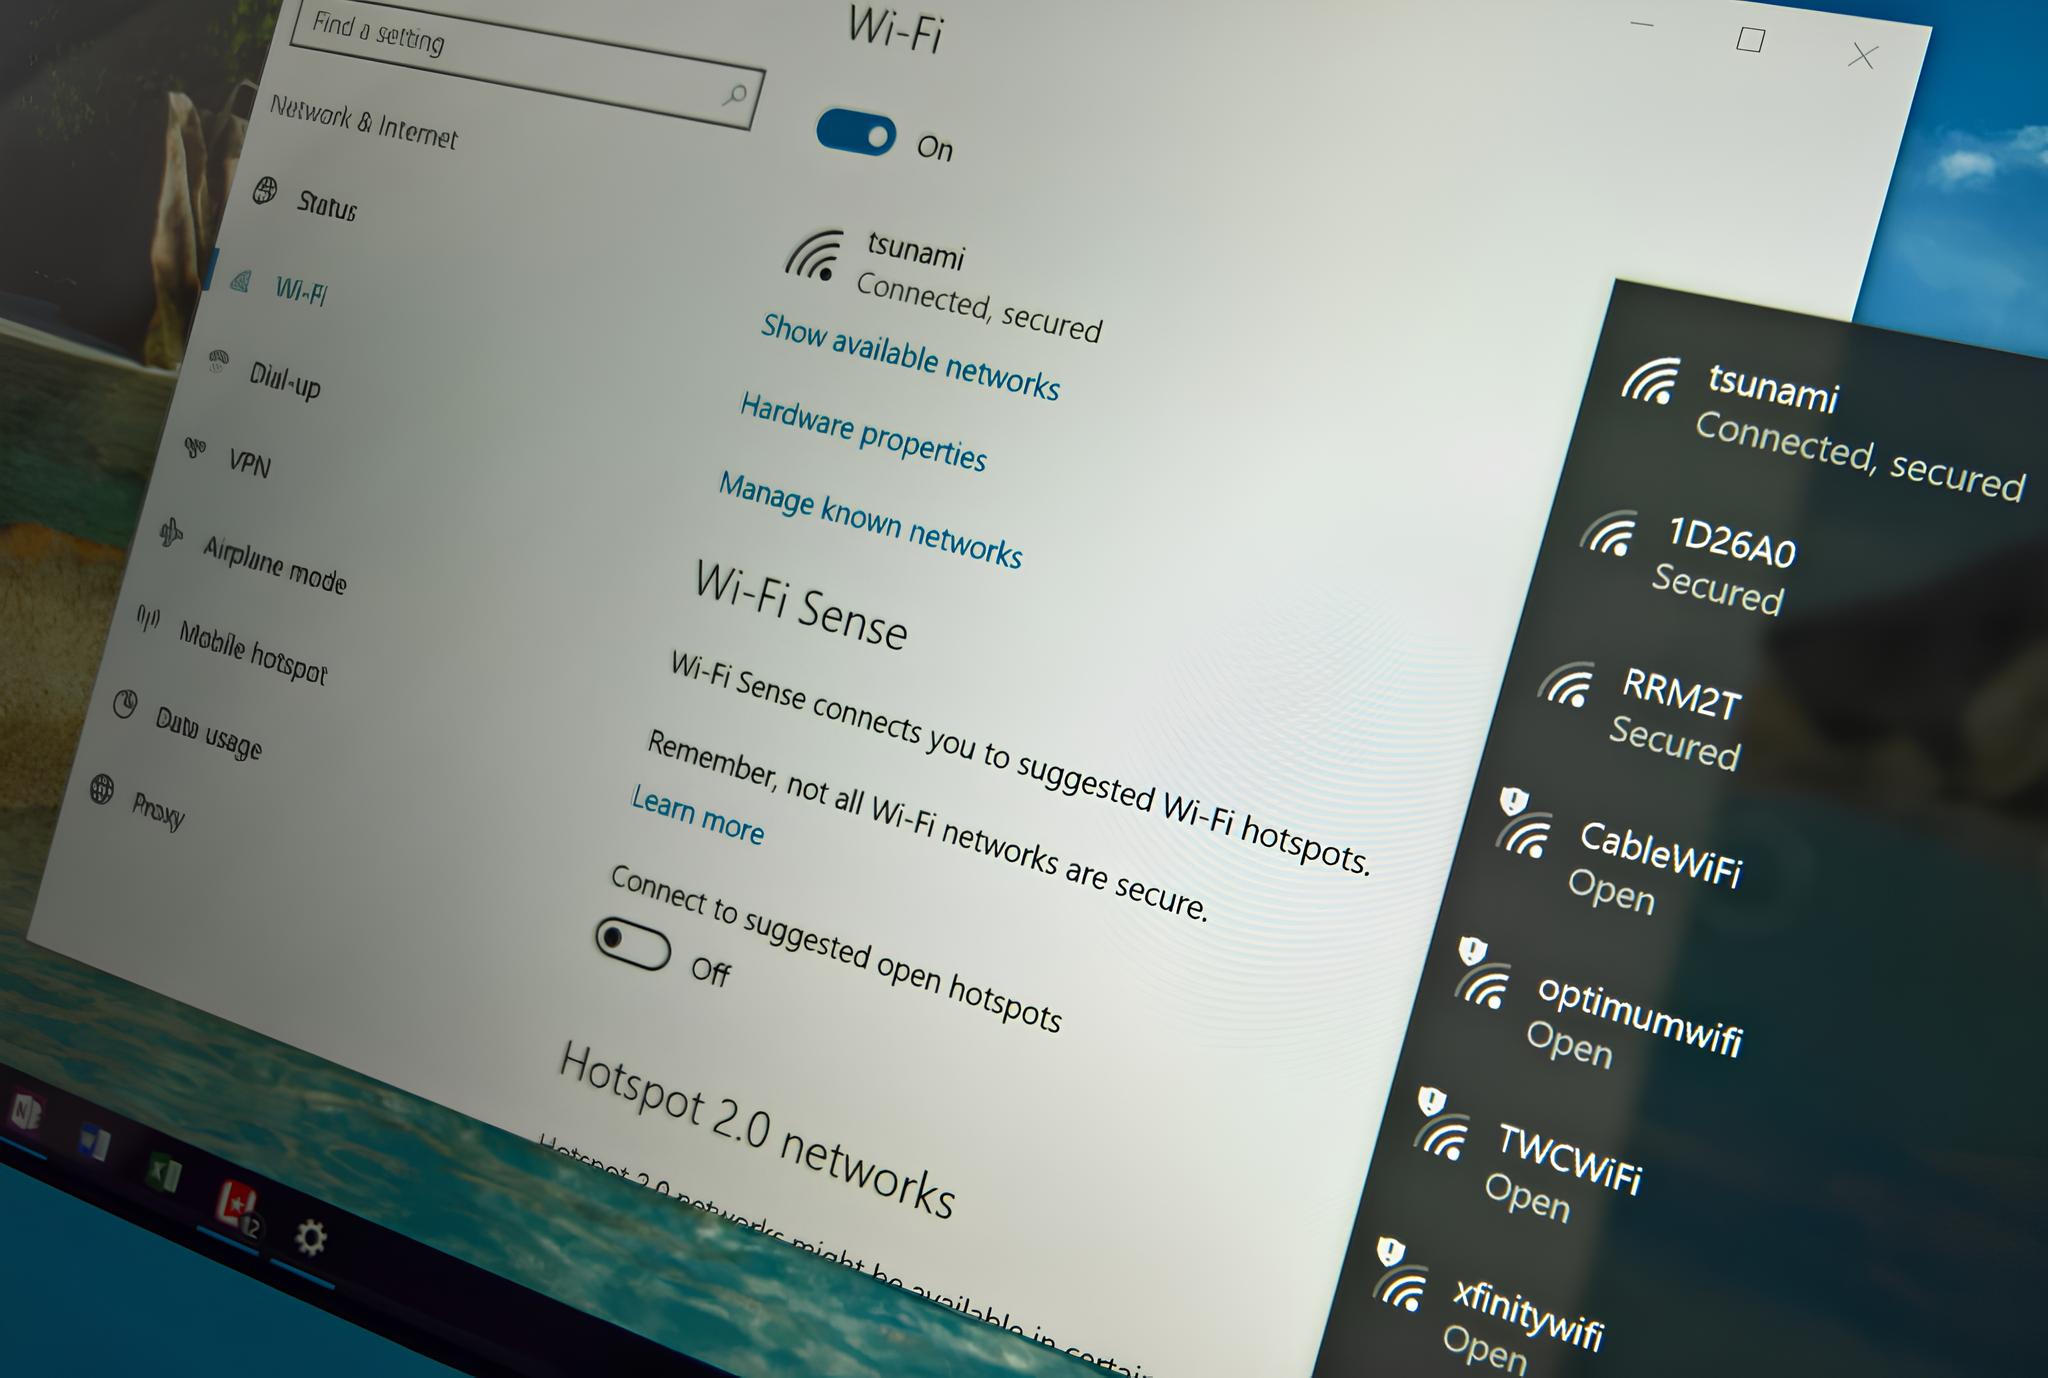
Access Device Settings: Begin by unlocking the device you wish to connect to the hotspot and accessing its Wi-Fi settings. This can usually be done by navigating to the device's Settings app and selecting the Wi-Fi option.
-
Scan for Available Networks: Within the Wi-Fi settings, the device will scan for available Wi-Fi networks, including your Android hotspot. The network name (SSID) of your hotspot, as configured in the previous step, should be visible in the list of available networks.
-
Select the Hotspot Network: Locate and select your Android hotspot from the list of available networks. When prompted, enter the password you set for the hotspot during the configuration process. This password ensures secure access to your hotspot and prevents unauthorized devices from connecting.
-
Establish Connection: After entering the correct password, the device will establish a connection to your Android hotspot. Once connected, a confirmation message or icon will typically appear, indicating a successful connection to the hotspot.
-
Verify Connection: To ensure that the device is successfully using the hotspot for internet access, open a web browser or any internet-dependent app on the connected device. If the connection is functioning correctly, the device should be able to browse the internet and access online services using the shared internet connection from your Android hotspot.
By following these steps, you can seamlessly connect various devices to your Android hotspot, providing them with access to the internet through your device's shared connection. Whether you're working on a laptop, streaming content on a tablet, or using a secondary smartphone, the connected devices can leverage the reliable and secure internet connection provided by your Android hotspot.
With the devices successfully connected to your hotspot, you can enjoy uninterrupted internet access across all your devices, regardless of their individual connectivity capabilities. This seamless sharing of the internet connection ensures that you stay connected and productive, even in environments where traditional Wi-Fi networks may be unavailable or unreliable.
Step 5: Disabling the Hotspot
Disabling the hotspot on your Android device is a crucial step, especially when you no longer require other devices to utilize your device's internet connection. By deactivating the hotspot, you can conserve your device's battery life and ensure that it's no longer broadcasting a Wi-Fi signal for other devices to connect to. Here's a detailed guide on how to disable the hotspot:
-
Access Hotspot Settings: Begin by navigating back to the "Hotspot & Tethering" section within the Settings menu of your Android device. This is where you initially accessed the hotspot settings to enable the feature.
-
Toggle the Hotspot Switch: Within the "Wi-Fi hotspot" or "Portable Wi-Fi hotspot" settings, you'll find the switch or toggle button that activates the hotspot. Simply tap on the switch to turn off the hotspot feature. Once disabled, your Android device will stop broadcasting its Wi-Fi signal, effectively ending the hotspot functionality.
-
Confirmation: After toggling off the hotspot switch, you may receive a notification confirming that the hotspot has been disabled. This serves as a visual indicator that the hotspot is no longer active on your device.
By following these steps, you can effectively disable the hotspot on your Android device, ensuring that it no longer shares its internet connection with other devices. This action helps conserve your device's resources and prevents unauthorized access to your hotspot once it's no longer needed.
Disabling the hotspot feature on your Android device is a simple yet important task, allowing you to manage your device's connectivity settings efficiently. Whether you've finished sharing your internet connection with other devices or you simply want to preserve your device's battery life, deactivating the hotspot ensures that your device operates according to your current connectivity needs. With the hotspot now disabled, you have successfully managed the sharing of your Android device's internet connection, allowing you to maintain control over its connectivity features.
Conclusion
In conclusion, harnessing the power of your Android device as a hotspot opens up a world of connectivity possibilities, ensuring that you stay connected and productive wherever you go. By following the step-by-step process outlined in this guide, you've gained the knowledge and confidence to seamlessly set up, configure, and utilize your Android device as a reliable internet-sharing hotspot.
By accessing the hotspot settings, enabling the hotspot, configuring its settings, connecting devices to the hotspot, and responsibly disabling the hotspot when no longer needed, you have effectively transformed your Android device into a versatile hub for sharing its internet connection with other devices. This capability is particularly valuable in situations where traditional Wi-Fi networks may be unavailable or unreliable, such as during travel, remote work, or in emergency connectivity scenarios.
The flexibility and convenience offered by an Android hotspot empower you to extend your internet connection to a diverse range of devices, including laptops, tablets, and other smartphones. Whether you're collaborating on a project, streaming media, or simply staying connected while on the move, the hotspot functionality of your Android device ensures that you can seamlessly share your internet connection with the devices that matter most to you.
Furthermore, the ability to customize hotspot settings, including network name (SSID), password, security protocols, and device management, allows you to tailor the hotspot to your specific preferences and security requirements. This level of customization ensures that your hotspot operates efficiently, securely, and in a manner that best serves your connectivity needs.
As you navigate the dynamic landscape of modern connectivity, the knowledge and skills acquired from this guide empower you to leverage your Android device as a reliable and secure hotspot, fostering seamless internet access across all your devices. This newfound capability not only enhances your connectivity options but also provides a valuable contingency plan in scenarios where traditional internet access may be limited or unavailable.
In essence, the ability to utilize your Android device as a hotspot represents a significant asset in your connectivity toolkit, offering a dependable and secure means of sharing your internet connection with the devices that support your daily endeavors. With this guide as your companion, you are well-equipped to harness the full potential of your Android device as a hotspot, ensuring that you remain connected and productive in a connected world.