Introduction
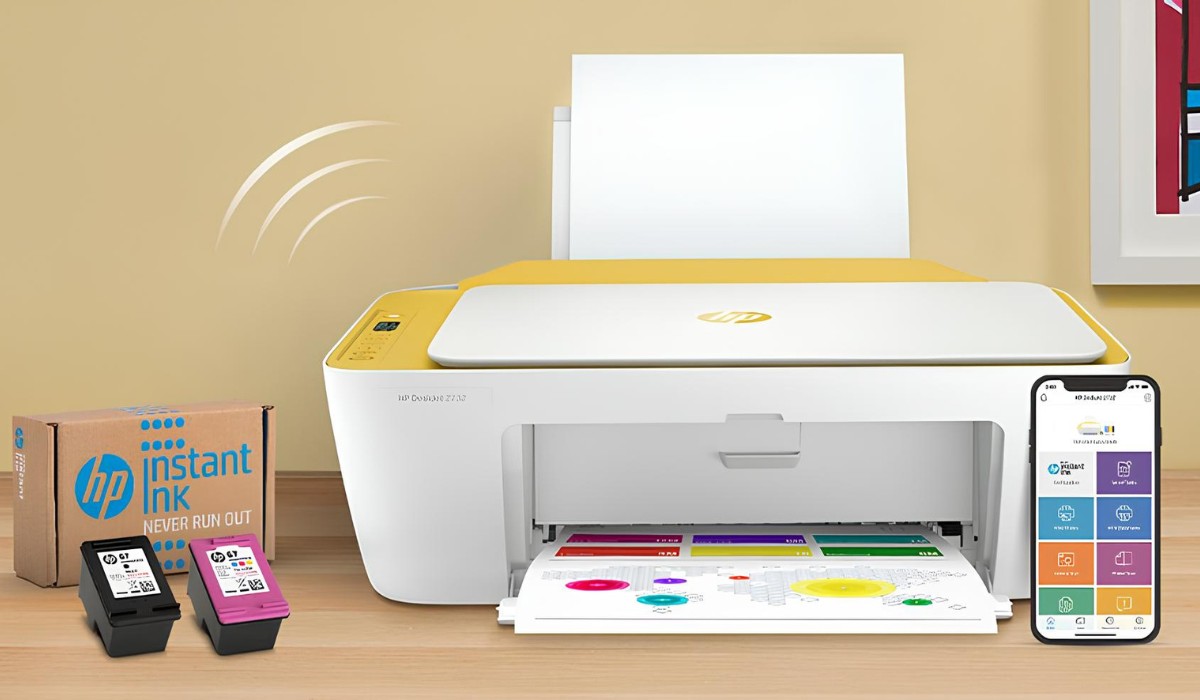
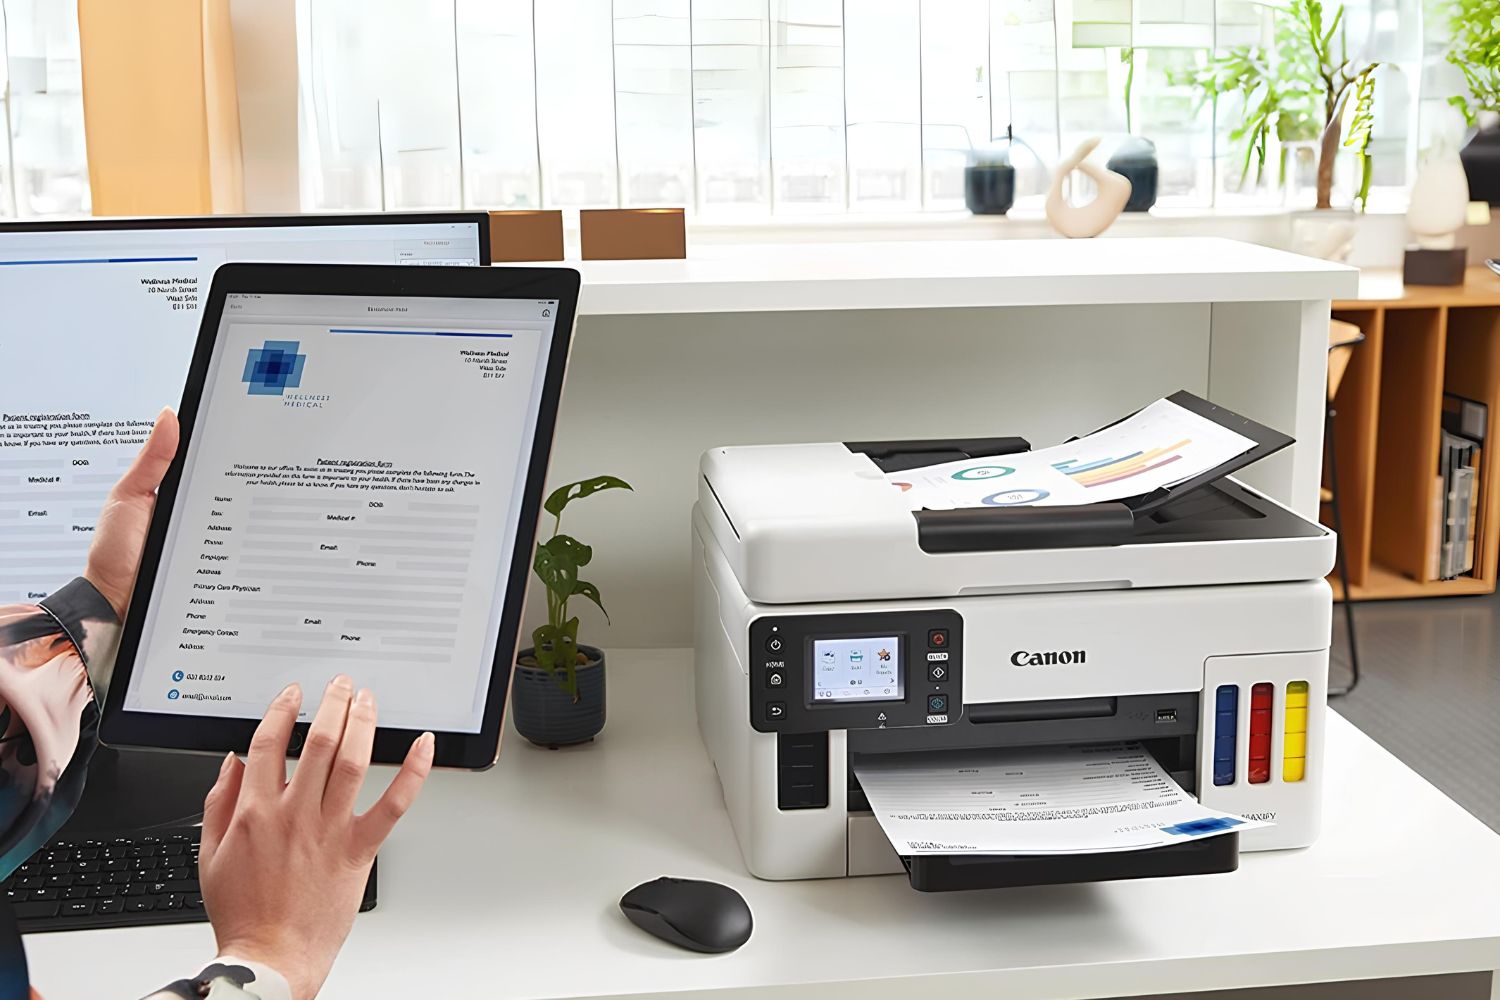
Connecting a printer to a hotspot can be a convenient solution for printing from devices that are not connected to a traditional Wi-Fi network. Whether you're working from a remote location, traveling, or simply need to print from a device that doesn't have direct access to a Wi-Fi network, setting up your printer to connect to a hotspot can provide the flexibility you need. In this comprehensive guide, we will walk through the step-by-step process of connecting your printer to a hotspot, allowing you to print seamlessly from your devices regardless of your location.
In the modern era of remote work and digital nomadism, the ability to print documents from various devices, including smartphones and tablets, is increasingly valuable. By leveraging a hotspot connection, you can ensure that your printing capabilities remain unhindered, even when traditional Wi-Fi networks are unavailable. This flexibility empowers you to stay productive and efficient, regardless of your physical location.
With the proliferation of mobile hotspots and the prevalence of smartphones as primary work tools, the demand for connecting printers to hotspots has grown significantly. Whether you're a business professional needing to print essential documents while on the go, a student requiring hard copies of study materials from your mobile device, or a traveler in need of a reliable printing solution, understanding how to connect your printer to a hotspot is an invaluable skill in today's dynamic and mobile-centric world.
By following the step-by-step instructions outlined in this guide, you will gain the knowledge and confidence to seamlessly connect your printer to a hotspot, opening up a world of printing possibilities regardless of your location. Let's delve into the process and empower you to harness the full potential of your printer in any situation.
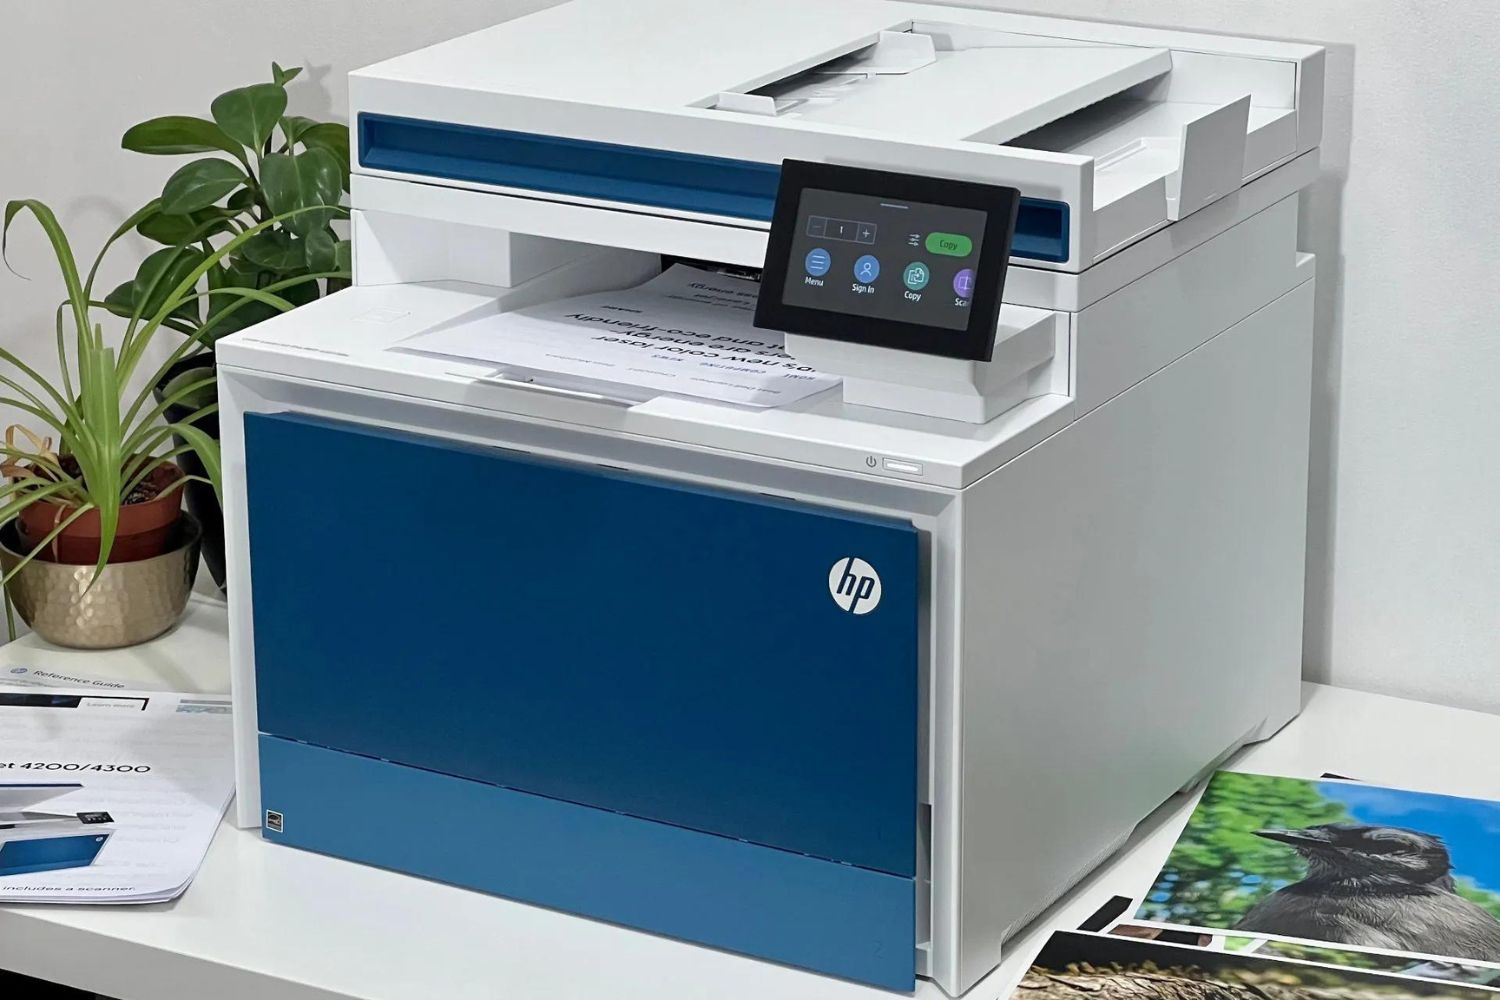
Step 1: Turn on the Printer
Turning on the printer is the initial step in the process of connecting it to a hotspot. While this may seem straightforward, it is essential to ensure that the printer is powered on and ready to begin the setup process. Here's a detailed guide on how to turn on your printer and prepare it for the subsequent steps of connecting it to a hotspot.
-
Power Connection: Locate the power cord of your printer and ensure that it is securely plugged into a power outlet. It is crucial to verify that the power source is stable and reliable to avoid any interruptions during the setup process.
-
Control Panel: Check the control panel of the printer for a power button or switch. Depending on the model of your printer, the power button may be clearly labeled or indicated by a standard power symbol. Press the power button to turn on the printer.
-
Startup Process: Once the power button is activated, the printer will initiate its startup process. This may involve the activation of indicator lights, initialization of internal components, and the calibration of printing mechanisms. Allow the printer to complete its startup sequence before proceeding to the next step.
-
Display Screen (If Applicable): If your printer is equipped with a display screen, such as an LCD panel, observe the screen for any startup messages or prompts. The display screen may provide essential information about the printer's status, including any error messages that need to be addressed before proceeding with the setup.
-
Ready Status: After the startup process is complete, the printer should indicate that it is in a ready state. This readiness is typically denoted by a steady indicator light, a message on the display screen, or an audible notification, depending on the printer's design.
By ensuring that your printer is properly powered on and in a ready state, you have completed the crucial first step in the process of connecting it to a hotspot. With the printer ready to proceed, you are now prepared to advance to the next step and continue the setup process seamlessly.
Step 2: Access the Printer Settings
Accessing the printer settings is a pivotal step in the process of connecting your printer to a hotspot. By navigating the printer's settings, you gain access to the configuration options necessary to establish a connection with the desired hotspot network. Here's a detailed exploration of how to access the printer settings and prepare for the subsequent steps of the setup process.
-
Navigation Interface: Depending on the make and model of your printer, the method for accessing the settings may vary. Many modern printers feature a user-friendly navigation interface, often comprising a touchscreen display or a set of physical buttons for menu navigation. Locate and activate the interface to begin the settings access process.
-
Menu Options: Once the navigation interface is active, navigate to the settings or setup menu. This menu is designed to provide users with access to a range of configuration options, including network settings, connectivity preferences, and general device management. Look for menu options related to network setup or wireless connectivity to proceed with the hotspot connection.
-
Wireless Setup: Within the settings menu, locate the wireless setup or network setup submenu. This section is specifically dedicated to managing the printer's wireless connectivity, allowing users to configure Wi-Fi connections, including hotspot networks. Accessing this submenu is crucial for initiating the process of connecting the printer to a hotspot.
-
Authentication: Depending on the printer's capabilities, you may encounter authentication requirements at this stage. If the hotspot network utilizes security protocols such as WPA2-PSK or WPA3, you will be prompted to enter the corresponding authentication credentials. Ensure that you have the hotspot's network name (SSID) and password readily available to proceed with the setup seamlessly.
-
Connection Confirmation: After entering the necessary authentication details, the printer will attempt to establish a connection with the specified hotspot network. This process may involve scanning for available networks, verifying the entered credentials, and initiating the connection handshake. Upon successful connection, the printer's interface may display a confirmation message or indicator to signify the established link with the hotspot.
By successfully accessing the printer settings and navigating the relevant configuration options, you have laid the foundation for connecting your printer to a hotspot. With the initial setup steps completed, you are now poised to proceed to the subsequent stages of the setup process, ultimately enabling seamless printing capabilities through the established hotspot connection.
Step 3: Select Wi-Fi Setup
Selecting the Wi-Fi setup is a pivotal stage in the process of connecting your printer to a hotspot. This step involves identifying and selecting the specific Wi-Fi setup option within the printer's settings, enabling you to initiate the configuration process for connecting to a wireless network. Here's a detailed exploration of how to navigate the Wi-Fi setup menu and proceed with the essential configuration steps to establish a seamless connection between your printer and the desired hotspot network.
-
Wi-Fi Setup Menu: Within the printer's settings interface, locate and access the Wi-Fi setup menu. This section is specifically designed to provide users with the necessary tools and options to manage the printer's wireless connectivity, including the ability to connect to Wi-Fi networks, such as hotspots. Navigating to the Wi-Fi setup menu sets the stage for initiating the configuration process to establish a robust and reliable connection.
-
Network Discovery: Upon accessing the Wi-Fi setup menu, the printer will initiate a network discovery process to identify available wireless networks, including the targeted hotspot network. The printer's interface may display a list of detected networks, showcasing their respective network names (SSIDs) and signal strengths. Locate and select the hotspot network from the available options to proceed with the connection setup.
-
Network Selection: Once the hotspot network is identified within the list of available networks, use the printer's interface to select the specific hotspot network for the connection. This selection prompts the printer to focus its connectivity efforts on the chosen network, preparing the groundwork for the subsequent configuration steps to establish a secure and stable connection.
-
Signal Strength Evaluation: As part of the network selection process, the printer may provide signal strength indicators for the detected networks, including the selected hotspot network. Evaluating the signal strength can offer insights into the proximity and reliability of the hotspot connection, enabling you to make an informed decision when finalizing the network selection.
-
Confirmation and Initiation: After selecting the hotspot network within the Wi-Fi setup menu, the printer's interface may prompt for confirmation to proceed with the connection setup. Upon confirming the selection, the printer will initiate the connection process, aiming to establish a robust link with the chosen hotspot network. This initiation marks a crucial transition towards finalizing the printer's connectivity to the hotspot, paving the way for seamless printing capabilities.
By navigating the Wi-Fi setup menu and selecting the targeted hotspot network, you have advanced through a critical stage in the process of connecting your printer to a hotspot. With the network selection completed, you are now poised to proceed to the subsequent configuration steps, ultimately enabling the establishment of a reliable and efficient connection between your printer and the designated hotspot network.
Step 4: Choose Hotspot Network
Choosing the hotspot network is a pivotal phase in the process of connecting your printer to a hotspot. This step involves identifying and selecting the specific hotspot network from the available options within the printer's settings, enabling you to proceed with the essential configuration steps to establish a seamless and reliable connection. Here's a detailed exploration of how to navigate the network selection process and make an informed decision when choosing the hotspot network for your printer's connectivity.
-
Network Identification: Upon accessing the Wi-Fi setup menu, the printer will initiate a network discovery process to identify available wireless networks, including the targeted hotspot network. The printer's interface may display a list of detected networks, showcasing their respective network names (SSIDs) and signal strengths. It is essential to carefully review the available networks and locate the specific hotspot network to which you intend to connect your printer.
-
Hotspot SSID: The network list displayed on the printer's interface will include the SSIDs of the detected networks, enabling you to identify the hotspot network among the available options. The SSID serves as the unique identifier for the hotspot network, allowing you to distinguish it from other wireless networks that may be within range of the printer. Locate the SSID corresponding to the hotspot network to proceed with the network selection process.
-
Signal Strength Evaluation: As part of the network selection process, the printer may provide signal strength indicators for the detected networks, including the selected hotspot network. Evaluating the signal strength can offer insights into the proximity and reliability of the hotspot connection, enabling you to make an informed decision when finalizing the network selection. Opting for a hotspot network with a strong and stable signal can contribute to the establishment of a robust and consistent connection for printing purposes.
-
Security Considerations: When choosing the hotspot network, it is essential to consider the security features and protocols associated with the network. If the hotspot network utilizes encryption and authentication mechanisms, such as WPA2-PSK or WPA3, ensure that it aligns with the security standards supported by your printer. Selecting a secure hotspot network enhances the protection of your printing activities and mitigates potential security risks associated with wireless connectivity.
-
Network Selection Confirmation: After identifying and evaluating the available hotspot networks, use the printer's interface to confirm the selection of the specific hotspot network to which you intend to connect. This confirmation marks a pivotal transition towards finalizing the network selection and initiating the subsequent configuration steps to establish a secure and reliable connection between your printer and the chosen hotspot network.
By navigating the network selection process and choosing the targeted hotspot network with careful consideration of signal strength and security aspects, you have advanced through a critical stage in the process of connecting your printer to a hotspot. With the hotspot network chosen, you are now poised to proceed to the subsequent configuration steps, ultimately enabling the establishment of a robust and efficient connection, facilitating seamless printing capabilities from your devices.
Step 5: Enter Hotspot Password
Entering the hotspot password is a pivotal stage in the process of connecting your printer to a hotspot. This step involves providing the necessary authentication credentials to establish a secure and encrypted connection between your printer and the designated hotspot network. Here's a detailed exploration of how to input the hotspot password and proceed with the essential configuration steps to facilitate seamless and reliable printing capabilities.
-
Password Prompt: Upon confirming the selection of the hotspot network, the printer's interface will prompt for the entry of the hotspot password. The password prompt serves as a crucial security measure, ensuring that only authorized users can access and utilize the designated hotspot network for printing purposes.
-
Authentication Credentials: Retrieve the hotspot password from the designated source, such as the hotspot device, network administrator, or the documentation provided with the hotspot. Ensure that the password is accurate and entered correctly to avoid authentication errors during the connection setup process.
-
Keyboard Input: Use the printer's interface, which may include a touchscreen keyboard or a navigation interface for alphanumeric input, to enter the hotspot password. Carefully input each character of the password, paying close attention to uppercase and lowercase distinctions, as well as special characters or symbols that may be part of the password.
-
Visibility Options: Depending on the printer's interface and settings, you may have the option to toggle the visibility of the entered password. This feature allows you to conceal the password characters for enhanced privacy and security during the input process. Utilize the visibility options as per your preference and security considerations.
-
Validation and Submission: After inputting the complete hotspot password, the printer's interface may prompt for validation or submission of the entered credentials. Review the entered password to ensure accuracy and completeness before proceeding with the validation process. Once validated, submit the entered password to initiate the authentication and connection establishment process.
-
Connection Confirmation: Upon successful authentication with the entered hotspot password, the printer will proceed to establish a secure and encrypted connection with the designated hotspot network. The interface may display a confirmation message or indicator, signifying the successful authentication and connection setup, thereby enabling seamless printing capabilities through the established hotspot connection.
By meticulously entering the hotspot password and completing the authentication process, you have advanced through a critical stage in the process of connecting your printer to a hotspot. With the authentication credentials provided, you are now poised to proceed to the subsequent configuration steps, ultimately enabling the establishment of a robust and secure connection, facilitating seamless printing capabilities from your devices.
Step 6: Complete Setup
Completing the setup process marks the culmination of the comprehensive endeavor to connect your printer to a hotspot, paving the way for seamless and versatile printing capabilities from various devices. This pivotal stage encompasses finalizing the configuration settings, verifying the established connection, and ensuring that the printer is fully prepared to deliver efficient and reliable printing experiences. Here's an in-depth exploration of the essential tasks involved in completing the setup, culminating in the seamless integration of your printer with the designated hotspot network.
-
Network Configuration Verification: After entering the hotspot password and initiating the authentication process, the printer will proceed to verify the network configuration. This verification entails cross-referencing the entered authentication credentials with the specified hotspot network's security parameters, ensuring that the printer's connectivity settings align with the network's encryption and authentication standards.
-
Connection Stability Assessment: Upon successful authentication and network configuration verification, the printer will conduct a stability assessment of the established connection. This assessment involves evaluating the signal strength, data transmission reliability, and overall connectivity stability to ascertain the robustness of the printer's link with the hotspot network. A stable and consistent connection is fundamental to facilitating uninterrupted printing activities from your devices.
-
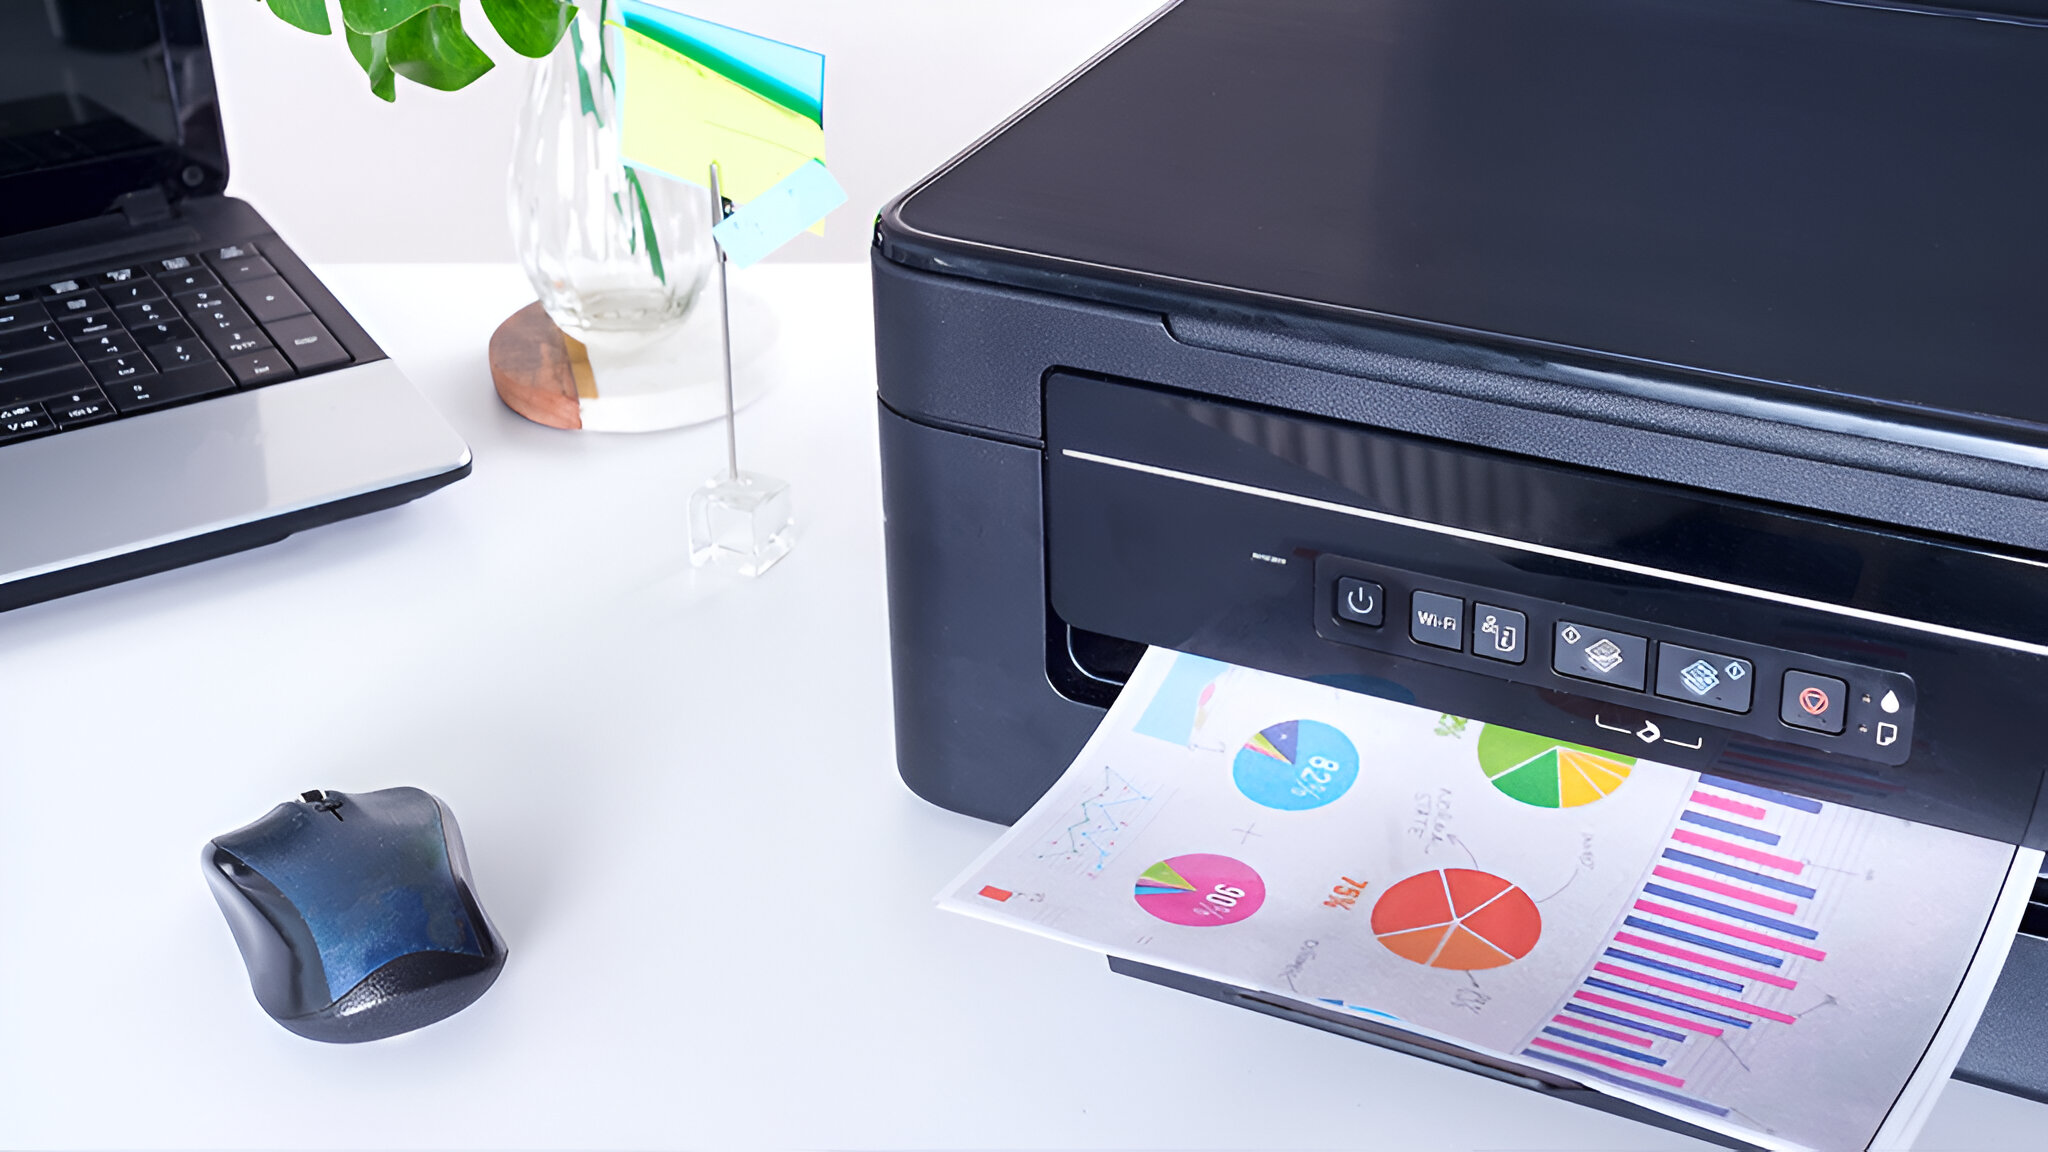
Print Test: To validate the seamless integration of the printer with the hotspot network, consider initiating a print test from a connected device. Select a document, image, or any printable content and send it to the printer to verify the successful transmission and printing process. The print test serves as a practical confirmation of the printer's readiness to fulfill printing tasks through the established hotspot connection.
-
Accessibility Confirmation: Verify the accessibility of the printer from various devices connected to the same hotspot network. Ensure that smartphones, tablets, laptops, or any compatible devices within the network's range can detect and communicate with the printer seamlessly. This confirmation underscores the inclusivity and versatility of the established hotspot connection, enabling diverse devices to leverage the printer's capabilities effectively.
-
User Interface Navigation: Familiarize yourself with the printer's user interface and navigation options related to wireless connectivity and printing settings. Understanding the interface's features empowers you to manage and optimize the printer's hotspot connection, including adjusting network preferences, monitoring connectivity status, and addressing any potential configuration adjustments in the future.
By meticulously completing the setup process and confirming the seamless integration of your printer with the designated hotspot network, you have established a robust and versatile printing environment that transcends traditional connectivity limitations. With the printer primed to deliver efficient and reliable printing experiences, you are now empowered to leverage the flexibility and convenience of hotspot-enabled printing, ensuring productivity and convenience regardless of your location.
Conclusion
In conclusion, the process of connecting your printer to a hotspot encompasses a series of deliberate and strategic steps aimed at establishing a seamless and reliable printing environment. By following the step-by-step guide outlined in this comprehensive walkthrough, you have gained the knowledge and confidence to navigate the intricacies of printer connectivity, transcending traditional Wi-Fi constraints and embracing the flexibility of hotspot-enabled printing.
The ability to connect your printer to a hotspot unlocks a world of printing possibilities, empowering you to seamlessly print from various devices regardless of your physical location. Whether you are working remotely, traveling, or simply seeking a versatile printing solution, the hotspot connectivity approach offers unparalleled convenience and adaptability in today's dynamic and mobile-centric landscape.
As you embark on your journey of hotspot-enabled printing, it is essential to approach the setup process with attentiveness and precision. From turning on the printer and accessing the settings to selecting the hotspot network and entering the authentication credentials, each step plays a pivotal role in establishing a robust and secure connection that facilitates efficient printing experiences.
Furthermore, the completion of the setup process marks the culmination of your efforts, solidifying the integration of your printer with the designated hotspot network. With the printer primed to deliver seamless and versatile printing capabilities, you are well-equipped to harness the power of hotspot connectivity, transcending traditional boundaries and embracing a future where printing knows no bounds.
In embracing the paradigm of hotspot-enabled printing, you have embraced a future where printing is not confined by traditional network limitations. Instead, you have unlocked a realm of possibilities where printing adapts to your dynamic lifestyle, ensuring productivity, efficiency, and convenience regardless of your location.
By leveraging the insights and guidance provided in this comprehensive guide, you are poised to embark on a seamless printing journey, empowered by the flexibility and adaptability of hotspot-enabled printing. As you navigate the ever-evolving landscape of modern work and mobility, the ability to print seamlessly from your devices remains an invaluable asset, and the hotspot connectivity approach ensures that this capability remains unhindered and readily accessible.
In essence, the journey of connecting your printer to a hotspot transcends mere technical setup; it embodies a paradigm shift towards a future where printing seamlessly aligns with your dynamic lifestyle, ensuring that productivity and convenience are never compromised. With the printer seamlessly integrated with the hotspot network, you are now poised to embark on a printing journey that knows no boundaries, embracing the freedom to print from any location and device with unparalleled ease and flexibility.