Introduction
Connecting your Canon printer to a hotspot can be a convenient solution, especially when you need to print from a device that isn't connected to a traditional Wi-Fi network. Whether you're working from a remote location, traveling, or simply prefer the flexibility of using a hotspot, this step-by-step guide will help you seamlessly link your Canon printer to a hotspot network. By following these instructions, you can enjoy the convenience of wireless printing without the need for a dedicated Wi-Fi connection.
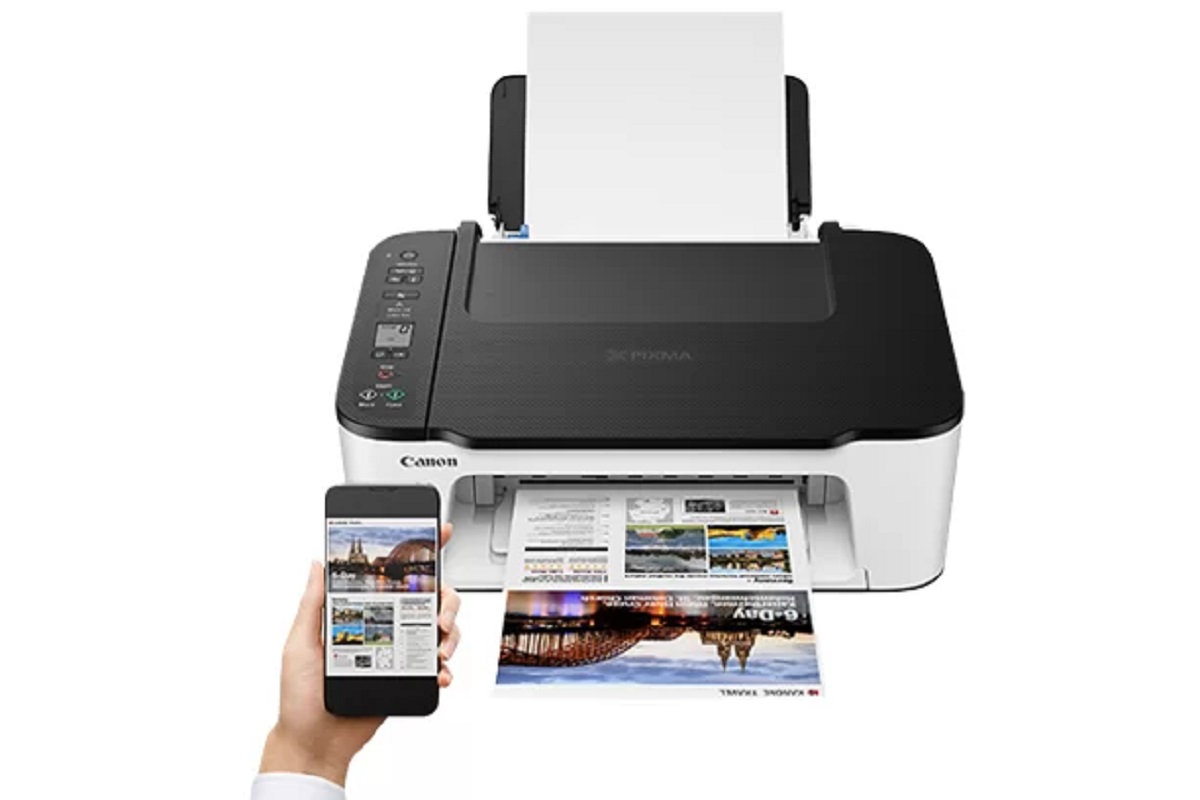
In the modern world, staying connected is crucial, and the ability to print documents from various devices is a necessity for many individuals and businesses. With the increasing reliance on mobile devices and the flexibility of working from different locations, the option to connect your Canon printer to a hotspot opens up a world of possibilities. Whether you're printing important documents, creative projects, or memorable photographs, having the ability to print wirelessly from anywhere can greatly enhance your productivity and convenience.
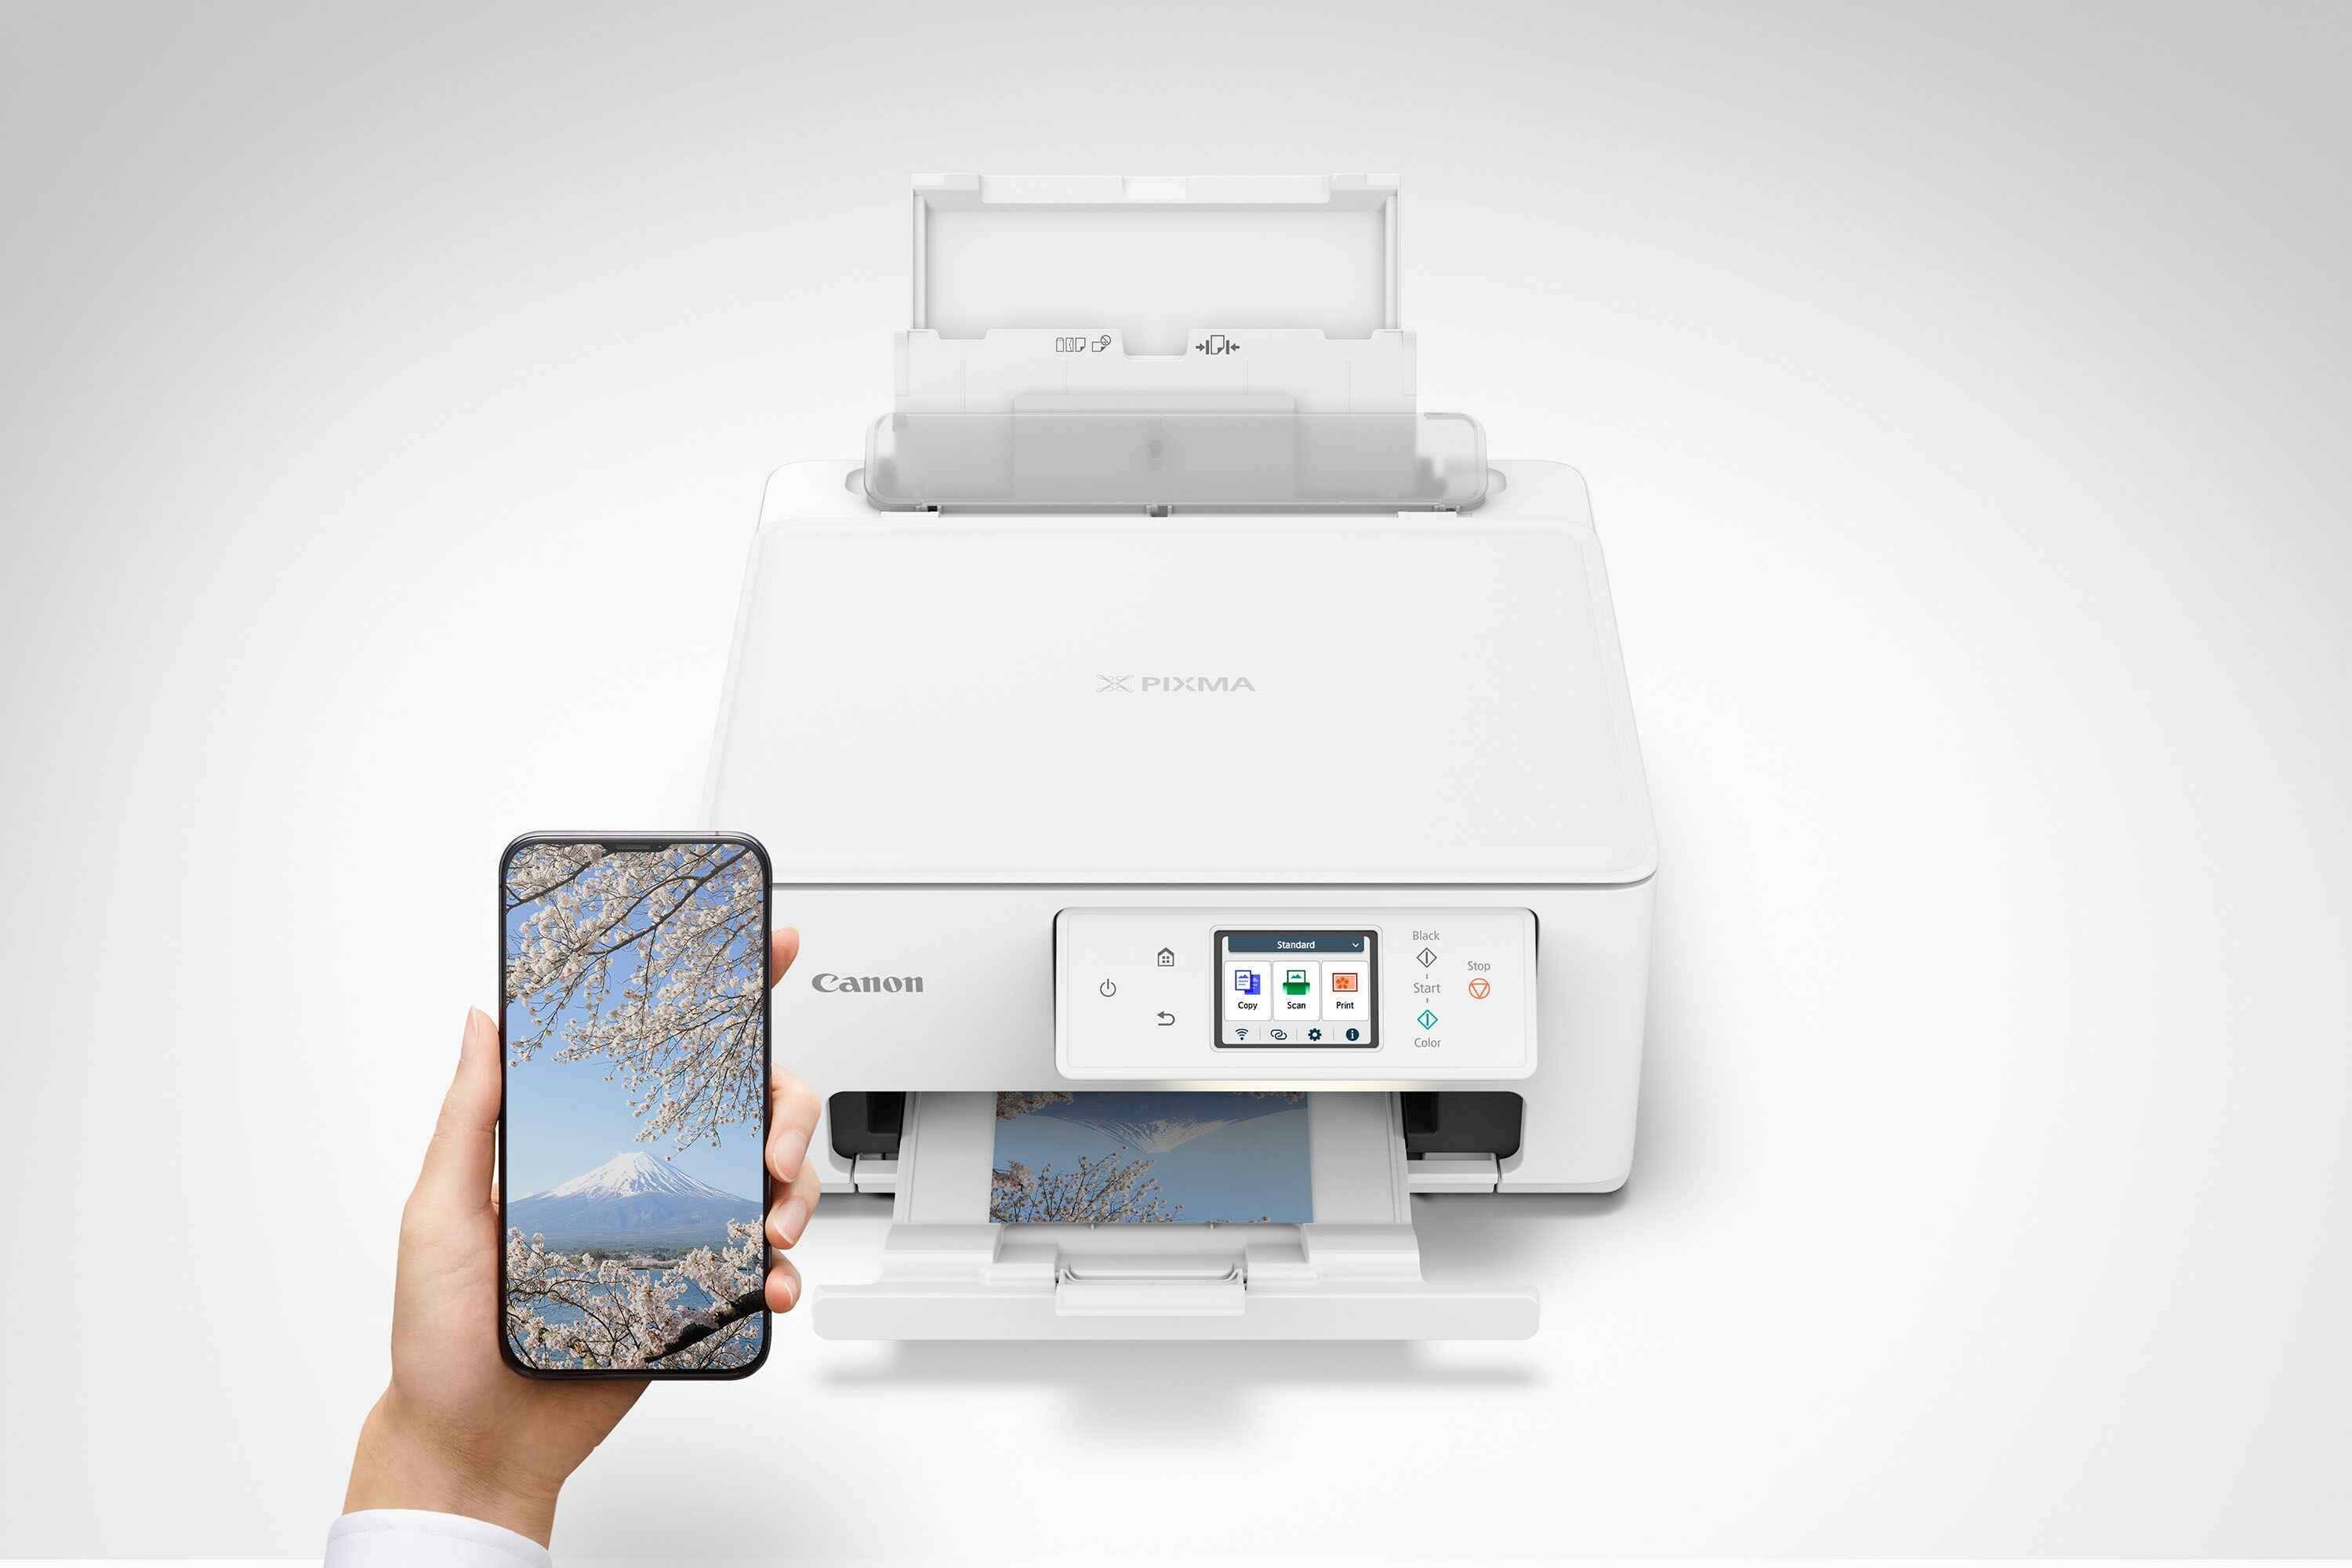
By understanding the step-by-step process of connecting your Canon printer to a hotspot, you can harness the full potential of your printer's wireless capabilities. This knowledge empowers you to print documents and images directly from your smartphone, tablet, or laptop, regardless of your physical location. With these instructions, you can effortlessly bridge the gap between your Canon printer and the hotspot network, unlocking a new level of printing freedom.
In the following sections, we'll delve into the specific steps required to connect your Canon printer to a hotspot, providing clear and concise instructions to ensure a seamless setup process. By following these steps, you can navigate the printer's settings, select the appropriate network, and enter the necessary credentials to establish a stable and reliable connection. Let's embark on this journey to seamlessly link your Canon printer to a hotspot network, granting you the freedom to print from virtually anywhere with ease.
Step 1: Turn on the Canon Printer
Before initiating the process of connecting your Canon printer to a hotspot, the first step is to ensure that the printer is powered on and ready to be configured. This fundamental step sets the stage for the subsequent actions required to establish a wireless connection with the hotspot network.
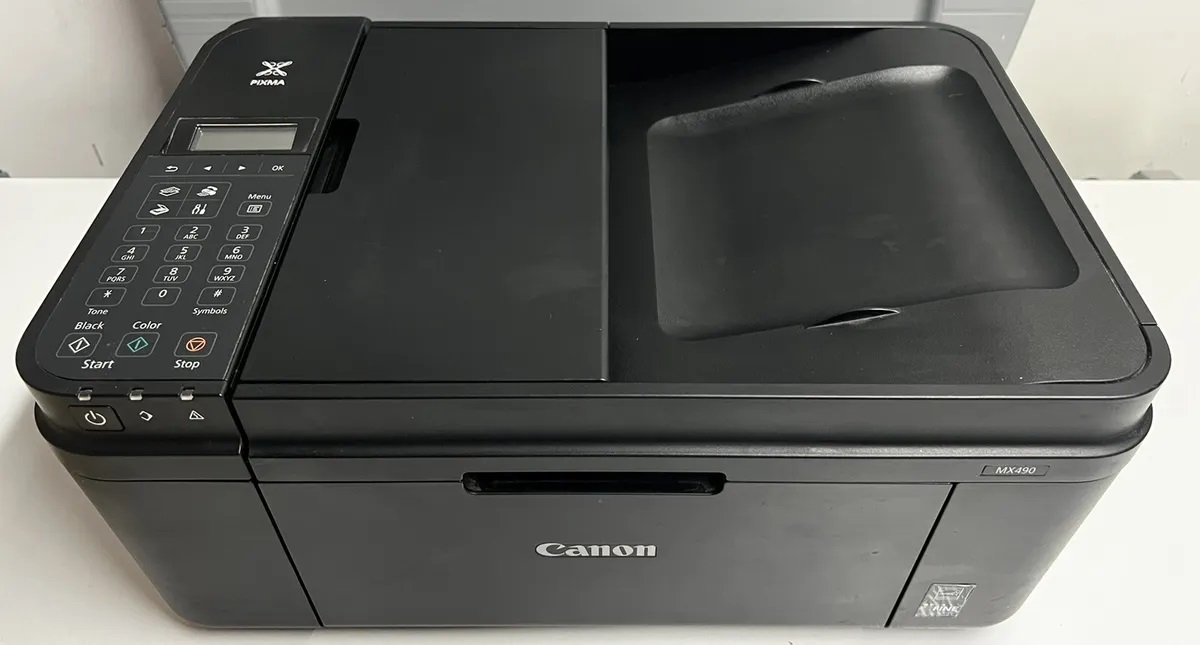
To begin, locate the power button on your Canon printer. Depending on the model, the power button may be clearly labeled and positioned on the control panel or the front panel of the printer. Once identified, press the power button to turn on the printer. As the printer initializes, you may observe indicator lights or a display screen illuminating, indicating that the device is powering up.
After initiating the power-up sequence, allow the printer a few moments to complete its startup process. During this time, the printer's internal components and wireless connectivity features are activated, preparing the device to detect and connect to available networks, including the hotspot you intend to link it with.
It's essential to ensure that the printer is adequately powered and ready for configuration before proceeding with the subsequent steps. This foundational step lays the groundwork for the seamless integration of your Canon printer with the hotspot network, enabling you to harness the full potential of wireless printing capabilities.
By following this initial step and confirming that your Canon printer is powered on, you are poised to progress through the subsequent stages of the setup process. With the printer in an active state, you can seamlessly navigate the printer's settings and establish a robust connection to the hotspot network, paving the way for convenient and hassle-free wireless printing from your various devices.
Ensuring that the Canon printer is powered on sets the stage for a successful setup process, aligning with your goal of connecting the printer to a hotspot and unlocking the freedom to print from virtually anywhere. With the printer now powered up and ready for configuration, you are prepared to delve into the next step of accessing the printer's settings to initiate the connection process.
Step 2: Access the Printer's Settings
After ensuring that your Canon printer is powered on, the next crucial step in connecting it to a hotspot is to access the printer's settings. This pivotal stage allows you to navigate the printer's control panel or interface to initiate the configuration process for establishing a wireless connection.
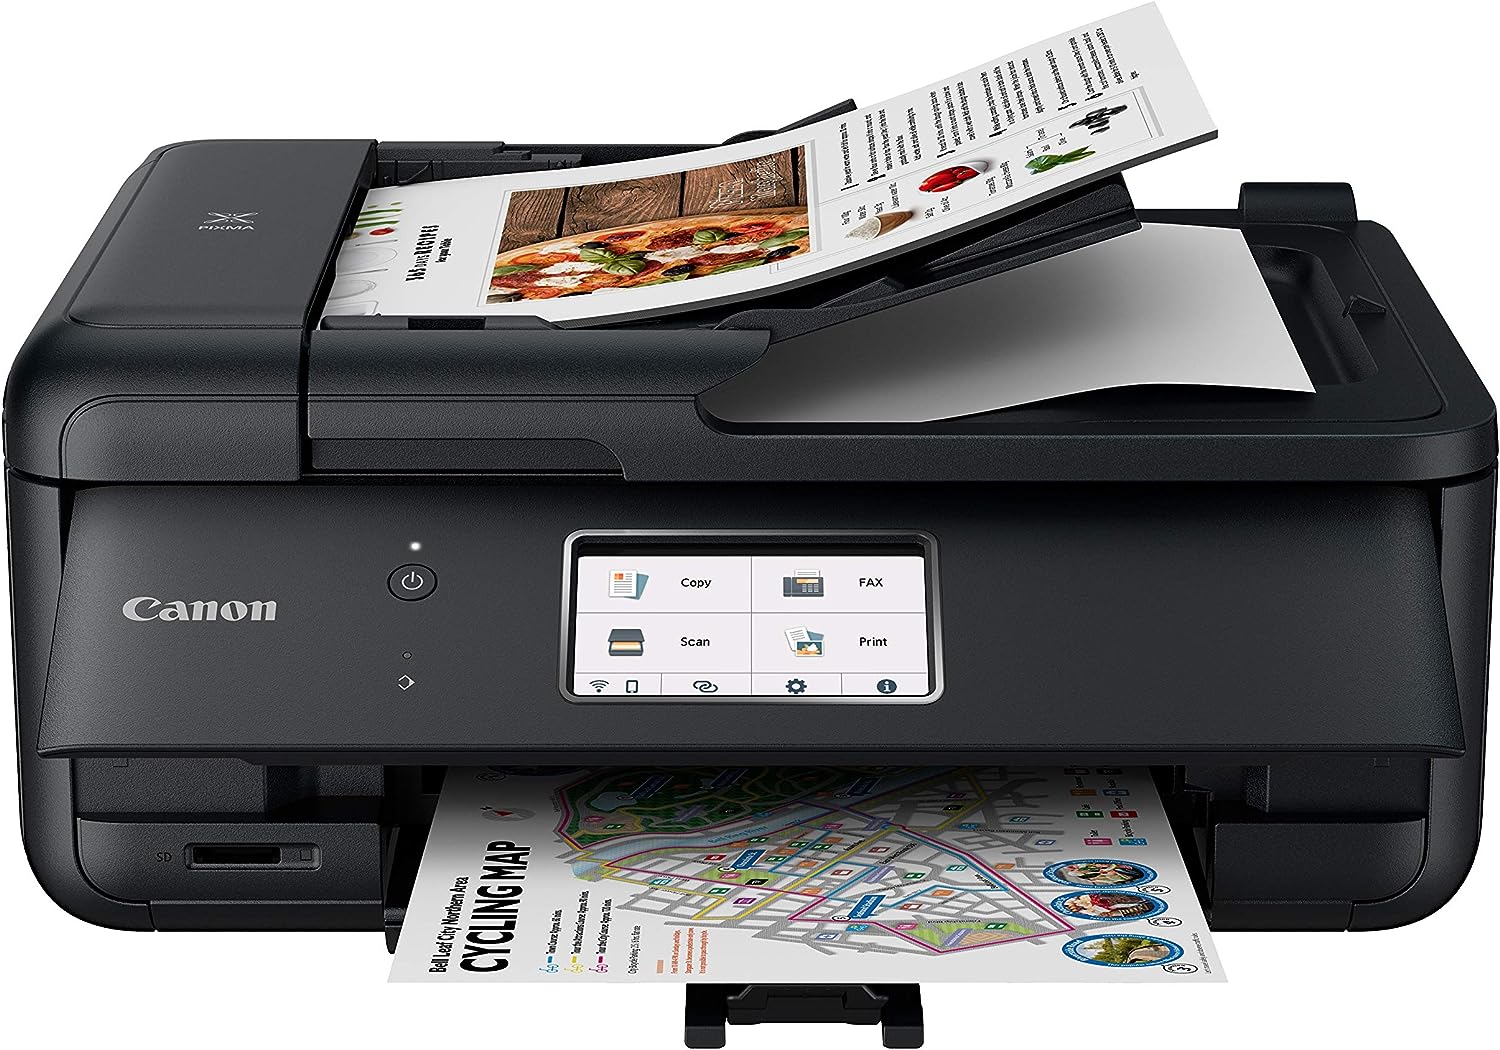
To access the printer's settings, begin by locating the control panel or display screen on your Canon printer. Depending on the model, the control panel may feature a touchscreen interface or physical buttons for navigation. Once you have identified the control panel, press the designated "Settings" or "Menu" button to access the printer's configuration options.
Upon accessing the settings menu, you will be presented with a range of configuration options that enable you to customize various aspects of the printer's functionality. Look for the "Wireless LAN Setup" or "Network Settings" option within the settings menu. This selection allows you to initiate the process of connecting the printer to a wireless network, including a hotspot.
Navigate to the "Wireless LAN Setup" or "Network Settings" option using the directional buttons or touchscreen interface on the control panel. Once you have selected the appropriate network setup option, the printer will begin scanning for available wireless networks, including the hotspot you intend to connect to.
As the printer scans for available networks, it will display a list of detected wireless networks on the control panel or screen. Look for the name of your hotspot network within the list of available networks. Once the hotspot network is identified, select it to proceed with the connection process.
Upon selecting the hotspot network, the printer will prompt you to enter the network password or authentication credentials. Use the control panel or touchscreen interface to input the password associated with the hotspot network. Ensure that the password is entered accurately to facilitate a successful connection.
After entering the hotspot password, the printer will begin the process of establishing a connection to the hotspot network. This may involve the printer communicating with the hotspot and verifying the provided credentials to ensure a secure and stable connection.
By accessing the printer's settings and navigating through the wireless network setup options, you have initiated the crucial steps required to connect your Canon printer to a hotspot. This process enables you to seamlessly configure the printer's wireless connectivity, paving the way for convenient and efficient printing from your various devices over the hotspot network.
With the printer's settings accessed and the wireless network setup initiated, you are now poised to progress to the subsequent steps of selecting the hotspot network and completing the connection process, bringing you closer to the seamless integration of your Canon printer with the hotspot network.
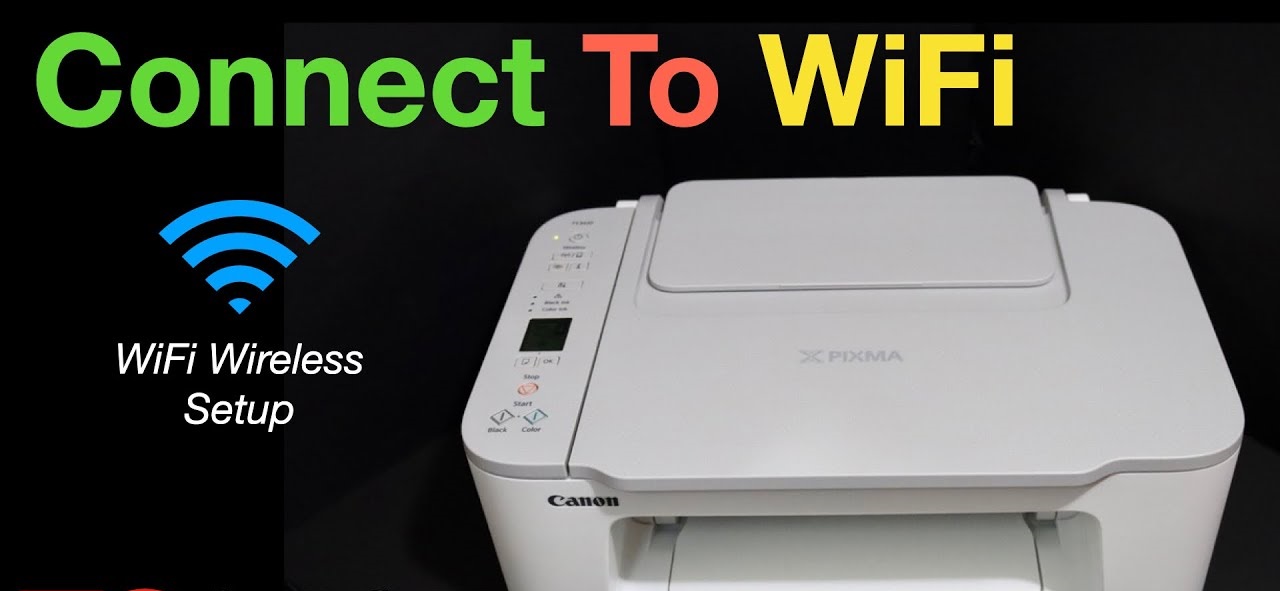
Step 3: Select Wi-Fi Setup
Once you have accessed the printer's settings and initiated the wireless network setup process, the next pivotal step is to select the Wi-Fi setup option. This crucial stage enables you to specifically designate the Wi-Fi network to which you intend to connect your Canon printer, facilitating the seamless integration of the printer with the hotspot network.
After accessing the printer's settings and navigating to the network setup menu, look for the "Wi-Fi Setup" or "Wireless LAN Setup" option within the available configuration choices. This specific selection allows you to pinpoint the wireless network to which you aim to link your printer, providing a tailored and precise approach to the connection process.
Upon selecting the "Wi-Fi Setup" option, the printer will display a list of available Wi-Fi networks, including the detected hotspot network. This intuitive interface allows you to identify and select the hotspot network from the list of available Wi-Fi options, streamlining the process of connecting your Canon printer to the designated hotspot.
Using the control panel or touchscreen interface, navigate through the displayed Wi-Fi networks until you locate the name of your hotspot network. Once identified, select the hotspot network to indicate your preference for connecting the printer to this specific Wi-Fi network, laying the foundation for the subsequent stages of the connection process.
By selecting the Wi-Fi setup option and pinpointing the hotspot network from the available list of Wi-Fi networks, you are actively steering the printer towards establishing a direct connection with the designated hotspot. This deliberate selection streamlines the connection process, ensuring that the printer's wireless capabilities are precisely aligned with the hotspot network, setting the stage for seamless and hassle-free printing.
With the Wi-Fi setup option selected and the hotspot network designated as the preferred wireless connection, you are now prepared to advance to the subsequent steps of entering the hotspot password and completing the connection process. This deliberate progression brings you closer to the successful integration of your Canon printer with the hotspot network, unlocking the freedom to print wirelessly from your various devices with ease and convenience.
This detailed selection process ensures that the Canon printer is primed to establish a robust and reliable connection with the hotspot network, setting the stage for a seamless and efficient wireless printing experience.
Step 4: Choose the Hotspot Network
After selecting the Wi-Fi setup option and pinpointing the hotspot network from the available list of Wi-Fi networks, the next crucial step is to choose the hotspot network to which you intend to connect your Canon printer. This pivotal stage empowers you to specifically designate the hotspot network as the preferred wireless connection for your printer, laying the foundation for the seamless integration of the printer with the hotspot network.
Upon accessing the list of available Wi-Fi networks on the printer's display, carefully scan through the displayed options to identify the name of your designated hotspot network. This attentive approach ensures that you accurately pinpoint the hotspot network from the available Wi-Fi choices, setting the stage for a precise and deliberate selection process.
Using the control panel or touchscreen interface, navigate through the displayed Wi-Fi networks until you locate the name of your hotspot network. Once identified, select the hotspot network to indicate your preference for connecting the printer to this specific Wi-Fi network, solidifying the connection process and aligning the printer's wireless capabilities with the designated hotspot.
By choosing the hotspot network as the preferred wireless connection for your Canon printer, you are actively steering the printer towards establishing a direct and purposeful connection with the designated hotspot. This deliberate selection ensures that the printer's wireless capabilities are precisely aligned with the hotspot network, setting the stage for seamless and hassle-free printing.
With the hotspot network chosen as the designated wireless connection for your Canon printer, you are now poised to advance to the subsequent steps of entering the hotspot password and completing the connection process. This deliberate progression brings you closer to the successful integration of your Canon printer with the hotspot network, unlocking the freedom to print wirelessly from your various devices with ease and convenience.
This meticulous selection process ensures that the Canon printer is primed to establish a robust and reliable connection with the hotspot network, setting the stage for a seamless and efficient wireless printing experience.
Step 5: Enter the Hotspot Password
Upon choosing the hotspot network as the preferred wireless connection for your Canon printer, the next pivotal step is to enter the password associated with the hotspot network. This critical stage facilitates the secure authentication and establishment of a stable connection between the printer and the designated hotspot, ensuring that the wireless printing capabilities are seamlessly integrated with the network.
Using the control panel or touchscreen interface on the printer, navigate to the designated password input field within the wireless network setup menu. This intuitive interface allows you to input the password associated with the hotspot network, enabling the printer to securely authenticate and establish a connection with the network.
Carefully enter the hotspot password using the alphanumeric keypad or touchscreen keyboard, ensuring precise input to accurately reflect the characters of the password. Attention to detail during this step is crucial, as accurately entering the hotspot password is essential for the successful authentication and establishment of a secure connection.
As you input the hotspot password, the printer will display the characters on the screen to provide visual confirmation of the entered password. This visual feedback allows you to verify the accuracy of the input and make any necessary adjustments to ensure that the password is entered correctly.
Upon completing the entry of the hotspot password, proceed to initiate the authentication and connection process. The printer will utilize the provided password to communicate with the hotspot network, verifying the credentials and establishing a secure and stable wireless connection.
By accurately entering the hotspot password, you are ensuring that the Canon printer can securely authenticate and integrate with the designated hotspot network, setting the stage for seamless wireless printing capabilities. This meticulous input process is fundamental to the successful establishment of a reliable connection, enabling you to harness the full potential of wireless printing from your various devices over the hotspot network.
With the hotspot password securely entered and the authentication process initiated, you are now poised to progress to the subsequent step of completing the connection process, bringing you closer to the seamless integration of your Canon printer with the hotspot network.
Step 6: Complete the Connection
After entering the hotspot password and initiating the authentication process, the final and pivotal step is to complete the connection between your Canon printer and the designated hotspot network. This culminating stage solidifies the integration of the printer's wireless capabilities with the hotspot, ensuring a seamless and reliable printing experience from your various devices.
Upon initiating the connection completion process, the printer will diligently communicate with the hotspot network, utilizing the provided password to establish a secure and stable wireless connection. This communication involves the exchange of authentication data and the verification of network compatibility, ensuring that the printer seamlessly integrates with the hotspot for efficient printing functionality.
As the printer finalizes the connection process, you may observe indicator lights or on-screen prompts that signify the successful establishment of the wireless connection with the hotspot network. These visual cues serve as confirmation that the printer has securely linked with the designated hotspot, paving the way for hassle-free printing from your smartphones, tablets, or laptops over the wireless network.
Once the connection is successfully completed, the Canon printer is ready to respond to print requests from your devices, leveraging the wireless connectivity established with the hotspot network. Whether you need to print documents, images, or creative projects, the seamless integration of the printer with the hotspot empowers you to conveniently and efficiently produce physical copies of your digital content.
With the connection process finalized, you now have the freedom to harness the full potential of wireless printing, transcending the limitations of traditional network connections. The successful integration of your Canon printer with the hotspot network unlocks a new realm of printing convenience, allowing you to unleash your productivity from virtually anywhere.
By following the step-by-step instructions and completing the connection process, you have seamlessly linked your Canon printer to the hotspot network, elevating your printing experience to a new level of flexibility and convenience. With the integration process concluded, you are now empowered to enjoy the freedom of wireless printing from your diverse range of devices, unencumbered by the constraints of traditional network setups.
In successfully completing the connection between your Canon printer and the hotspot network, you have unlocked a world of printing possibilities, ensuring that your printing needs are met with unparalleled convenience and efficiency.
Conclusion
In conclusion, the process of connecting your Canon printer to a hotspot network opens up a realm of possibilities, offering the freedom to print wirelessly from various devices without the constraints of traditional Wi-Fi connections. By diligently following the step-by-step instructions outlined in this guide, you have seamlessly integrated your Canon printer with the hotspot network, unlocking a new level of printing convenience and flexibility.
The journey began with the fundamental step of ensuring that the Canon printer was powered on, laying the groundwork for the subsequent configuration process. Accessing the printer's settings and navigating through the wireless network setup options allowed for precise customization, culminating in the deliberate selection of the hotspot network as the preferred wireless connection. The meticulous input of the hotspot password and the subsequent completion of the connection solidified the seamless integration of the printer with the hotspot network.
By successfully completing the connection process, you have empowered your Canon printer to respond to print requests from your devices, leveraging the established wireless connectivity with the hotspot network. This achievement transcends the limitations of traditional network connections, offering unparalleled printing convenience from virtually anywhere.
The seamless integration of your Canon printer with the hotspot network heralds a new era of printing freedom, enabling you to effortlessly produce physical copies of documents, images, and creative projects with unparalleled ease and efficiency. Whether you are working from a remote location, traveling, or simply seeking the flexibility of wireless printing, the connection to a hotspot network ensures that your printing needs are met with unparalleled convenience.
In essence, the successful connection of your Canon printer to a hotspot network signifies a significant milestone, underscoring your ability to adapt to modern printing demands and embrace the flexibility of wireless connectivity. With this accomplishment, you are well-equipped to navigate the dynamic landscape of printing technology, harnessing the full potential of wireless printing capabilities to enhance your productivity and convenience.
By embracing the seamless integration of your Canon printer with a hotspot network, you have unlocked a world of printing possibilities, ensuring that your printing needs are met with unparalleled convenience and efficiency.