Introduction
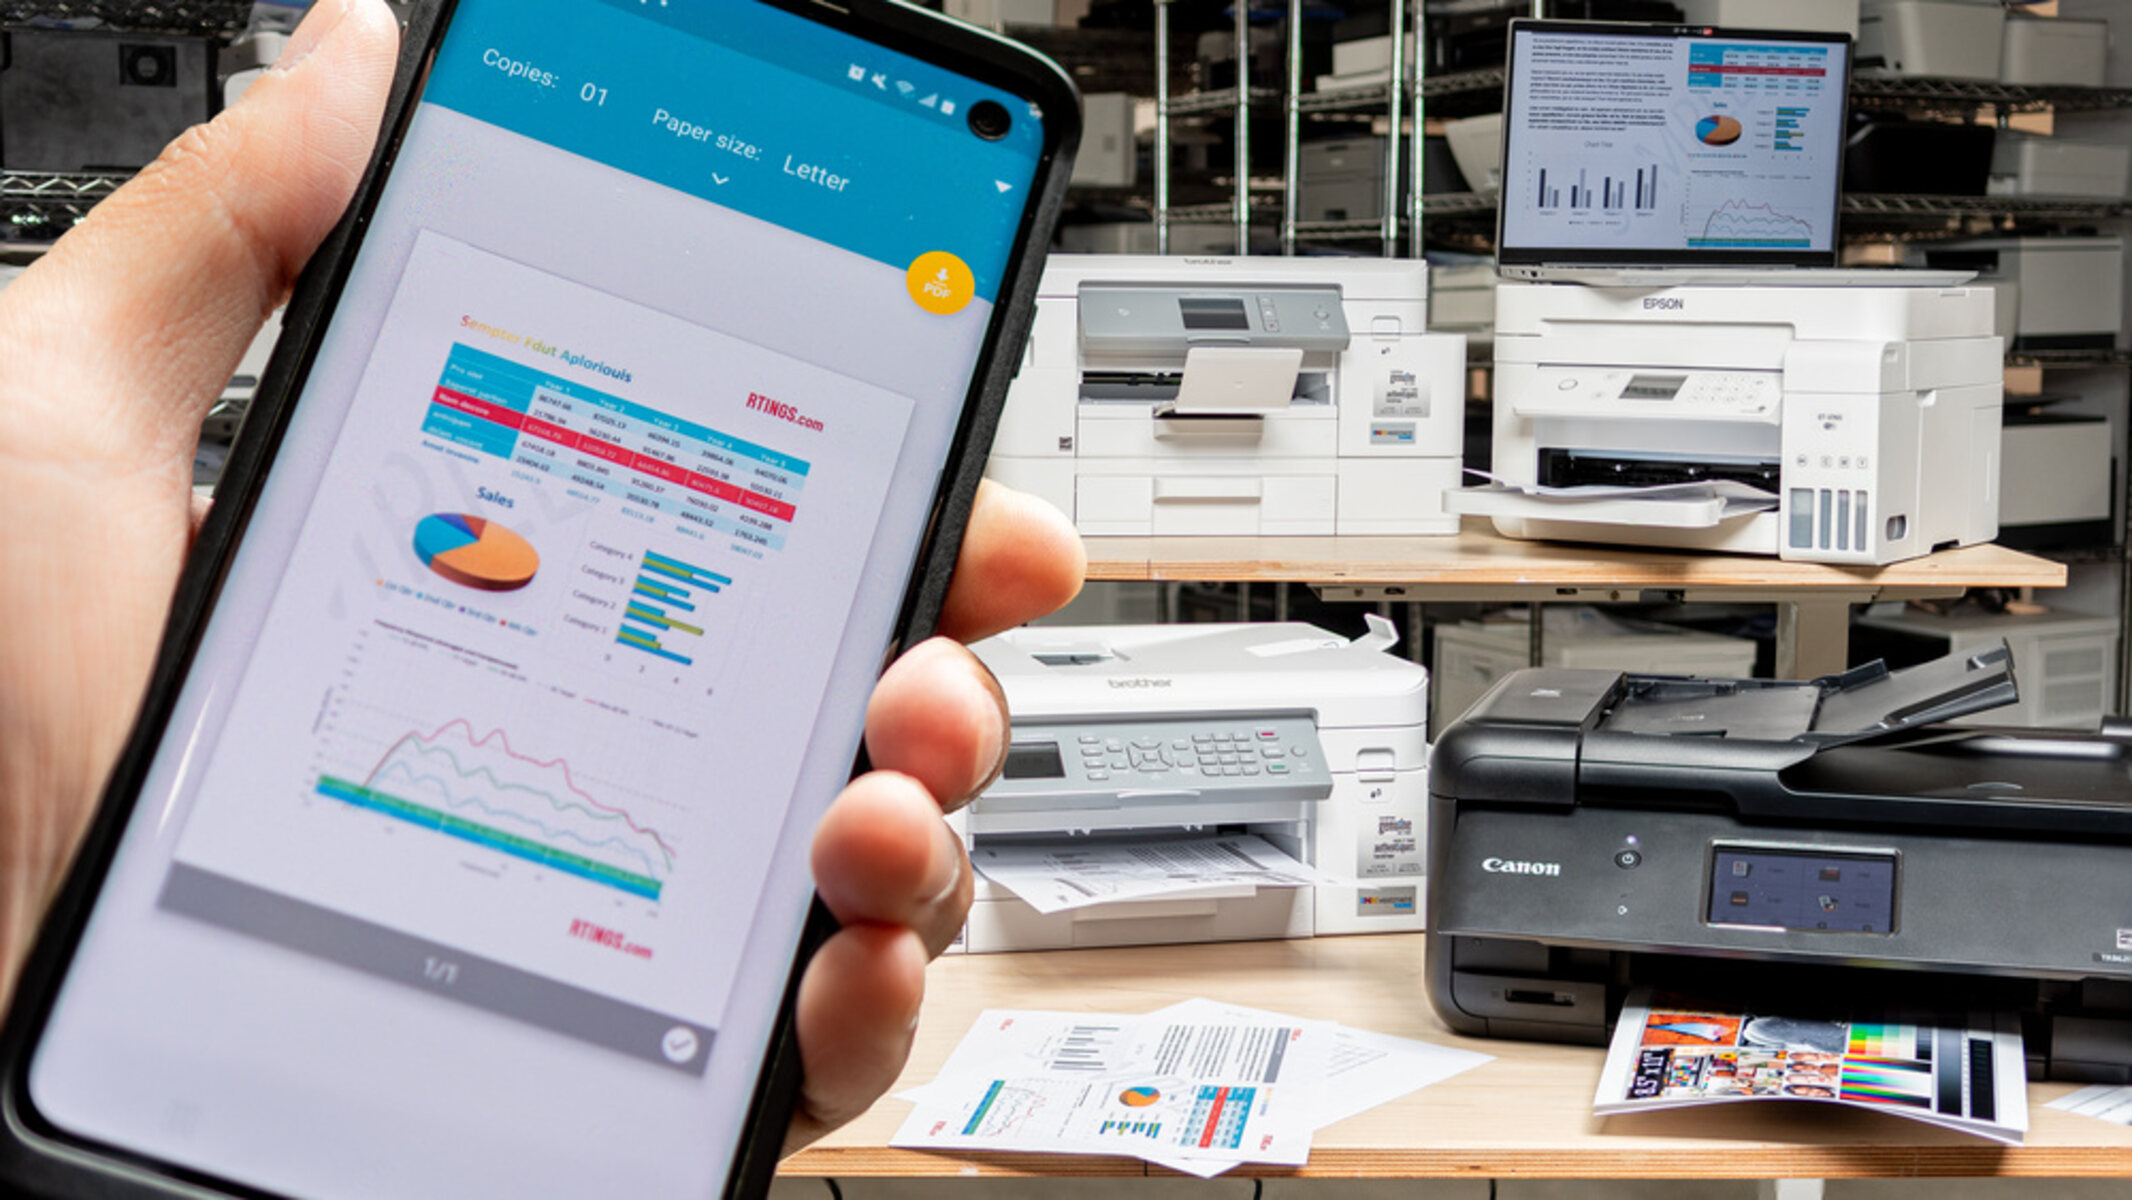
Welcome to the comprehensive guide on how to connect your Canon printer to Wi-Fi. Gone are the days of relying on cumbersome cables to print your documents or photos. With the convenience of wireless technology, you can now effortlessly connect your Canon printer to your Wi-Fi network and enjoy the freedom of wireless printing from any device in your home or office.
Setting up your Canon printer for wireless printing is a straightforward process that requires a few simple steps. In this guide, we will walk you through the entire process, from preparing for the setup to troubleshooting any connectivity issues you may encounter along the way.
Before diving into the step-by-step instructions, it’s important to mention that the specific steps may vary slightly depending on the model of your Canon printer. However, the general process remains the same, and this guide will provide you with the necessary information to connect your Canon printer to Wi-Fi successfully.
So, whether you have a Canon inkjet printer for your personal use or a Canon laser printer for your business needs, sit back, relax, and let us guide you through the process of connecting your Canon printer to Wi-Fi.
Without further ado, let’s jump right into the setup process and get your Canon printer hooked up to your Wi-Fi network!
Step 1: Prepare for the Setup
Before you begin the process of connecting your Canon printer to Wi-Fi, there are a few things you need to do to ensure a smooth and successful setup:
- Check your Wi-Fi network: Make sure that your Wi-Fi network is up and running. Ensure that you have the network name (SSID) and password handy. If you are not sure about the network details, you can usually find them on the back or bottom of your Wi-Fi router.
- Bring your printer in close proximity to the Wi-Fi router: To ensure a strong and stable Wi-Fi connection during the setup process, it is recommended to place your Canon printer close to the Wi-Fi router. This proximity will minimize any potential interference and help establish a reliable connection.
- Power up your Canon printer: Connect your Canon printer to a power source and turn it on. Allow the printer to go through its startup routine and ensure that it is in a ready state before proceeding with the setup.
- Have a USB cable available: Depending on the model of your Canon printer, you may need a USB cable to establish the initial connection between your printer and computer. Check the user manual or the Canon website to determine if your printer requires a USB cable for the setup process.
- Ensure your device is ready: Whether you are setting up your Canon printer on a Windows PC, a Mac, or a mobile device, make sure that the device is turned on, connected to the same Wi-Fi network you want to connect your printer to, and has the necessary drivers or software installed.
By taking the time to prepare for the setup, you will minimize any potential issues and ensure a smooth and hassle-free connection process. Once you have completed these preparations, you are ready to move on to the next step, which involves connecting your Canon printer to your Wi-Fi network.
Step 2: Connect the Printer to a Wi-Fi Network
Now that you have prepared for the setup, it’s time to connect your Canon printer to your Wi-Fi network. Follow these steps:
- Access the printer settings menu: On your Canon printer, locate the settings menu. The location of this menu may vary depending on the model of your printer. Typically, you can find it by navigating through the control panel or using the printer’s LCD screen.
- Select the Wi-Fi setup: Once you access the settings menu, look for the option to set up Wi-Fi or network settings. Select this option to enter the Wi-Fi setup.
- Choose the Wi-Fi network: From the available list of Wi-Fi networks, select your desired network. You may need to enter the network password if prompted. Ensure that you select the correct network name (SSID) from the list.
- Confirm the connection: After selecting the Wi-Fi network, your Canon printer will attempt to establish a connection. Wait for the printer to finish connecting to the network. This process may take a few moments.
- Print a network configuration page (optional): If you want to verify that the connection was successful, you can print a network configuration page from your Canon printer. Refer to your printer’s user manual or the Canon website for instructions on how to print this page.
Once you have completed these steps, your Canon printer is now successfully connected to your Wi-Fi network. Congratulations! You can now enjoy the convenience of wireless printing from any device connected to the same network.
Keep in mind that if you encounter any issues during the setup process, you can refer to the troubleshooting tips in the next section. Additionally, in some cases, you may need to install printer drivers or software on your computer or mobile device to ensure smooth communication between your device and the Canon printer.
Now that you have successfully connected your Canon printer to Wi-Fi, it’s time to move on to the next step, which involves running the printer setup utility.
Step 3: Run the Printer Setup Utility
After connecting your Canon printer to your Wi-Fi network, the next step is to run the printer setup utility. This utility helps in configuring your printer settings and ensuring proper communication between your device and the printer. Follow these steps:
- Access the printer setup utility: Depending on your device, the printer setup utility may have different names. On a Windows PC, you can typically find it in the “Devices and Printers” or “Printers & Scanners” section of the Control Panel. On a Mac, look for the “Print & Fax” or “Printers & Scanners” section in System Preferences.
- Locate your Canon printer: Once you are in the printer setup utility, look for your Canon printer in the list of available printers. If your printer is not listed, click on the “Add Printer” or “Add Device” button and follow the on-screen instructions to add your Canon printer to the list.
- Select your Canon printer: Click on your Canon printer in the list to select it. This will allow you to access its specific settings and configuration options.
- Configure printer settings: In the printer setup utility, you can configure various settings such as print quality, paper size, and duplex printing. Depending on the utility software, you may have additional options to explore. Take some time to customize the settings according to your preferences.
- Test the printer: Once you have configured the settings, it’s a good idea to print a test page to ensure that everything is working properly. This will also help you verify that the printer is communicating correctly with your device.
Running the printer setup utility is an essential step after connecting your Canon printer to Wi-Fi. It allows you to fine-tune the settings and ensure optimal performance and functionality. Take advantage of the available options to customize your printing experience according to your specific needs.
With the printer setup utility successfully completed, it’s time to move on to the next step, which involves adding your Canon printer to your device.
Step 4: Add Printer to Your Device
Now that you have run the printer setup utility, the next step is to add your Canon printer to your device. This will allow you to send print jobs directly from your device to the printer. Follow these steps to add your Canon printer:
- Access device settings: Depending on your device, you will need to access the settings or preferences menu. On a Windows PC, this can usually be done by going to the Control Panel or Settings. On a Mac, look for the System Preferences menu.
- Select printers & scanners: In the settings menu, look for the option related to printers or printers & scanners. Click on it to open the printers & scanners settings.
- Add a printer: In the printers & scanners settings, you will find an option to add a printer. Click on this option to initiate the printer search process.
- Choose your Canon printer: The device will now search for available printers on the network. Once your Canon printer is detected, select it from the list of available printers. If your printer is not listed, make sure it is powered on and connected to the same Wi-Fi network as your device.
- Install necessary drivers: Depending on your device, you may need to install additional drivers or software to ensure proper communication with your Canon printer. Follow the on-screen prompts to install any required software, if prompted.
- Print a test page: After adding your Canon printer to your device, it’s a good idea to print a test page to verify that everything is working correctly. This will ensure that your device is communicating effectively with the printer.
Adding your Canon printer to your device is a crucial step to enable seamless printing from your device. Take the time to ensure that the printer is successfully added and recognized by your device. This will allow you to conveniently send print jobs and enjoy the full functionality of your Canon printer.
With your Canon printer added to your device, it’s time to move on to the final step, which involves testing the connection and exploring troubleshooting tips.
Step 5: Test the Connection and Troubleshooting Tips
Once you have added your Canon printer to your device, it’s important to test the connection and be aware of some troubleshooting tips to overcome any connectivity issues. Follow these steps to test the connection and troubleshoot any potential problems:
- Print a test page: To ensure that the connection between your device and the Canon printer is working correctly, print a test page. This will help verify that the printer is receiving print jobs and producing output as expected.
- Check for firmware updates: Periodically check for firmware updates for your Canon printer. These updates can improve the printer’s functionality, performance, and compatibility with various devices. Visit the Canon website or use the printer’s software utility to check for available updates.
- Ensure network stability: If you experience connectivity issues, check the stability of your Wi-Fi network. Ensure that your device and the Canon printer are connected to the same network and that the network signal is strong. Consider rebooting the router or relocating the printer for improved signal reception.
- Verify the printer status: If print jobs are not being processed successfully, check the printer’s status. Ensure that there is enough paper in the tray, no paper jams, and that the ink or toner cartridges have sufficient levels. Clear any paper jams and replace any empty cartridges if necessary.
- Restart the devices: If you are experiencing connectivity issues, try restarting both your device and the Canon printer. This simple step can sometimes resolve temporary glitches and establish a stable connection.
- Reinstall printer drivers: If you are still encountering issues, try reinstalling the printer drivers on your device. Remove the existing printer from your device’s printer list and then reinstall it using the appropriate drivers from the Canon website or the installation disc that came with your printer.
By testing the connection and being aware of these troubleshooting tips, you can quickly identify and resolve any issues that may arise when using your Canon printer wirelessly. Remember to consult the printer’s user manual or visit the Canon website for additional troubleshooting guidance specific to your printer model.
Congratulations! You have successfully connected and configured your Canon printer to work wirelessly. Now you can enjoy the convenience of printing from any device connected to your Wi-Fi network without the need for cumbersome cables.
Conclusion
Connecting your Canon printer to Wi-Fi opens up a world of convenience and flexibility, allowing you to print wirelessly from any device connected to your network. In this guide, we have walked you through the step-by-step process of setting up your Canon printer for wireless printing.
We started by preparing for the setup, ensuring that all the necessary components and information are readily available. Then, we connected the printer to your Wi-Fi network, enabling it to communicate with your devices. Next, we ran the printer setup utility to configure the printer settings and options according to your preferences. After that, we added the printer to your device, allowing you to send print jobs directly from your device to the Canon printer. Finally, we tested the connection and provided troubleshooting tips to resolve any potential issues.
By following these steps, you have successfully established a wireless connection between your Canon printer and your devices. You can now enjoy the convenience of printing from anywhere within the range of your Wi-Fi network, without the hassle of cables or physical connections. Whether it’s printing important documents for work or capturing precious memories in the form of photos, your Canon printer is now ready to fulfill all your printing needs.
Remember to refer to your printer’s user manual or the Canon website for further instructions and guidance specific to your printer model. Regularly check for firmware updates to ensure that your printer is running the latest software version, and maintain a stable network connection for optimal performance.
Thank you for choosing Canon and investing your time in setting up your Canon printer for wireless printing. We hope this guide has been helpful in simplifying the process and ensuring a seamless printing experience. Happy wireless printing!