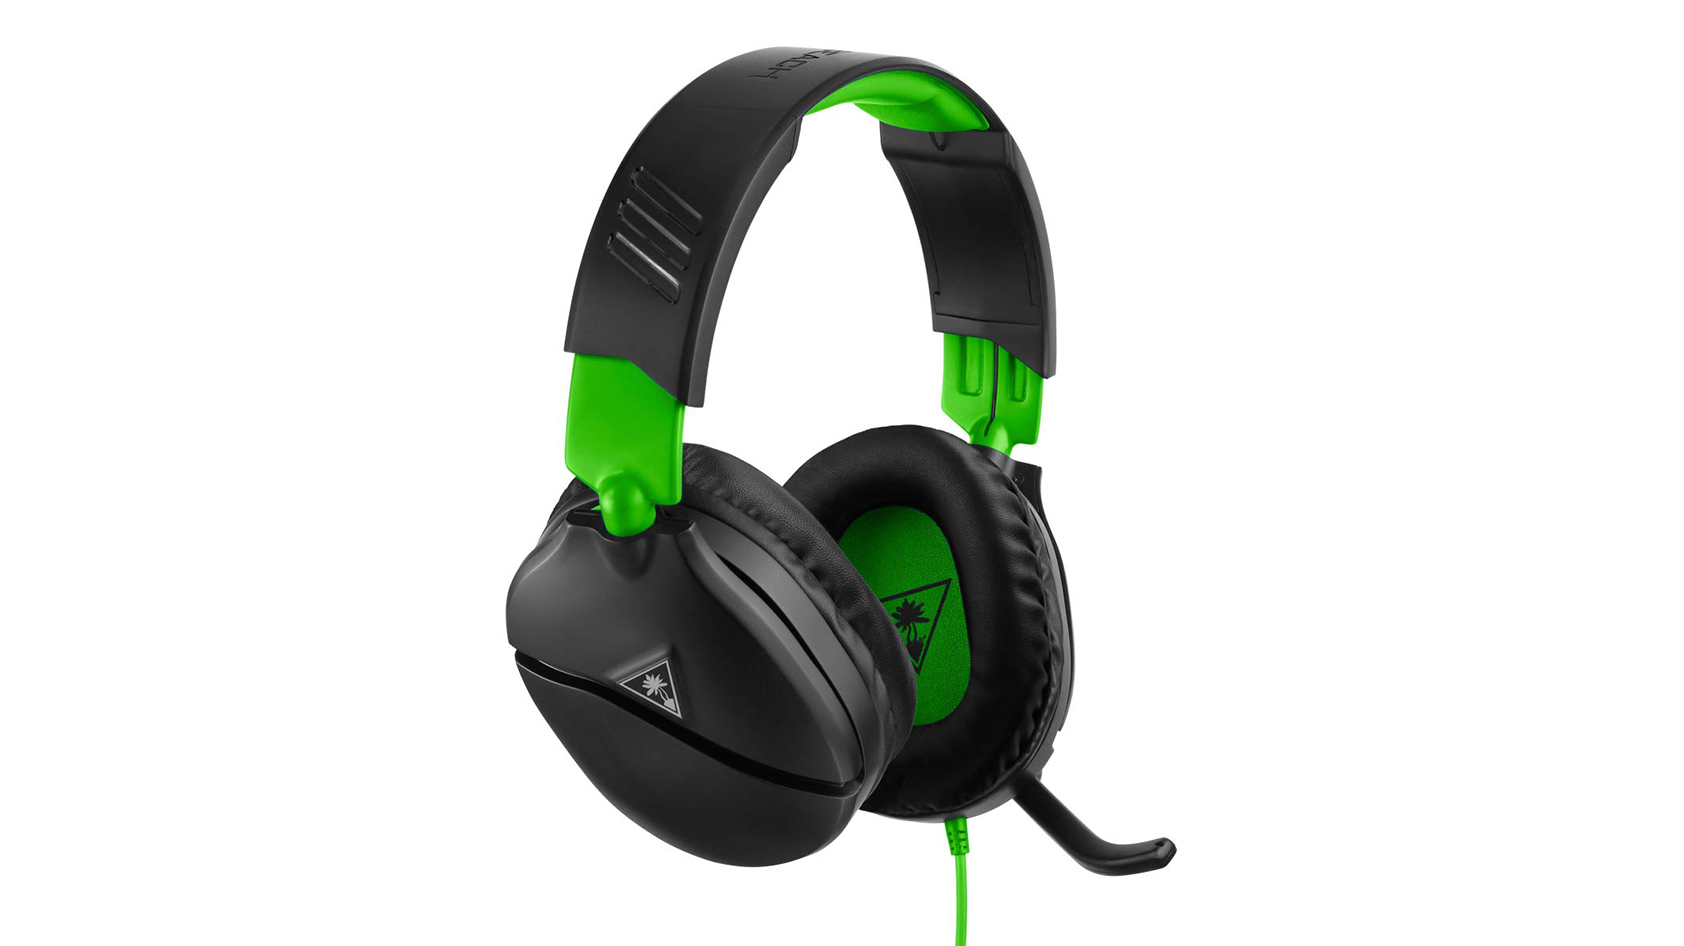
Checking the Physical Connection
When encountering mic issues with your Turtle Beach headset, the first step is to inspect the physical connection. Even the most advanced headsets can experience glitches due to loose or faulty connections. Here's how to ensure that the physical setup is in optimal condition:
-
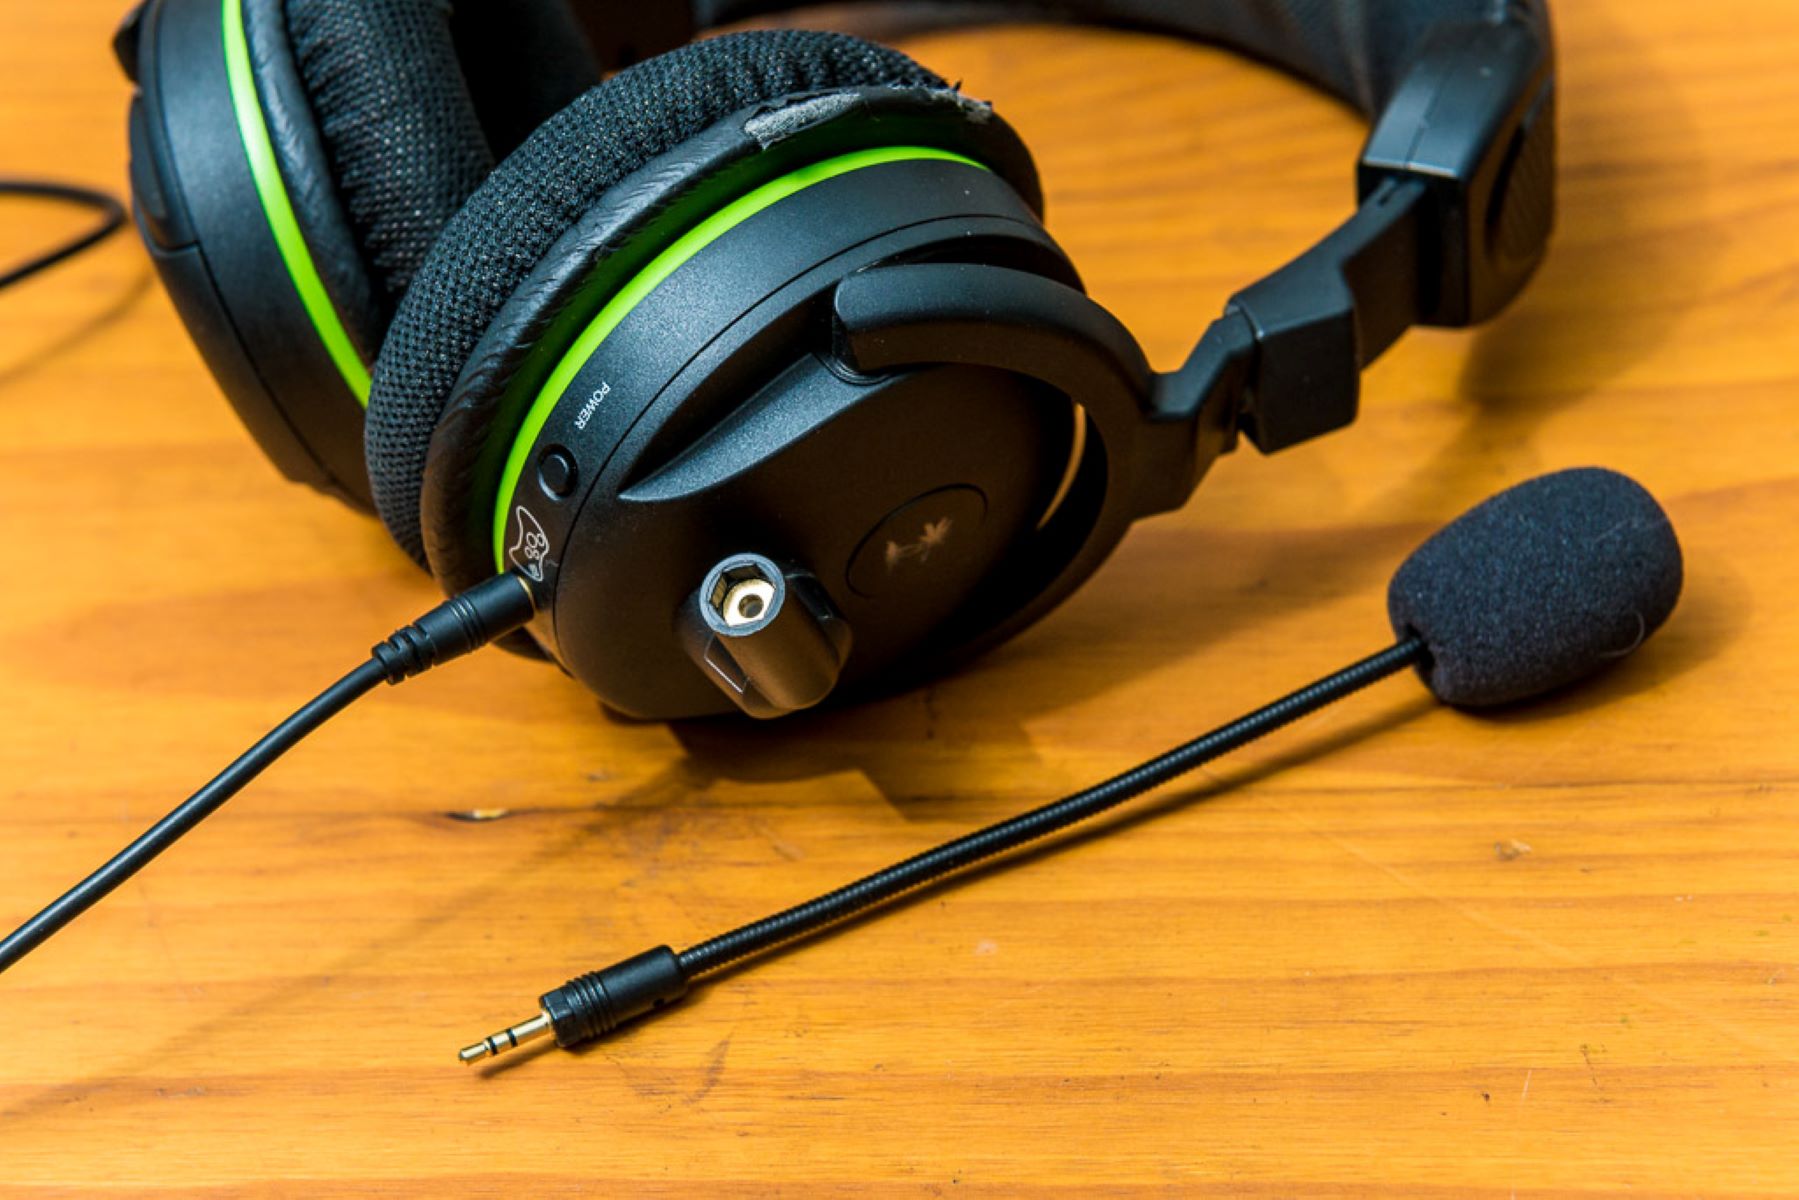
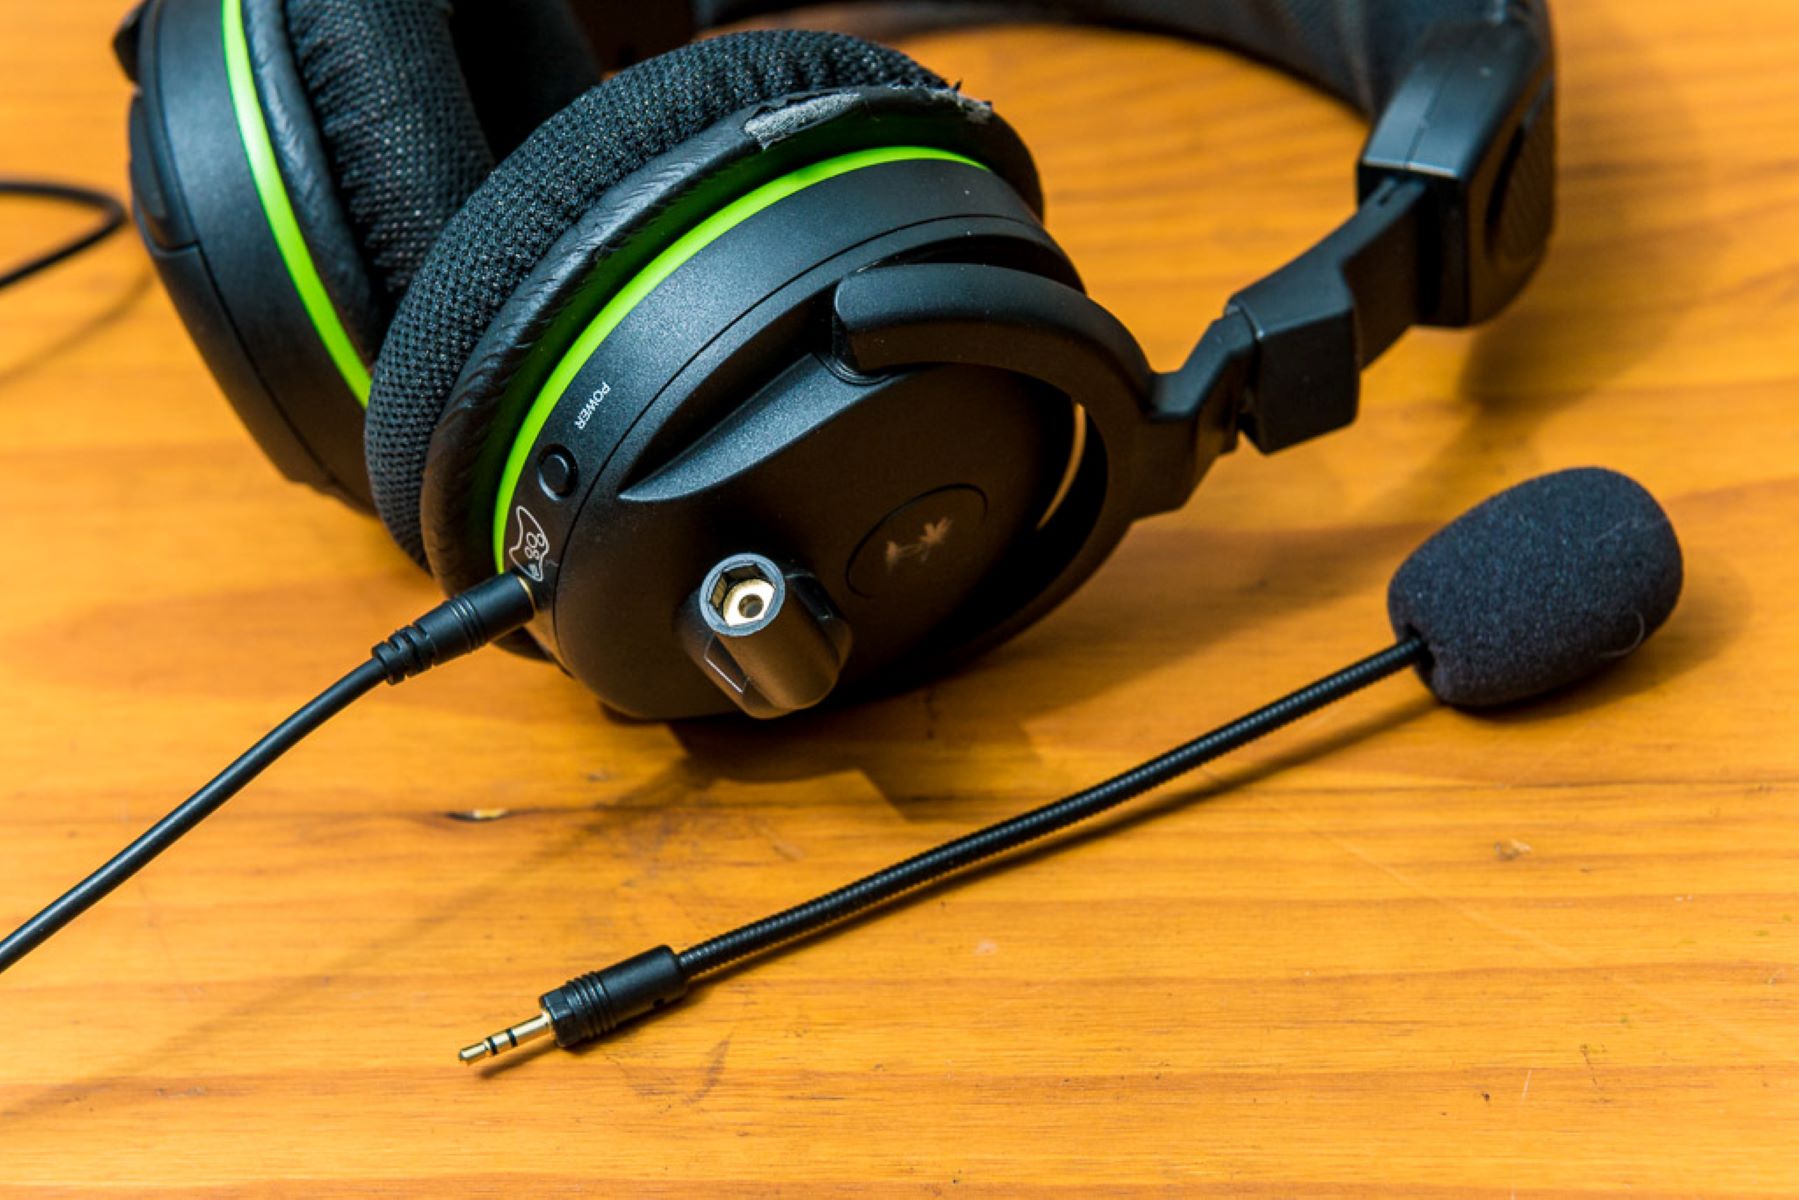
Inspect the Cable: Begin by examining the cable connecting the mic to the headset. Look for any signs of fraying, kinks, or damage along the length of the cable. If you notice any issues, it's essential to address them promptly. A damaged cable can significantly impact the mic's performance.
-
Secure the Connection: Ensure that the mic is securely plugged into the headset. Sometimes, the connection may appear to be intact, but it's not fully inserted. Gently unplug the mic and then firmly reinsert it into the headset, ensuring a snug fit.
-
Check the Connection Point: Examine the port where the mic plugs into the headset. Dust and debris can accumulate over time, leading to a poor connection. Use a can of compressed air to clean out any foreign particles that may be obstructing the connection.
-
Inspect the Headset Jack: If your Turtle Beach headset utilizes a detachable mic, examine the jack where it connects to the headset. Ensure that there are no obstructions or damage to the jack that could impede the connection.
By meticulously examining the physical connection of your Turtle Beach headset, you can troubleshoot and potentially resolve mic issues stemming from faulty or loose connections. Once you've completed this step, you can proceed to the next troubleshooting measures to further address any remaining mic issues.
Remember, a thorough inspection of the physical connection can often unveil the underlying cause of mic problems, allowing you to take the necessary steps to rectify the issue and resume enjoying crystal-clear communication through your headset.
Adjusting the Mic Settings on Your Device
When troubleshooting mic issues with your Turtle Beach headset, adjusting the mic settings on your device can play a pivotal role in resolving the issue. Whether you're using a gaming console, PC, or mobile device, optimizing the mic settings can significantly enhance the performance of your headset's microphone. Here's a comprehensive guide on adjusting the mic settings to ensure optimal functionality:
1. Accessing Device Settings
Gaming Consoles:
- PlayStation: Navigate to the "Settings" menu and select "Devices," then "Audio Devices" to access mic settings.
- Xbox: Press the Xbox button to open the guide, then navigate to "Profile & system" > "Settings" > "Devices & connections" > "Accessories" to adjust mic settings.
PC:
- Windows: Right-click the volume icon on the taskbar, select "Open Sound settings," and then click on "Sound control panel" to access mic settings.
- Mac: Go to "System Preferences," select "Sound," and then navigate to the "Input" tab to adjust mic settings.
Mobile Devices:
- On both iOS and Android, access the device's "Settings" menu, then navigate to "Sound" or "Audio" settings to adjust mic preferences.
2. Mic Sensitivity and Volume
Gaming Consoles:
- Fine-tune mic sensitivity and volume levels to ensure clear and balanced audio input during gaming sessions.
PC:
- Adjust mic sensitivity and volume through the system's sound settings, ensuring that the levels are optimized for clear voice capture.
Mobile Devices:
- Access the mic sensitivity and volume settings to customize the input levels based on your preferences and the specific requirements of the apps or games you're using.
3. Noise Cancellation and Filters
Gaming Consoles:
- Some consoles offer noise cancellation features that can be adjusted to minimize background noise and enhance voice clarity.
PC:
- Explore third-party software or in-built settings to apply noise cancellation and filters to the mic input, reducing unwanted background noise.
Mobile Devices:
- Utilize apps or device settings that offer noise cancellation and filtering options to improve the quality of mic input during calls or gaming.
4. Testing and Feedback Loop
Gaming Consoles, PC, and Mobile Devices:
- After adjusting mic settings, engage in test recordings or utilize built-in feedback tools to monitor the impact of the changes and make further adjustments if necessary.
By navigating through the device settings and customizing the mic preferences to align with your specific usage scenarios, you can effectively address mic issues and optimize the performance of your Turtle Beach headset. Fine-tuning mic sensitivity, adjusting volume levels, applying noise cancellation, and actively testing the adjustments will contribute to a more seamless and immersive audio experience, whether you're gaming, engaging in virtual meetings, or communicating with friends and teammates.
Updating the Headset Firmware
Ensuring that your Turtle Beach headset is running the latest firmware is crucial for maintaining optimal performance, including the functionality of the microphone. Firmware updates often include enhancements, bug fixes, and compatibility improvements that can directly impact the headset's mic performance. Here's a detailed guide on updating the firmware of your Turtle Beach headset to address mic issues and unlock the full potential of your audio device.
1. Checking for Updates
Start by visiting the official Turtle Beach website or accessing the Turtle Beach Audio Hub app, depending on the compatibility of your headset model. Look for the section dedicated to firmware updates or software downloads. Verify if there are any available updates specifically targeting the headset's firmware. If updates are available, proceed to download the latest firmware version following the provided instructions.
2. Installing the Update
Once the firmware update file is downloaded, carefully follow the provided instructions to install the update onto your Turtle Beach headset. This process typically involves connecting the headset to your computer or gaming console via USB and using the designated software to initiate the update. Ensure that the headset remains powered throughout the update process and refrain from interrupting the installation to prevent any potential firmware corruption.
3. Verifying the Update
After completing the firmware update, verify that the installation was successful. This can be done by accessing the headset's settings or the Turtle Beach Audio Hub app to confirm the updated firmware version. Additionally, test the microphone to assess if the firmware update has positively impacted its performance. Look for any noticeable improvements in mic clarity, volume, and overall functionality.
4. Troubleshooting Persisting Issues
If updating the headset firmware does not fully resolve the mic issues, consider reaching out to Turtle Beach's customer support for further assistance. They can provide additional troubleshooting steps, guidance on potential workarounds, or offer insights into any known issues that may be affecting the headset's microphone performance.
By proactively updating the firmware of your Turtle Beach headset, you can harness the latest improvements and optimizations, potentially addressing mic-related challenges and elevating your overall audio experience. Staying vigilant about firmware updates ensures that your headset remains equipped with the latest features and enhancements, bolstering its performance and longevity.
Testing the Mic on Another Device
When troubleshooting mic issues with your Turtle Beach headset, conducting a comprehensive test by connecting it to another compatible device can provide valuable insights into the root cause of the problem. This proactive approach enables you to isolate potential issues related to the original device, software settings, or the headset itself. Here's a detailed exploration of the process of testing the mic on another device to effectively diagnose and address any persisting mic issues.
1. Selecting a Compatible Device
Choose a secondary device that is compatible with your Turtle Beach headset. This can include another gaming console, PC, laptop, or mobile device that supports the headset's connectivity. Ensuring compatibility is essential to accurately assess the performance of the mic across different platforms and configurations.
2. Connecting the Headset
Using the appropriate cables or wireless connectivity methods, connect your Turtle Beach headset to the selected device. Ensure that the connection is secure and that the headset is recognized by the secondary device. Once connected, proceed to configure the audio and mic settings on the secondary device to enable the use of the headset.
3. Mic Testing Methods
Utilize various mic testing methods on the secondary device to evaluate the performance of the Turtle Beach headset's microphone. This can involve engaging in voice chats, recording audio, or using built-in mic testing tools provided by the device's operating system or relevant applications.
4. Assessing Mic Functionality
Engage in real-time conversations, record voice messages, or participate in gaming sessions on the secondary device while actively monitoring the performance of the mic. Pay close attention to the clarity, volume, and consistency of the mic input, assessing whether any issues experienced on the original device persist or are alleviated.
5. Comparing Results
Compare the results of the mic testing on the secondary device with the performance observed on the original device. Note any discrepancies, improvements, or consistent issues encountered during the testing process. This comparative analysis can offer valuable insights into whether the mic issues are device-specific or stem from the Turtle Beach headset itself.
By meticulously testing the Turtle Beach headset's mic on another compatible device, you can effectively narrow down the potential causes of mic issues, allowing for targeted troubleshooting and resolution. This methodical approach empowers you to make informed decisions regarding the next steps in addressing any persisting mic challenges, ensuring that you can fully leverage the capabilities of your Turtle Beach headset for immersive audio experiences.


