Introduction
Setting up your headset mic for seamless integration with Streamlabs can significantly enhance your streaming experience. Whether you're a seasoned content creator or just starting out, ensuring that your audio setup is optimized is crucial for engaging with your audience and delivering high-quality streams. By following a few simple steps, you can leverage the full potential of your headset mic within the Streamlabs platform.
A clear and crisp audio feed is essential for maintaining viewer engagement and professionalism during your streams. With the right configuration, you can ensure that your voice comes through loud and clear, eliminating distractions and background noise. This not only enhances the overall quality of your content but also fosters a more immersive and enjoyable experience for your audience.
In this guide, we will walk you through the process of connecting your headset mic to your computer, configuring your audio settings in Streamlabs, and testing your setup to ensure everything is working seamlessly. By the end of this tutorial, you will have the knowledge and confidence to optimize your headset mic for use with Streamlabs, allowing you to focus on creating captivating content without worrying about technical audio issues.
So, whether you're looking to level up your streaming game or simply want to ensure that your audio setup is on point, this guide will equip you with the necessary know-how to make the most of your headset mic within the Streamlabs environment. Let's dive in and get your audio setup ready to deliver top-notch performance for your next stream!
Step 1: Connecting Your Headset Mic to Your Computer
Connecting your headset mic to your computer is the first crucial step in optimizing your audio setup for streaming with Streamlabs. This process involves ensuring that your headset mic is properly recognized by your computer and establishing a stable connection to facilitate seamless communication with the Streamlabs software.
-
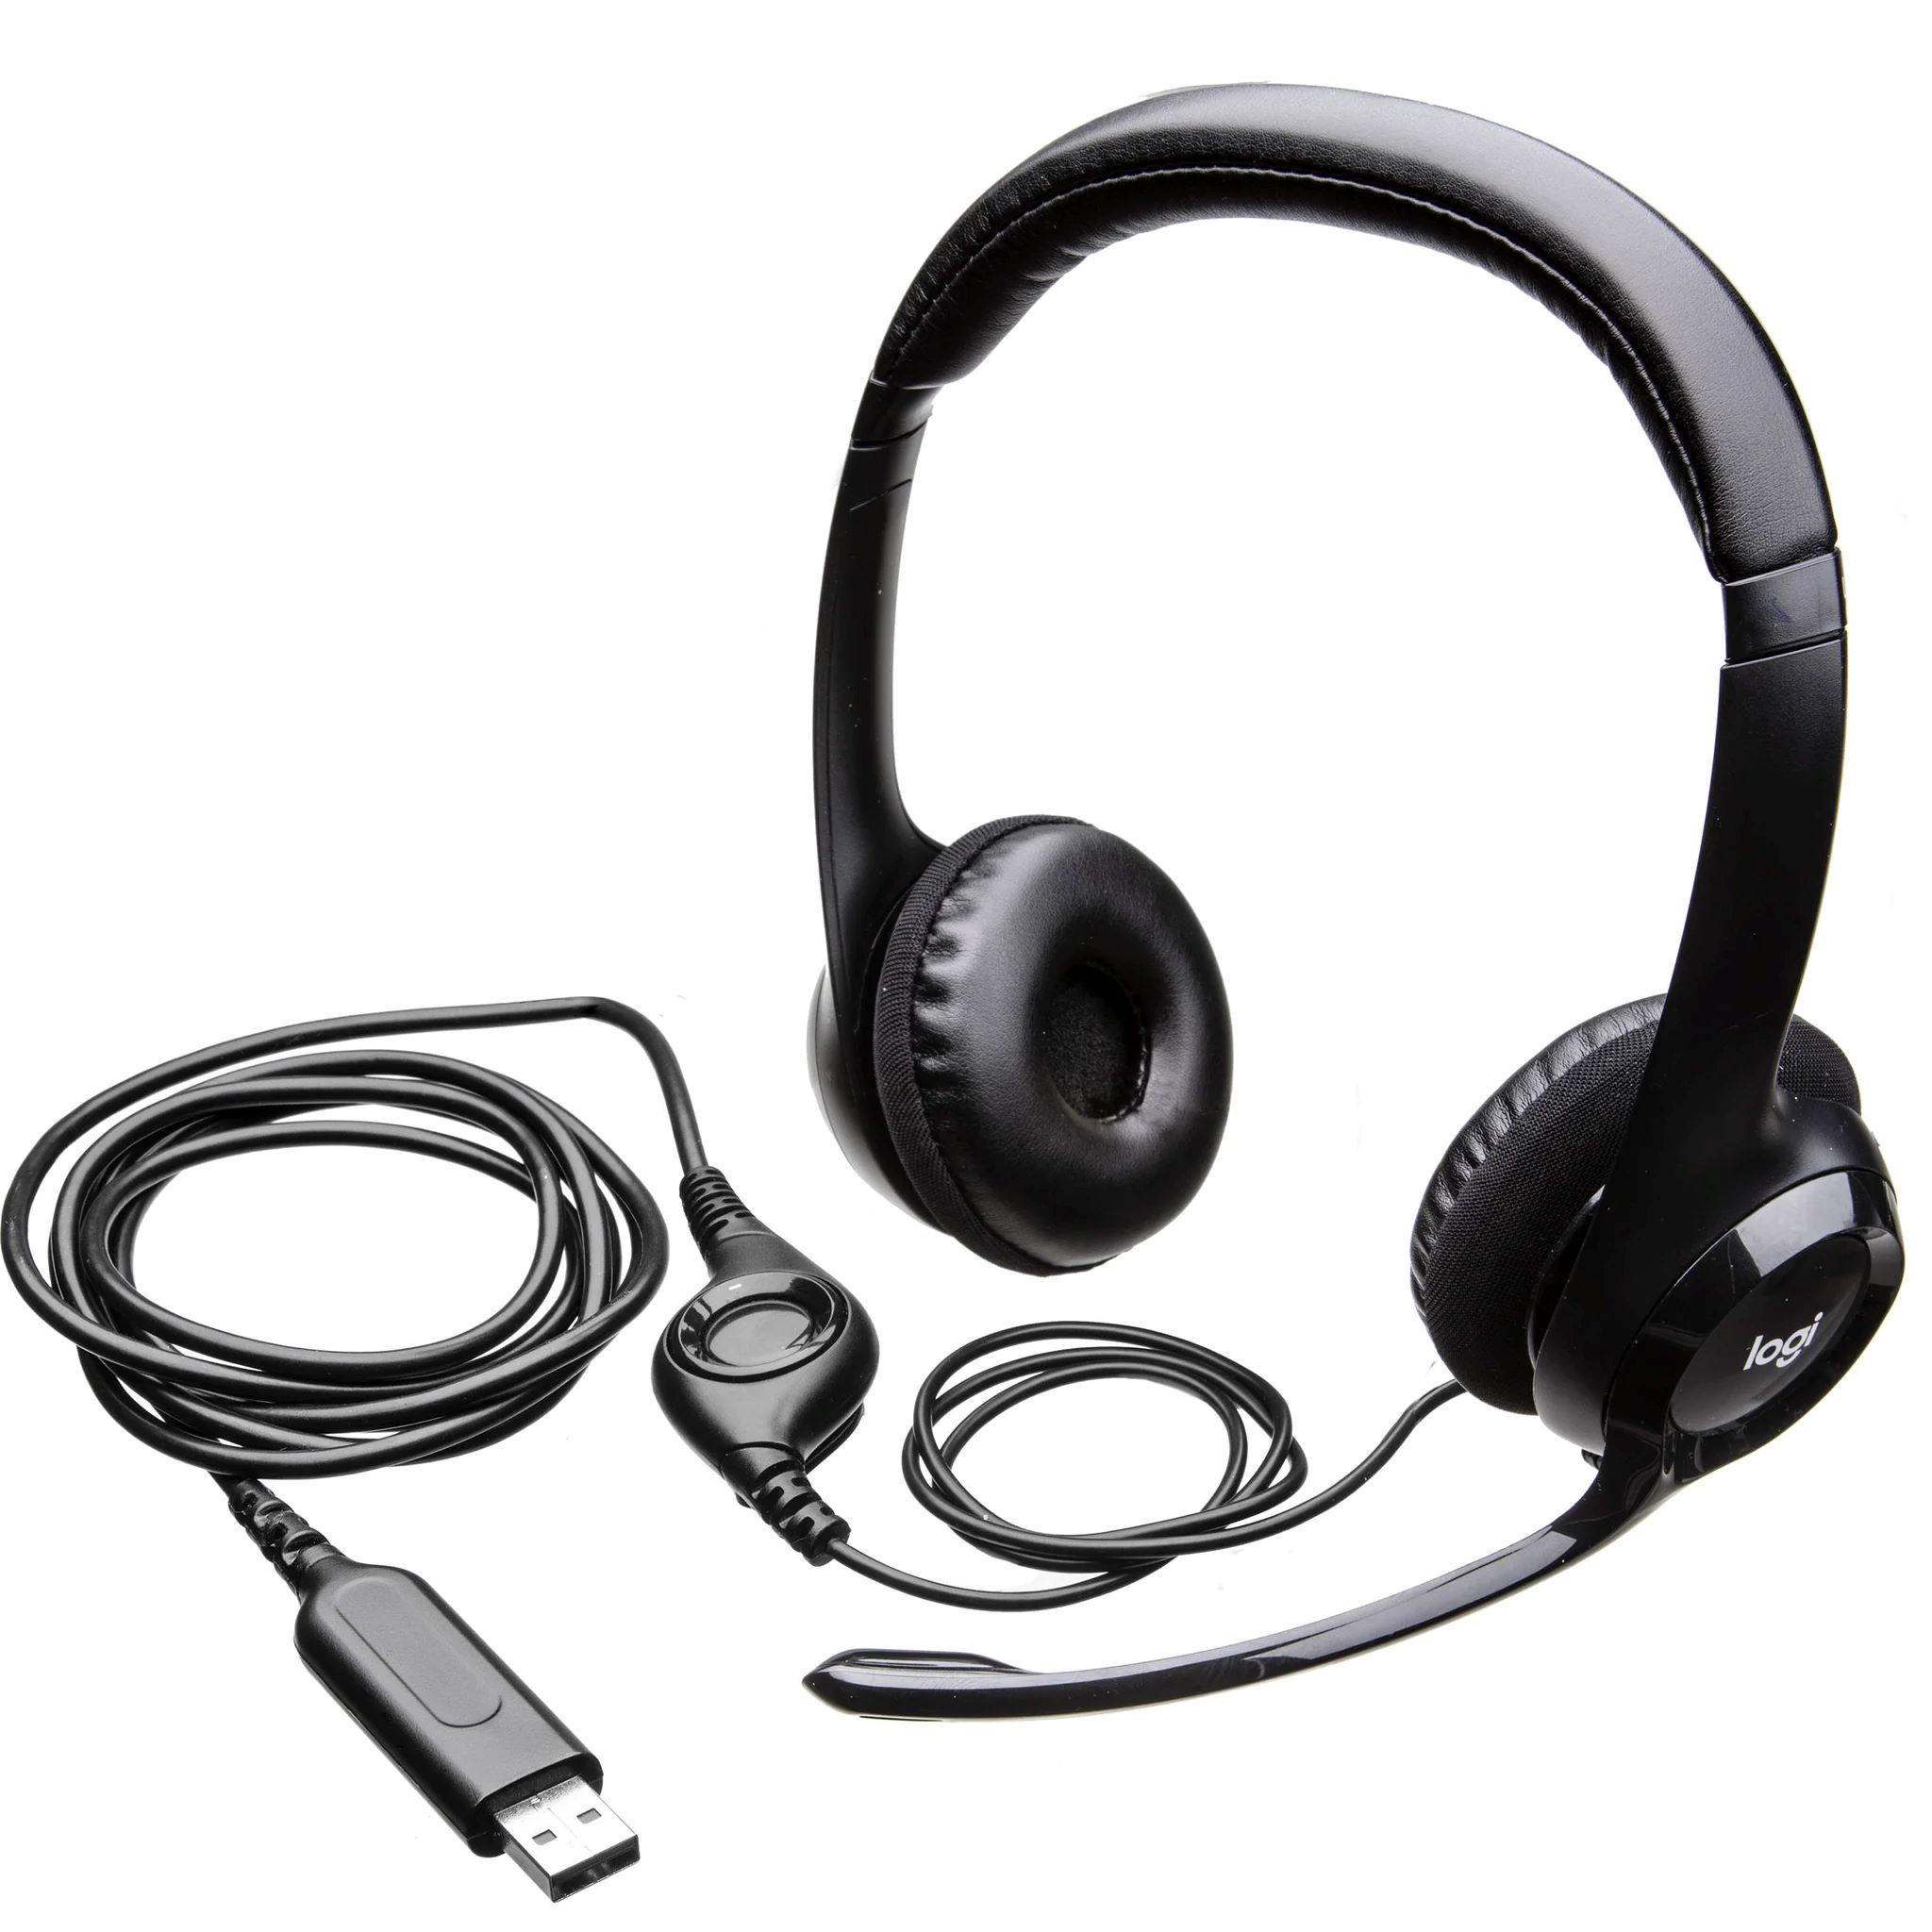
Check Your Headset Compatibility: Before connecting your headset mic, it's important to ensure that it is compatible with your computer. Most modern headsets utilize a standard 3.5mm audio jack or USB connection, making them universally compatible with a wide range of devices. However, if your headset requires any specific adapters or drivers, be sure to have them ready for installation.
-
Locate the Audio Input: Identify the appropriate audio input on your computer for connecting your headset mic. This may be a dedicated microphone port, a combined audio/microphone jack, or a USB port, depending on the type of headset you are using.
-
Connect Your Headset Mic: Once you've identified the correct audio input, proceed to connect your headset mic to the corresponding port on your computer. If your headset features separate audio and microphone connectors, ensure that they are plugged into the correct input jacks. For USB headsets, simply insert the USB connector into an available port on your computer.
-
Secure the Connection: After plugging in your headset mic, ensure that the connection is secure to prevent any potential audio disruptions during your streams. A stable connection is essential for maintaining consistent audio quality and minimizing the risk of technical issues during your broadcasts.
By successfully connecting your headset mic to your computer, you have laid the foundation for integrating your audio input with Streamlabs. This initial step sets the stage for configuring your audio settings within Streamlabs to ensure that your headset mic delivers optimal performance during your streams. With the physical connection established, you are now ready to move on to the next phase of the setup process, which involves configuring your audio settings within the Streamlabs software.
Step 2: Configuring Your Audio Settings in Streamlabs
Configuring your audio settings within Streamlabs is essential for optimizing the performance of your headset mic during live streams. By fine-tuning these settings, you can ensure that your voice comes through clearly and that background noise is minimized, creating a more professional and engaging experience for your viewers.
Here's a step-by-step guide to configuring your audio settings in Streamlabs:
-
Accessing Audio Settings: Open the Streamlabs software on your computer and navigate to the settings menu. Look for the "Audio" or "Microphone" tab within the settings interface to access the relevant audio configuration options.
-
Selecting Your Headset Mic: Within the audio settings, locate the input device dropdown menu and select your headset mic from the list of available audio input sources. This ensures that Streamlabs recognizes your headset mic as the primary audio input for your streams.
-
Adjusting Microphone Levels: Streamlabs allows you to adjust the microphone input levels to optimize the audio volume and prevent distortion. Use the microphone volume slider to set an appropriate input level that captures your voice clearly without peaking or causing audio clipping.
-
Enabling Noise Suppression: Streamlabs offers built-in noise suppression features that help eliminate background noise and distractions from your audio feed. Enable the noise suppression option to enhance the clarity of your voice and maintain a clean audio output during your streams.
-
Applying Filters (Optional): For advanced audio customization, Streamlabs enables you to apply audio filters such as noise gate and audio compression. These filters can further refine your audio output, allowing you to fine-tune the balance between your voice and background noise for a more professional sound.
-
Testing Your Configuration: Once you have adjusted the audio settings to your preference, it's crucial to test your configuration within Streamlabs. Use the built-in audio monitoring feature to listen to your microphone input in real-time, ensuring that the settings are optimized for clear and consistent audio output.
By carefully configuring your audio settings within Streamlabs, you can harness the full potential of your headset mic, delivering high-quality audio that enhances the overall production value of your streams. With these settings in place, you are now ready to proceed to the next step and test your headset mic within the Streamlabs environment to ensure that everything is functioning as intended.
Step 3: Testing Your Headset Mic in Streamlabs
Testing your headset mic within the Streamlabs environment is a critical step to verify that your audio setup is functioning as intended before you go live. By conducting thorough testing, you can ensure that your voice comes through clearly, free from any technical issues or unexpected audio anomalies. This process allows you to make any necessary adjustments and fine-tune your audio settings to deliver a polished and professional streaming experience for your audience.
Here's a comprehensive guide to testing your headset mic in Streamlabs:
-
Initiating Test Streams: Before going live, it's beneficial to initiate test streams within Streamlabs to evaluate how your headset mic performs in a simulated live environment. This allows you to monitor the audio levels, assess the clarity of your voice, and identify any potential issues that may arise during actual broadcasts.
-
Engaging in Dialogue: During the test streams, engage in dialogue and vocal interactions to gauge the performance of your headset mic. Speak at varying volumes and pitches to assess how well your mic captures different vocal nuances. This helps in identifying any inconsistencies or distortions in your audio output.
-
Monitoring Audio Levels: Keep a close eye on the audio levels displayed within Streamlabs while testing your headset mic. Ensure that the input levels remain within an optimal range, avoiding both excessively low and excessively high levels that may compromise audio quality.
-
Assessing Noise Suppression: Pay attention to the effectiveness of the noise suppression feature, especially in mitigating background noise and maintaining a clear audio feed. Test your headset mic in different environments to evaluate how well the noise suppression feature adapts to varying acoustic conditions.
-
Verifying Consistency: Test your headset mic for an extended duration to verify the consistency of audio performance over time. This helps in identifying any potential issues related to audio stability, such as sudden volume fluctuations or intermittent disruptions.
-
Seeking Feedback: If possible, invite a trusted individual to listen to your test streams and provide feedback on the audio quality. External feedback can offer valuable insights and help identify any nuances that you may have overlooked during the testing process.
By meticulously testing your headset mic in Streamlabs, you can fine-tune your audio settings, address any potential issues, and ensure that your audio setup is optimized for delivering a professional and engaging streaming experience. This proactive approach empowers you to identify and resolve audio-related challenges before they impact your live broadcasts, allowing you to focus on creating compelling content without audio-related distractions.
With your headset mic successfully tested and optimized within Streamlabs, you are now equipped to confidently embark on your streaming endeavors, knowing that your audio setup is primed for delivering top-notch performance to your audience.
Conclusion
In conclusion, optimizing your headset mic for seamless integration with Streamlabs is a fundamental aspect of elevating your streaming experience. By following the step-by-step process outlined in this guide, you have gained the knowledge and proficiency to ensure that your headset mic delivers exceptional audio quality, free from technical glitches and distractions.
By meticulously connecting your headset mic to your computer, configuring the audio settings within Streamlabs, and conducting thorough testing, you have laid the groundwork for delivering professional-grade audio during your streams. This proactive approach not only enhances the overall production value of your content but also fosters a more immersive and engaging experience for your audience.
With your headset mic seamlessly integrated into the Streamlabs environment, you can confidently focus on creating captivating content without being hindered by audio-related challenges. The clarity and consistency of your voice, coupled with effective noise suppression and audio customization, enable you to deliver a polished and professional streaming experience that resonates with your viewers.
Furthermore, by familiarizing yourself with the intricacies of audio setup and optimization, you have empowered yourself to proactively address any potential audio issues that may arise during your streams. This level of preparedness ensures that you can maintain a high standard of audio quality, reinforcing your credibility as a content creator and streamer.
In essence, the successful setup and optimization of your headset mic within Streamlabs serve as a testament to your commitment to delivering top-tier content to your audience. By prioritizing audio quality and technical proficiency, you have positioned yourself to engage and captivate viewers with a seamless and professional streaming experience.
Armed with the knowledge and expertise gained from this guide, you are now well-equipped to embark on your streaming endeavors with confidence, knowing that your headset mic is primed to deliver exceptional audio performance. As you venture into the world of content creation and streaming, your optimized audio setup will serve as a cornerstone of your success, allowing you to connect with your audience on a deeper level and leave a lasting impression with your compelling streams.