Introduction
Testing your headset microphone is crucial to ensure clear and crisp communication in today's digital world. Whether you're engaging in virtual meetings, gaming with friends, or recording audio, a properly functioning microphone is essential for a seamless experience. This quick guide will walk you through the process of testing your headset mic, allowing you to troubleshoot any potential issues and optimize its performance.
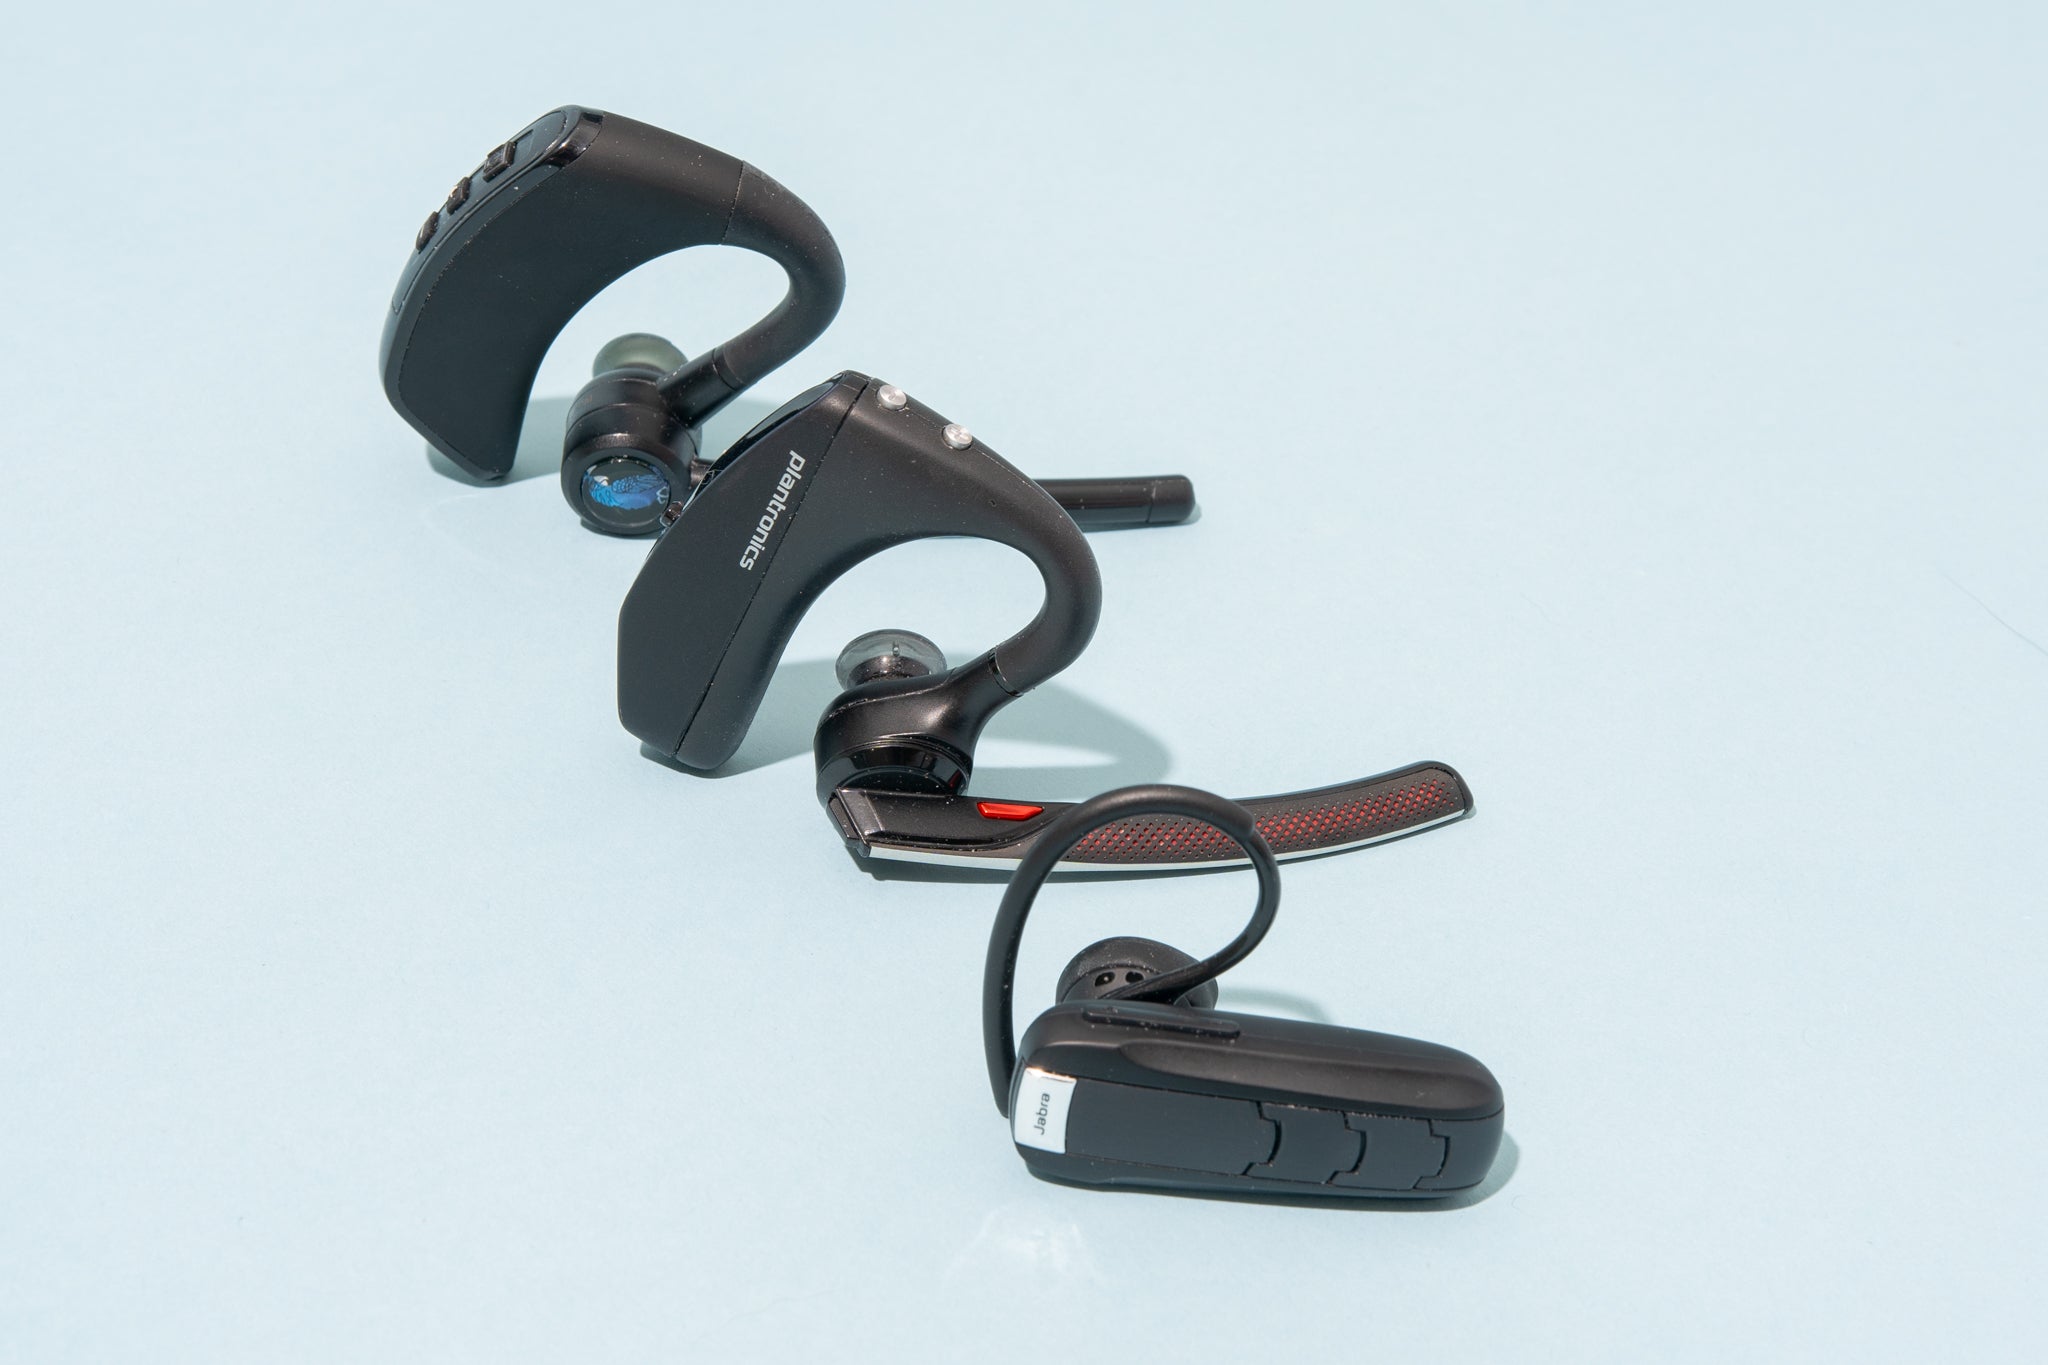
A headset microphone is a compact and convenient tool that integrates both headphones and a microphone, offering a hands-free communication solution. It's commonly used for various purposes, including online meetings, voice calls, gaming, and content creation. However, without proper testing and maintenance, the microphone's performance may be compromised, leading to frustrating experiences for both the user and their audience.
By following the steps outlined in this guide, you'll gain the knowledge and confidence to assess the physical condition of your headset mic, test it on your computer or device, and make necessary adjustments to ensure optimal sound quality. Whether you're a professional needing clear communication during virtual conferences or a gaming enthusiast aiming for crystal-clear voice chat, this guide will equip you with the essential know-how to ensure your headset mic is up to the task.
Now, let's delve into the step-by-step process of testing and optimizing your headset microphone to unleash its full potential in all your digital endeavors.
Step 1: Checking the physical condition of your headset mic
Before delving into the technical aspects of testing your headset microphone, it's crucial to begin with a thorough assessment of its physical condition. The physical state of your headset mic can significantly impact its performance, so conducting a visual inspection and basic checks is the first step in ensuring optimal functionality.
Visual Inspection
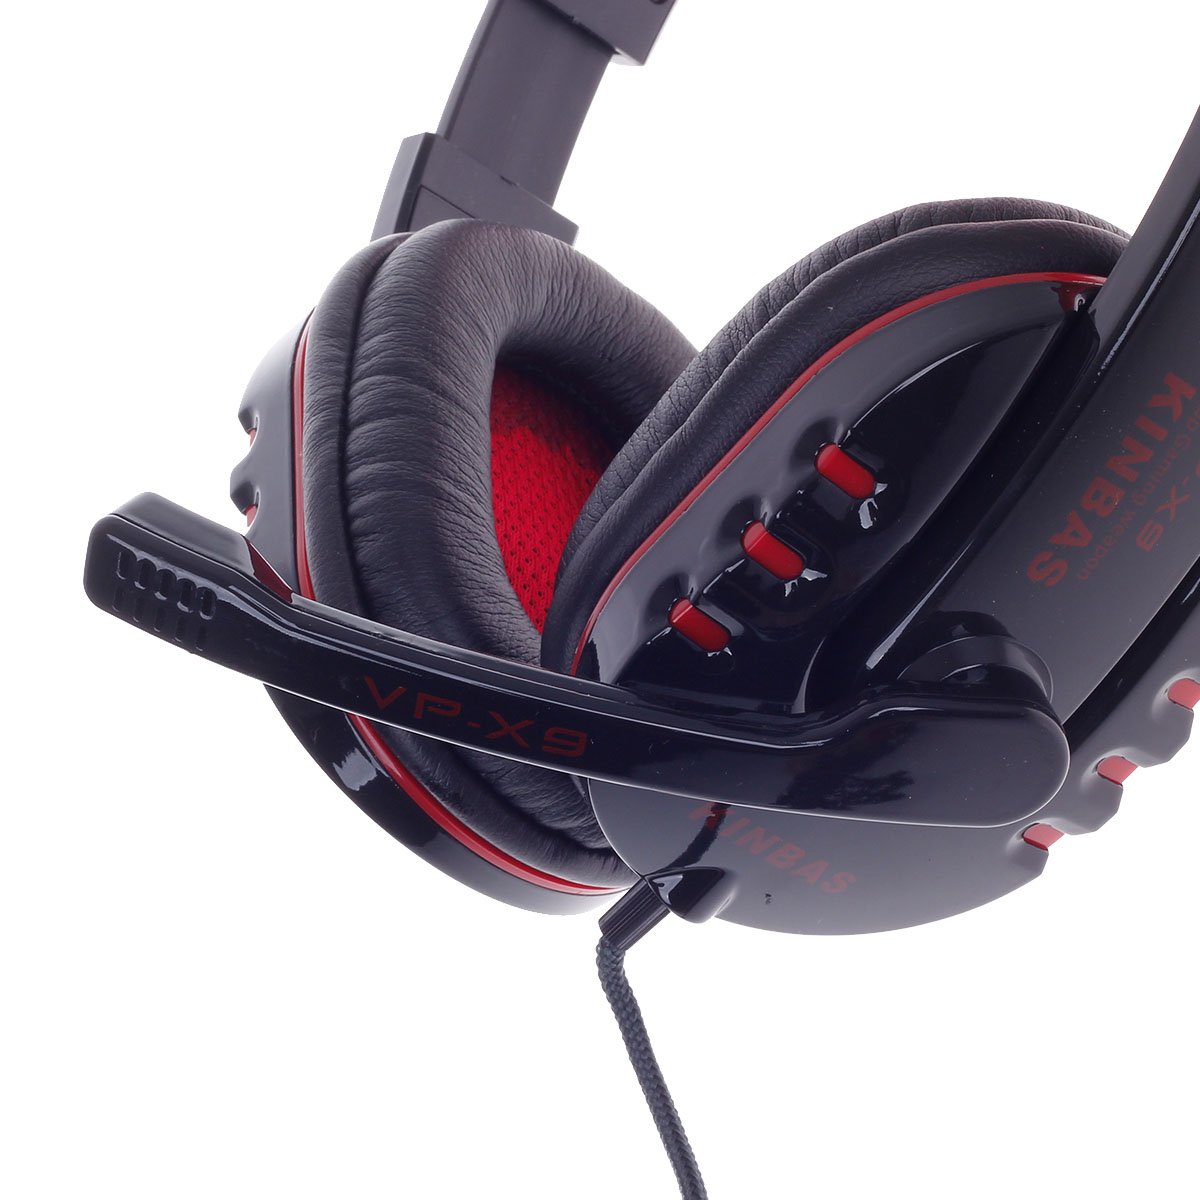
Start by examining the headset mic for any visible signs of damage or wear. Check the microphone boom, which is the adjustable arm that positions the mic near your mouth. Ensure that it is not bent, cracked, or showing any signs of physical damage. Additionally, inspect the microphone's connector, whether it's a USB or audio jack, to ensure it's not bent, corroded, or damaged in any way.
Cable and Connections
Inspect the entire length of the cable for any fraying, kinks, or exposed wires. A damaged cable can lead to intermittent connectivity or poor audio quality. Ensure that the cable is securely connected to the headset and that there are no loose or damaged connections.
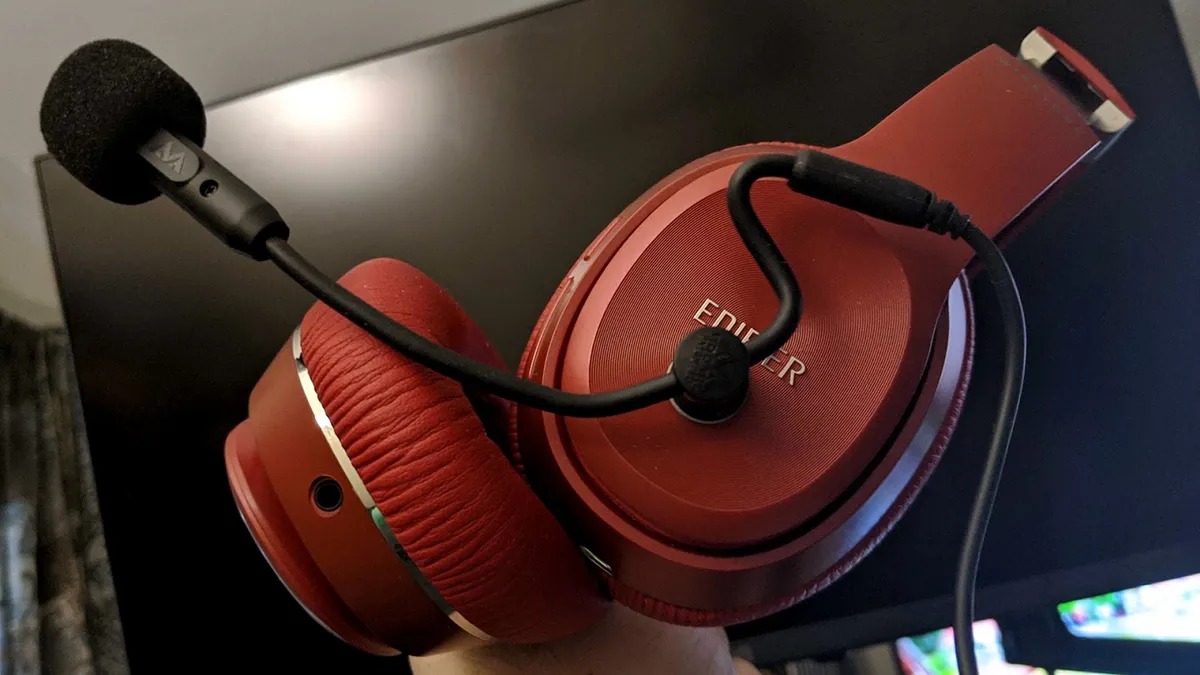
Microphone Windscreen
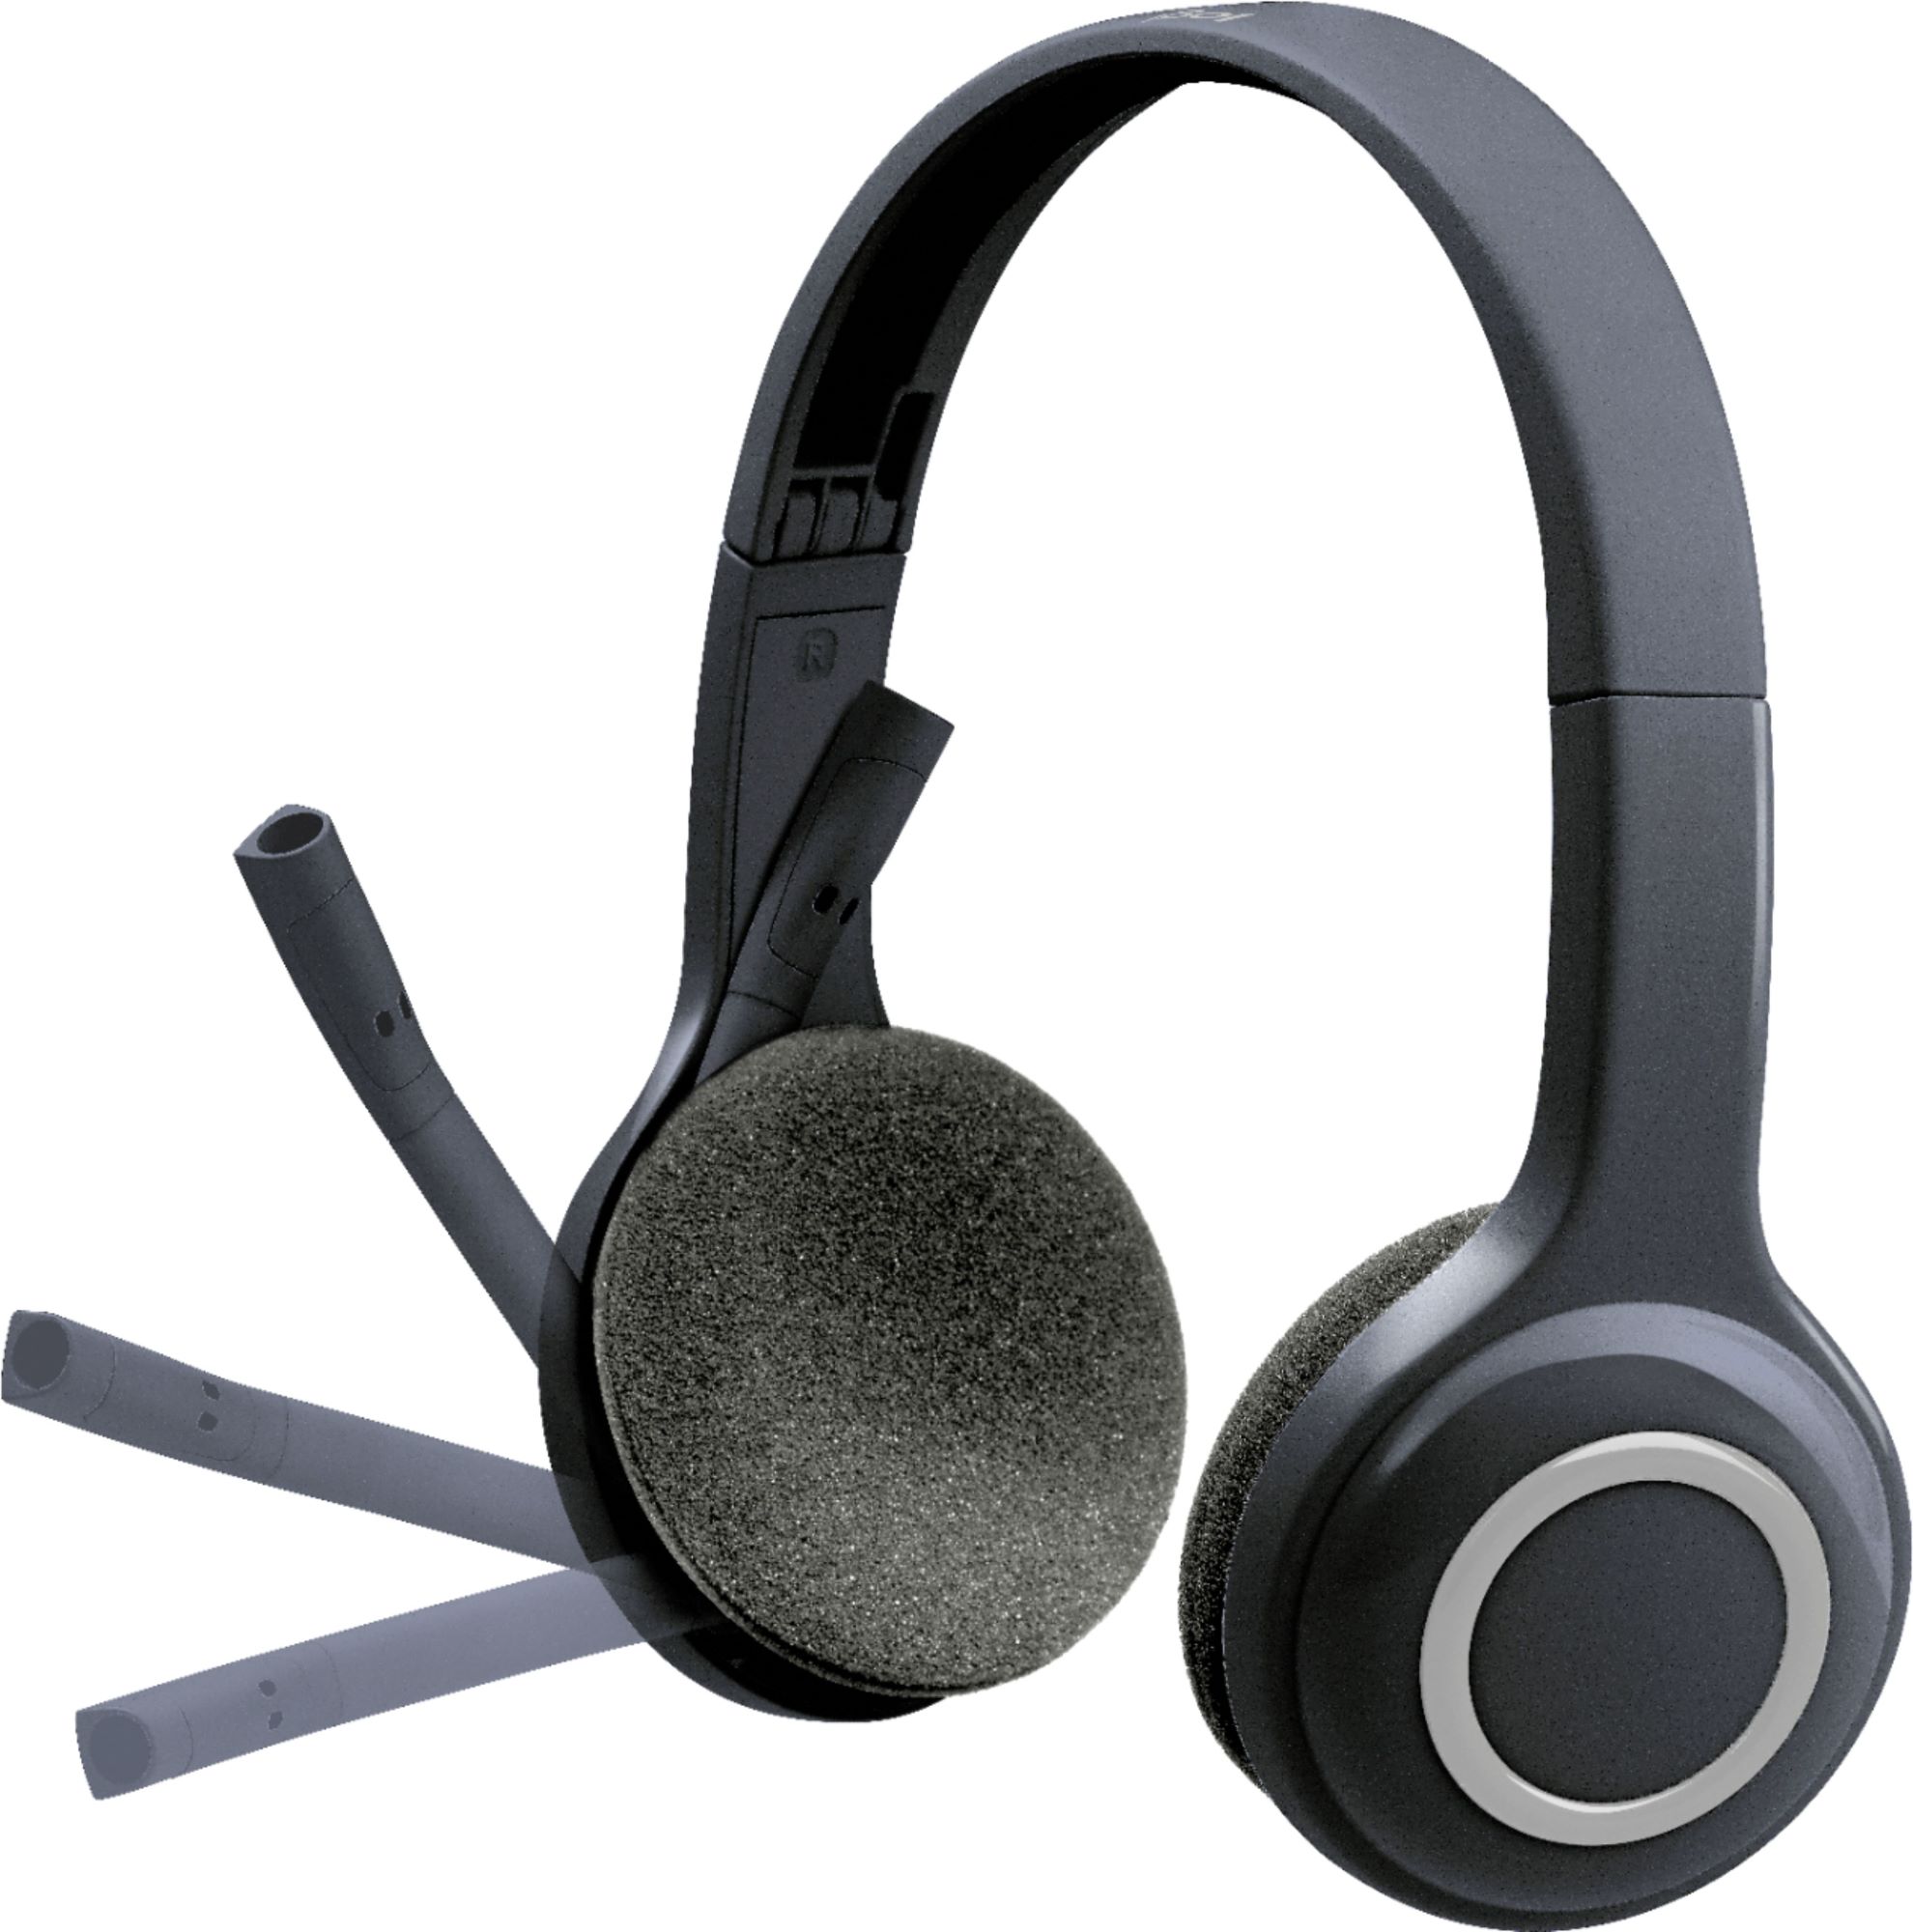
Many headset microphones are equipped with a small foam or fabric windscreen to reduce unwanted noise and protect the mic from moisture. Check the windscreen for any tears, damage, or signs of deterioration. A damaged windscreen can affect the microphone's sound quality and make it more susceptible to interference.
Ear Cushions and Headband
While not directly related to the microphone, the condition of the ear cushions and headband can impact the overall comfort and usability of the headset. Check for any wear, tear, or deterioration of the materials. Comfortable ear cushions and a secure headband are essential for prolonged use of the headset.
Testing the Headset Fit
Finally, ensure that the headset fits comfortably and securely on your head. An ill-fitting headset can cause discomfort and may lead to the microphone not being positioned correctly, affecting sound quality and clarity.
By thoroughly examining the physical condition of your headset mic, you can identify any potential issues that may impact its performance. Addressing these physical aspects sets the stage for the subsequent steps in testing and optimizing your headset microphone for an enhanced audio experience.
Step 2: Testing the mic on your computer or device
Once you have ensured the physical integrity of your headset mic, the next step is to test it on your computer or device. This crucial phase allows you to verify the microphone's functionality and identify any potential issues related to its compatibility or settings. Follow these steps to conduct a comprehensive test of your headset mic:
Connecting the Headset
Start by connecting your headset to your computer or device using the appropriate port or connector. Whether it's a USB connection or an audio jack, ensure that the connection is secure to prevent any audio interruptions during the testing process.
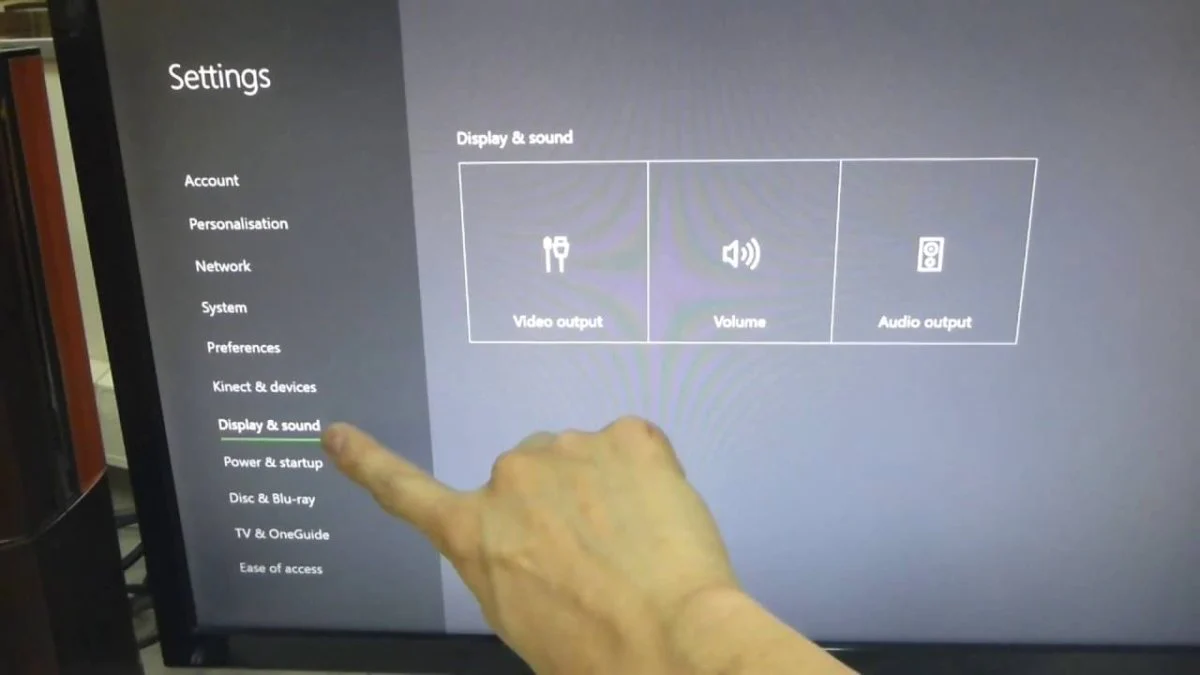
Selecting the Input Device
Access the sound settings on your computer or device and navigate to the input or recording devices section. Here, you can select your headset microphone as the input device. If your computer has multiple audio input options, ensure that the correct device is chosen to conduct the test accurately.
Recording Test
Open a voice recording application or software on your computer or device. This could be a built-in voice recorder, a communication app with voice messaging capabilities, or a dedicated recording software. Start a new recording and speak into the microphone at a normal volume. Ensure that the microphone is positioned correctly, approximately one to two inches away from your mouth, to capture clear and intelligible audio.
Playback and Analysis
After recording a short audio clip, play it back to assess the sound quality and clarity. Listen for any distortions, background noise, or muffled audio. Pay attention to the volume levels and ensure that the microphone is capturing your voice accurately without any significant issues.
Testing Across Applications
To further validate the microphone's performance, test it across different applications that utilize voice input. This could include voice communication apps, video conferencing platforms, or online gaming environments. Engage in a brief conversation or audio interaction to gauge the microphone's performance in real-time scenarios.
Adjusting Input Levels
If you encounter low volume or distorted audio during the test, you can adjust the input levels of the microphone in the sound settings. Increase the input volume gradually while monitoring the audio quality until you achieve an optimal balance between volume and clarity.
By thoroughly testing your headset microphone on your computer or device, you can effectively evaluate its performance and address any potential issues related to connectivity, compatibility, or sound quality. This step sets the stage for the subsequent optimization of mic settings to ensure an enhanced audio experience across various applications and use cases.
Step 3: Adjusting mic settings and testing for sound quality
After confirming the physical condition and functionality of your headset microphone, the next crucial step is to fine-tune the mic settings and thoroughly test for optimal sound quality. This phase allows you to customize the microphone's settings to suit your specific needs and ensure that it delivers clear, crisp audio across different applications and scenarios.
Accessing Mic Settings
Begin by accessing the mic settings on your computer or device. Navigate to the sound or audio settings, where you can find specific options related to input devices and microphone settings. Depending on the operating system and hardware, the settings may vary, but commonly, you can adjust parameters such as input volume, microphone gain, noise cancellation, and input/output balance.
Adjusting Input Volume and Gain
One of the primary settings to focus on is the input volume or gain control. This setting determines the sensitivity of the microphone and how it captures sound. If the input volume is too low, your voice may not be adequately picked up, leading to low audio levels. Conversely, if the gain is too high, it can result in distorted or overly sensitive audio. Adjust the input volume or gain to achieve a balance that captures your voice clearly without introducing unwanted noise or distortion.
Noise Cancellation and Enhancement
Many modern headsets offer noise cancellation features to reduce background noise and focus on capturing the user's voice. Explore the available noise cancellation settings and enhancements to optimize the microphone's performance in noisy environments. These settings can help minimize distractions and ensure that your voice remains clear and prominent during communication or recording.
Testing Across Applications and Environments
Once you've adjusted the mic settings, it's essential to conduct comprehensive testing across different applications and environments. Engage in voice calls, online meetings, gaming sessions, or audio recordings to evaluate how the microphone performs in real-world scenarios. Pay attention to the clarity of your voice, background noise suppression, and overall sound quality across diverse use cases.
Fine-Tuning for Specific Use Cases
Depending on your primary use of the headset microphone, you may need to fine-tune the settings for specific applications. For example, if you frequently engage in online gaming, you might prioritize noise cancellation and voice clarity for in-game communication. On the other hand, if you use the microphone for professional online meetings, a balanced and clear audio output becomes paramount.
Continuous Monitoring and Adjustment
Sound settings can be subjective and may require ongoing monitoring and adjustment based on user feedback and evolving usage scenarios. Regularly revisit the mic settings to ensure that they align with your current needs and deliver the desired sound quality. As you gain more experience with the headset microphone, you'll develop a deeper understanding of its capabilities and how to optimize its settings for various situations.
By meticulously adjusting the mic settings and rigorously testing for sound quality, you can fine-tune your headset microphone to deliver exceptional audio performance tailored to your specific requirements. This proactive approach ensures that your microphone consistently delivers clear, high-quality audio, enhancing your overall communication and digital experience.
Conclusion
In conclusion, testing and optimizing your headset microphone is a fundamental aspect of ensuring clear and effective communication across various digital platforms. By following the comprehensive steps outlined in this guide, you have gained valuable insights into the process of assessing the physical condition of your headset mic, testing its functionality on your computer or device, and fine-tuning its settings for optimal sound quality. This proactive approach empowers you to address potential issues, customize the microphone's performance, and elevate your overall audio experience.
By beginning with a thorough examination of the physical condition of your headset mic, you set the foundation for reliable performance. Checking for visible damage, inspecting the cable and connections, and ensuring the comfort and fit of the headset contribute to a seamless testing process. This initial step allows you to identify and address any physical issues that may impact the microphone's functionality, ensuring that it is in prime condition for subsequent testing and optimization.
Testing the microphone on your computer or device provides a practical means of evaluating its performance in real-world scenarios. By recording and analyzing audio, testing across different applications, and adjusting input levels, you gain a comprehensive understanding of the microphone's capabilities. This step enables you to identify and address connectivity issues, compatibility concerns, and sound quality discrepancies, ensuring that the microphone meets your specific requirements across a range of applications.
Fine-tuning the mic settings and testing for sound quality represents the final phase of the optimization process. By adjusting input volume, exploring noise cancellation features, and fine-tuning settings for specific use cases, you tailor the microphone's performance to align with your unique needs. This proactive approach ensures that the microphone consistently delivers clear, high-quality audio, enhancing your overall communication and digital experience.
In essence, the process of testing and optimizing your headset microphone goes beyond mere functionality; it empowers you to harness the full potential of this essential tool for communication, gaming, content creation, and more. By investing time and attention into evaluating and fine-tuning your headset mic, you pave the way for seamless and effective communication in all your digital endeavors. Whether you're a professional seeking clear and professional communication or a gaming enthusiast aiming for immersive voice chat, this guide equips you with the knowledge and skills to maximize the performance of your headset microphone, ensuring a superior audio experience in every interaction.