Introduction
Welcome to this tutorial on how to download a PowerPoint presentation as a video. PowerPoint has always been a powerful tool for creating visually engaging and dynamic presentations. However, there may be times when you want to save your presentation as a video file to share it on social media platforms, upload it to video-sharing websites, or simply have a video version of your presentation.
In this step-by-step guide, we will walk you through the process of converting your PowerPoint presentation into a video file format. Whether you’re using PowerPoint for work, school, or personal projects, this simple technique will enable you to easily transform your slides into an engaging video that can be enjoyed by a wider audience.
Converting a PowerPoint presentation to a video not only allows you to share your content in a different format but also gives you the flexibility to include animations, transitions, and narrations that can enhance the viewer’s experience. By following the steps outlined in this tutorial, you’ll be able to download your PowerPoint presentation as a video in no time.
Before we dive into the step-by-step process, it’s important to note that the method discussed in this tutorial applies to Microsoft PowerPoint versions 2010 and above. If you have an older version of PowerPoint, the process may vary slightly.
So grab your PowerPoint presentation, follow along, and let’s get started on converting it into a captivating video!
Step 1: Open the PowerPoint presentation
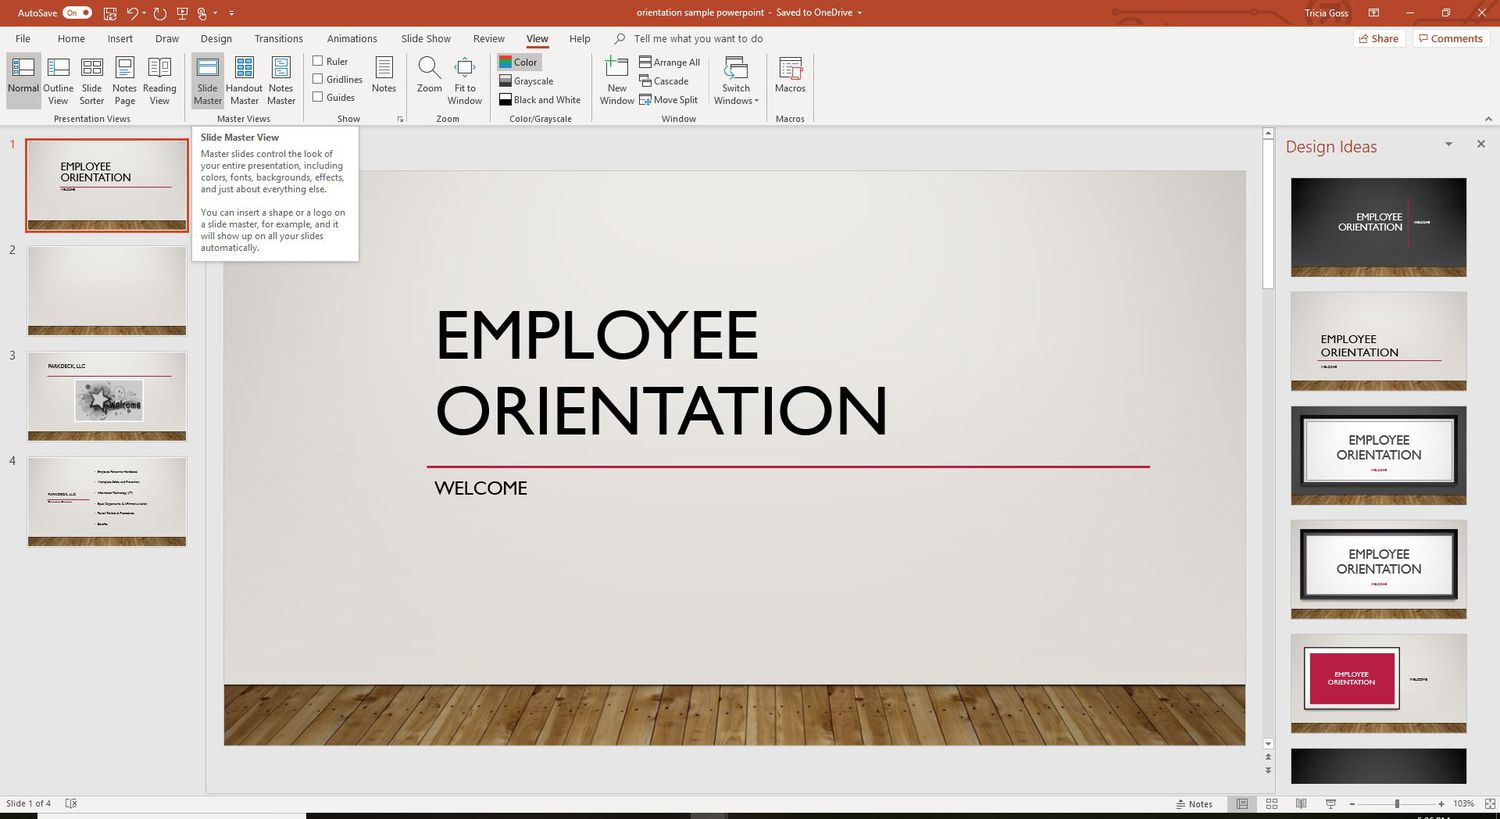
The first step in downloading a PowerPoint presentation as a video is to open the presentation you want to convert. Launch Microsoft PowerPoint on your computer and locate the file you wish to work with.
If you have recently worked on the presentation and it appears in the “Recent” section when you open PowerPoint, simply click on it to open it. Alternatively, you can navigate to the file’s location on your computer using the “File Explorer” or “Finder” depending on whether you are using a Windows or Mac system.
Once you have located the presentation file, double-click on it to open it in PowerPoint. The presentation will now open in the PowerPoint application window, and you are ready to move on to the next step.
It’s important to ensure that your PowerPoint presentation is fully prepared before proceeding with the conversion to a video. Make sure all your slides are in order, and any animations, transitions, and multimedia elements are working correctly. Take a moment to review and make any necessary edits to your presentation to ensure its smooth transition into video format.
Now that you have your PowerPoint presentation open and ready, it’s time to move on to the next step and save the presentation as a video file.
Step 2: Go to the File menu
Once you have opened your PowerPoint presentation, the next step is to navigate to the File menu. The File menu contains a variety of options for managing and saving your presentation. To access it, look for the File tab located at the top left corner of the PowerPoint window.
Click on the File tab, and a drop-down menu will appear with several options. This menu provides access to essential commands for working with your presentation, including saving, printing, and sharing options.
By clicking on the File tab, you will also be able to access features such as Slide Show settings, PowerPoint options, and more. However, for our purpose of downloading the PowerPoint presentation as a video, we will need to access the Save As feature, which is available in the File menu. So let’s move on to the next step to access the Save As option.
Alternatively, you can also use the keyboard shortcut “Ctrl + S” (Windows) or “Command + S” (Mac) to quickly access the Save feature. However, keep in mind that the Save As option is what we need to convert our presentation into a video file format, so it’s best to follow the File menu approach.
Now that you are in the File menu, let’s proceed to the next step and explore how to save your presentation as a video file.
Step 3: Click on the Save As option
After accessing the File menu in PowerPoint, the next step is to click on the “Save As” option. The Save As feature allows you to save your presentation in various file formats, including the video format that we are aiming for.
To access the Save As option, look for it in the File menu. It is usually located towards the top-left corner of the menu. When you hover over the Save As option, you will see a sub-menu displaying different file formats in which you can save your presentation.
Click on the Save As option to view the available formats. In the sub-menu, you will see options like PowerPoint Presentation (.pptx), PowerPoint Template (.potx), PDF, and more. However, for our purpose of converting the presentation into a video, we will need to select a specific file format that supports video output.
It’s important to note that the available file formats may vary depending on the version of PowerPoint you are using. However, the process of saving the presentation as a video remains relatively similar across different versions.
Now that you have clicked on the Save As option, let’s move on to the next step to choose the save location and file format for your video.
Step 4: Choose the save location and file format
Once you have clicked on the Save As option in PowerPoint, the next step is to choose the save location and select the appropriate file format for your video. This step allows you to specify where you want the video file to be saved on your computer and determine the format that will ensure compatibility with video players and platforms.
After clicking on Save As, a new window will appear, displaying the available file formats and the save location options. The save location section will typically offer choices such as your computer’s local storage, external drives, or cloud storage services like OneDrive or Dropbox.
To choose the save location, click on the desired destination where you want the video file to be saved. Keep in mind that selecting a location that is easily accessible and organized will make it easier for you to find and share the video file later.
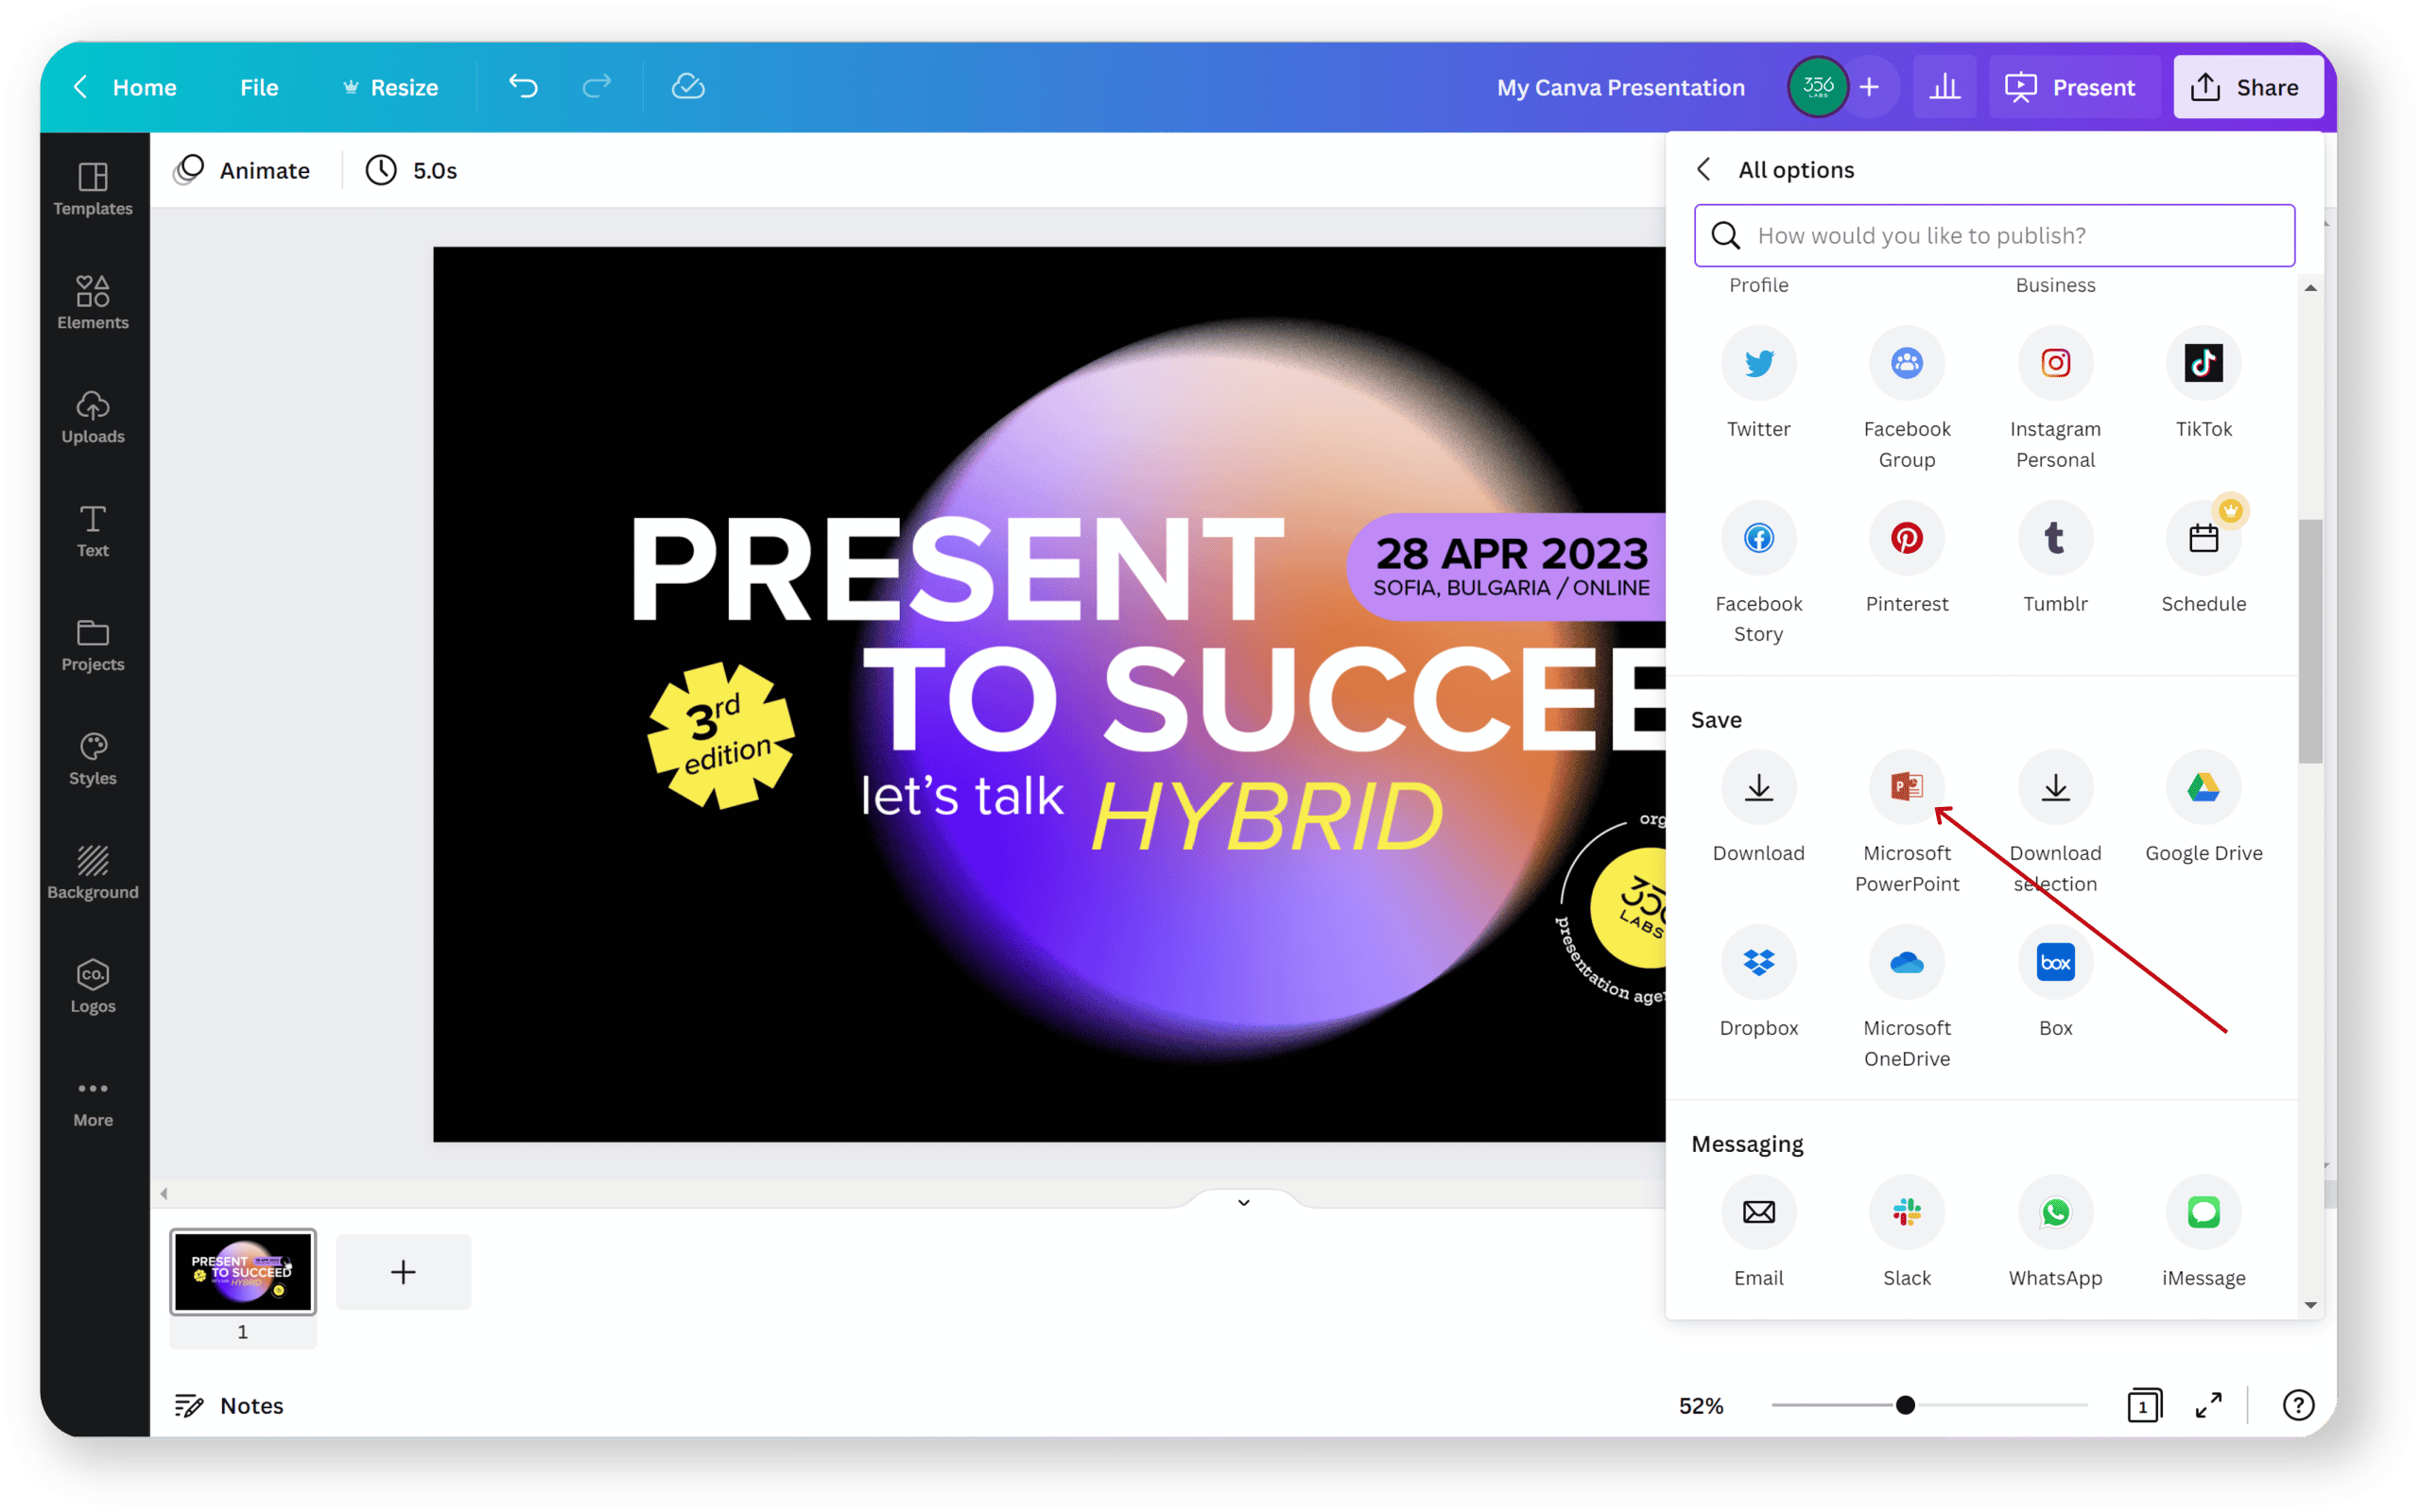
Once you have selected the save location, you will need to specify the file format for the video. In the “Save as type” or “Format” drop-down menu, you will see various choices, including different PowerPoint file formats and video file formats.
To save your PowerPoint presentation as a video, look for the video formats such as MPEG-4 Video (.mp4), Windows Media Video (.wmv), or Web Video (.webm). These formats are widely supported and can be played on most devices and video players. Select the video format of your choice by clicking on it.
It’s important to consider the intended use of the video when choosing the file format. Different platforms and devices may have specific requirements for video compatibility, so make sure to choose a format that aligns with your needs.
Now that you have chosen the save location and file format, let’s move on to the next step to select the video file format.
Step 5: Select the video file format
Once you have chosen the save location and file format in PowerPoint, the next step is to select the specific video file format you want to save your presentation as. This step allows you to customize the output settings for your video, ensuring optimal quality and compatibility.
When you have chosen the desired file format in the Save As window, you will notice a few additional options specific to video output. These options may vary depending on the version of PowerPoint you are using.
In some versions of PowerPoint, you may have the option to choose the video quality or resolution. This allows you to select the level of clarity and detail you want for your video. Higher quality settings will result in larger file sizes, while lower quality settings may sacrifice some details but result in smaller files.
Additionally, you may have the option to include recorded timings and narrations in your video. By enabling these options, your video will include any slide transition timings or recorded audio narrations that were part of your original PowerPoint presentation.
Furthermore, some versions of PowerPoint offer the ability to include slide animations and slide timings in the video. This can be useful if you want to preserve the dynamic elements and timing of certain slides in your video. Be sure to check the settings and select the desired options based on your preferences and needs.
Take a moment to review the available video settings and choose the options that best suit your requirements. Once you have made your selections, you can proceed to the final step of saving your PowerPoint presentation as a video file.
Now that you have selected the video file format and customized the output settings, let’s move on to the next step to save your presentation as a video.
Step 6: Customize video settings (optional)
In addition to selecting the video file format, PowerPoint also provides optional customization options for your video. These settings allow you to further enhance the video output and tailor it to your specific preferences and requirements.
After selecting the video file format in the Save As window, you may come across additional settings for customizing the video. These settings can vary depending on the version of PowerPoint you are using.
One common customization option is the ability to choose the slide range for the video. This allows you to select specific slides that you want to include in the video or exclude certain slides that you don’t want to be part of the final video. By choosing this option, you have more control over the content that will be displayed in the video.
Another option you may encounter is the ability to set the slide transition duration. This allows you to determine the timing between each slide in the video. By adjusting the transition duration, you can create a smooth and seamless flow between slides, enhancing the viewer’s experience.
Additionally, some versions of PowerPoint offer the option to customize the video playback settings. This includes options such as loop playback, which automatically replays the video after it finishes, and autoplay, which starts the video as soon as it’s opened without manual intervention.
Consider the available customization settings and choose the options that align with your preferences and the overall purpose of the video. These optional settings allow you to tailor the video to suit your specific needs and enhance its visual appeal and functionality.
Once you have customized the video settings to your liking, you are now ready to save your PowerPoint presentation as a video. Let’s proceed to the final step and complete the process.
Step 7: Save the PowerPoint as a video
After you have made all the necessary adjustments and customized the video settings to your liking, it’s time to save your PowerPoint presentation as a video. This final step will convert your presentation into a video file format, making it ready for sharing, uploading, or viewing on various platforms.
To save your PowerPoint presentation as a video, simply click on the “Save” or “Save As” button in the Save As window. The specific wording may vary depending on the version of PowerPoint you are using. Once you click on the button, PowerPoint will process and convert your presentation into a video file based on the selected options.
Depending on the size and complexity of your presentation, the conversion process may take some time. PowerPoint will display a progress bar or status indicator to inform you about the status of the conversion. Once the conversion is complete, a message or notification will appear, indicating that your PowerPoint presentation has been successfully saved as a video.
At this point, you can close the Save As window and exit PowerPoint. Your newly created video file is now saved in the location you specified earlier. You can navigate to the save location and locate the video file. It will have the file extension corresponding to the video format you selected (e.g., .mp4, .wmv, .webm).
With the video file in hand, you can now use it for various purposes. You can upload it to video-sharing platforms like YouTube or Vimeo, share it on social media platforms, embed it in a website or blog, or simply store it for personal reference.
Remember to test the video file in a media player or video player software to ensure it is playing as expected and that all the elements from your PowerPoint presentation are successfully converted into the video format.
Congratulations! You have successfully saved your PowerPoint presentation as a video, showcasing your content in a dynamic and engaging format. Now, go ahead and utilize your video presentation to its full potential!
Conclusion
Converting a PowerPoint presentation into a video format opens up a world of possibilities for sharing and enhancing your content. By following the step-by-step process outlined in this tutorial, you have learned how to transform your slides into a captivating video.
Starting with the basic steps of opening your PowerPoint presentation and accessing the File menu, you progressed through selecting the save location and file format. You also had the opportunity to customize video settings to further optimize the output. Finally, you saved your PowerPoint presentation as a video and achieved a finished product ready for distribution.
Remember, the conversion process may vary slightly depending on the version of PowerPoint you are using, but the general steps discussed in this tutorial should apply to most versions.
Now that you have a video version of your PowerPoint presentation, you can reach a wider audience by sharing it on social media platforms, embedding it on websites, or uploading it to video-sharing websites. Videos are a powerful medium for conveying your message in a more dynamic and engaging way.
Continue exploring PowerPoint’s features and capabilities to make your presentations even more impactful. Experiment with different slide designs, animations, and transitions to create visually stunning and engaging content. By combining your creativity with the power of PowerPoint, you can take your presentations to the next level.
So, whether you’re using PowerPoint for work, school, or personal projects, remember that converting your presentations into videos is a valuable skill to have. Embrace the opportunity to share your ideas, knowledge, and creativity in a format that captures the attention and imagination of your audience.
Now that you have mastered the art of downloading a PowerPoint presentation as a video, it’s time to create and share your own captivating videos. Harness the power of visuals and storytelling to deliver impactful and memorable presentations that leave a lasting impression.