Introduction
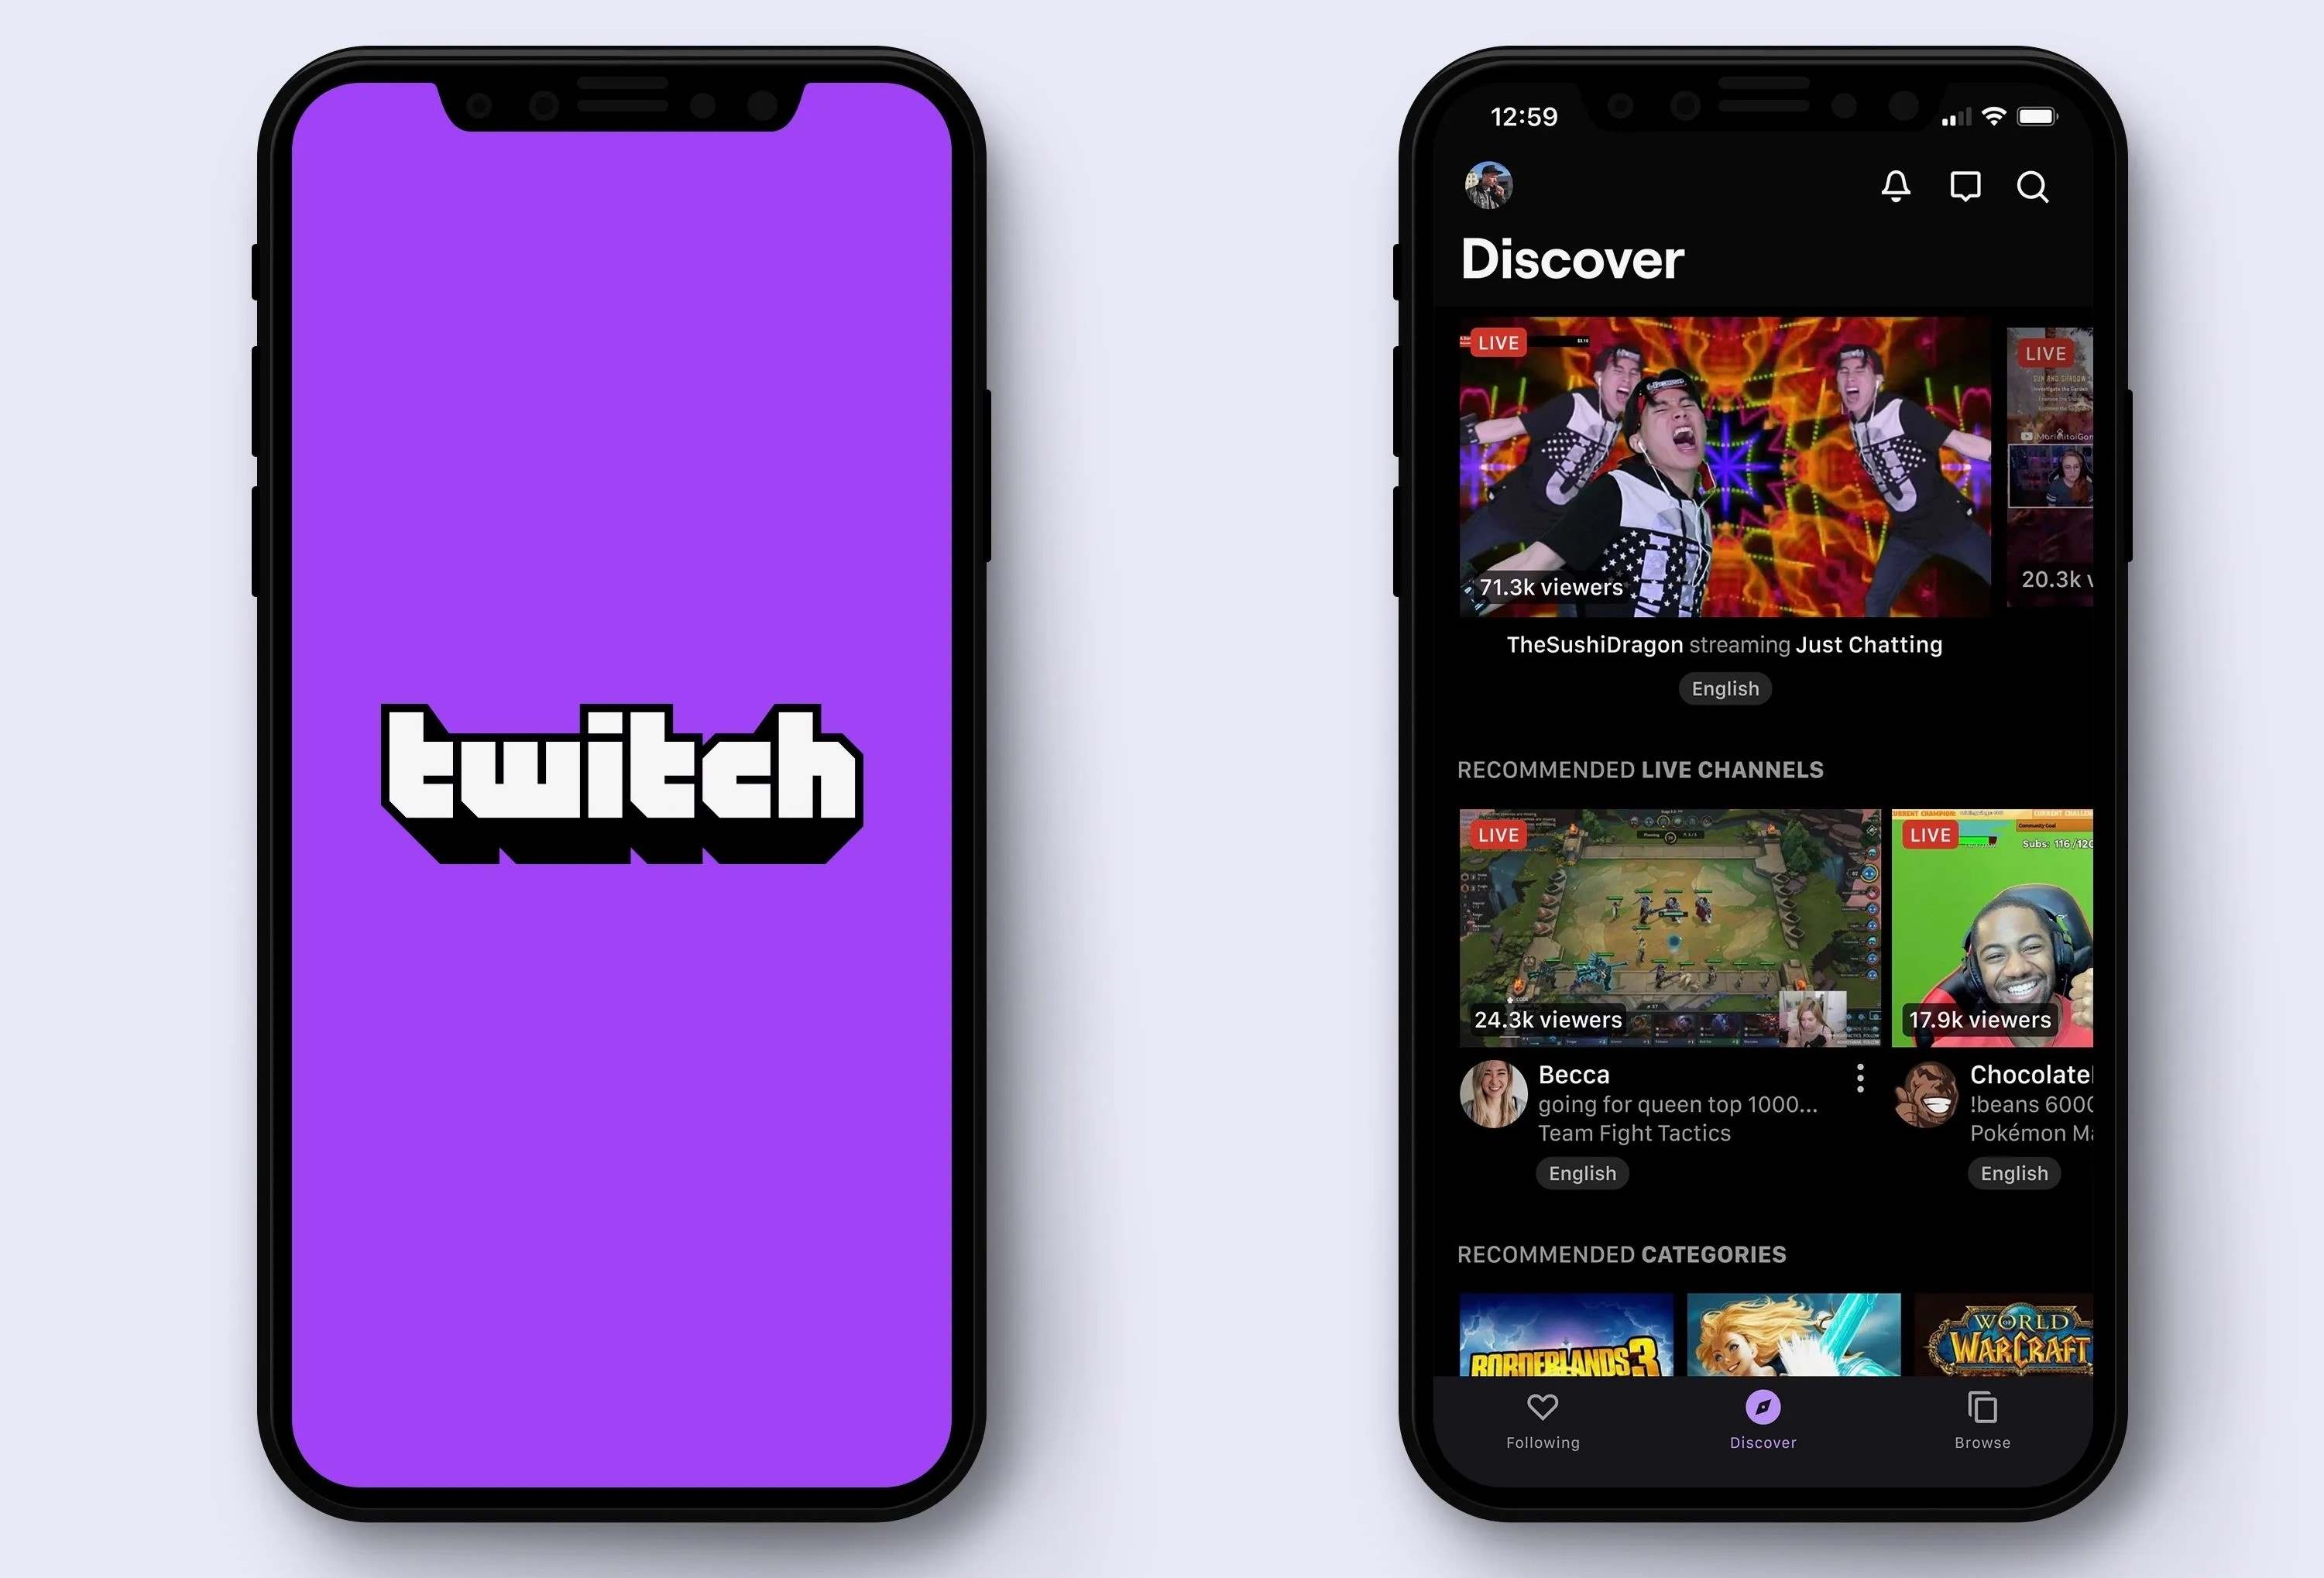
Have you ever come across an amazing Twitch stream and wished you could watch it again later? Whether it’s a gaming session, a live event, or a tutorial, Twitch offers a treasure trove of content that you may want to access offline or save for future viewing. Fortunately, there are methods available that allow you to download Twitch streams and save them to your device.
Downloading Twitch streams not only gives you the flexibility to watch your favorite content whenever and wherever you want, but it also ensures that you won’t miss out on any valuable information or entertainment. In this article, we will guide you through the process of downloading Twitch streams quickly and easily.
Before we dive into the steps, it’s important to note that while downloading Twitch streams can be convenient, it’s essential to respect the content creators’ rights and only use the downloaded content for personal use. Unauthorized distribution or use of downloaded streams without the creators’ permission is strictly prohibited and goes against Twitch’s terms of service.
With that said, let’s explore the steps you need to follow to download Twitch streams and enjoy your favorite content offline.
Step 1: Choose the Right Tool
The first step in downloading Twitch streams is to choose the right tool for the job. There are various software programs and online platforms available that specialize in downloading Twitch content, each with its own set of features and functionality.
One popular tool that you can use is Twitch Leecher. It is a free and open-source program designed specifically for downloading Twitch videos. With Twitch Leecher, you can search for specific streams, download whole broadcasts or highlights, and even extract specific segments from a stream.
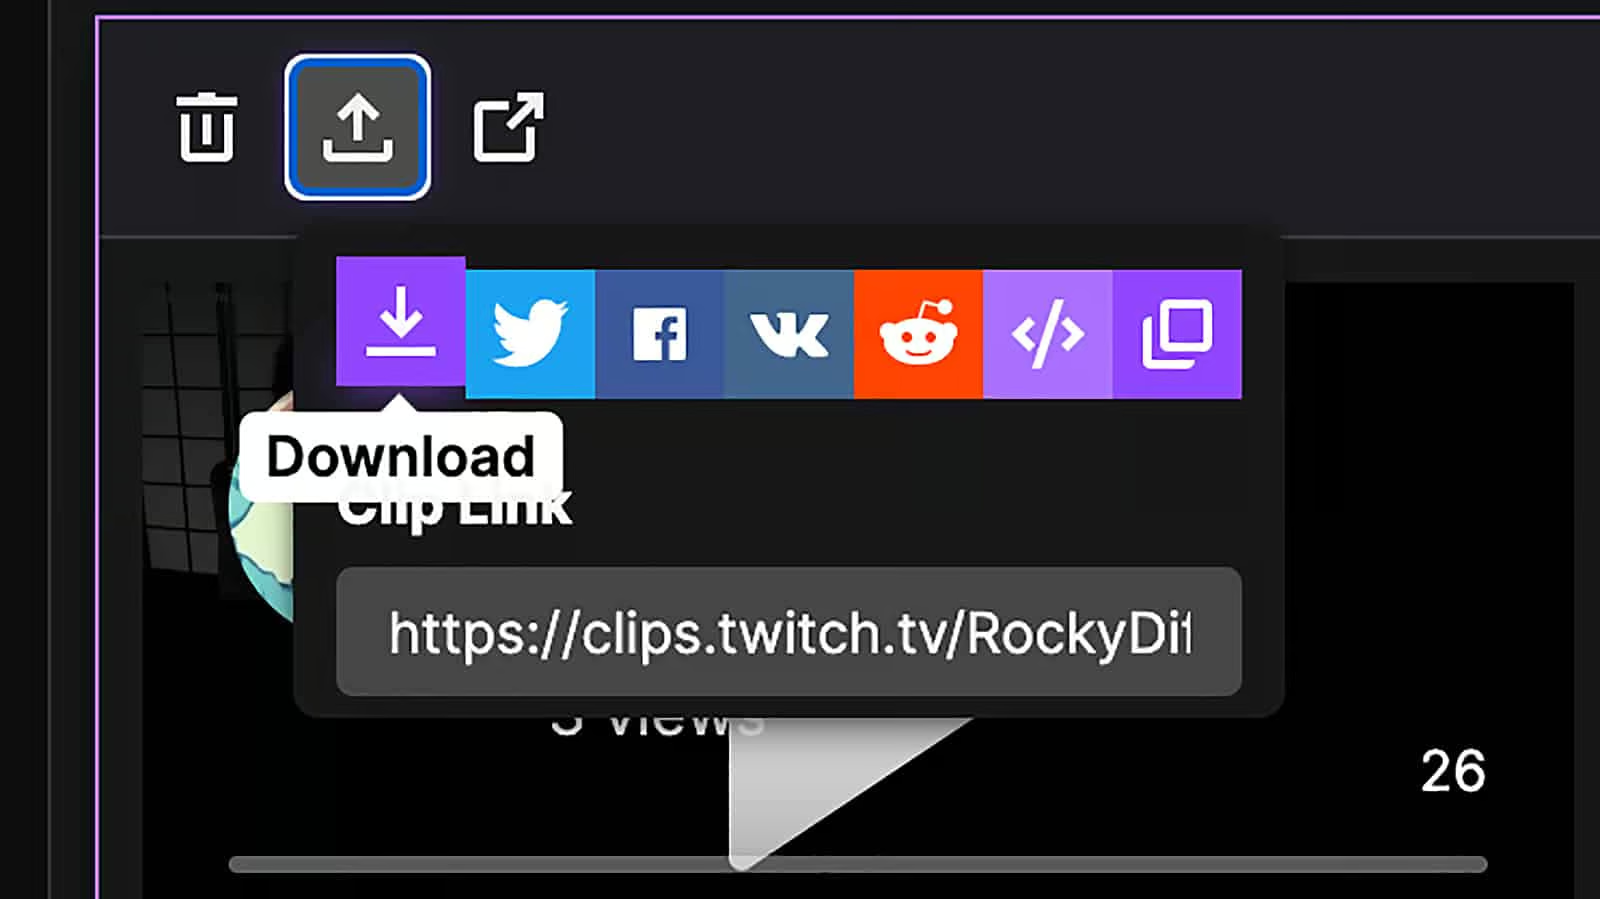
Another option is the online platform Clipr. Clipr allows you to download Twitch clips quickly and easily. Simply enter the URL of the Twitch clip you want to download, and Clipr will generate a download link for you to save the clip to your device.
Additionally, there are browser extensions available that streamline the download process. Extensions like Streamlink and Twitch Video Downloader allow you to download Twitch videos directly from your browser without the need for any additional software.
When choosing a tool, consider factors such as ease of use, supported platforms, download speed, and the ability to customize the download settings. It’s also a good idea to check for user reviews and ratings to ensure that you’re selecting a reliable and trustworthy tool.
Once you’ve decided on the tool that best suits your needs, you’re ready to move on to the next step: finding the stream URL.
Step 2: Find the Stream URL
After selecting the appropriate tool for downloading Twitch streams, the next step is to locate the URL of the stream you want to download. The stream URL is the unique identifier that points directly to the specific Twitch stream you wish to save.
To find the stream URL, you first need to navigate to the Twitch website and locate the stream you want to download. Once you have the stream open in your web browser, look at the address bar at the top of the page. The URL displayed in the address bar is the stream URL.
It’s important to note that Twitch URLs can vary based on the type of content you want to download. For example, if you’re looking to download a specific clip, the URL will contain the word “clip” followed by a randomly generated combination of letters and numbers. On the other hand, if you want to download an entire broadcast, the URL will include the username of the streamer and the title of the stream.
Make sure to copy the entire stream URL accurately, as any missing or incorrect characters may lead to difficulties in downloading the stream.
If you’re using a specific tool or browser extension, such as Twitch Leecher or Clipr, the process of finding the stream URL may be simplified. These tools often provide the option to directly input the Twitch stream URL within their user interface, eliminating the need to manually copy and paste the URL.
Once you have successfully obtained the stream URL, you’re ready to move on and download the Twitch stream in the next step.
Step 3: Download the Stream
With the stream URL in hand, it’s time to download the Twitch stream using the chosen tool or platform. The process may vary slightly depending on the tool you’re using, but the general steps are as follows:
- Paste the stream URL: Open the chosen tool or platform and locate the designated field where you can input the stream URL. Paste the URL you obtained in Step 2 into this field.
- Select download options (if applicable): Some tools and platforms offer additional download options, such as selecting specific quality settings or choosing a segment of the stream to download. If these options are available, customize them according to your preferences.
- Initiate the download: Once you have pasted the stream URL and adjusted any download settings, initiate the download process. Depending on the size and length of the stream, the download may take a few moments or several minutes.
- Monitor the download progress: Keep an eye on the download progress to ensure that it’s running smoothly. Some tools may display a progress bar or provide an estimated time remaining.
- Save the downloaded stream: Once the download is complete, the tool or platform will prompt you to choose a location to save the downloaded stream. Select a suitable folder or directory on your device to store the file.
It’s worth noting that the download speed can vary depending on various factors, such as your internet connection and the size of the stream. Large streams or streams with high-quality settings may take longer to download compared to smaller or lower-quality streams.
After completing these steps, you should now have successfully downloaded the Twitch stream to your device. Now let’s move on to the final step: saving the stream for future viewing.
Step 4: Save the Stream for Future Viewing
Once you have successfully downloaded the Twitch stream, it’s essential to organize and save it in a way that makes it easily accessible for future viewing. By following these steps, you can ensure that your downloaded stream is readily available whenever you want to revisit it.
- Choose a dedicated folder: Create a dedicated folder on your device specifically for storing your downloaded Twitch streams. This will help keep your downloaded content organized and easily accessible.
- Organize by streamer or category: If you frequently download streams from multiple streamers or different categories, consider organizing the downloaded streams accordingly. Create subfolders within the main folder to categorize the streams based on streamer name or content type.
- Utilize descriptive filenames: Rename the downloaded stream files with descriptive and meaningful names. Include details such as the streamer name, date, and a brief description of the content. This will make it easier to find specific streams when searching through your collection in the future.
- Back up your stream collection: It’s essential to back up your downloaded Twitch streams regularly. Consider using cloud storage services or external hard drives to create backups of your stream collection. This will ensure that even if anything happens to your primary storage, you’ll still have access to your downloaded streams.
- Keep track of updates: Twitch streams are dynamic, with new content being added regularly. Keep track of your favorite streamers or specific categories and periodically check for updates. Download any new streams that you want to add to your collection for future viewing.
By following these steps, you can effectively save and organize your downloaded Twitch streams, making it convenient to revisit the content whenever you desire. Whether you’re using the downloaded streams for educational purposes, entertainment, or simply to relive memorable moments, having a well-managed collection ensures a seamless viewing experience.
Now that you have completed all the steps, you can confidently download and save Twitch streams for future enjoyment. Remember to always respect content creators’ rights and use downloaded streams strictly for personal use, in accordance with Twitch’s terms of service.
Conclusion
Downloading Twitch streams opens up a world of possibilities for offline viewing, saving valuable content, and reliving unforgettable moments. With the right tools and a simple step-by-step process, you can easily download and save your favorite Twitch streams for future enjoyment.
Throughout this article, we’ve explored the four essential steps to successfully download Twitch streams. By choosing the right tool, finding the stream URL, initiating the download, and saving the stream for future viewing, you can build a collection of downloaded streams that aligns with your interests and preferences.
Remember to always respect content creators’ rights and use downloaded Twitch streams solely for personal use. Unauthorized distribution or use of downloaded content is strictly prohibited and goes against Twitch’s terms of service.
By following best practices, such as organizing your downloaded streams, utilizing descriptive filenames, and backing up your collection, you can ensure easy access to your saved Twitch content. Whether it’s revisiting educational tutorials, reliving exciting gaming sessions, or catching up on live events, your downloaded Twitch streams will be readily available for your viewing pleasure.
Now that you are equipped with the knowledge to download and save Twitch streams, go ahead and explore the vast library of content available on Twitch. Enjoy the flexibility and convenience of offline viewing, and create a personalized collection of your favorite streams.