Introduction
Google Drive is a convenient and efficient cloud storage platform that allows you to store, access, and share your files and documents from anywhere. In addition to documents, Google Drive also supports the storage and management of photos and pictures. Whether you’re a professional photographer, a passionate hobbyist, or simply someone with a collection of memorable snapshots, Google Drive provides a seamless way to download and store your pictures.
In this article, we’ll guide you through the step-by-step process of downloading pictures to Google Drive. By following these easy steps, you’ll be able to safeguard your memories, create backups, and have instant access to your pictures on any device.
With Google Drive, you no longer have to worry about the risk of losing your valuable pictures due to a computer crash or damaged storage devices. Instead, you can rely on the secure storage and accessibility of Google Drive to keep your pictures safe and readily available.
Step 1: Sign in to your Google Drive account
Before you can start downloading pictures to your Google Drive, you’ll need to sign in to your Google Drive account. If you don’t have an account, you can easily create one by visiting the Google Drive website and following the sign-up process.
Once you have an account, follow these steps to sign in to your Google Drive:
- Open your preferred web browser and go to the Google Drive website.
- Click on the “Sign in” button located at the top right corner of the page.
- Enter your email address and password associated with your Google account.
- Click on the “Sign in” button to proceed.
- After successful sign-in, you will be redirected to your Google Drive homepage.
Signing in to your Google Drive account is essential as it allows you to access and manage your files and folders, including the pictures you want to download. Make sure to keep your login credentials secure and avoid sharing them with anyone to protect the privacy of your account.
Now that you’re signed in to your Google Drive account, you’re ready to proceed to the next step: creating a new folder to organize your downloaded pictures.
Step 2: Create a new folder in Google Drive
In order to keep your downloaded pictures organized, it’s a good practice to create a new folder specifically for storing them in your Google Drive. This will make it easier to locate and manage your pictures in the future. Follow these simple steps to create a new folder:
- On your Google Drive homepage, click on the “+ New” button located on the left-hand side of the page.
- A drop-down menu will appear. Select “Folder” from the options.
- A new folder will be created with the default name “Untitled folder”.
- To rename the folder with a more descriptive name, right-click on the folder and select “Rename”.
- Type in the desired name for your folder and hit enter.
It’s recommended to choose a name that reflects the content or purpose of the folder. For example, if you’re downloading travel pictures, you can name the folder “Travel Memories” or if you’re organizing pictures for a specific project, you can name the folder accordingly.
Creating a new folder will help you stay organized and ensure easy access to your pictures in Google Drive. With the folder created, you’re now ready to move on to the next step: downloading and installing the Google Drive app.
Step 3: Download and install the Google Drive app
To simplify the process of downloading pictures to your Google Drive, it’s recommended to download and install the Google Drive app on your computer or mobile device. The app provides a seamless integration between your device and your Google Drive, allowing for easy file transfers and syncing. Follow these steps to download and install the Google Drive app:
- On your computer or mobile device, open your preferred web browser and visit the Google Drive website – https://www.google.com/drive/.
- Click on the “Download” button located at the top right corner of the page.
- Depending on your device, you’ll be directed to the app store or prompted to download the setup file for installation.
- Follow the on-screen instructions to complete the download and installation of the Google Drive app.
- Once the installation is complete, open the Google Drive app and sign in with your Google account credentials.
The Google Drive app provides a user-friendly interface that allows you to easily manage and access your files, including your downloaded pictures. Additionally, the app provides the option for automatic syncing, ensuring that any changes made to your files are reflected across all devices linked to your Google Drive account.
With the Google Drive app now installed on your device and ready to use, you can proceed to the next step: opening the app and signing in to your Google Drive account.
Step 4: Open the Google Drive app and sign in
Now that you have downloaded and installed the Google Drive app, it’s time to open it and sign in to your Google Drive account. This will allow you to access and manage your files, including the pictures you want to download. Follow these steps to open the app and sign in:
- Locate the Google Drive app on your device and tap/click on it to open.
- On the login screen, enter your Google account email address and password.
- If you have multiple Google accounts, make sure to select the one that is associated with the Google Drive you want to use.
- Tap/click on the “Sign in” button to proceed.
- After successful sign-in, you will be redirected to your Google Drive homepage within the app.
Once you are signed in to the Google Drive app, you will have access to all the files and folders in your Google Drive account. This includes the folder you created earlier to store your downloaded pictures. It’s important to ensure that you are signed in using the correct account to access the specific Google Drive where you want to save your pictures.
With the Google Drive app open and your account signed in, you are now ready to move on to the next step: choosing the folder where you want to save your downloaded pictures.
Step 5: Choose the folder where you want to save the pictures
Now that you have accessed your Google Drive account using the Google Drive app, you can choose the specific folder where you want to save your downloaded pictures. Follow these simple steps to select the folder:
- Open the Google Drive app on your device.
- Navigate to the location where you want to save the pictures. This can be the main Google Drive folder or a subfolder within it.
- If you want to save the pictures in an existing folder, simply open that folder within the app.
- If you prefer to save the pictures in a new folder, you can create a subfolder within the main Google Drive folder or within any existing folder.
- To create a new folder, tap/click on the “+ New” button located at the bottom right corner of the app’s interface.
- Select “Folder” from the options and provide a name for the new folder.
- Tap/click on the “Create” button to create the new folder.
By choosing the folder where you want to save the pictures, you ensure that they will be stored in an organized manner within your Google Drive. This will make it easier to locate and manage the pictures in the future.
Now that you have selected the appropriate folder, you can proceed to the next step: selecting the pictures you want to download.
Step 6: Select the pictures you want to download
With the folder chosen for your downloaded pictures, it’s time to select the specific pictures you want to download and save in your Google Drive. Follow these steps to select the pictures:
- Navigate to the location where the pictures are stored on your device.
- If the pictures are scattered across different folders, you can consolidate them into a single folder for easier selection.
- Click and drag to select multiple pictures at once, or hold down the Ctrl/Cmd key on your keyboard while clicking on individual pictures.
- Alternatively, you can use the select all function (Ctrl/Cmd + A) to choose all the pictures in that folder or location.
- Take a moment to review your selection and ensure you have chosen all the desired pictures for download.
When selecting the pictures, keep in mind that Google Drive has a maximum file size limit. If any of the selected pictures exceed this limit, you may need to reduce their size or consider uploading them separately outside of Google Drive.
Once you have made your selection, you’re ready to proceed to the next step: moving the selected pictures to the Google Drive folder you have chosen.
Step 7: Move the selected pictures to the Google Drive folder
Now that you have selected the pictures you want to download, it’s time to move them to the Google Drive folder you have chosen. Follow these steps to transfer the selected pictures:
- Right-click on one of the selected pictures.
- In the context menu that appears, select the “Move to” or “Copy to” option.
- A file explorer window will pop up, allowing you to navigate to the Google Drive folder you want to move the pictures to.
- Select the desired Google Drive folder and click on the “Move” or “Copy” button.
- The selected pictures will be transferred to the chosen Google Drive folder.
It’s important to note that when you move the pictures to the Google Drive folder, it creates a copy of the file and places it in the designated folder while keeping the original file intact in its original location.
By moving the selected pictures to your Google Drive folder, you ensure that they are securely saved and accessible from any device with internet access. This step helps in organizing your pictures and consolidating them in a single location within your Google Drive.
Now that the pictures are transferred to the Google Drive folder, you can proceed to the next step: waiting for the pictures to sync with Google Drive.
Step 8: Wait for the pictures to sync with Google Drive
After moving the selected pictures to the Google Drive folder, you may need to wait for the pictures to sync with your Google Drive account. The sync process ensures that the pictures are uploaded to your Google Drive cloud storage and can be accessed from any device connected to your account. Follow these steps to wait for the pictures to sync:
- Ensure that you have a stable internet connection to allow for the syncing process.
- Open the Google Drive app on your device, if not already open.
- Look for the sync indicator or progress bar within the app’s interface.
- The syncing process may take some time, depending on the number and size of the pictures. Larger files may take longer to sync.
- While waiting for the sync to complete, you can continue using your device or close the app if desired. The sync process will continue in the background.
- Once the sync is complete, you will see all the synced pictures in your Google Drive account.
During the syncing process, it’s advisable to avoid making changes to the pictures or their associated folders to prevent any conflicts or syncing errors. Allow the sync to complete naturally to ensure that all your pictures are safely uploaded to your Google Drive.
Now that you’ve completed the syncing step, you’re ready to access your pictures in Google Drive from any device.
Step 9: Access your pictures in Google Drive from any device
Once the pictures have finished syncing with your Google Drive account, you can easily access them from any device with internet access. This allows you to view, download, and share your pictures conveniently. Follow these steps to access your pictures:
- Open a web browser on your computer or launch the Google Drive app on your mobile device.
- Visit the Google Drive website or open the app, and sign in to your Google account if prompted.
- Navigate to the Google Drive folder where you saved your pictures.
- Locate the pictures you want to access. You can view them as thumbnail previews or click on them to open in a larger format.
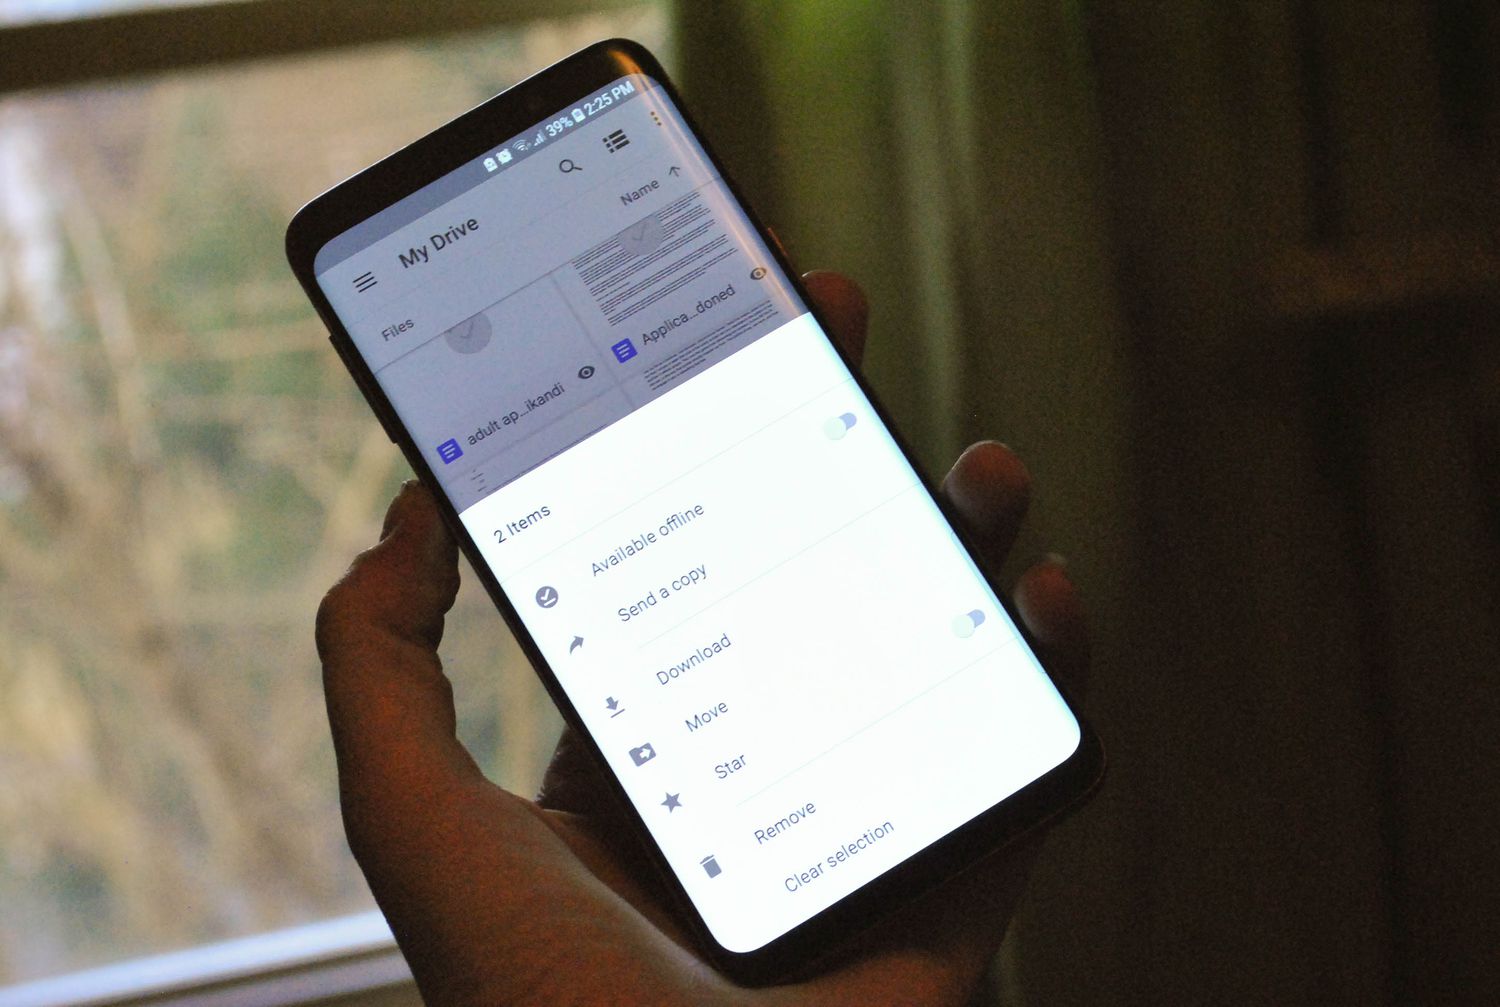
- To download a picture, right-click on it and select the “Download” option. This will save a copy of the picture to your device for offline access.
- If you want to share a picture, right-click on it and select the “Share” option. You can then specify the recipients and set the sharing permissions.
With Google Drive’s accessibility from any device, you can enjoy your pictures whether you’re on your computer, smartphone, or tablet. This flexibility allows you to reminisce over old memories, share your pictures with friends and family, or even use them for professional purposes.
By storing your pictures in Google Drive, you also benefit from the platform’s secure and reliable cloud storage, ensuring that your precious memories are safely backed up and easily accessible even if you lose access to your original device.
Congratulations! You have successfully completed all the steps to download and access your pictures in Google Drive. Now you can enjoy the convenience and peace of mind that comes with storing your pictures in the cloud.
Conclusion
Downloading pictures to Google Drive is a simple and effective way to safeguard your valuable memories and have them readily accessible from any device. By following the step-by-step guide in this article, you can easily store your pictures in Google Drive and enjoy the benefits of cloud storage.
We started by signing in to your Google Drive account and then creating a new folder to organize the downloaded pictures. After that, we installed the Google Drive app to facilitate the download process and ensure seamless syncing. We then opened the app and signed in to our Google Drive account, followed by choosing the folder where we wanted to save the pictures.
In the subsequent steps, we selected the pictures we desired to download, moved them to the designated Google Drive folder, and patiently waited for the syncing process to complete. Finally, we discussed how to access the pictures from any device and perform actions like downloading and sharing.
By using Google Drive for your picture storage, you eliminate the risk of losing your pictures due to hardware failures or accidental deletions. Additionally, the accessibility of Google Drive allows you to view and share your pictures conveniently, whether for personal or professional purposes.
Now that you have successfully downloaded your pictures to Google Drive, you can enjoy the peace of mind that comes with knowing your memories are safely stored and easily accessible. So why wait? Start organizing and preserving your pictures in Google Drive today!


